Fix: Bixby Voice not Working
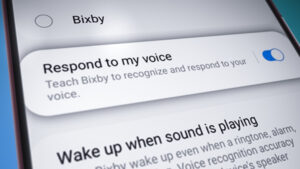
Samsung introduced the AI assistant Bixby with its flagship smartphone the S8 and it was quite popular due to its amazing functionality and innovative gestures. However, quite recently a lot of reports have been coming in of the Bixby Voice not recognizing the users Voice or responding to it. Normally when users say the words “hi Bixby” it talks back to the user and inquires about the assistant required but in this case, it only shows up in the notifications and closes itself after a while.
What Prevents Bixby From Working Properly?
After receiving numerous reports from multiple users about we decided to investigate the issue and devised a set of solutions which fixed the problem for most of our users. Also, we looked into the reasons due to which the problem was being triggered and they are listed below.
- Application Interference: It is possible that a third party application that also requires the microphone for its functionality is drawing over Bixby and is not letting it take control of the mic. This is a common issue and sometimes it is caused by the “KiK” app.
- Cache: Cache is stored by applications to decrease loading times and provide a smoother experience. However, over time this cache can be corrupted and interfere with certain important system features.
Now that you have a basic understanding of the nature of the problem we will move on towards the solutions. Make sure to implement these solutions in the specific order in which they are provided to avoid any conflicts.
Note: Make sure that your microphone is working elsewhere on the smartphone. For example, it should be working for calls.
Solution 1: Clearing Application Data
It is possible that certain corrupted data from some system applications might be interfering with some features and preventing Bixby from working properly. Therefore, in this step, we will be clearing the application data. For that:
- Drag down the notifications panel and tap on the “Settings” icon.

Dragging down the notifications panel and tapping on the “Settings” icon - Inside the settings, tap on the “Applications” option.
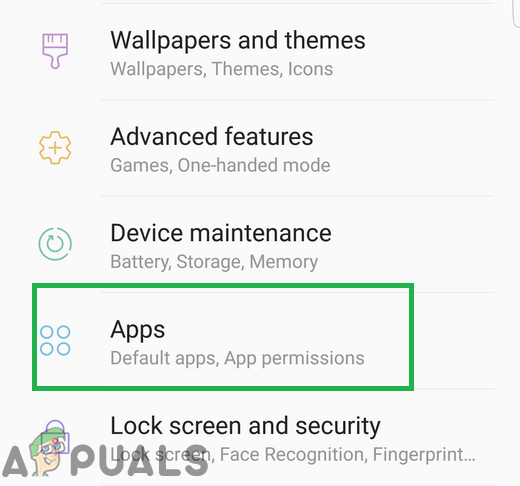
Tapping on the applications option inside settings - Tap on the “Bixby Voice” icon and then on the “Storage” option.
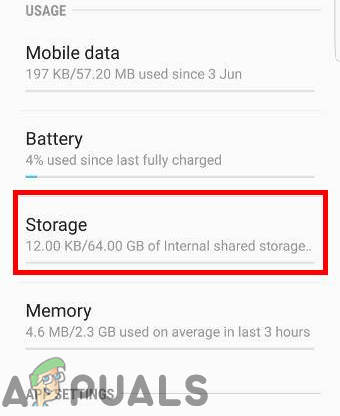
Tapping on the Storage option - Click on the “Clear Data” option and navigate back to the “Applications” list.
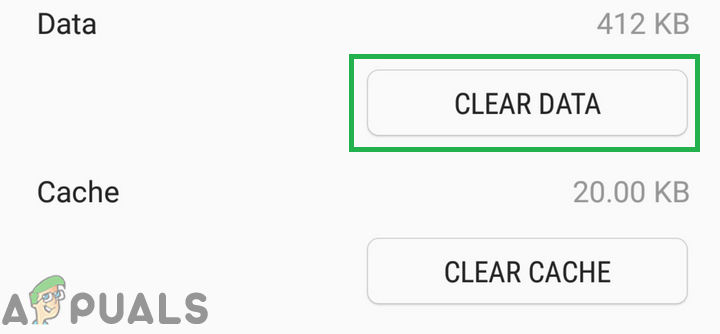
Tapping on the “Clear Data” option - Now tap on the “Bixby Home” icon and then on the “Storage” option.
Tapping on the Storage option - Tap on the “Clear Data” button and in repeat the process for “Bixby Vision” and “Bixby Service“.
Tapping on the “Clear Data” option - Restart the phone, try to use the Bixby feature and check to see if the issue persists.
Solution 2: Launching in Safe Mode
In this mode, we will be checking to see if any application is interfering with Bixby and by launching the phone in the safe mode. For that:
- Hold the power button until the list of options appears.
- Press and hold the “Power Off” button and tap on the “Safe Mode” option.
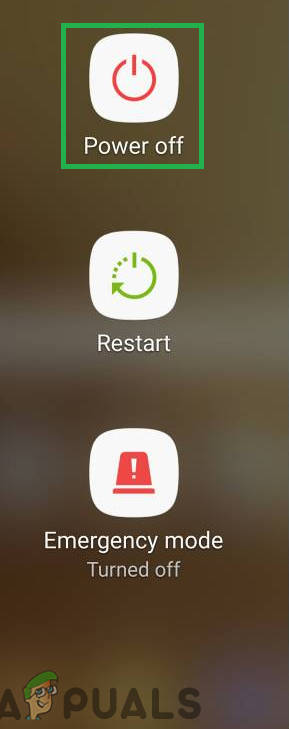
Pressing and holding the “Power Off” button - The phone will now be relaunched in the safe mode, check to see if the issue persists.
- If the issue goes away in the safe mode it is probably being caused by a third party application.
- Drag down the notifications panel and tap on the “Settings” icon.
Dragging down the notification panel and tapping on the “Settings” icon - Inside the settings, tap on the “Applications” option and then on any application that uses the microphone.
Tapping on the applications option inside settings - Tap on the “Permissions” option and turn off the permissions for “Microphone“.
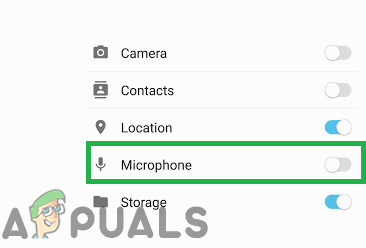
Tapping on the Microphone to void the permission - Check to see if the issue is solved, if the issue still remains, repeat the above process for all the installed third-party applications.
Solution 3: Wiping Cache Partition
Cache is stored by applications to lower the loading times and provide a better experience to users. However, over time this cache can be corrupted due to which certain system features can be affected. Therefore, in this step, we will be wiping the cache partition to get rid of all cached data. For that:
- Press and hold the Power button and tap on the “Power Off” option.
- Hold down the “Bixby” button, the “Volume down” button and the “Power button” simultaneously until the “Samsung” boot logo is displayed.
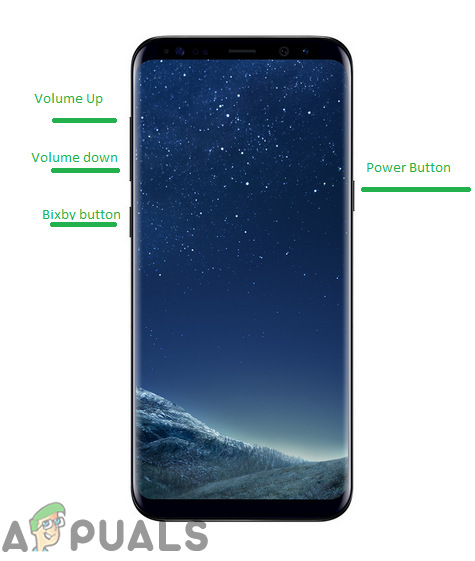
Button location on the S8 - Release only the “power” button when the Samsung Boot logo is shown and release all the buttons when the “Android logo” is displayed.
- In the recovery options, use the “Volume Down” button to navigate down and highlight the “Wipe Cache Partition” option.
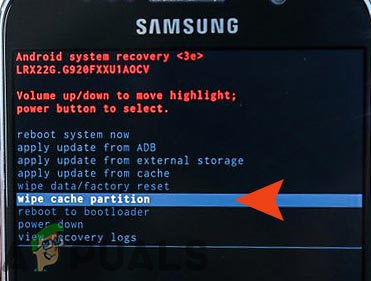
Highlighting the Wipe Cache Partition option and pressing the power button - Press the “Power” button to select the option and wait for the process to be completed.
- Navigate through the list again and this time highlight the “Reboot System Now” option.
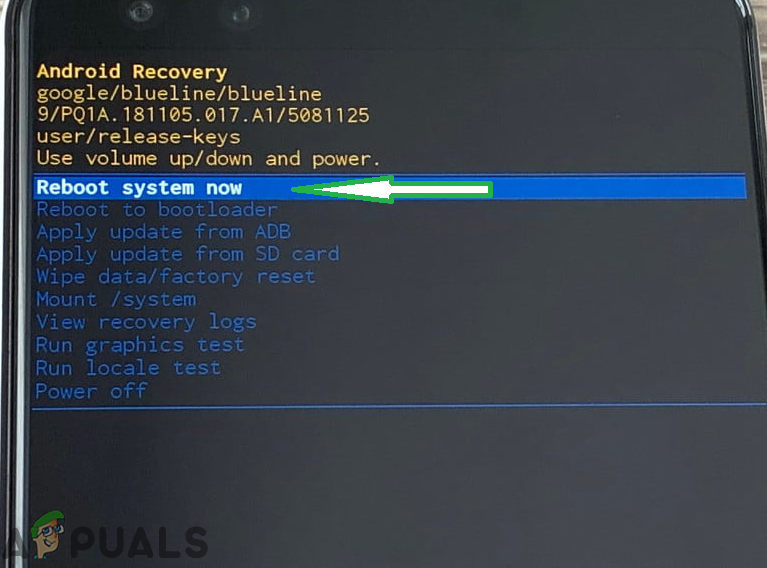
Highlighting the “Reboot System Now” option and pressing the “Power” button - Press the “Power” button to select the option and wait for the phone to be booted.
- Check to see if the issue persists.


