Fix: Avast Web Shield Won’t Turn on
Web Shield is a part of the Avast antivirus software which actively scans data that is transferred when you browse the internet to prevent malware from being downloaded and run on your PC. It’s probably one of the most important Avast features and it should be running at all times to keep your computer protected.

The error manifests itself if your shields off have been turned off by any reason (shutting them down manually, malware, bugs) and you are unable to turn on the Web Shield in the Components window of Avast. Follow the methods below we have prepared in order to go try and solve this problem.
Solution 1: Restart the Avast Antivirus Service
Services are the backbone of almost any software on your computer and if something regarding the Avast service has gone corrupt, it almost certain that it will affect the Avast program negatively. One of the possible solutions is to restart the Avast service and check to see if the problem still appears on your computer.
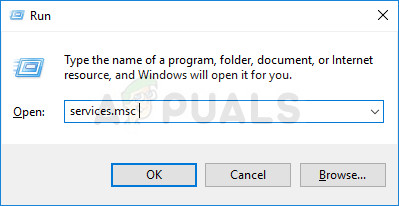
- Open the Run dialog box by clicking the Windows Key + R key combination on your keyboard. Type “services.msc” in the dialog box without the quotation marks and click OK in order to open Services.
- An alternative would be to open Control Panel by searching for it in the Start menu or the Run dialog box. Change the view by option to Category and click on System and Security. Scroll down to the Administrative Tools section, click on it, scroll down to locate Services, and double-click on it.
- Locate Avast Antivirus Service in the services list, right-click on it and choose Properties from the context menu which appears.
- If the service is started (you can check that just next to the Service status section), you should stop it by clicking the Stop button in the middle of the window. If it is stopped, leave it as it is during this step.
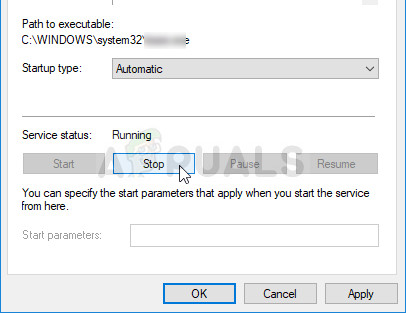
- Make sure that the option under the Startup type menu in the Avast Antivirus Service’s properties is set to Automatic before you proceed with the instructions. Confirm any dialogue prompts which may appear when you try to set the startup type. Click on the Start button in the middle of the window before closing this window.
You may receive the following error when you click on the Start button:
“Windows could not start the Avast Antivirus Service on Local Computer. Error 1079: The account specified for this service differs from the account specified for other services running in the same process.”
If this occurs, follow the instructions below to fix it.
- Follow steps 1-3 from the set of steps above in order to open Avast Antivirus Service’s properties window. Navigate to the Log On tab and click on Browse….
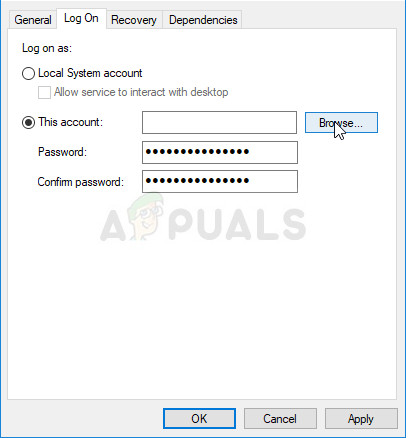
- Under the “Enter the object name to select” box, type in your account’s user name, click on Check Names and wait for the PC to find your name.
- Click OK when you are finished and type in the password in the Password box when you are prompted with it if you are using a password. It should now start without issues!
Solution 2: Perform an Avast Repair
Avast Repair is a feature built-in the software itself meaning you can perform basic troubleshooting without having to reinstall the program. There are several users who have reported that the Avast repair has a manager to solve their problem with Web Shield so we really recommend you don’t skip this method when troubleshooting.
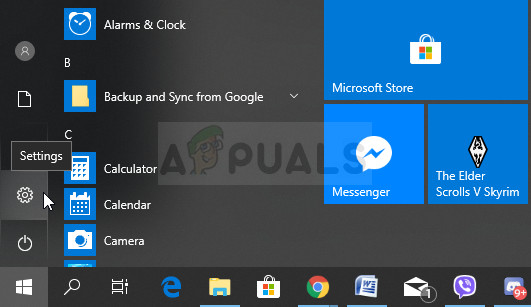
- Click the Start menu button and open Control Panel by typing with the Start menu window open. Alternatively, you can click the gear-looking icon in the lower-left part of the Start menu which will open the Settings window exclusive to Windows 10.
- In Control Panel, switch to “View as: Category” option at the top right corner of the window and scroll down towards the Programs section. Just underneath it, you should see the Uninstall a program option so make sure you click on it.
- If you are using the Settings app on Windows 10, clicking on Apps should immediately open a list of all installed programs and tools on your PC so wait for a while in order for it to load.
- Locate Avast in Control Panel or Settings and click on Modify/Change. Avast Setup window will appear immediately prompting you with several choices. Click on the Repair button and follow any instructions which may appear afterward in order to repair it completely. Wait until the utility fixes your Avast installation and you see the Done message appears.

- After the process is over, check to see if the same problem with Avast Web Shield still appears.
Solution 3: Update Avast to the Latest Version
Similar problems with various Avast components including the Web Shield component occurred with users on the certain build of Avast antivirus but its developers managed to solve problems rather quickly and they published new builds where the error does not occur.
Avast should always be updated to the latest version and that is why its auto-update feature should have solved this problem already. However, if the auto-update service has failed or if you have turned it off manually, you can update Avast manually by following the steps below:
- Open the Avast user interface by clicking its icon which is located at the lower right part of your screen at the system tray. You can also do the same by locating it in your Start menu or by double-clicking its icon on the Desktop.
- Navigate to the Update tab in the Avast window and you will notice that there are two buttons saying Update. One of these buttons is related to the update of the virus definitions and the other one is related to updating the program itself.
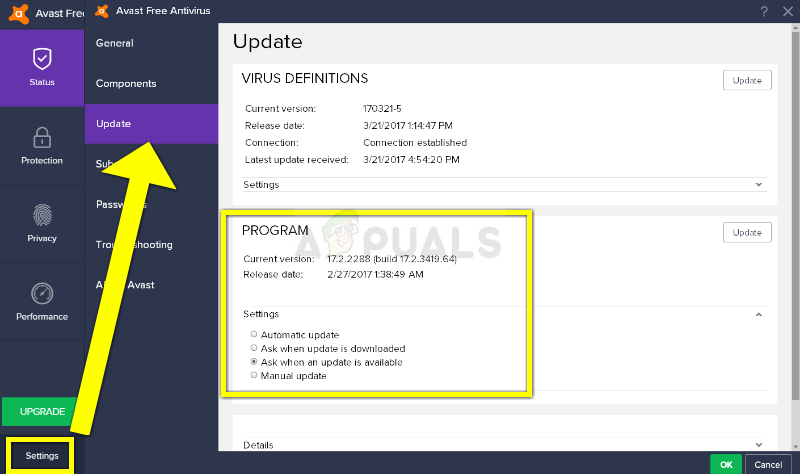
- Most users have said that updating the program has solved the problem with the Web Shied but it’s the best to update both the virus definitions and the application by clicking on both of these Update buttons, being patient while Avast checks for updates by connecting to their servers and following the instructions which will appear on-screen in order to navigate through the install process.
- Check to see if the problem regarding the Web Shield feature has disappeared.
Alternative: You can initiate the updating process by running the executable file located in the following location on your computer:
C:\Program Files\AVAST Software\Avast\AvastEmUpdate.exe.
Make sure you restart your computer after the update is installed.
Solution 4: Perform a Clean Install of Avast
The reason why this solution is placed at the bottom is that it includes uninstalling Avast from your computer completely, and that can be a somewhat lengthy process. However, there are plenty of users who were relieved to see that this actually solved their problem.
Also, there is quite a useful uninstaller from Avast which will save you the problems of removing registry entries and leftover files yourself.
- Download the latest build of Avast antivirus by navigating to this link and clicking the Download Free Antivirus button. Also, if you are using other versions of Avast, you can use the website to navigate easily.
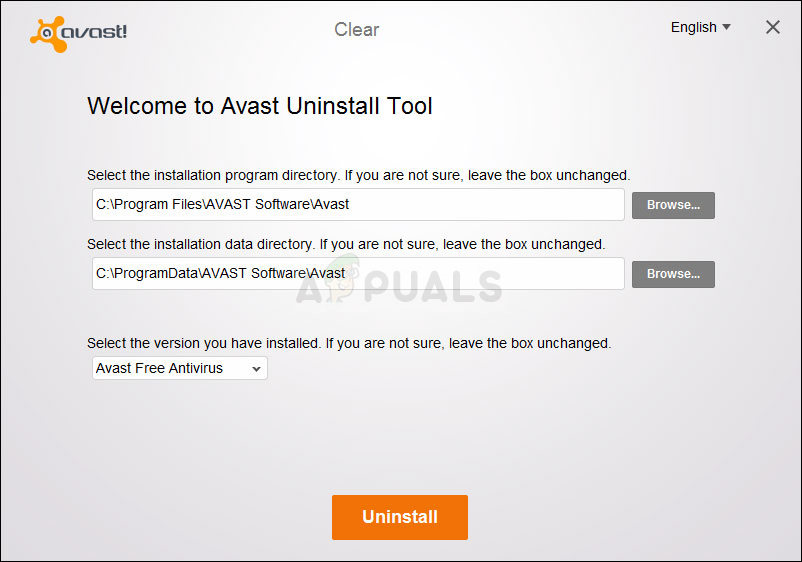
- Also, you will have to download the Avast Uninstall Utility from this link so save it to your computer as well as you will need it to uninstall Avast properly.
- Disconnect your computer from the Internet after you have downloaded these two files and boot into Safe Mode.
- Run the Avast Uninstall Utility and navigate to the folder where you have installed Avast. If you have installed it in the default folder (C >> Program Files >> Avast), you can leave it. Be careful to choose the right folder since the contents of the folder you choose will be deleted.
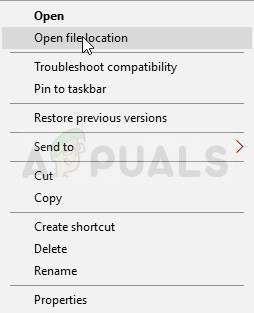
- Navigate through File Explorer until you find the right folder where you installed Avast. You can also right-click its icon on the Desktop and choose the Open file location option from the context menu which will appear.
- Click the Remove option and make sure you restart your computer by booting into a normal startup.
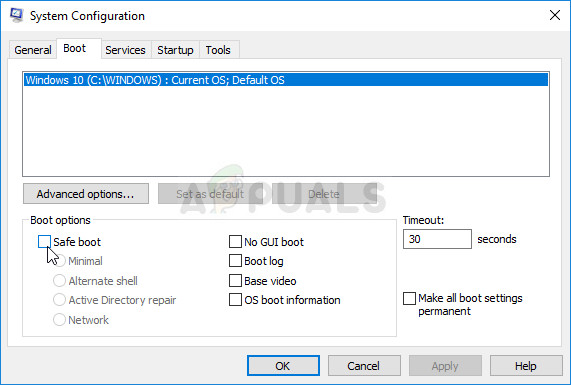
- Use the Windows + R key combination by pressing these keys at the same time on your keyboard. In the Run dialog box which will appear as a result of this action, type ’MSCONFIG’ and click OK.
- Navigate to the Boot tab and uncheck the Safe Boot option.
- Check to see if the Web Shield feature has gone back to normal after you have restarted your computer.
It’s also possible that you are using multiple anti-viruses on your computer, this can cause conflict and it will disable features of each other. So, remove all the anti-viruses from your computer find the perfect one that matches your needs, and install that. In this case, it’s going to be Avast.


