Fix: aVast Unable to Start Firewall
Avast is definitely one of the best free antivirus solutions for users who are looking for a high-quality tool for which they don’t have to pay. However, there are certain issues which occur to users on a daily basis which need to be taken care of. One of such issues is definitely the Avast firewall being unable to start.
A disabled firewall often means that your computer is not 100% protected from external attacks and it’s quite important to take care of this problem quickly. There are quite a few methods to get rid of this problem so make sure you try them out.
Solution 1: Scan Your Computer and Run the Repair Tool
When a certain security setting fails to turn on, it’s logical to assume that a malicious tool is preventing this for the purpose of being able to connect to the Internet and harm your computer. You will need to scan your computer Avast and at least another security scanner in case Avast scanners are being affected as well.
- Open the Avast user interface by double-clicking its icon at the system tray and navigate to Protection >> Scans.
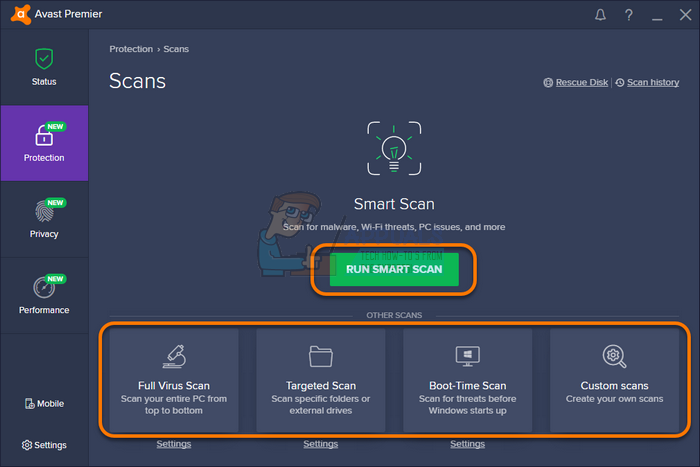
- Here you will be able to select the type of scan you wish to run. We recommend you choose the Full Virus Scan which will scan your entire computer for malicious tools. A progress bar will appear and your PC will be scanned. This will definitely take a while.
- When the scan finishes, you will be able to see the results and remove the threats if they are found.
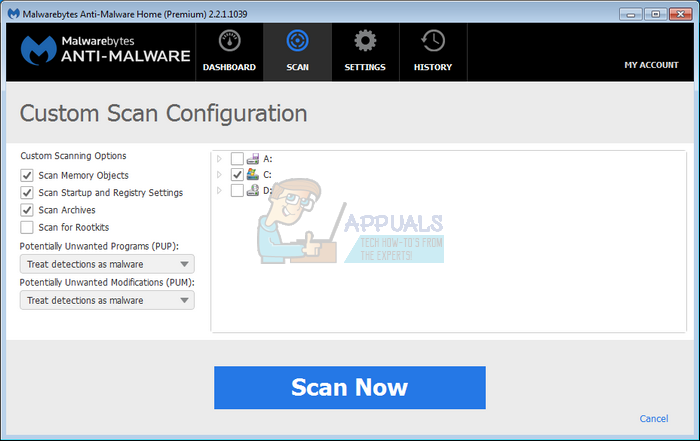
Since you are not sure if Avast is currently blocked from searching for the correct files, you will also need to employ another free scanner. Malwarebytes is a highly successful tool which you can download as a free trial and which can help you deal with these kinds of threats. Follow the instructions below in order to download and use it.
- You can download download Malwarebytes from this link. When Malwarebytes has finished downloading, double-click on the “mb3-setup-consumer” file to install Malwarebytes on your computer.

- You may be presented with an User Account Control pop-up asking if you want to allow Malwarebytes to make changes to your device. If this happens, you should click “Yes” to continue with the installation.
- When the Malwarebytes installation begins, you will see the Malwarebytes Setup Wizard which will guide you through the installation process. To install Malwarebytes on your machine, keep following the prompts by clicking the “Next” button.
- Once installed, Malwarebytes will automatically start and update the antivirus database. To start a system scan you can click on the “Scan Now” button.
- Malwarebytes will now start scanning your computer for malicious programs.
- This process can take a few minutes, so we suggest you do something else and periodically check on the status of the scan to see when it is finished.
- When the scan has completed, you will be presented with a screen showing the malware infections that Malwarebytes has detected.
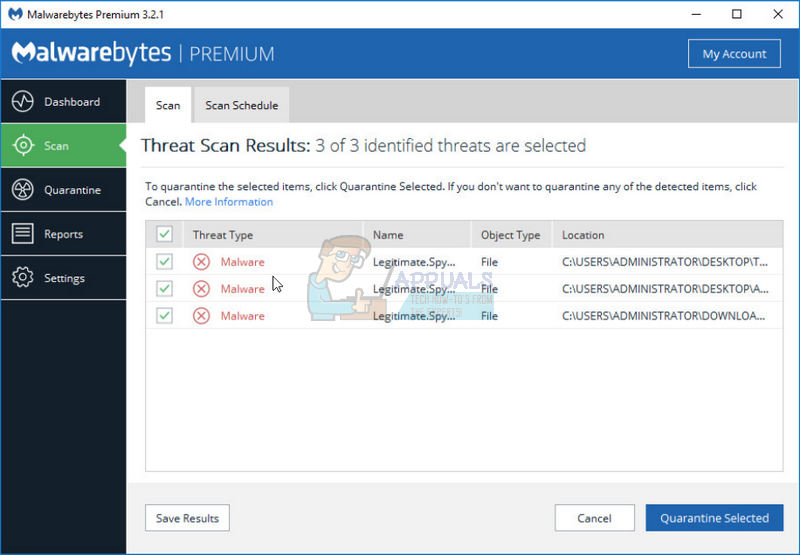
- To remove the malicious programs that Malwarebytes has found, click on the “Quarantine Selected” button.
- To complete the malware removal process, Malwarebytes may ask you to restart your computer.
Finally, it’s time to repair your Avast installation by following the short set of steps below. Users have stated that repairing the installation didn’t work if users haven’t scanned their computers beforehand so it’s important to first scan your computer entirely for viruses.
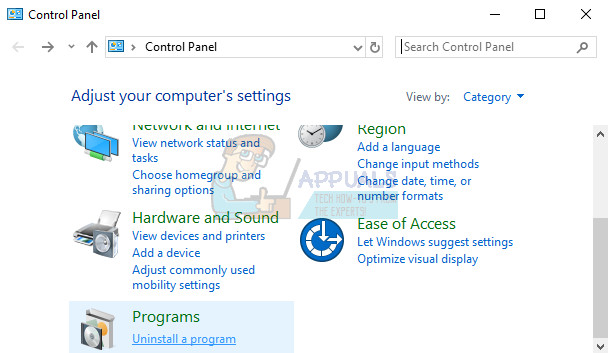
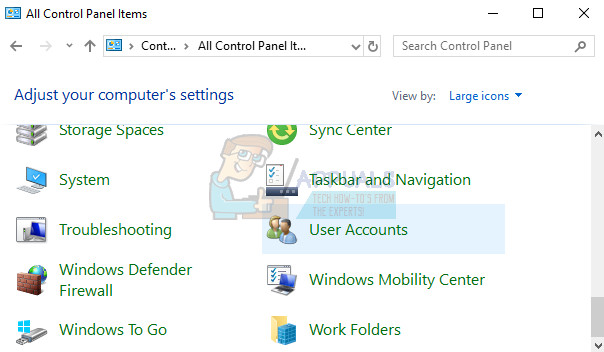
- Search for Control Panel in the search bar or while in the Start menu and click on the first result.
- Change the View by option to Category and scroll down to the bottom. Choose Uninstall a program under the Programs section.
- Locate the Avast Internet Security entry, right-click on it, and choose Change >> Repair. Follow the instructions on screen and restart your computer. The problem should be solved now.
Solution 2: Perform a Clean Reinstall of Avast
If the program itself has become buggy due to programs conflicting and similar, you may haveto perform a clean reinstall which will setup the Avast tool from the very start. The process is quite easy to follow and this is a solution you shouldn’t skip, especially if you switched from another antivirus tool before using Avast.
- Download the latest version of the Avast installation by navigating to this link and clicking the Download Free Antivirus button at the middle of the page.
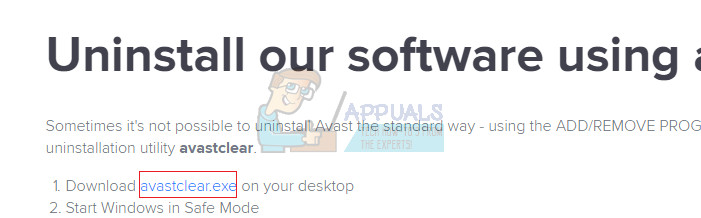
- Also, you will need to download the Avast Uninstall Utility from this link so save it to your computer as well.
- Disconnect from the Internet after you have downloaded these file and boot into Safe Mode by following the instructions we have prepared in this Windows 10 Safe Mode guide.
- Run the Avast Uninstall Utility and browse for the folder where you have installed Avast. If you installed it in the default folder, you can leave it. Be careful to choose the correct folder since the contents of any folder you choose will be deleted.
- Click the remove option and restart your computer by booting into normal startup. Check to see if the problem is gone.
Solution 3: Turn off Windows Firewall
It’s a known fact that two different antivirus or firewall tools usually fail to coexist together and that is why it’s important to disable the Windows Firewall as it does nothing more than prevent Avast from turning on and it most likely causes these issues to your computer. Follow the steps below in order to disable Windows Firewall.
- Open Control Panel by searching for it after pressing the Start button located at the bottom left part of your desktop.
- Change the View by option to Small icons and locate the Windows Firewall option.
- Click on it and select the Turn Windows Firewall on or off option located at the menu on the left side of the window.
- Click the radio button next to the “Turn off Windows Firewall (not recommended)” option next to both the Private and Public network settings.

- Check to see if Avast Firewall can turn on now.