How to Stop Apps from Pinning Themselves to Taskbar on Windows 10?
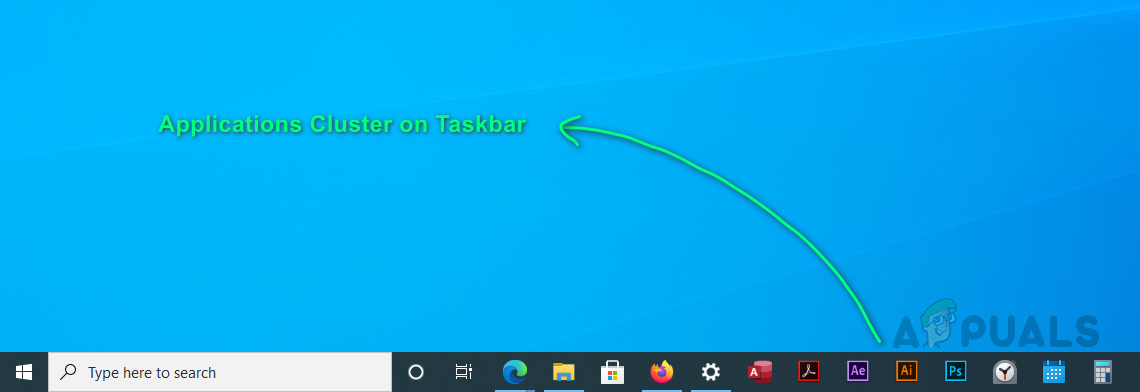
Sometimes, installed applications on Windows may run on Windows startup i.e. Adobe Acrobat, Skype, etc. Likewise, installed applications may pin themselves on the Windows taskbar. These applications overwrite system settings thus even if you remove them from the taskbar, they would pin themselves again when the PC is restarted. Though pinned applications on the taskbar are easy to access but if they are in bulk (forming clusters), they may slow down the PC boot time, influence battery life, and generally affect the execution framework. Sometimes, it is also annoying to see multiple applications keep pinning themselves on your taskbar that sabotages your home interface.
Sometimes, users may not be allowed to make changes to the already pinned applications. This setting could be set by the very program that is constantly pinning itself to the taskbar. You may fix this by doing the following:
Note: If you are using Windows 10 Home Edition you won’t have Group Policy Editor Installed on your Windows by Default, However, you can follow this tutorial we have on how to access Group Policy Editor on Home Edition in Windows 10.
- Click Start, type gpedit.msc, and open it. This will open the Edit Group Policy prompt that contains both user and computer configurations.
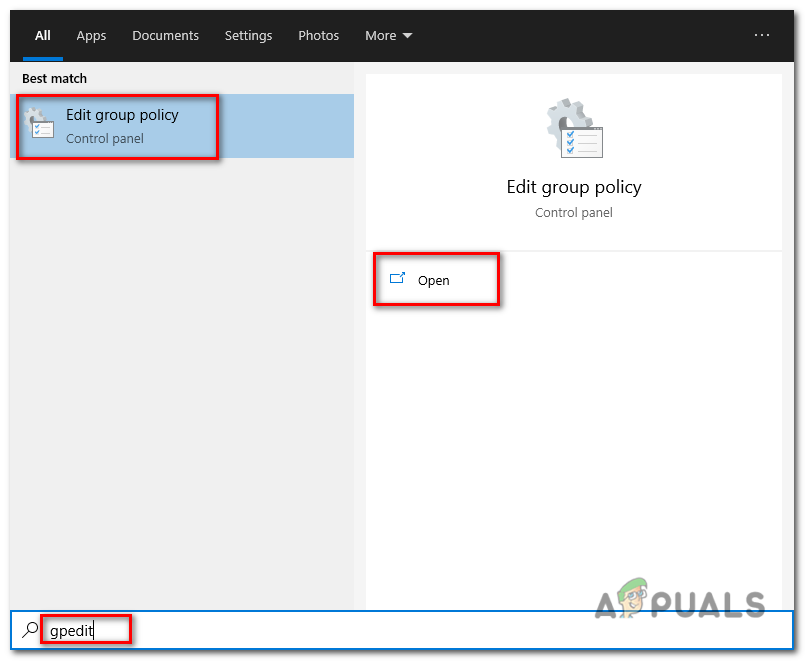
Opening the Edit Group Policy Prompt - Navigate to Start Menu and Taskbar folder and double click Do not allow pinning programs to the Taskbar. This will open the settings prompt.
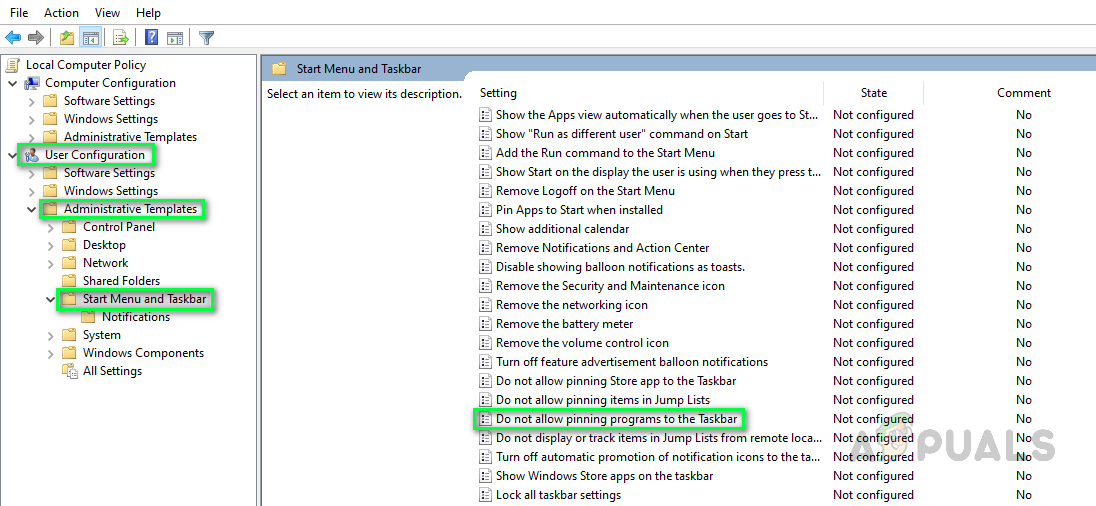
Opening Concerned Setting - Click Disabled > Apply > OK. As stated in the description in the image below, disabling this feature will allow you to make changes to the pinned programs to the taskbar.
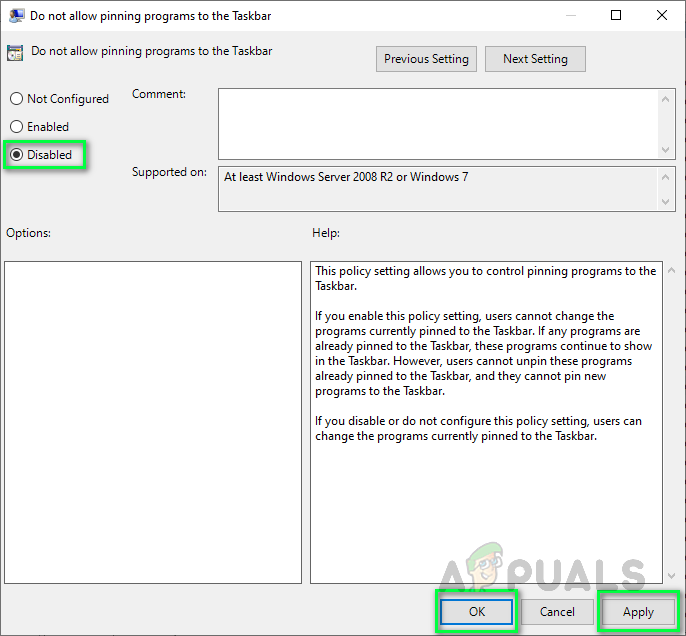
Disabling Feature Setting
Now you will be able to make changes to the taskbar settings. You are not done yet! Go through the following method to get rid of this problem, once and for all.
Modify DefaultLayouts.xml
Windows stores settings for its applications, features, or elements in the system files (normally hidden). The taskbar is a Windows element therefore, its settings are also stored in system files. To be exact, its settings file named as DefaultLayouts.xml is located in AppData folder of Windows 10. Settings are stored in the form of code. Many users resolved the concerning problem by removing code lines from this file, specifically for applications that pin themselves automatically to the taskbar. Please go through the following steps to do the same:
- Click Start, search File Explorer and open it.
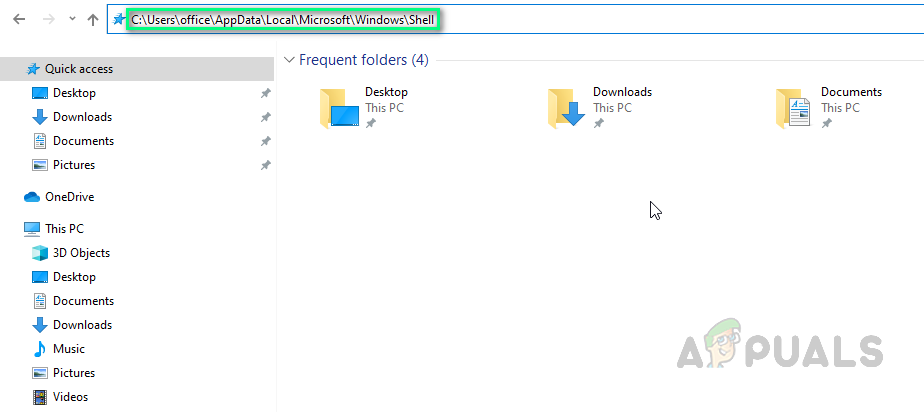
Opening File Explorer - Copy-paste the following address in the address bar and press Enter. This will take you to a hidden folder where Windows stores settings file for the taskbar.
Note: Make sure to edit your username in the location address.C:\Users\(yourusername)\AppData\Local\Microsoft\Windows\Shell
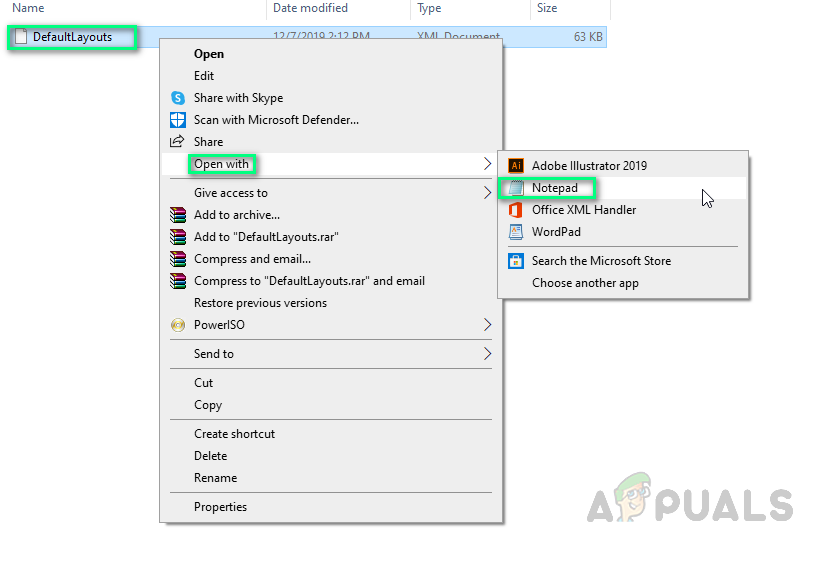
Copy-pasting Address in Address Bar - Right-click on the file and open with Notepad.
Opening File with Notepad - Press Ctrl + F keys on your keyboard to open Find box. Find box is a tool to find keywords present in a text file.
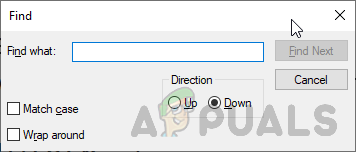
Opening Find Box - Type CustomTaskbarLayoutCollection and click on Find Next. CustomTaskbarLayoutCollection is a program node that contains code for the user’s custom taskbar layout settings i.e. pinned applications, notification pane, badges, etc.
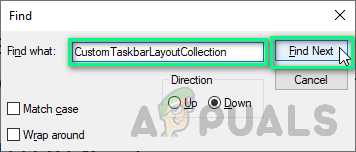
Searching Keywords - Trace the application code lines (of applications you want to unpin) under <taskbar:TaskbarLayout> and remove them. In this case, we are removing all the application lines including TaskbarLayout stamps (selected items in the picture below).
Note: taskbar:TaskbarPinList is a sub-node to CustomTaskbarLayoutCollection that contains code lines for all the applications that are pinned to the taskbar on your PC.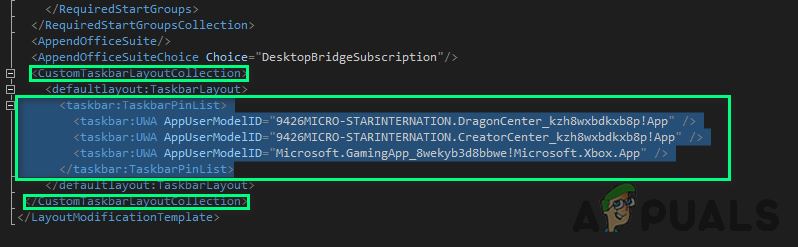
Removing Pinned Apps Code - Once done, click File > Save to save changes.
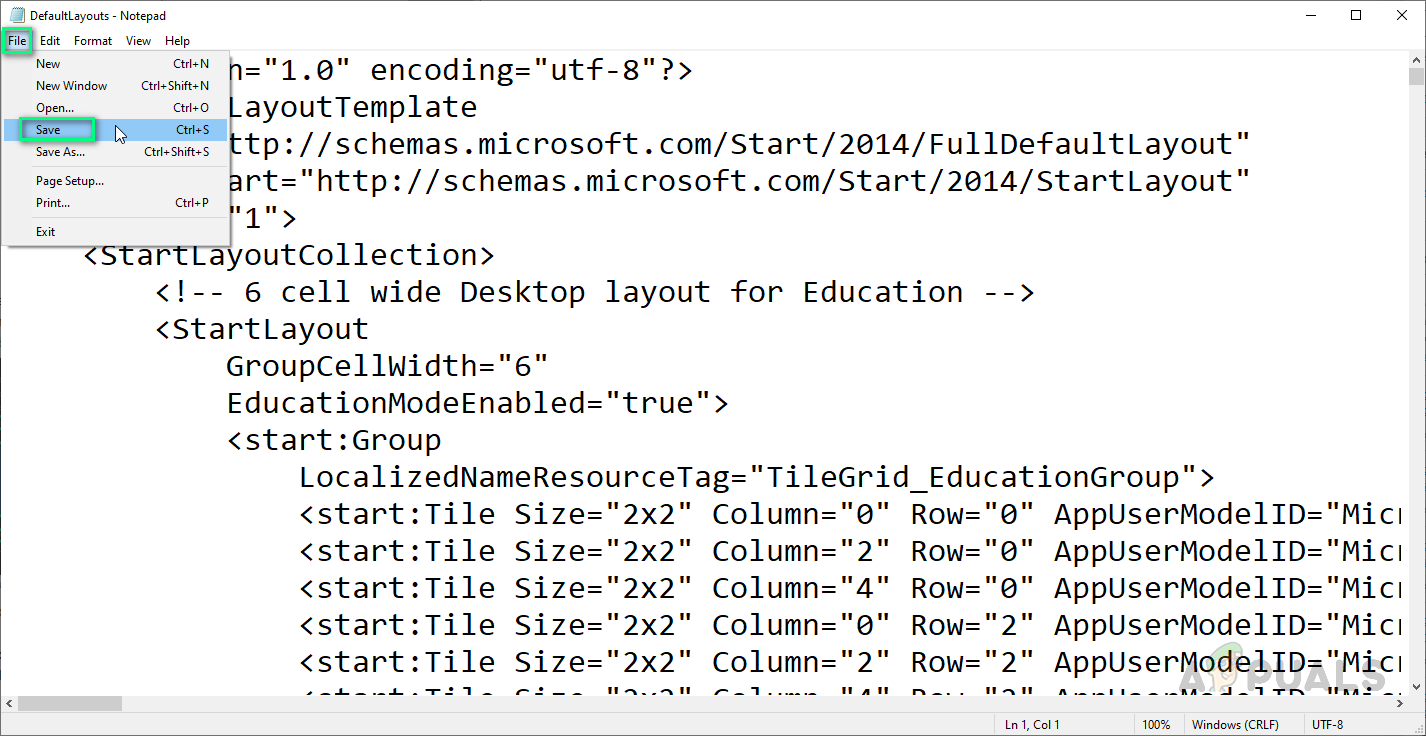
Save Changes - Restart your PC. This method will surely fix your problem.
It is also a good practice to disallow applications to have administrative access because in the opposite case, they tend to alter system settings without the user’s permission (as they don’t need them anymore). In such a case, the probability of problems like this one becomes very high. Therefore, our suggestion is to only allow an application with admin privileges after proper consideration to avoid these kinds of problems.


Thank you for this guide. For my computer taskbar configuration was in LayoutModification file instead of DefaultLayouts file. Those who are not using Windows 10 Pro are not allowed to run gpedit.msc. But modifying only CustomTaskbarLayoutCollection entries alone already worked.