Fix: Apple Application Support was not found
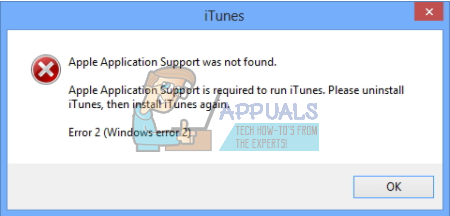
The error “Apple application support was not found” usually occurs when the iTunes installer fails to complete its installation because it was either unable to access all the install files or they were not available in the installation package.
This error occurs due to a number of different reasons. The error particularly emerged after the version of iTunes was updated as well as the version of the Windows operating system. Whenever an application is being installed on your computer, all the components to be installed are first checked. If all of them are available, the installer proceeds with the installation of the software without any hindrance. If there are some missing files, the installer stops its operation and prompts you that a specific file was missing from your computer.
We have listed all the workarounds present for this error. Start with the first one and work your way down accordingly.
Solution 1: Running as Administrator
Many programs require administrator privileges to complete the installation on your computer. They need to insert their registries, add their application’s folder to your computer core files as well as access some important files to carry out the installation. It is possible that the iTunes installer is not being granted certain permissions to perform specific tasks and because of this, it is generating the error. We can try running the application with administrative privileges and check if the problem in our case gets solved. Do note that you would require an actual administrator account on your computer to carry out this solution.
- Locate the iTunes folder you downloaded from the official website.
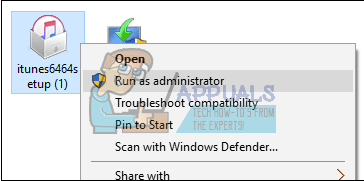
- Right-click on the iTunes application and select “Run as administrator”.
Solution 2: Checking Compatibility
The most common reason why users experience this error is when the application they are running is not compatible with their PC. You should first confirm that the application and your PC are of the same bit configurations. You can check your PC’s compatibility using the following method.
- Press Windows + S to launch the search bar. Type “system information” in the dialogue box and open the application.
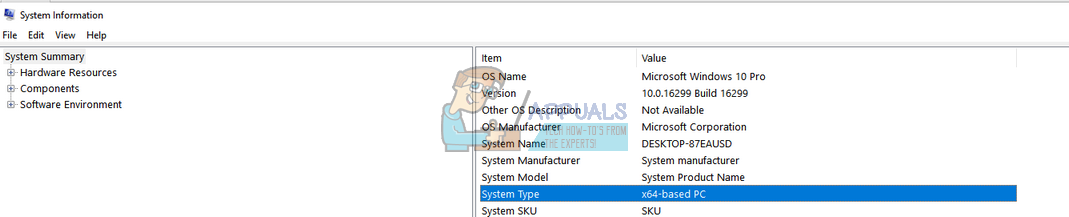
- Once the application is open, select “System Summary” using the left navigation panel and search for the “System Type” field at the right side of the screen.
- Now check the application which you are trying to run is compatible with your computer.

If you have downloaded the application according to your system specification and still the error ‘Apple application support was not found’ pops up, we can try launching the application in compatibility mode. Launching the application in compatibility mode solves most of the problems if they are related to your operating system. Make sure that you are launching the application in an administrator account. Follow the steps listed below to launch it in compatibility mode.
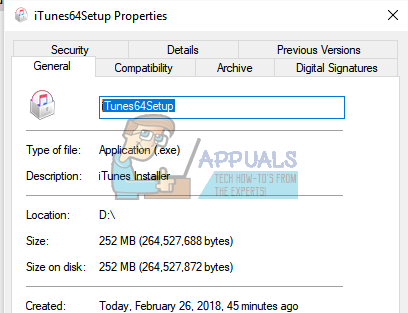
- Right-click on the application and select “Properties”.
- Once in the properties, navigate to the compatibility tab.
- Once in the compatibility tab, check the options “Run this program in compatibility mode for:” and “Run this program as an administrator”. You can select the version of Windows you want to run in the compatibility mode.
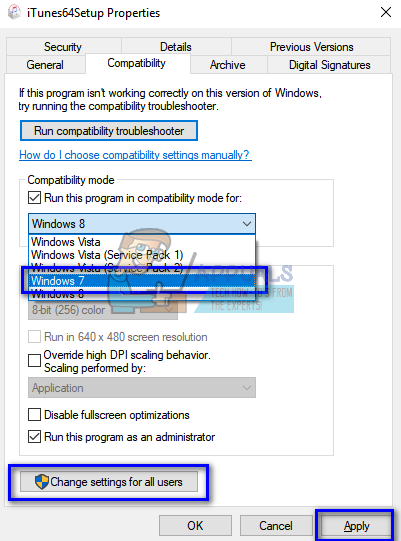
- Press Apply to save changes and exit. Restart your computer and check if the problem got solved.
Solution 3: Using WinRAR to install the application
Another workaround proposed and tested by many users was using the WinRAR application to first extract all the installation files to a target file location. This will break down the main installation file to separate ones. From there you can see if indeed the application ‘AppleApplicationSupport’ is present for the installation. If it is, you execute the iTunes application and hopefully, it will install this time.
- Navigate to WinRAR’s official website and download the free version to an accessible location. You can easily Google the website address of the official website.
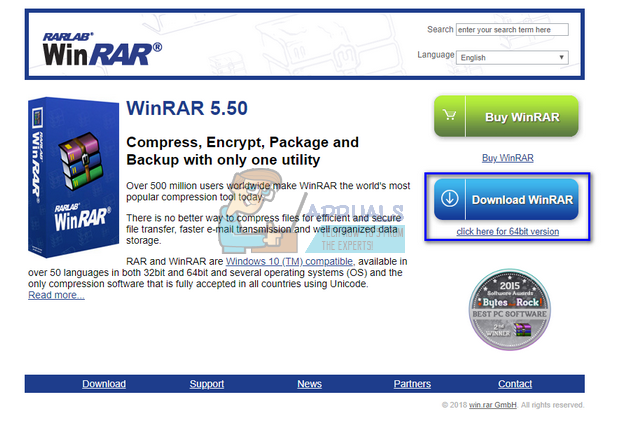
- After downloading the executable, run the installation and install WinRAR on your computer. Restart your system after the installation.
- Head over to Apple’s official website and download the latest version of iTunes to an accessible location.
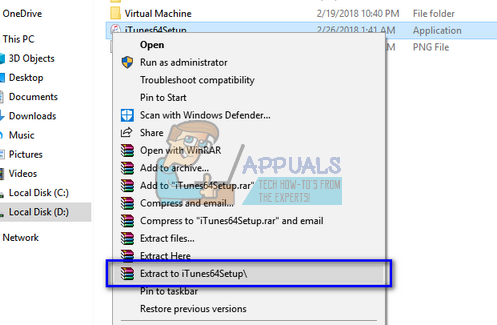
- Navigate to the location where you downloaded the application, right-click it and select “Extract to iTunes64Setup\”. This string might be different if you downloaded a 32-bit application. After executing this command, a new folder will be created with the same name on your current directory.
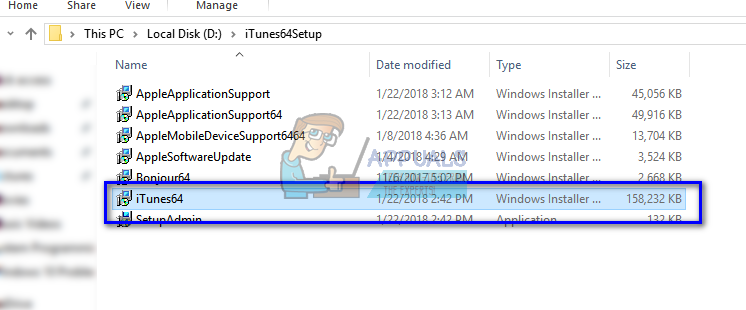
- Open the folder. Here you can see that the installation file of ‘AppleApplicationSupport’ is present. Now double-click the iTunes64 installer. It will automatically install the installer of the other application as it iterates through all the installation when installing iTunes.
- Restart your computer after installing iTunes and check if the problem at hand got solved.
If you are having problems extracting the installer files using WinRAR, we can create a .bat file using the notepad to extract all the installers manually. Do note that you might require administrative privileges to carry out this solution.
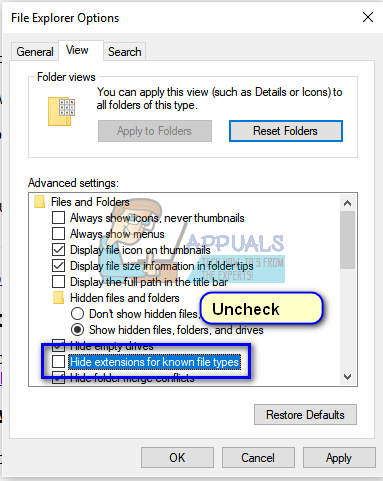
- First, we will have to change your folder options to ensure we can easily see all the file extensions of all files. Press Windows + S, type “folder options” in the dialogue box and open the application.
- Click on the ‘View’ tab and uncheck the option “Hide extensions for known file types”. Press Apply to save changes and exit.
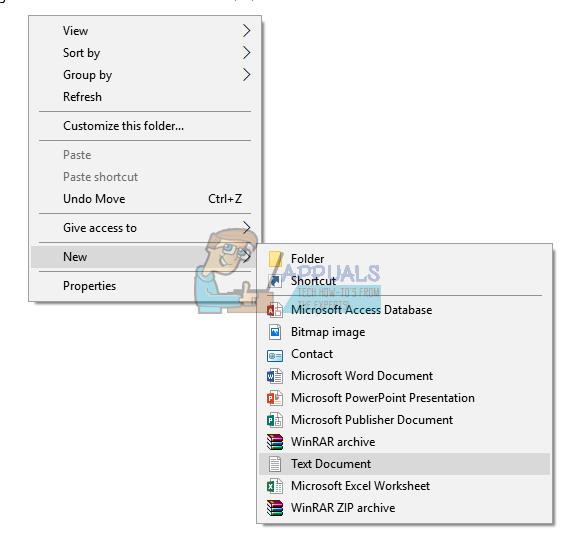
- Navigate to the location where the downloaded iTunes application is. Right-click on any empty space in the directory and select New > Text Document. Name the document as “bat”. Remember to remove the .txt extension from the name and rename the file. If you don’t remove the extension, the file will still be a text file.
- Now right-click on the iTunes installation folder and copy the name written in front of the application’s name field.
- Now open the .bat file we just created. Right-click it and select “Edit”. Paste the name of we just copied and add “/extract” after giving a space. The command should look something like this:
iTunes64Setup.exe /extract

- Save the .bat and exit. You might be prompted with a warning that this may make the file unusable. Press Yes.

- Now run the .bat file and let Windows unzip the components. After the command prompt executes the command, you will see that the installation file of the ‘AppleApplicationSupport’ present. Now double-click the iTunes64 installer. It will automatically install the installer of the other application as it iterates through all the installation when installing iTunes.

- Now restart your computer. After logging back in, check if the problem at hand got solved.