How to Fix “No Device Drivers Were Found” Error Installing Windows?
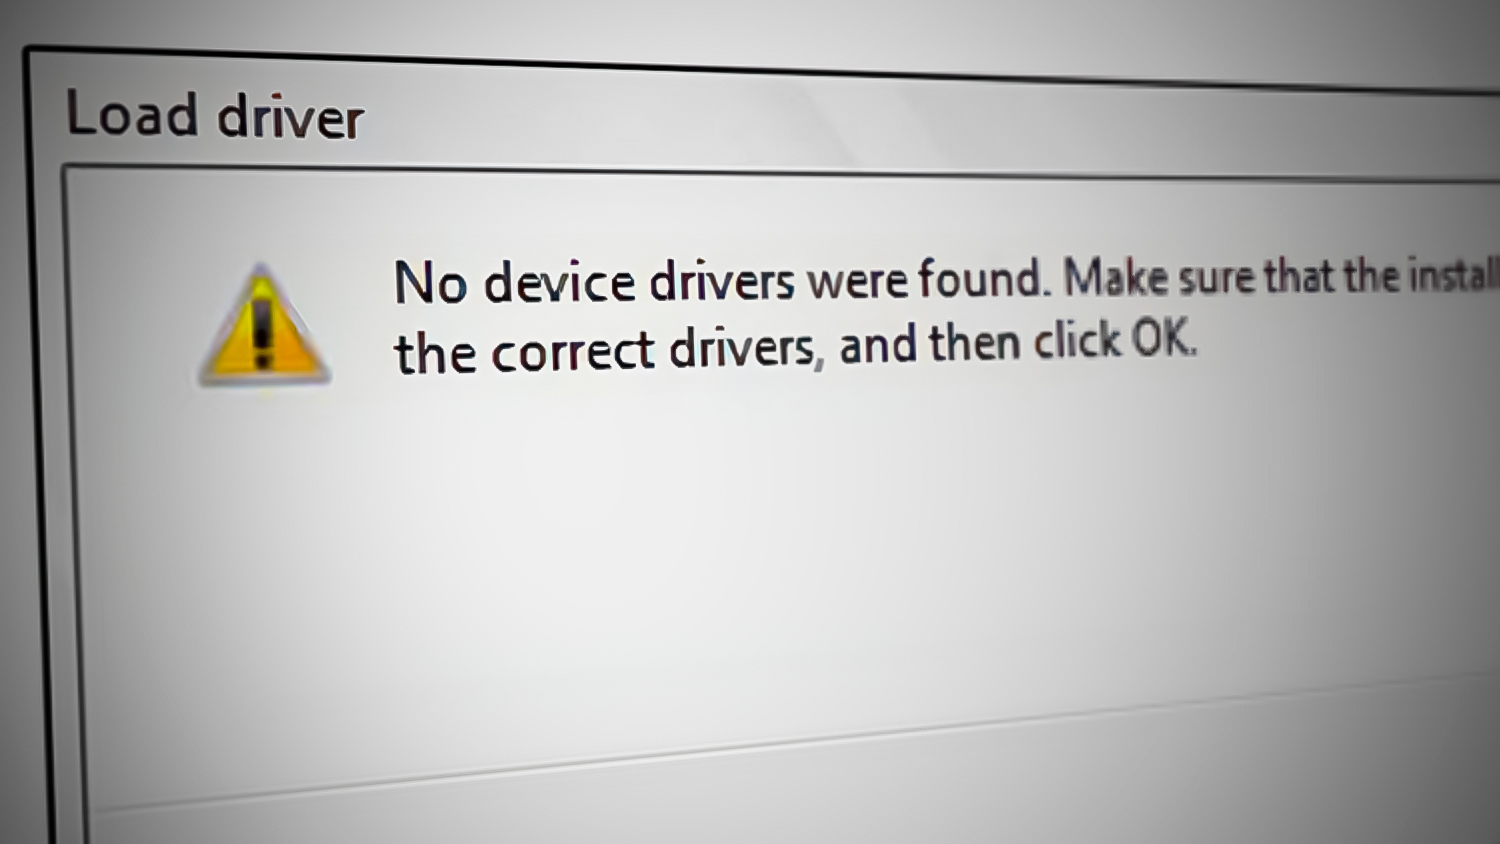
The “No Device Drivers Were Found” error happens during Windows installation when the system can’t find the necessary drivers. This usually occurs after loading the installation media, and the system can’t find a driver, stopping the process. It often means Windows can’t locate drivers for important parts like the hard drive or storage.
Common causes include missing USB drivers, especially with USB 3.0, or missing storage drivers for SSDs. This error can also be due to outdated or incompatible installation media, wrong BIOS settings like Secure Boot or UEFI/Legacy mode, or a wrongly formatted or corrupted installation USB drive.
In this article, we will discuss several ways to solve this error.
1. Download Disk Drivers via Another Device
When this error occurs, Windows cannot find the required disk drivers. If your operating system is functional, download the drivers on that device. If it’s not, use another device with internet access to download them. Then, select the correct drivers based on your processor type and model.
- Open a web browser and search for the “Intel Rapid Storage Technology driver” for Intel processors or “AMD Rapid Storage Technology driver” for AMD processors.
- Press Enter to view the search results.
- Visit the official manufacturer’s website (Intel or AMD) based on your processor model.
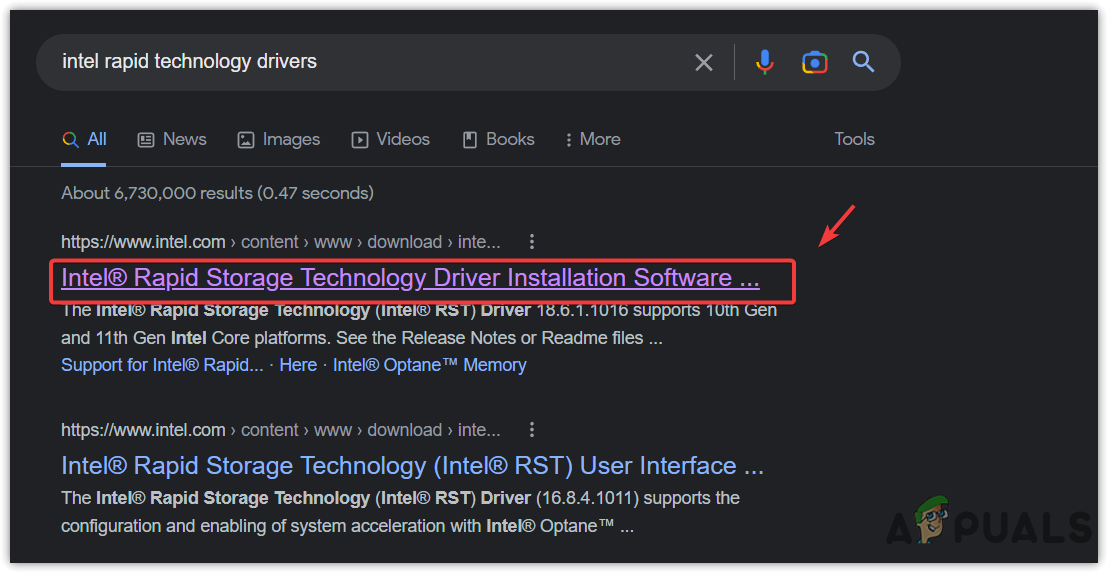
Opening Official Manufacturer’s Website - Download the suitable driver for your Windows version.
Note: Download the drivers in .zip format.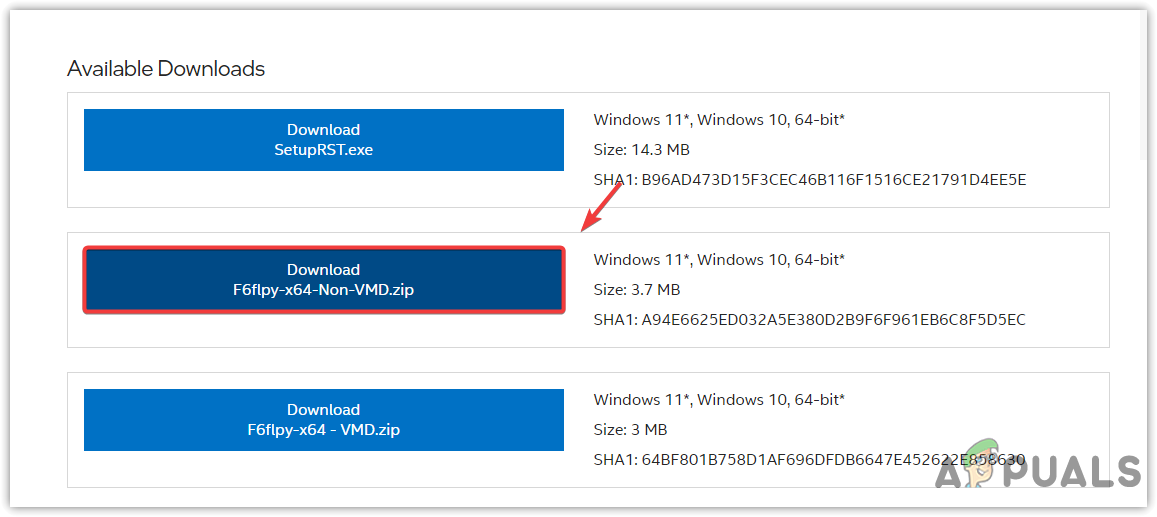
Downloading Intel Rapid Technology Driver - Connect your Windows installation USB to your computer.
- Create a new folder named “drivers” in your Windows installation USB directory.
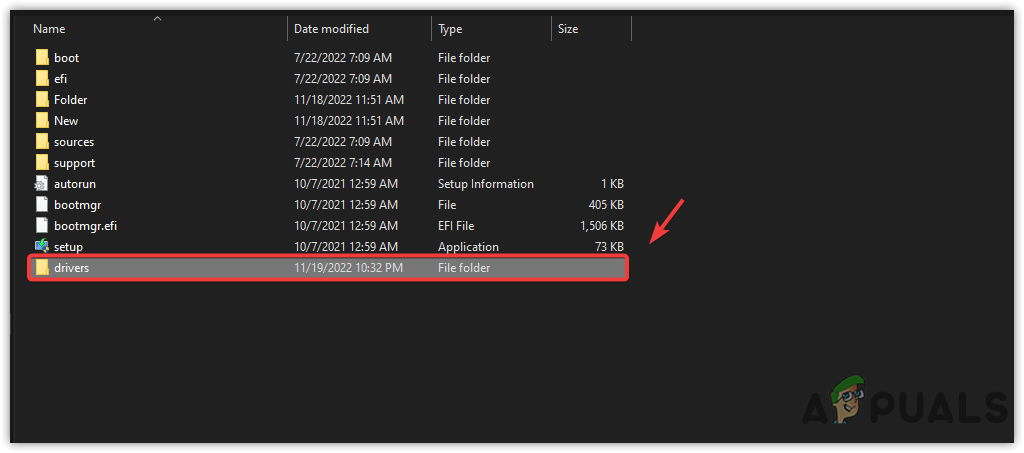
Creating a folder named ‘drivers’ - Navigate to where you downloaded the driver.
- Right-click the .zip file and select Extract to “F6flpy-x64-Non-VMD”.
Note: Use WinRAR or 7-Zip for extraction.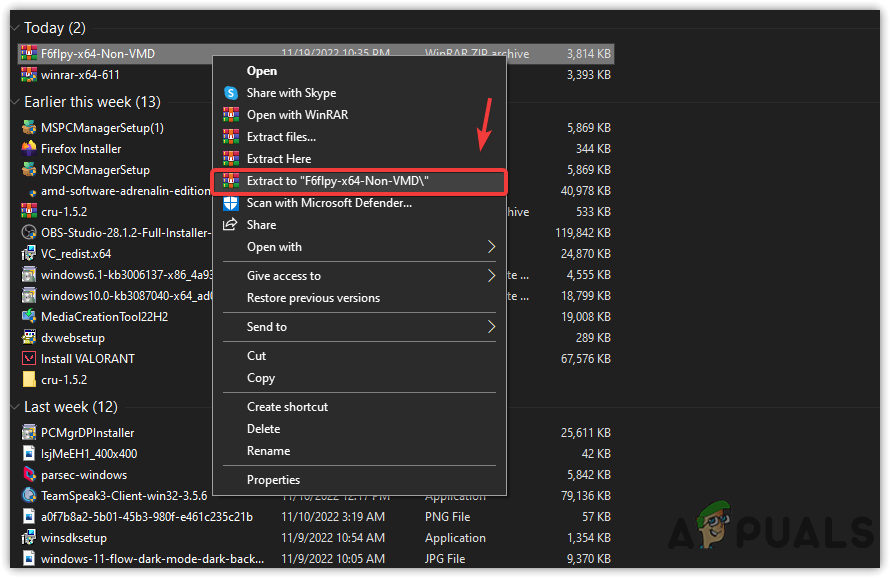
Extracting Driver Folder - Open the extracted folder, copy its contents, and paste them into the ‘drivers’ folder on the USB.

Pasting drivers into the USB - Boot from the USB. When the “No Device Drivers Were Found” error appears, click Browse.
- Navigate to the ‘drivers’ folder on the USB.
- Select the appropriate driver and click Next.
Note: If unsure about compatibility, try each driver until the correct one is identified.
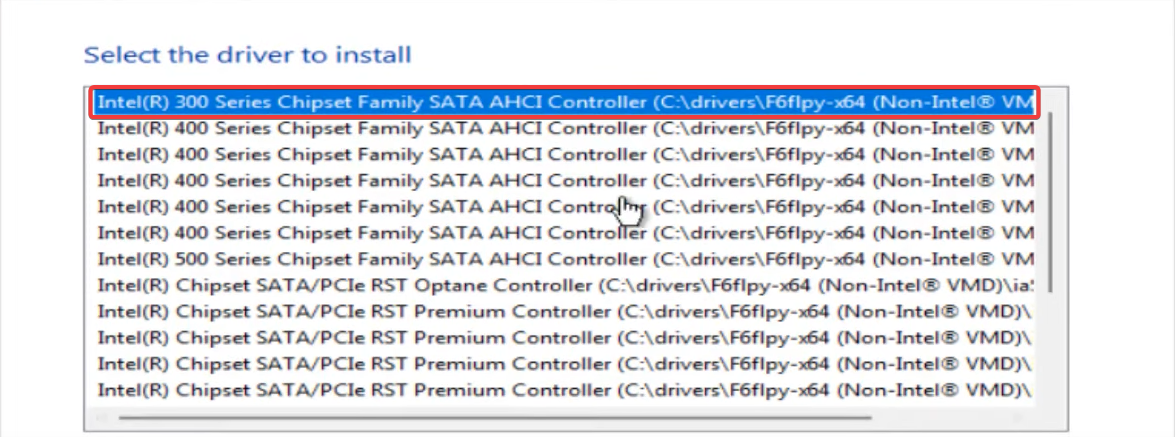
- This should allow Windows to detect the disks connected to your computer.
2. Activate the Partition
Sometimes, the system doesn’t know where to install Windows. Activating a partition points it to the right part of the drive for the operating system, preventing installation problems.
- Insert your installation media and boot up the Windows setup.
- Click Next, then Repair your computer to access the Windows Preinstallation Environment.

- Select Troubleshoot and choose Command Prompt.
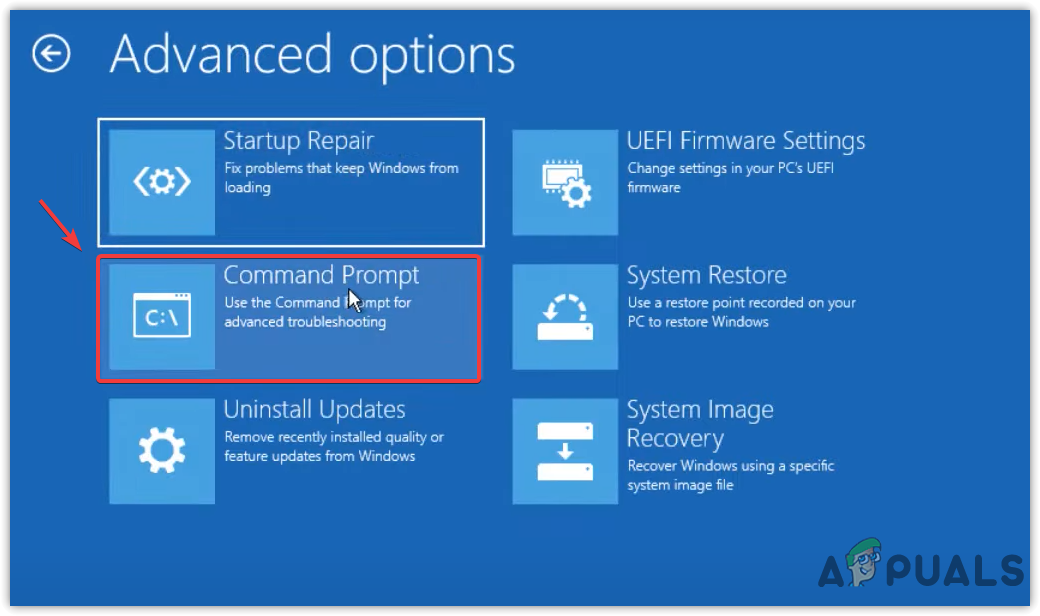
Launching Command Prompt - Type diskpart to access the DiskPart utility.
- Use the following commands, replacing “X” with the correct disk or partition numbers:
list disk
select disk X
list partition
select partition X
active
- After activation, exit the command prompt and restart your computer to install Windows.
3. Format Your Disk
Formatting your disk can resolve the error by removing all existing data and resetting it to a clean state. This process prepares the disk for a fresh installation with a new file system, eliminating software conflicts or corrupted data that might prevent Windows from recognizing the disk.
Keep in mind that formatting erases all data on the disk, so ensure you back up any important files beforehand.
- Boot from the installation media and start Windows setup.
- Click Next, then select Repair your computer to enter the Windows Preinstallation Environment.
- Choose Troubleshoot, then Command Prompt.
Launching Command Prompt - Type diskpart to access DiskPart.
- List disks with list disk and select the target disk:
select disk X
Note: Replace “X” with the target disk number.
- Type clean to clear the disk.
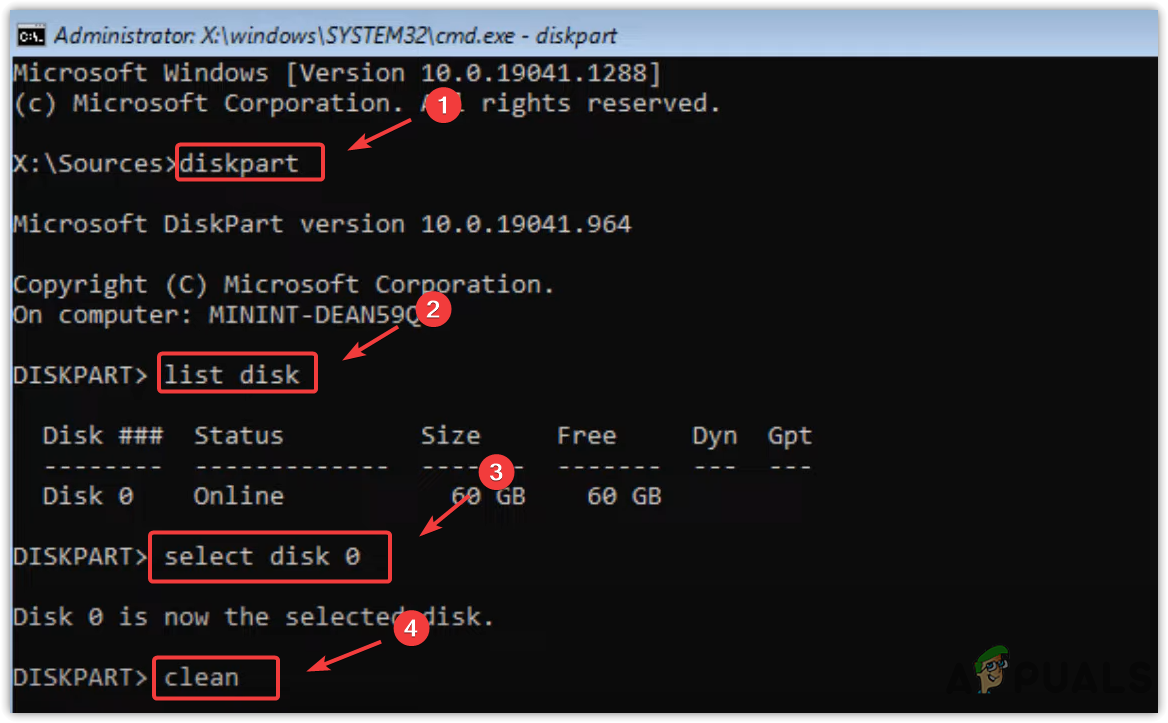
Cleaning disk using DiskPart utility - Create a new primary partition:
create partition primary
- Format the partition with NTFS:
format fs=ntfs quick
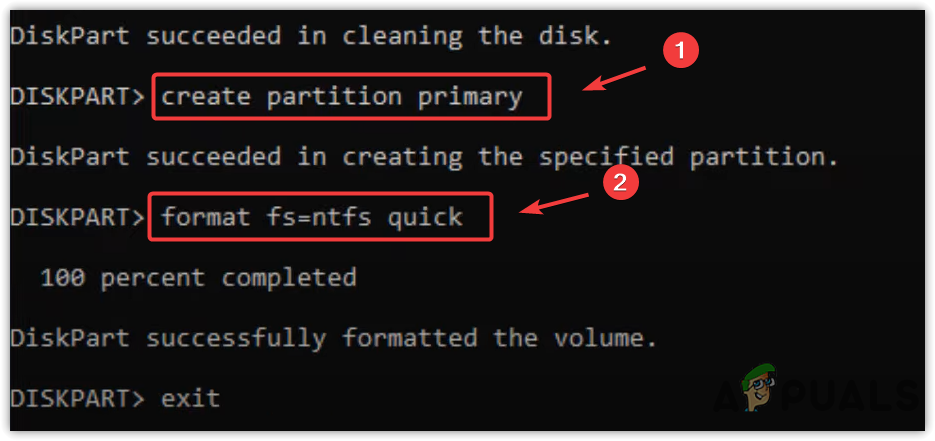
Formatting the Disk to NTFS - Type exit and try installing Windows again.
4. Reset Motherboard BIOS Settings
Restoring the motherboard BIOS settings to default can fix the error by clearing misconfigurations, incorrect boot orders, or disabled ports that may cause issues. This action re-enables the disk controller mode needed for the Windows installer to recognize storage devices, promoting a smooth installation process.
- Power off your computer completely.
- Power on and press the designated key (F10, F2, F12, F1, or DEL) when you see the manufacturer’s logo to enter BIOS settings.
- In the BIOS menu, press F9 to reset to default settings.
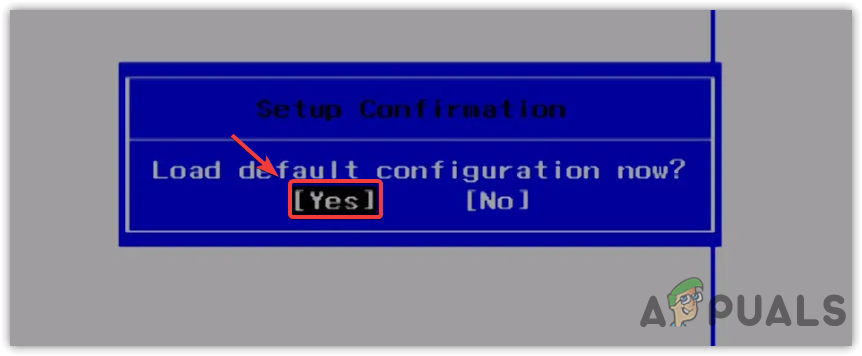
Resetting Motherboard BIOS Settings - Boot from the Windows installation media again and check if the issue is resolved.
5. Create Windows Installation Media
Creating Windows installation media can resolve the problem by providing a fresh copy of the Windows setup files with the latest drivers and updates. This replaces any missing or outdated drivers causing the error with the correct versions needed for your hardware during installation.
Essentially, it creates a clean slate that can help overcome issues related to corrupted or incompatible installation files.
- Visit the official Microsoft website and download the Windows Media Creation Tool.
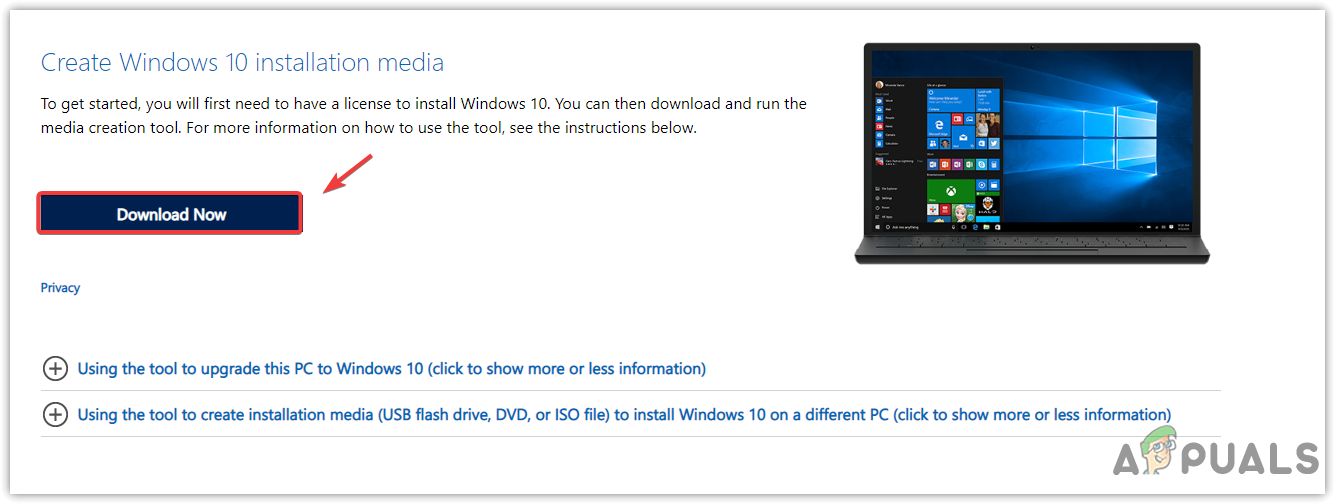
Downloading Windows Installation Media Tool - Run the tool, accept the license terms.
- Select Create installation media (USB flash drive, DVD, or ISO file) for another PC and click Next.

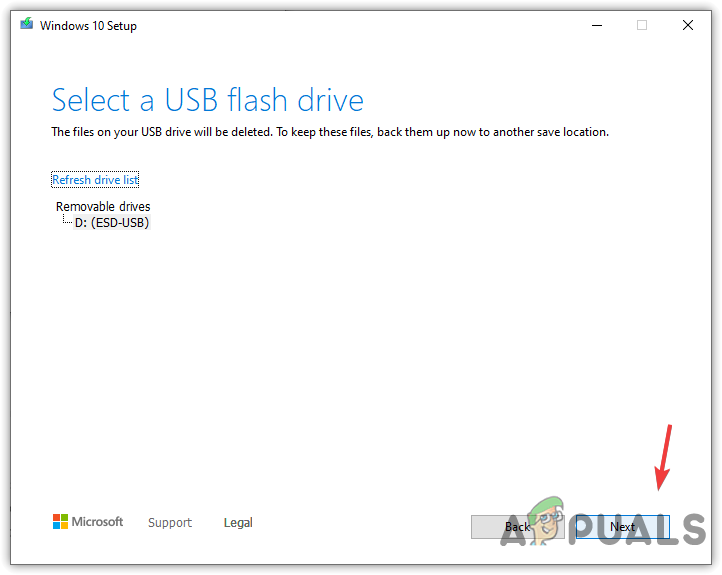
Selecting Installation Media Option - Follow prompts, choose ‘USB flash drive’, and click Next.

Selecting USB Flash Drive - Click Next to start the creation.
Beginning the Creation Process - Wait for the Your USB flash drive is ready message, then click Finish.
- Boot from the media to install Windows and check if the issue is resolved.
If none of the above methods work, your USB flash drive or hard disk could be at fault, which might be why you cannot see the drives during Windows installation. In such cases, consider taking your computer to a repair shop for further diagnosis.

please my hard disk have been partitioned into three drives. If I type X , will all de disks be lost, remaining only one? or is there any other letter for Drive C