Fix: 0xc1900101 – 0x4000d Error During Windows 10 Installation
Upgrading to Windows 10 from any other older version of Windows OS can be achieved in several different ways but sometimes all of these methods result in a traumatic experience. This occurs because of the fact that there are quite a lot of items which need to be taken care of before the installation of Windows runs smoothly.
However, even when all of the prerequisites for a successful Windows 10 installation have been met, errors are bound to occur and users often don’t know what to do when they face the exact same error multiple times after they begin the installation. Follow the rest of the article in order to deal with this error
Fix 0xc1900101 – 0x4000d Error During Windows 10 Installation
This error manifests itself during the Windows 10 Setup which is supposed to download and install Windows 10 for you without much hassle. The setup usually starts normally and it reaches a high percentage of progress (such as 80 or 90 %). However, the progress usually stops at the same point every time with the “The installation failed in Second_Boot phase with an error during Migrate_Data operation” message.

There are quite a few successful solutions confirmed by users who have been struggling with the same problem for a while. Make sure you try out each of the methods suggested below for a successful outcome.
Solution 1: Uninstall a Problematic Program
Users have reported that a certain program called DriveTheLife was causing all sorts of issues when it comes to running the Windows 10 Setup and the program needs to be uninstalled before you proceed with the upgrade. Follow the instructions below!
- First of all, make sure you are logged in with an administrator account as you won’t be able to delete programs using any other account.
- Make sure you have backed up the data used by the DriveTheLife program so that you can install it again after the setup finishes.
- Click on the Start menu and open Control Panel by searching for it. Alternatively, you can click on the gear icon in order to open settings if you are using Windows 10.
- In Control Panel, select to View as: Category at the top right corner and click on Uninstall a Program under the Programs section.
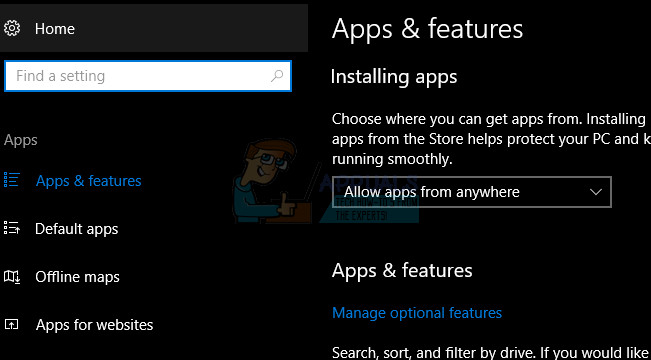
- If you are using the Settings app, clicking on Apps should immediately open a list of all installed programs on your PC.
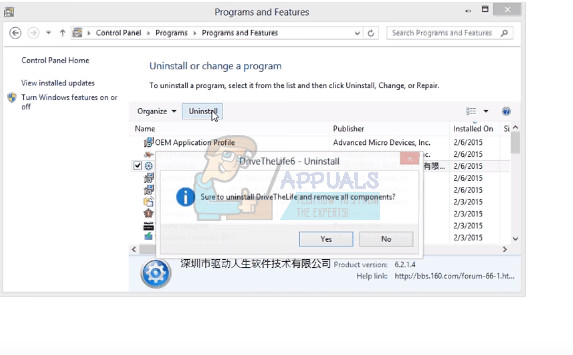
- Locate DriveTheLife in Control Panel or Settings and click on Uninstall.
- Its uninstall wizard should open with two options: Repair and Remove. Select Remove and click Next in order to uninstall the program.
- A message will pop up asking “Do you want to completely remove DriveTheLife for Windows?” Choose Yes.
- Click Finish when the uninstalled completes the process and restart your computer to see whether errors will still appear.
After you successfully uninstall the program from either Control Panel or Settings, you also need to take care of the remaining files and folders.
- First of all, navigate to the following location and delete the folder named dtlsoft. The folder belongs to the program you just uninstalled and we won’t to make sure it does not provide any more discomfort.
C:\Program Files (x86)\dtlsoft
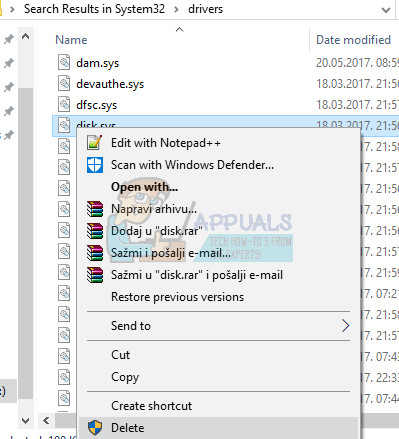
- Navigate to C:\Windows\System32\Drivers and locate the following files which are also used by the same program. This will uninstall its drivers.
cdmsnroot_s.sys
LDrvPro64.sys
LDrvPro64(6916).sys
- Restart your computer in order to apply these changes and try running Windows Setup by whatever method you used in the first place.
Solution 2: Uninstall or Disable Your Antivirus
As you probably already know, Windows Setup is not a big fan of antivirus and security programs and each guide you can find online will tell you to always disable your antivirus before starting to update your Windows build.
However, it’s time to take this one step further and completely uninstall your antivirus because many users have reported that uninstalling their antivirus program such as AVG or ESET Smart Security was able to fix the problem and Windows 10 Setup proceeded without issues.
- Click on the Start menu located at the bottom left part of your screen and select Settings by clicking on the gear icon above the Power button in Start menu.
- Click on the Apps section in the Settings app and wait for the list to load with all of the programs you currently have installed.
- Select your antivirus from the list of installed apps and then click its Uninstall button.
- Respond to the instructions displayed on screen to complete the uninstall process.
Solution 3: Change Your Internet Connection
Many users have reported that they were unable to perform the upgrading process by using a wireless Internet connection and they had to switch to a wired Ethernet connection in order to fix this error.
If you want to get rid of this problem, make sure you do the following:
- If you are using a wireless connection via a router, make sure you locate an Ethernet cable. If you are not sure how it looks, check the image below.
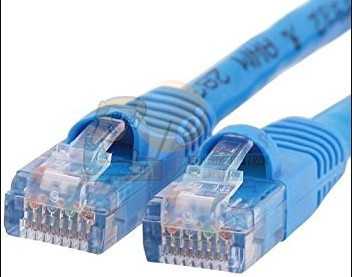
- Plug one end of the cable into your PC or laptop and plug the other end into the router you used for the wireless connection. The best solutions would be if you could plug the cable directly into the modem in order to evade using the router at all.
- Try running the update again.
Solution 4: Run the Disk Cleanup Tool
In order for the upgrading process to proceed smoothly, you will need to prepare your computer for the upgrade by making sure you check out everything on the list which should prepare your computer for the process.
Some users have reported that simply running the Disk Cleanup tool managed to help them fix the issue almost immediately. It seems that your storage drive needs to be well optimized, especially for bigger updates. It can also occur if your hard drive doesn’t have enough space to install the update properly but running this tool takes care of that as well.
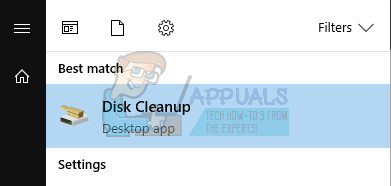
- Click on either the Start menu button at the left corner of the taskbar or click on the Search button right next to it. Type in “Disk cleanup” and choose it from the list of results.
- Disk cleanup will firstly scan your computer for unnecessary files and it will prompt you with the option of choosing which files do you want to delete. Click on each option and read the description displayed below. If you decide to delete these files, check the box next to the files.
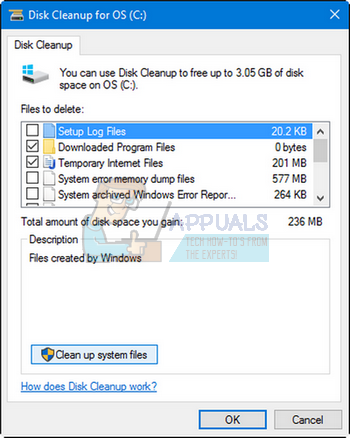
- Click the OK button in order to proceed with the process. After the tool finishes, try running the update again.
Alternative: You can also run the Disk Cleanup tool by using the Command Prompt if you are comfortable with that option. However, you will need to find out the letters of your hard drive partitions so that you can know which drive do you want to cleanup.
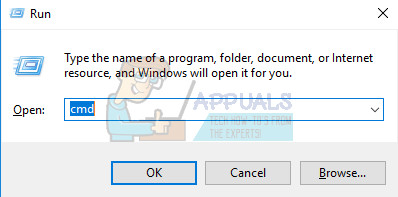
- Click on the Start menu and type in Command Prompt. You can also open the Run dialog box and type in “cmd” and click OK.
- Copy and paste the following command in the Command Prompt window. The Drive placeholder should be replaced with the letter representing the partition you want to clean.
c:\windows\SYSTEM32\cleanmgr.exe /dDrive
- Try running the update again.