Fix: 0x80070002- 0x20009 “The installation failed during PREPARE_ROLLBACK operation”
Windows 10 is the latest iteration of Microsoft’s extremely popular operating system. However, even though the operating system itself is very good and has received plenty of positive reviews by critics, the upgrade process if you’re coming from a Windows 7 or Windows 8/8.1 installation, and sometimes even if you’re trying to install fresh isn’t that good. For example, many users have reported getting a 0x80070002 – 0x20009 error, which has to do with the storage devices on your computer, when they’ve attempted to upgrade their computers.
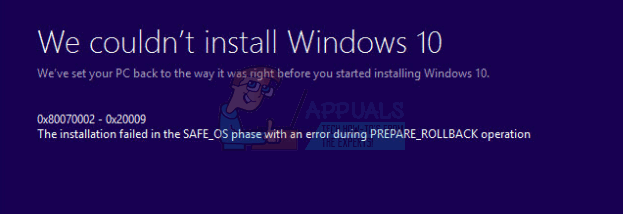
The situation usually happens when you try to upgrade from Windows 7 or Windows 8/8.1, and what happens is that everything will go smoothly until around 80% of the setup is complete, and then your device will reboot, and give you the error code, along with a message saying The installation failed in the Safe_OS with an error during PREPARE_ROLLBACK operation.
Even though this might seem as an issue that is difficult to resolve, you will see that this only happens for a certain group of users, and if you’re seeing it, you’re definitely in that group. Just follow the steps below and you will have your device running Windows 10 in no time.
Remove all data-only drives
This issue, as mentioned above, has to do with the storage devices on your computer. What actually happens is, when you have multiple storage devices, such as multiple solid state drives, or hard drives, or maybe an external HD/SSD, the setup for Windows 10 gets confused and gives you this error. What you should do to solve it is to disconnect any additional data-only drives. This includes any drives you might be using for games, or multimedia files such as photos, videos or music. It also includes any external drives you might have plugged in via USB or another interface, as they might cause problems as well. Disconnecting the drives is easy. If you have an external drive, simply unplug it. If you have an internal drive, open your case and unplug any cables going to the data-only drive. Now that you only have one drive, the drive where your operating system should be installed, you can try the upgrade process again. Let it finish, and afterwards you can re-connect your drives back to your computer. The upgrade should work now, and you can go ahead and take advantage of Microsoft’s latest and greatest.
I am getting the same error when updating windows 10 1511 to 1909. I have one SSD on my machine.
1. I have reset windows update
2. Disabled antivirus and firewall
3. Updated my BIOS and drivers
4. When I update using windows.iso I get error “INSTALLATION FAILED IN THE SAFE_OS PHASE WITH ERROR DURING PREPARE_ROLLBACK OPERATION”.
5. When I use windows update assistant no errors are reported but the system doesn’t upgrade (run winver).