How to Fix File Explorer Not Working Issue in Windows 11?
Upon installing the 22H2 update in Windows 11, some users face issues while using File Explorer. Apparently, after updating the system, all the files and folders are removed from one or more drives.
In this guide, we will take a look at why this issue occurs in the first place and what you can do to resolve the problem. Proceed with the troubleshooting method that fits your situation the best.
1. Check for Pending Updates
The first thing that we suggest you do is search for any pending updates that might need installation. It is common for the system to experience glitches resulting in the error at hand due to a compatibility problem.
If you find any pending system and driver updates, take your time to install them one by one. Here is how you can proceed:
- Press the Win + I keys together to open the Setting app.
- Choose Windows Update from the left pane.
- Move to the right side of the window and click on the Check for updates button.

Check for the Windows updates - Now, wait for the system to scan for pending updates and then install them one by one.
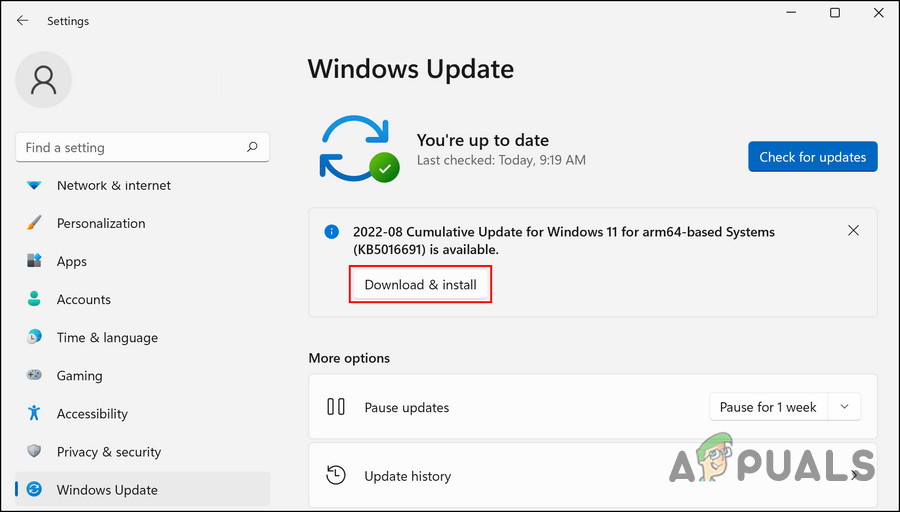
Click on the Download & install button
Once done, check if the File Explorer is working properly now.
2. Clear File Explorer Cache
There can be a glitch or corruption error within the File Explorer cache, which is causing the app to act up. Since the cache is temporary data, you can clear it to get rid of the problem.
Here is how:
- Launch File Explorer and click on the three dots in the ribbon menu.
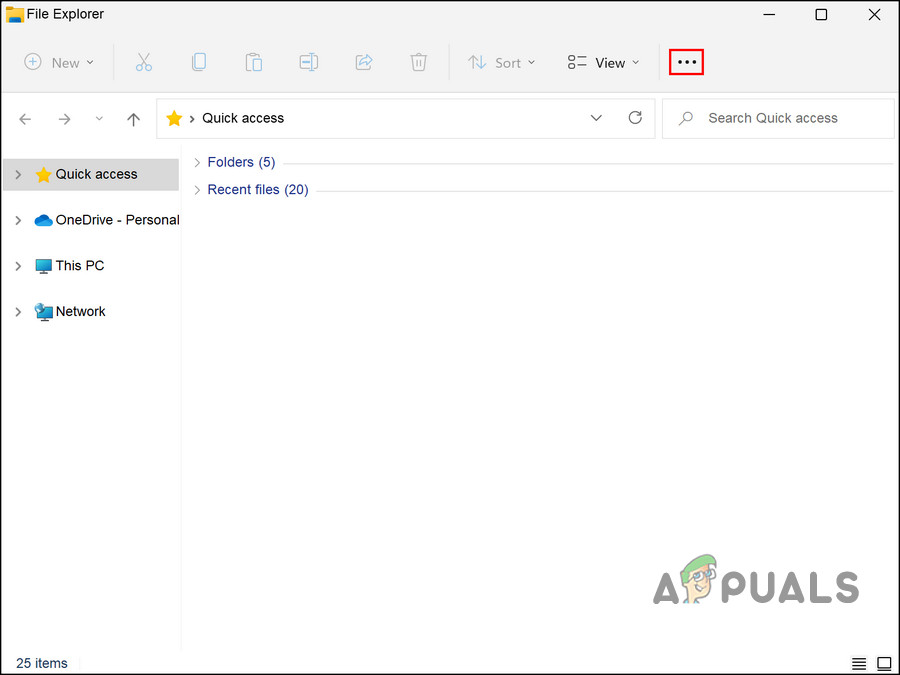
Click on the three dots at the top - Choose Options from the context menu.
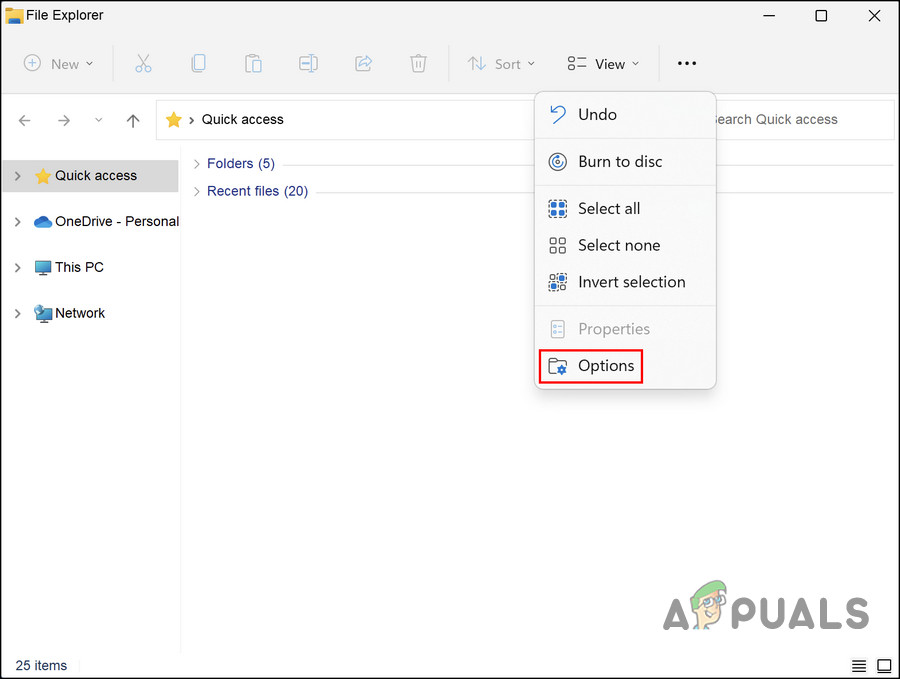
Access the File Explorer options - In the Folder options dialog, head over to the General tab and click on the Clear button.
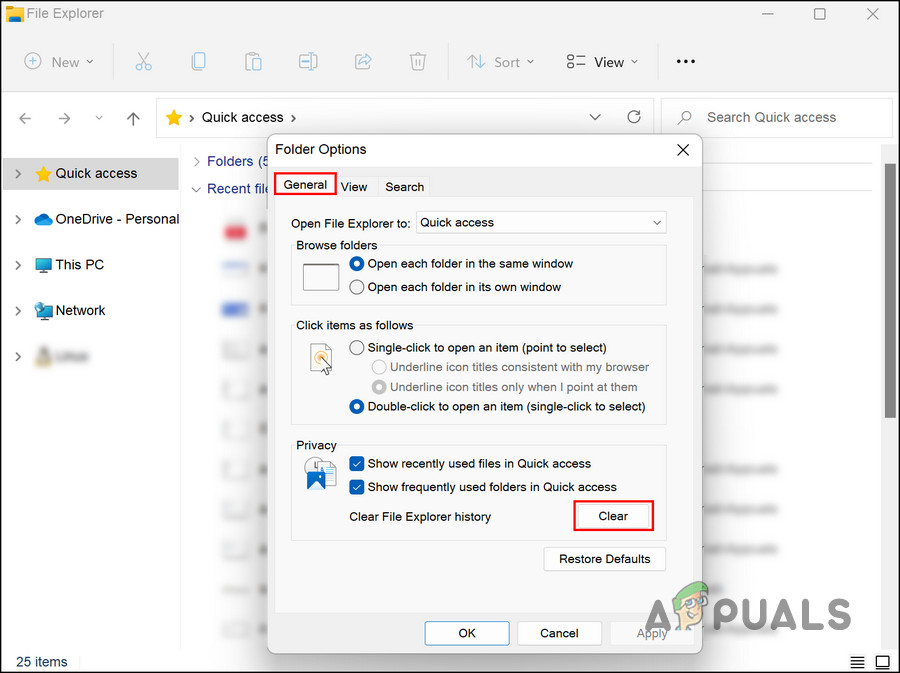
Click on the Clear button in the General tab - Close the dialog and check if the issue is resolved.
3. Update the Drivers
The next thing that you should do is update the outdated drivers on the system. This includes the Sound, Network, USB3, Bluetooth, and all other drivers.
The easiest way to know if the drivers are up to date is by visiting your PC manufacturer’s website and comparing the latest versions with the version/date installed for that device in Device Manager.
Once you have identified the outdated drivers, here is how you can update them in Windows 11:
- Type Device Manager in Windows search and click Open.
- In the Device Manager window, look for the faulty driver and right-click on it. You might see a yellow exclamation mark with the outdated driver.
- Choose Update driver from the context menu.
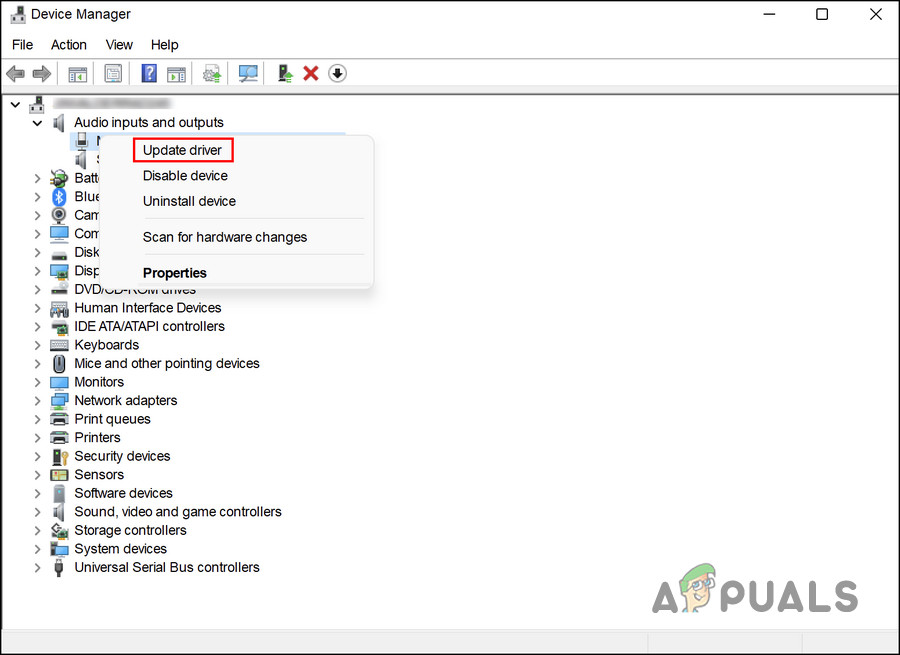
Choose Update driver from the context menu - Now, click on Search automatically for drivers. The Device Manager utility will now check the system for any updated driver versions.
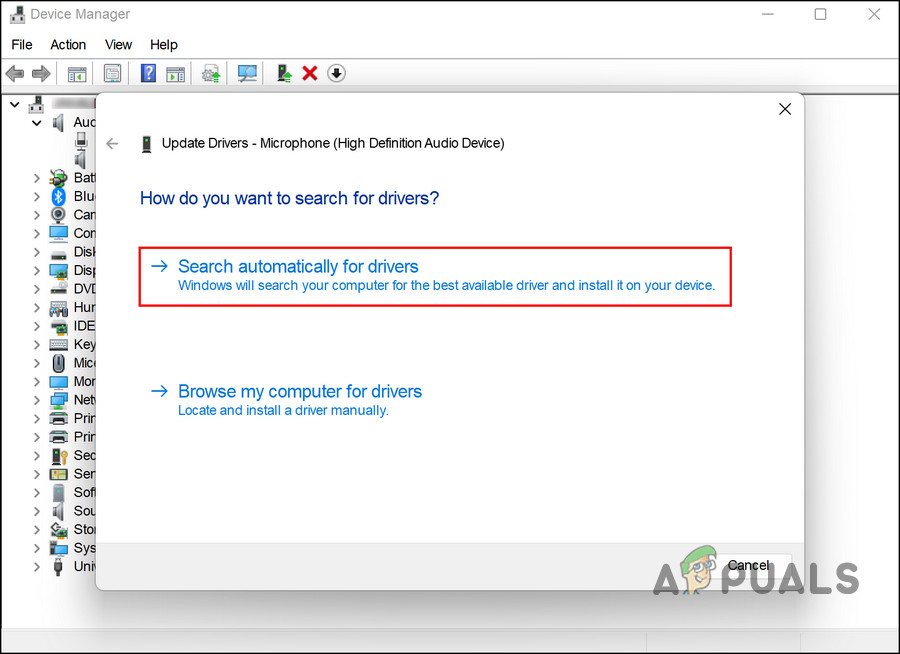
Click on the Search automatically for drivers option - If the system finds an updated driver, follow the on-screen instructions to proceed. Then, restart your computer.
- If you face the error again after reboot, then head over to Device Manager and choose the Update driver option again.
- This time, choose Let me pick from a list of available drivers on my computer.

Pick an updated driver from the system manually - Choose a recent driver version and install it.
- Finally, restart your computer and check if the issue is resolved.
4. Run the CHKDSK Utility
As the name implies, CHKDSK, also known as checkdisk, checks a disk for errors and fixes them. CHKDSK creates and displays disk status based on certain partition file systems.
Here is how you can run the CHKDSK scan:
- Launch a Run dialog by pressing the Win + R keys together.
- Type cmd in the text field of Run and press Ctrl + Shift + Enter to open Command Prompt with administrative privileges.
- Once you are in the Command Prompt window, type the command mentioned below and hit Enter to execute it. Using this command, CHKDSK will scan your computer for problems without modifying anything yet.
chkdsk
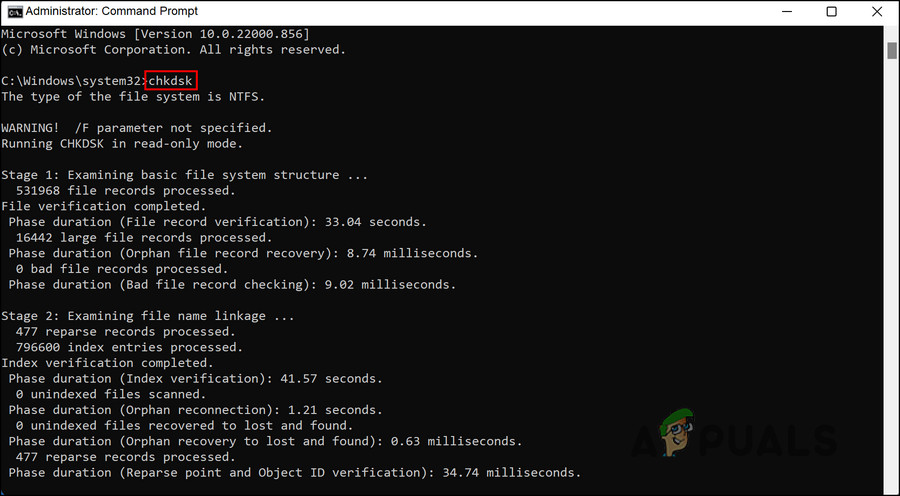
Run a CHKDSK scan - For drives other than C, execute the following command to run the CHKDSK scan. Replace D with the letter of the targeted drive.
chkdsk D: /f
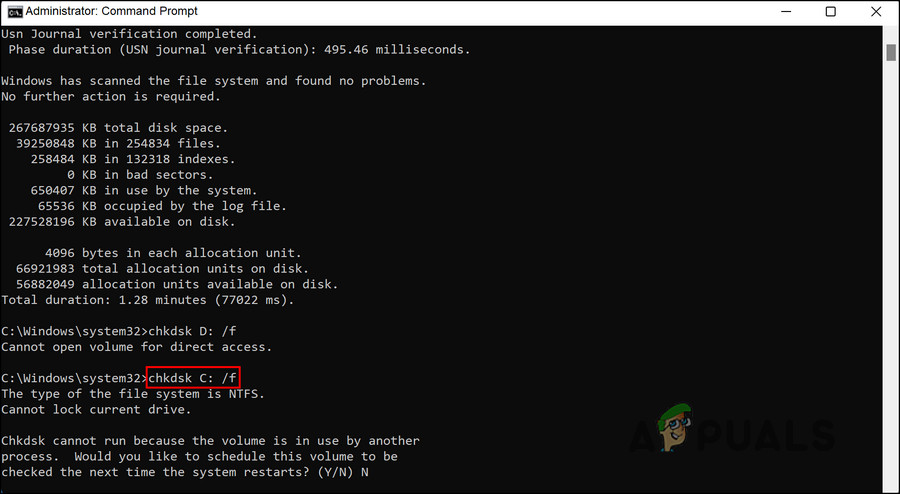
Scan the targeted drive for errors
Once the commands have run, check the results. You can find relevant solutions online if any issues are identified. Proceed to the next step in troubleshooting if no problem is found with your disk.
While you are at it, we also encourage you to run the System File Checker and Deployment Image Servicing and Management tools. Like the CHKDSK utility, you can also run these via the Command Prompt. They work by scanning the system for corruption errors and then repairing them without requiring any significant input from your side.
If a bug or corruption error is causing this problem, running SFC and DISM should help you resolve it easily.
5. Undo the Recent Changes
The error may also have been caused by a corrupt or faulty update or application that you recently installed.
In this case, the solution is as simple as uninstalling any programs or updates you may have recently installed to undo these changes. In this case, you can either uninstall the particular component that might be causing the issue or revert to a previous state using Windows’ restore utility.
We have divided this method into two sections. Follow the one that suits you the best.
Method 1: Uninstall the Program/Update
We will be using the Control Panel for this method.
- Type Control Panel in the search area of the taskbar and click Open.
- Click on Uninstall a program under Programs.
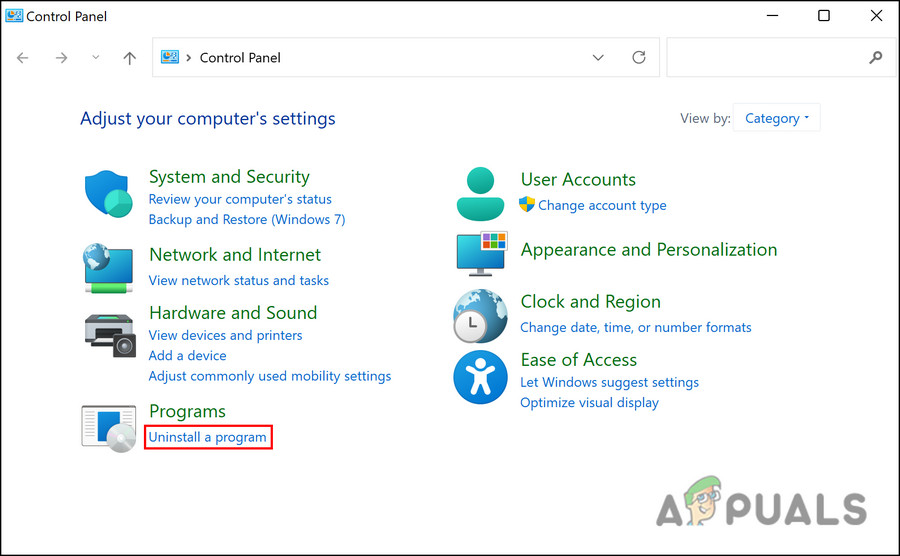
Uninstall a Program - Identify the faulty application and right-click it.
- Select Uninstall from the context menu and follow the on-screen instructions to proceed.
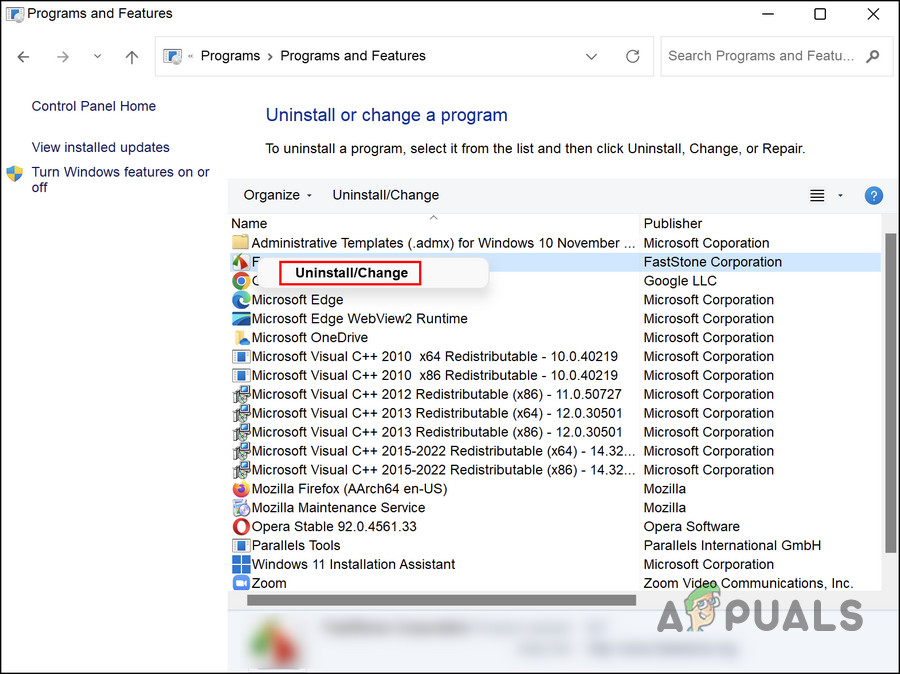
Uninstall the faulty app - To uninstall an update, choose View installed updates.
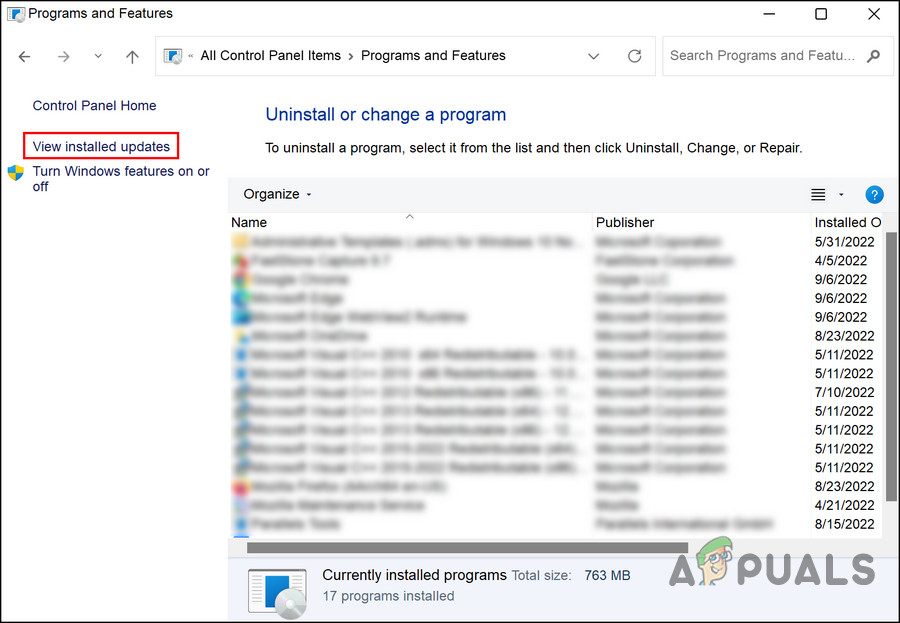
Click on View installed updated option in the right pane - Locate the targeted update and right-click on it.
- Uninstall the update and check if the issue is resolved once it has been removed.
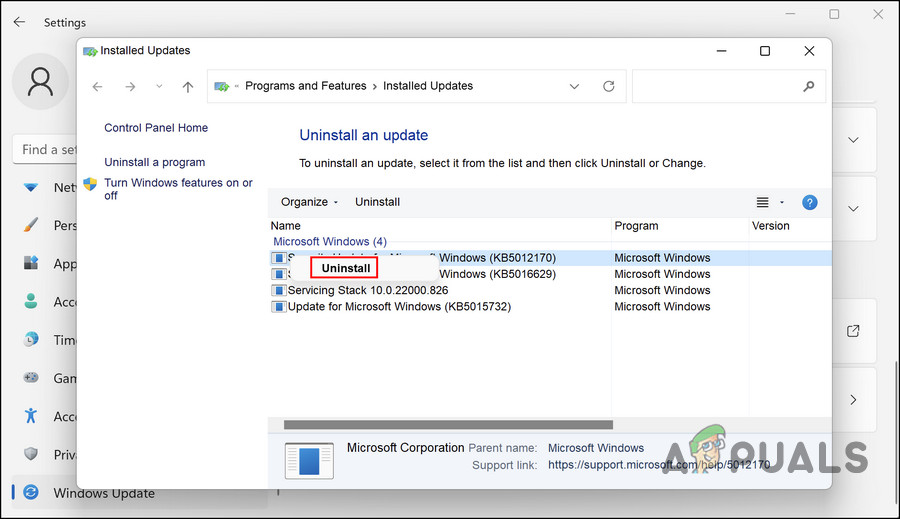
Uninstall the update
Method 2: Use System Restore
The system restore utility on Windows creates restore points periodically. These restore points are snapshots of the state of your system at any point in time. You can use them to revert the system state to how it was at a certain point in time.
In this case, we’re going to use System Restore to restore the system to an earlier state where the File Explorer was working fine.
Follow the steps below to proceed:
- Press Win + R together to open Run.
- Type control in Run and click Enter.
- Next, type System restore into the search bar at the top-right and click Enter.
- Click on Create a restore point from the results.
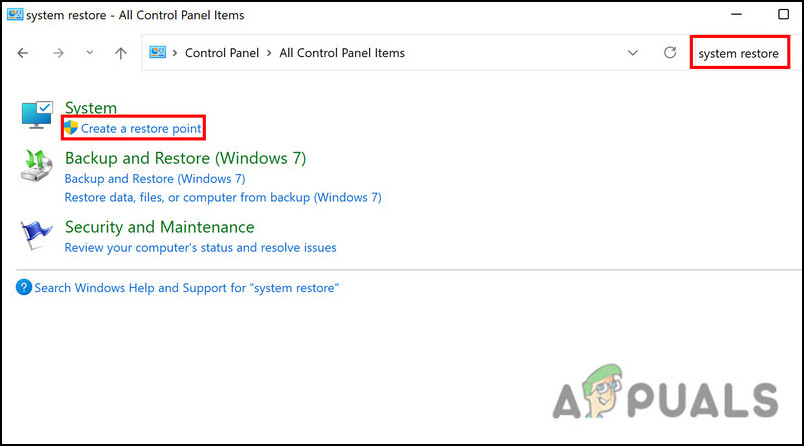
Choose the Create a restore point option - Click on the System Restore button in the next dialog box.
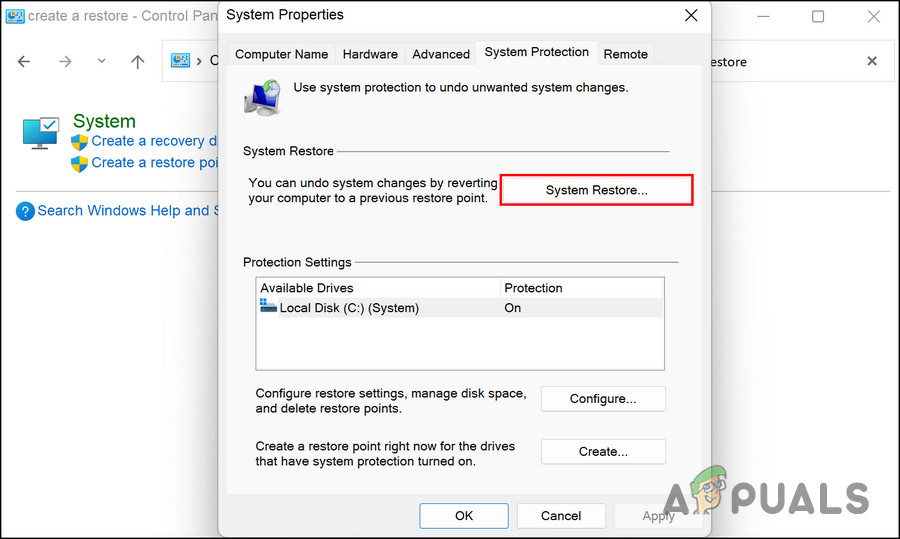
Click on the Sytem Restore button - Your system restore points should now be displayed. Choose the most recent one and click Next.
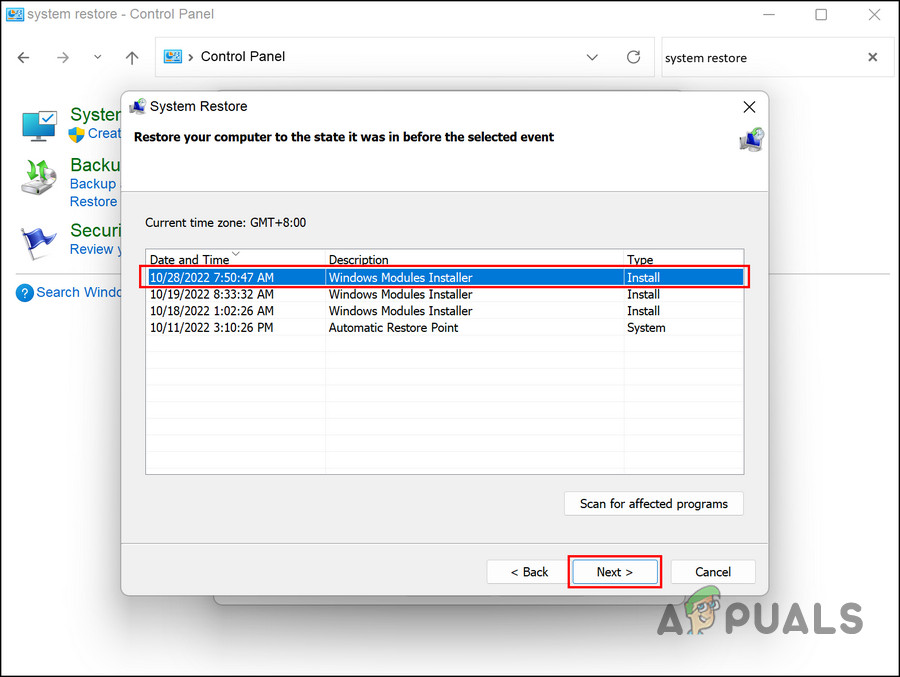
Click on the Next button - Follow the on-screen instructions to proceed.
When the system reverts to a previous state, hopefully, the File Explorer issue will be resolved.


