FIFA 22 Error Connecting to the Ultimate Team Servers? Try these methods
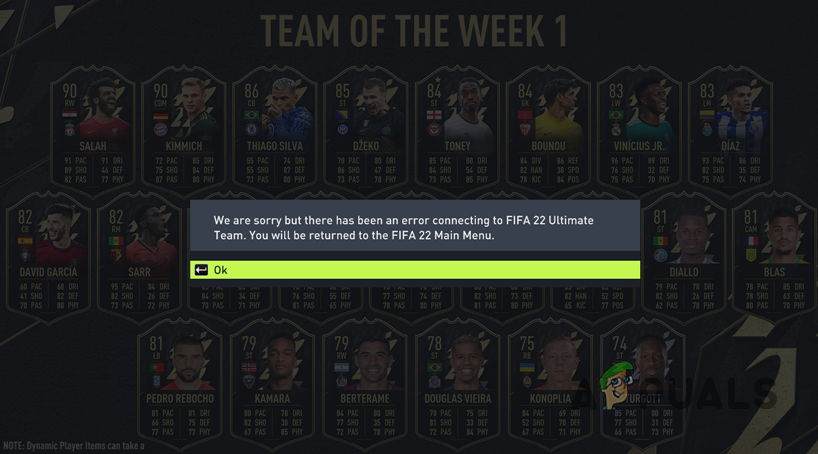
Some FIFA players have been getting the “We are sorry but there has been an error connecting to FIFA 22 Ultimate Team” error message while trying to get into the game. The error message suggests that a connection to the FIFA 22 Ultimate Team servers cannot be established. As such, the problem in question can be usually caused by something on your system that may be blocking the connection being made which, in most cases, is caused by the antivirus software that you might be using but that’s not all of it. In this article, we are going to show you how to resolve the error message pretty easily so just follow through.
As it turns out, FIFA is a big game that has a lot of concurrent players and it can usually happen that the servers get overloaded which can result in such issues for some players. This is especially the case when the game has newly been released. In addition to that, different factors can cause the problem in question. Therefore, before proceeding with the different workarounds that are available, let us first go through the various causes of the error message in more detail so that you can have a better grasp of the issue.
Now that we have gone through the possible list of causes, let us get started with the different methods available that can help you fix the issue in question.
Turn off Third-Party Antivirus
The first thing that you should do when you encounter the error message mentioned above is to turn off the antivirus program on your system. As it turns out, in most cases, when you are facing connection issues, it is usually due to the antivirus program running in the program that is stopping the connection from being established. This is pretty common and happens often due to a false positive.
Thus, if you have third-party antivirus software installed, go ahead and disable it. After doing that, try launching the game again to see if that resolves the issue.
Turn off Windows Defender Firewall
As it turns out, the Windows Defender Firewall on your system is responsible for monitoring and managing the requests that are being made from your computer as well as incoming ones. If the Windows Defender Firewall is blocking an application from sending or receiving any requests, it can cause connectivity issues with the app since the request is not going through.
In such a scenario, to verify that this is happening, you can try disabling the Windows Firewall temporarily to see if that resolves the issue. In case it does, you can then add the game to the whitelist so that it is no longer blocked. To disable the Windows Firewall, follow the instructions given down below:
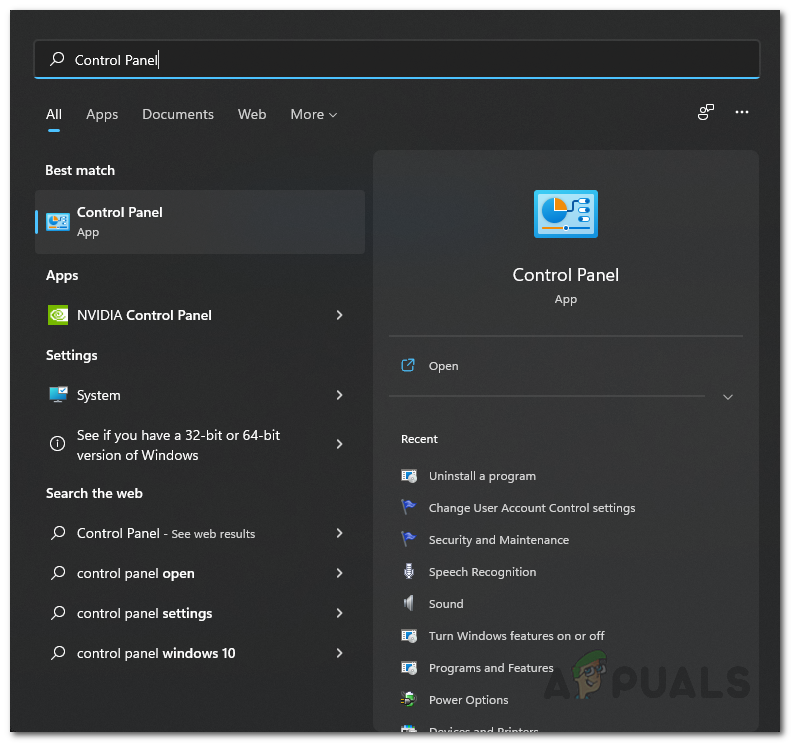
- First of all, open up the Control Panel by searching for it in the Start Menu.
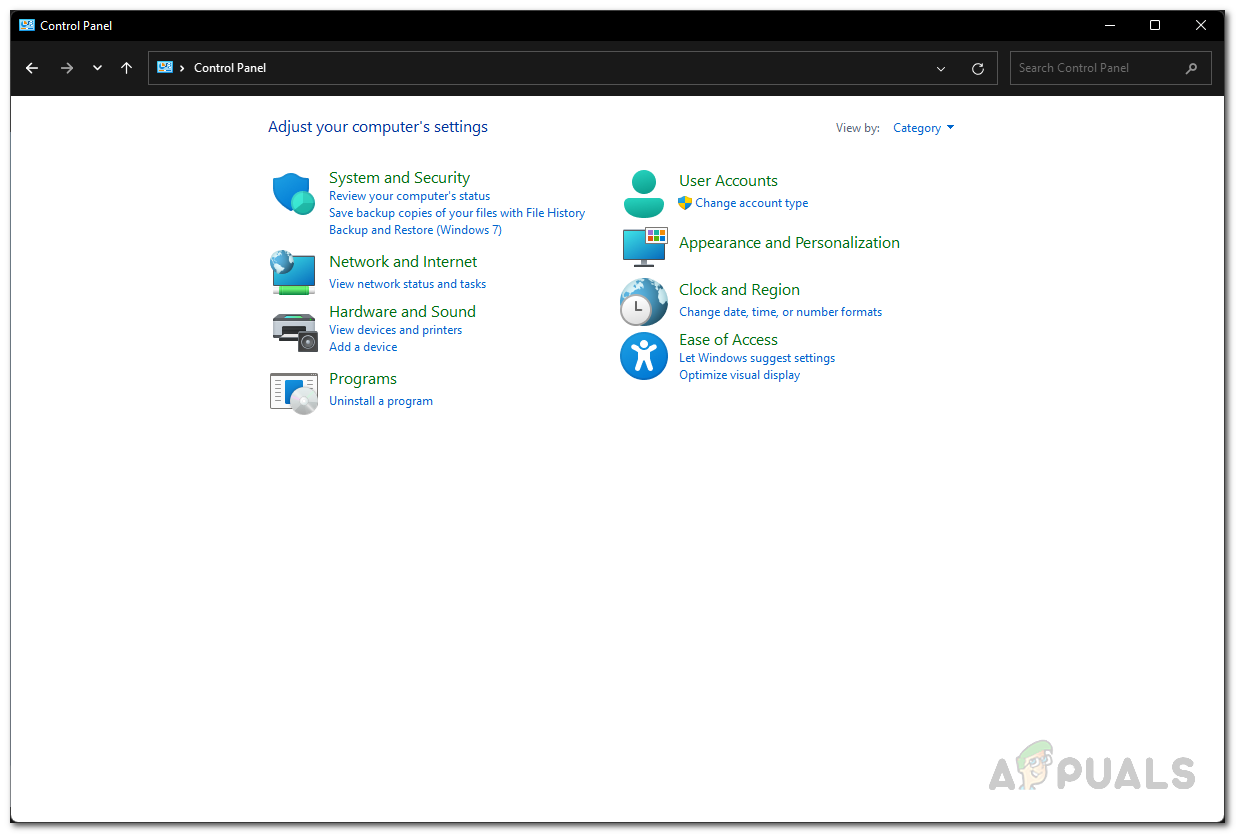
Opening up Control Panel - On the Control Panel window, go to System and Security.
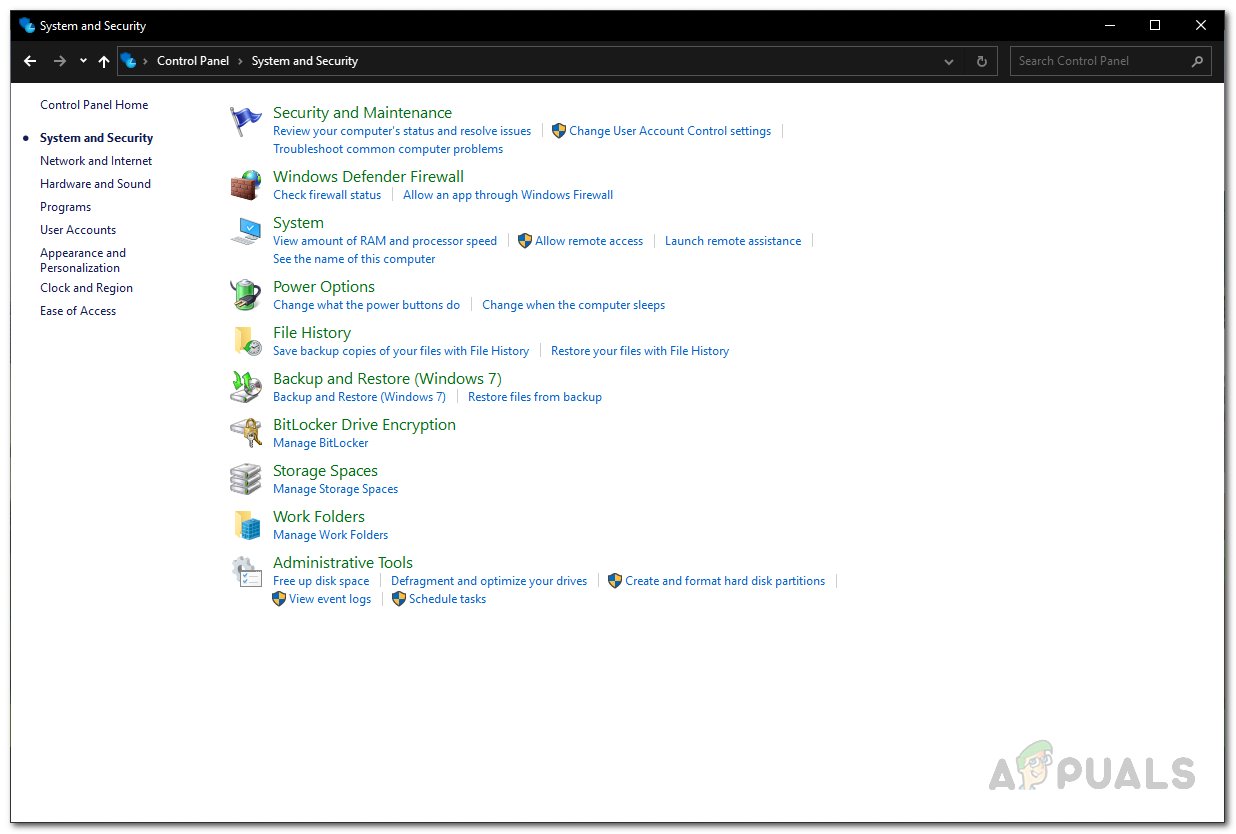
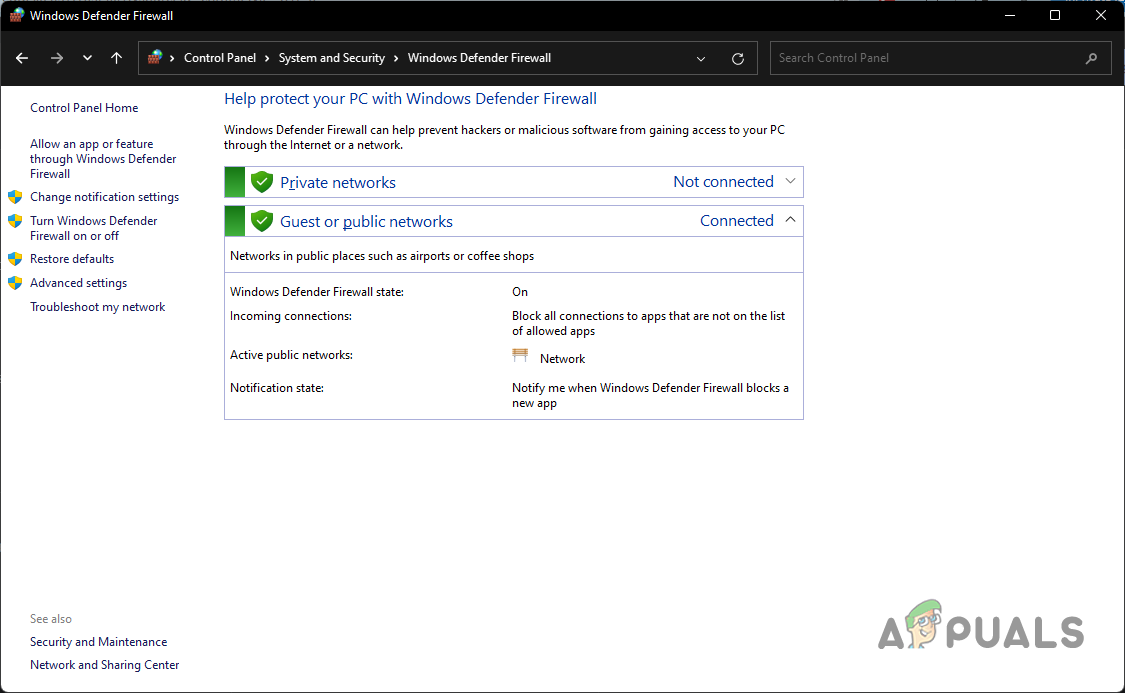
Control Panel - Once you are there, click on the Windows Defender Firewall option provided.
Opening up Windows Defender Firewall Settings - On the left-hand side, click on the Turn Windows Defender Firewall on or off option provided.
Windows Defender Firewall - There, choose the Turn off Windows Defender Firewall option under both Private and Public.
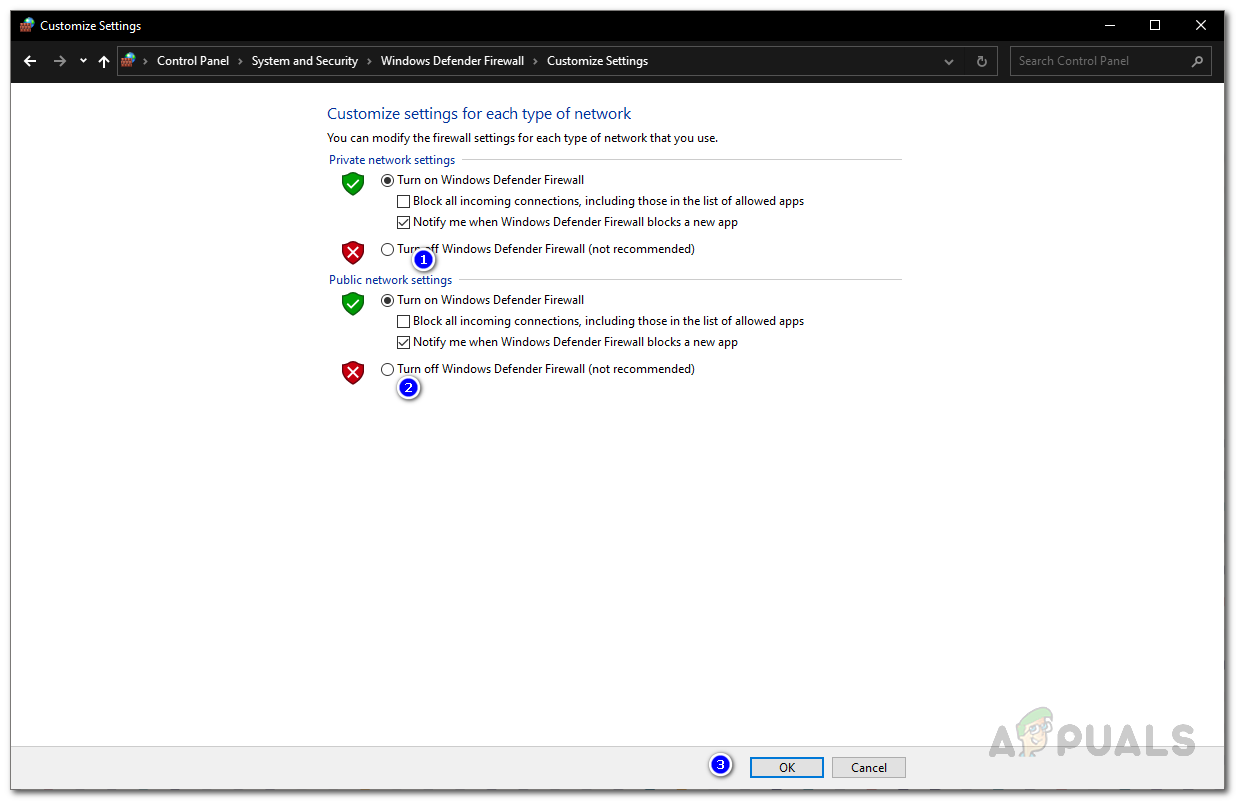
Disabling Windows Defender Firewall - Once you have done that, click the Apply button and then hit OK.
- With the Windows Firewall disabled, go ahead and open up the game to see if the problem persists.
Change DNS Server
Another way that you can solve the error message in question is by changing the DNS server on your system. As it turns out, in some cases, the issue originates because the DNS server is not able to resolve the address. This can happen when the default DNS server, which belongs to your ISP, is either blocking the connections for whatever reason or simply not able to establish it.
Regardless, you can easily change the DNS server on your system. To do this, follow the instructions that are given down below:
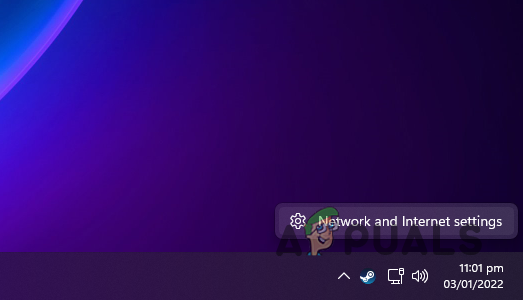
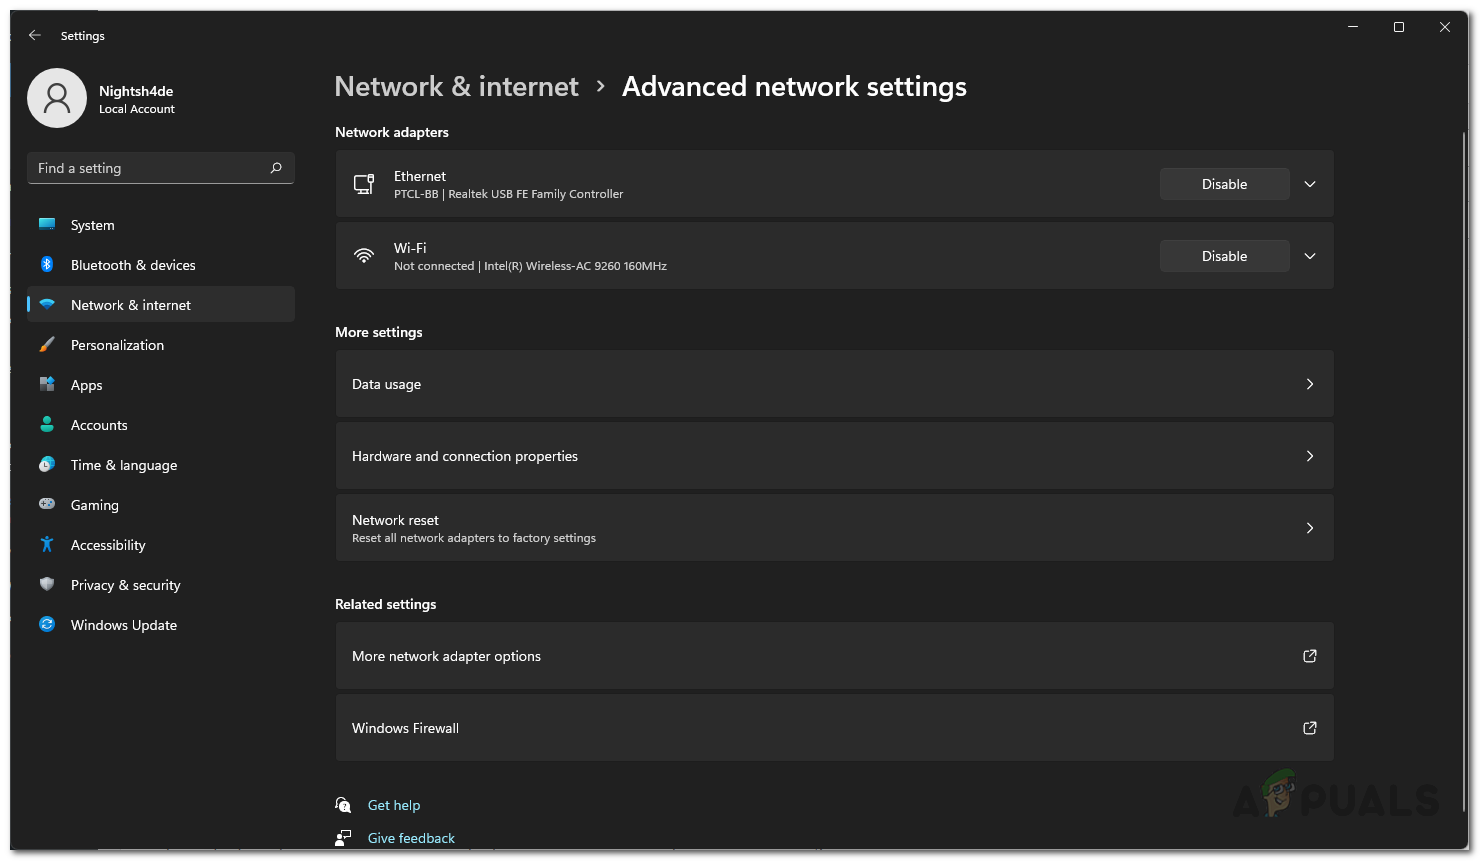
- To start, on your taskbar, right-click on the network icon and click the Network and Internet settings option.
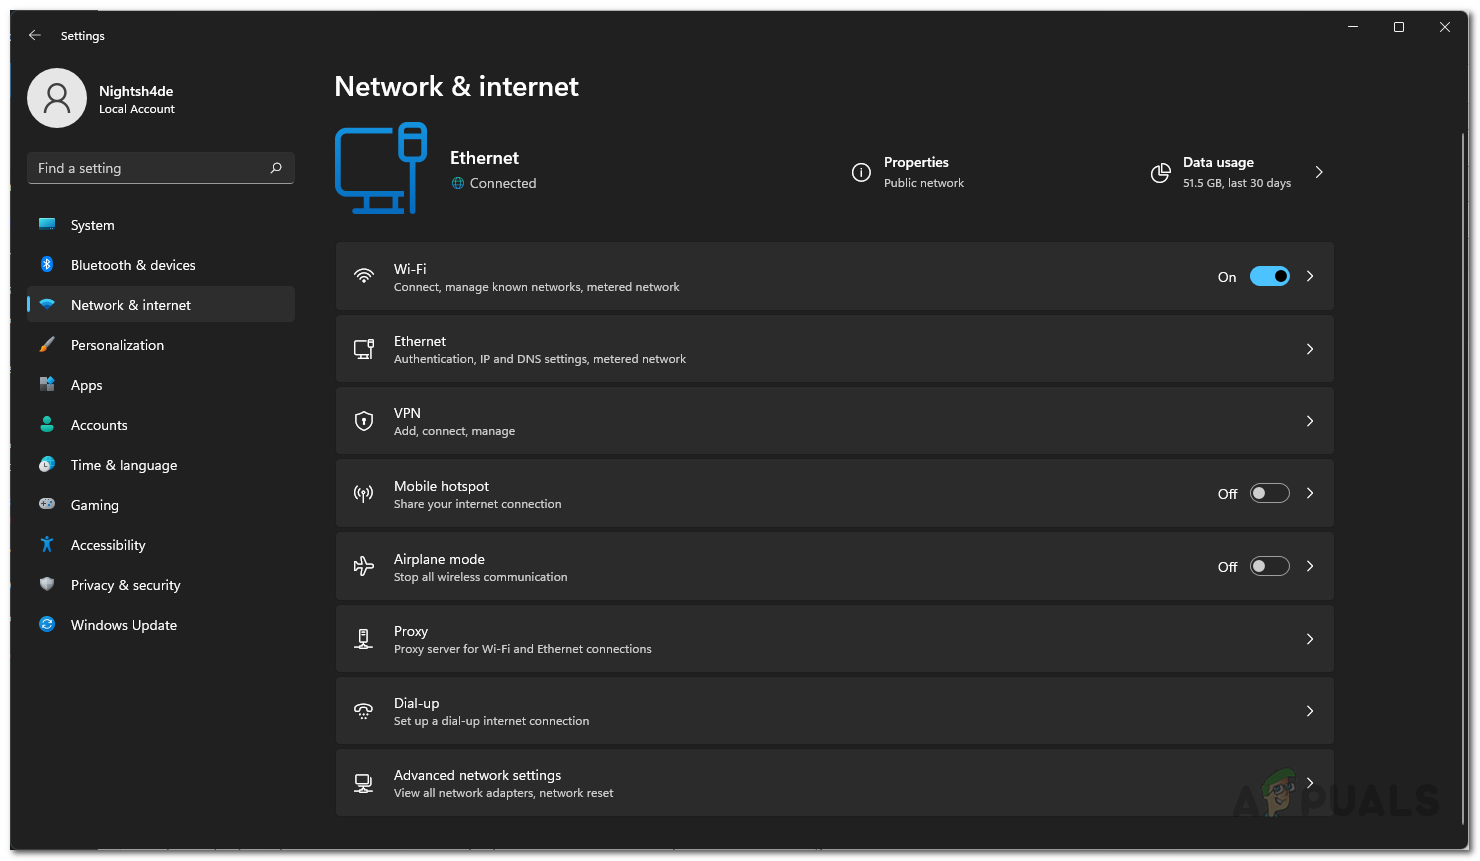
Opening up Network Settings - After that, click the Advanced network settings option provided.
Network Settings - Finally, click the More network adapter options option.
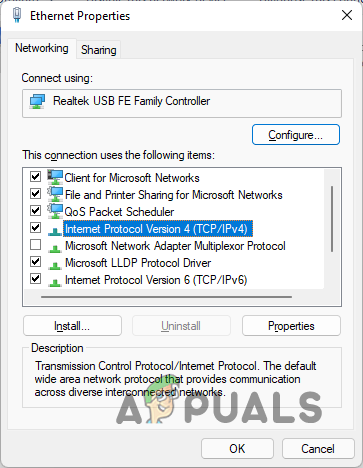
Advanced Network Settings - On the follow-up window, right-click on your network adapter, and from the drop-down menu, choose the Properties option.

Network Adapters - Then, double click on the Internet Protocol Version 4 (TCP/IPv4) option provided.
Opening up IPv4 Properties - At the bottom, choose the Use the following DNS server addresses option.
- Under that, provide the 8.8.8.8 and 8.8.4.4 addresses respectively.
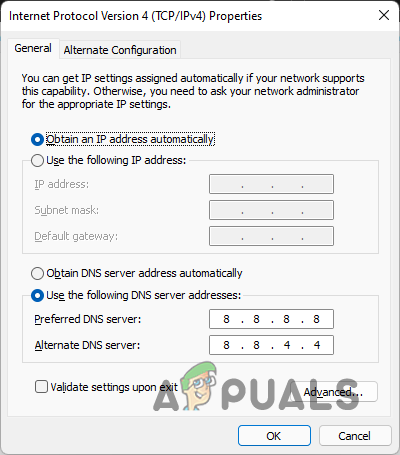
Changing DNS Server - Click the OK button to confirm the changes.
- Once you have done that, go ahead and launch the game again to see if the problem persists.
Perform a Clean Boot
Finally, if none of the methods have worked for you, then it is very likely that a party app on your system in the background is causing the issue which isn’t your antivirus. To verify this suspicion, you can perform a clean boot which essentially starts your system with only the required services running in the background. This means that all of the third-party apps and services are blocked on startup.
If the problem goes away after you perform a clean boot, it will be obvious that the issue is being caused by a third-party app. To figure out which app is causing it, you can enable the services one by one. Follow the below instructions to perform a clean boot:
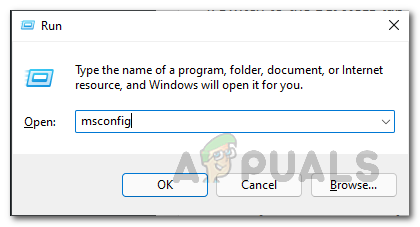
- First of all, open up the Run dialog box by pressing Windows key + R on your keyboard.
- In the Run dialog box, type in msconfig and then hit the Enter key.
Opening up System Configuration - On the System Configuration window, switch to the Services tab.
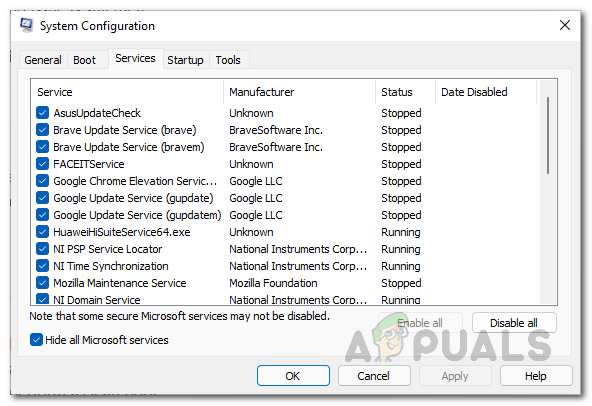
- There, click on the Hide all Microsoft services tickbox.

Hiding Microsoft Services - After that, click on the Disable all button and follow it up by clicking Apply.
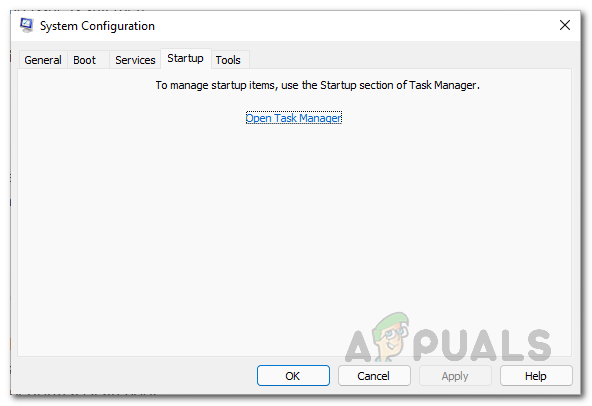
Disabling Third-Party Services - Then, switch to the Startup tab and click on the Open Task Manager option provided.
System Configuration Startup Tab - On the Task Manager window, select each app one by one and click the Disable button provided at the bottom right corner.

Disabling Third-Party Apps - Once you have done that, go ahead and restart your computer.
- After your PC boots up, see if the problem is still occurring.


