How to Fix the ‘Fatal Error’ in Starbound on Windows?
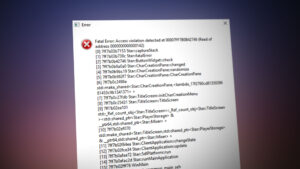
Some Windows users are reporting that they end up seeing a ‘Fatal Error‘ every time they attempt to launch Starbound on their computer. This error appears at the initial startup screen and it’s confirmed to occur on Windows 7, Windows 8.1, and Windows 10.
After investigating this particular issue, it turns out that there are several different causes that might be causing this error code. Here’s a list of potential culprits that might be responsible for the apparition of this ‘fatal error’ with Starbound on a Windows computer:
- Vsync is Enabled – One of the most common culprits that are known to trigger this issue with Starbound is VSYNC. More specifically, when this graphical feature is enabled on a low-end PC configuration, the game might refuse to launch. Since you cannot get to the main menu in order to disable this feature, you can only resolve this problem by modifying the main config file of Starbound (starbound.config) in order to force Vsync to stay Disabled.
- Outdated GPU driver – It’s also possible to encounter this issue due to a severely outdated GPU driver that makes it impossible for your PC to render the game. Several affected users have reported that the issue was finally resolved after they have successfully updated their graphical drivers to the latest version available.
- Game file corruption – As a lot of Steam users are reporting, you can also expect to see this issue due to some kind of corruption that is affecting the local installation of Starbound. If this scenario is applicable, you can fix the issue by forcing a file integrity check via Steam. In more serious circumstances, you might need to reinstall the game and clear modded content before reinstalling in order to fix the issue.
- Game version is incompatible with Windows 10 – Keep in mind that there are certain modded versions of Starbound that will not function on Windows 10 by default. If this scenario is applicable, you should be able to fix the issue by forcing the main game executable to run in compatibility mode with Windows 7.
Now that you know every potential culprit, here’s a list of verified methods that some affected users have successfully deployed to get to the bottom of this issue:
Method 1: Putting VSync to False in Starbound
As it turns out, in a lot of documented cases, this issue occurs whenever VSync is enabled on a PC configuration where the GPU / CPU components are not powerful enough to sustain this graphical feature. However, unlike other games, Starbound prefers to prevent the game from starting in situations like this instead of letting it run with performance issues.
If you find yourself in this scenario, follow the instructions below to discover the config file of Starbound and modify the starbound.config so that VSync is set to False in order to prevent it from becoming active when you launch the game.
Here’s a quick step-by-step guide that will guide you through the entire process:
- Open up Steam, access the Library tab, then right-click on the entry associated with Starbound and choose Properties from the context menu that just appeared.
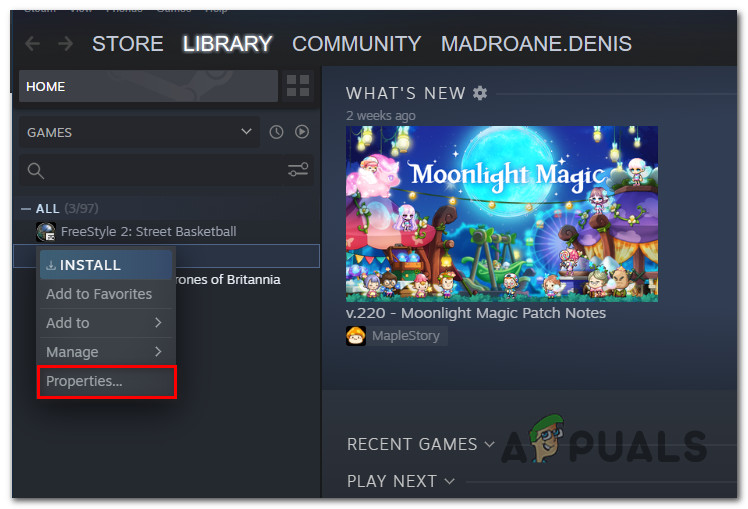
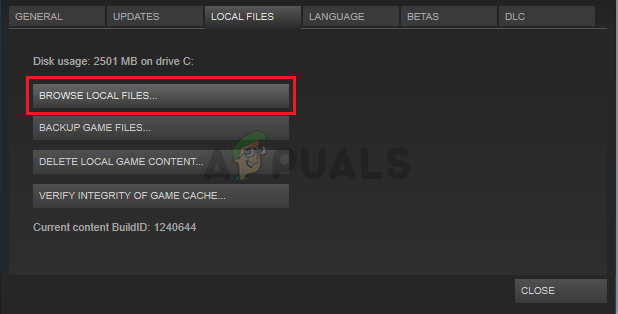
Accessing the Properties screen of Starbound - Once you’re inside the Properties screen of Starbound, click on Local Files from the vertical menu on the left, then click on Browse Local Files.
Accessing the local files of StarBound - After you find yourself inside local installation of Starbound, double-click on the storage folder, and right-click on the file named starbound.config. Next, from the context menu that just prepared, click on Open with Notepad.
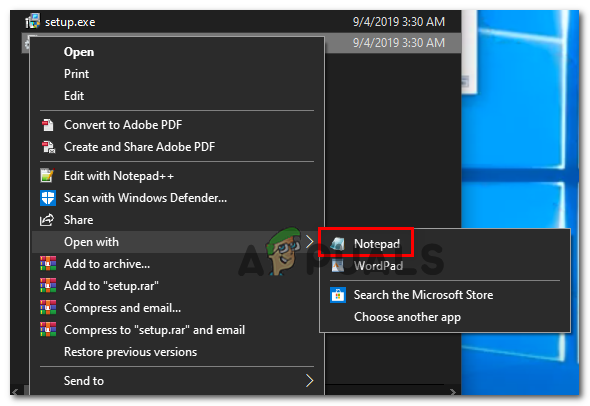
Opening starbound.config with Notepad - Once you get to see the internals of the starbound.config, look for the code line ‘vsync” : true’. When you see it, change the value to false (“vsync” : false) before saving the changes.
- Launch Starbound once again and see if the problem is now fixed.
If the issue is still not resolved as you’re still encountering the same ‘fatal error’ when launching Starbound, move down to the next potential fix below.
Method 2: Update GPU driver to the Latest version
According to some affected users, you can also expect to see this issue in instances where you’re trying to use a severely outdated GPU driver to render the game.
Several affected users have confirmed that they managed to fix the issue by updating the GPU drivers plus the physics module to ensure that every component that is handling in-game rendering is using the latest available iteration.
If this scenario is applicable and you know for sure you haven’t updated your GPU drivers in a while, follow the instructions below for step-by-step instructions on updating the current GPU drivers to ensure that the Starbound Fatal error doesn’t repeat itself:
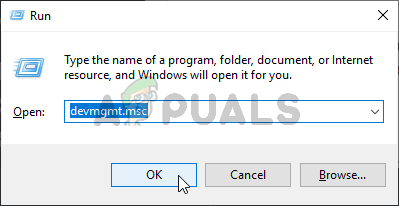
- Open up a Run dialog box by pressing Windows key + R. Inside the text box, type ‘devmgmt.msc’ and press Enter to open up Device Manager.
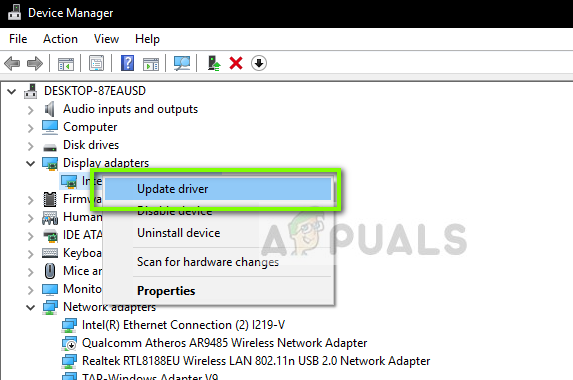
Running Device Manager - Once you’re inside Device Manager, scroll down through the list of installed devices, then expand the drop-down menu that’s specific to Display Adapters.
- After the menu is expanded, right-click on the GPU driver that you want to update, then click on Update driver from the context menu that just appeared.
Updating the Graphics Driver Note: If you’re encountering this issue on a laptop, then you likely have both a dedicated and an integrated GPU solution. In this case, you only need to update the dedicated equivalent.
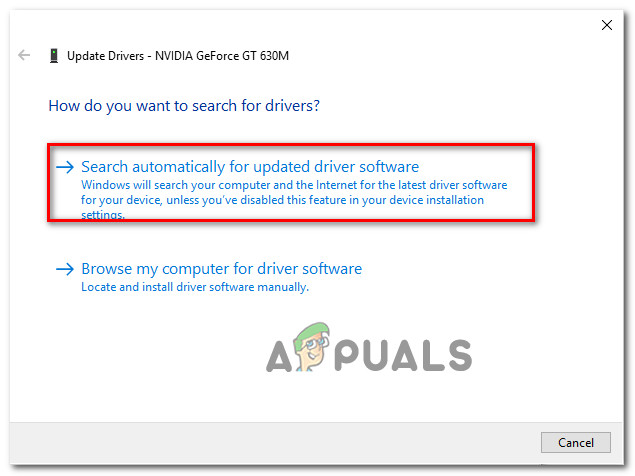
- At the next screen, click on Search Automatically for updated driver software. Next, wait for the initial scan to complete, then follow the on-screen instructions to complete the installation of the newer driver version in case a new driver is discovered.
Searching for the newest driver - After the newest driver is installed, reboot your computer and launch Starbound again once the next startup is complete to see if the issue is now fixed.
In case Device Manager didn’t find a new driver version in your case, you can also use the proprietary software provided by your GPU manufacturer to make sure that you’re using the latest driver version compatible with your GPU model:
GeForce Experience – Nvidia
Adrenalin – AMD
Intel Driver – Intel
If you were already using the latest GPU driver version or updating the driver version didn’t fix the issue in your case, move down to the next potential fix below.
Method 3: Verifying the Integrity of the Game in Steam
If none of the methods above have worked in your case, you should start considering a corruption-fueled inconsistency that is affecting the Steam installation of Starbound.
Several affected users that found themselves in a similar scenario have reportedly managed to fix the issue by using the integrity check feature on Steam in order to detect and fix corrupted game files.
If you’re launching the game through Steam and you haven’t tried this yet, follow the instructions below to automatically scan every Starbound game file and replace every corrupted item with a healthy equivalent:
- Start by opening up Steam conventionally (with admin access), then access the Library menu from the tab at the top.
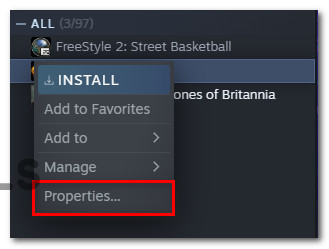
- Once you see the list of games, right-click on Starbound, then click on Properties from the context menu that just appeared.
Accessing the Properties screen - Once you’re inside the Properties screen of Starbound, use the vertical menu on the left to click on Local Files, then move over to the right-hand side menu and click on Verify Integrity of Game Files.
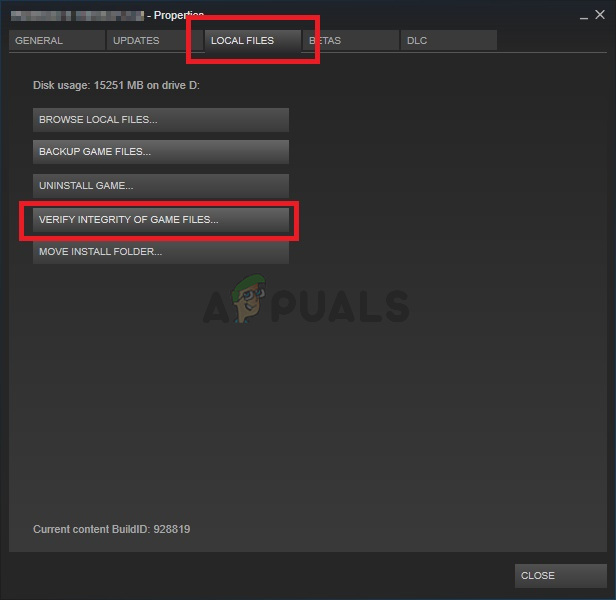
Verifying the integrity of game files - Confirm the operation, then wait for it to complete before launching the game once again and seeing if the issue is now fixed.
In case this problem is still not fixed, move down to the next potential fix below.
Method 4: Running the Game in Compatibility Mode (with Admin Access)
According to some users that were also encountering this issue on Windows 10, you can also expect to see this issue if you’re dealing with some kind of compatibility issue.
Keep in mind that Starbound was originally designed to run on Windows 7, and if you’re trying to render a modded built that’s not modified to be supported on Windows 10, you can expect to see the ‘fatal error’ prompt every time you attempt to launch the game.
Fortunately, other users that found themselves in a similar scenario have reported that they were finally able to launch the game normally after they forced their game executable to launch in compatibility mode with Windows 7 (and ensure that admin rights are given to it).
If you haven’t tried this fix yet, follow the instructions below for step by step instructions on how to do so:
- Right-click on the main executable of Starbound (or the shortcut that you use to launch the game) and click on Properties from the context menu that just appeared.
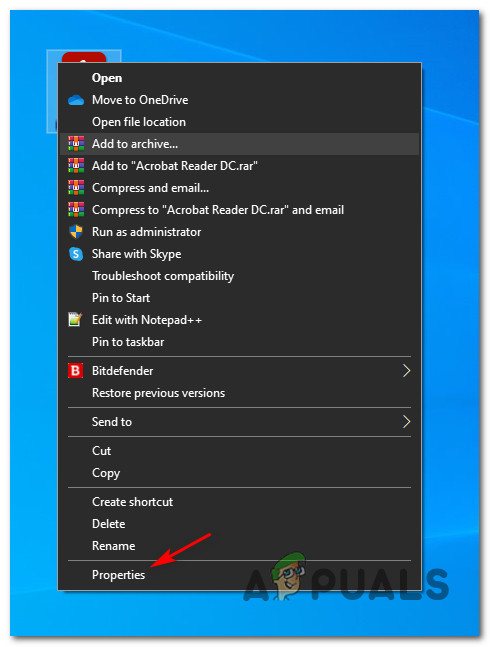
Accessing the Properties screen of Starbound - Once you’re inside the Properties screen, click on the Compatibility tab from the menu at the top.
- Next, check the box associated with Run this program in compatibility mode for, then select Windows 7 from the list of available options.
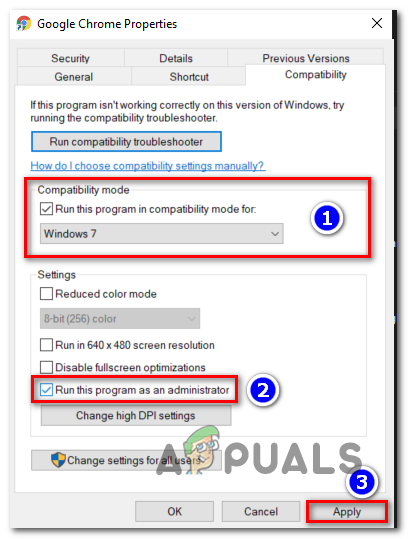
Running Starbound in compatibility mode - Next, check the box associated with Run this program as an administrator before finally clicking on Apply to save the changes.
- Now that you’ve finally made sure that the game is configured to run in compatibility mode with Windows 7, launch it once again and see if the problem is now fixed.
If the same ‘fatal error’ prompt is still occurring at startup, move down to the final potential fix below.
Method 5: Reinstalling the Game
If none of the fixes above have been effective in your case, the last potential fix that you can deploy is to essentially uninstall the game and ensure like any leftover files (mods, custom files, user preference data, etc.) are also deleted and will not be a part of a future installation.
Some users that were also dealing with this issue have confirmed that they finally managed to fix this issue by reinstalling the game and deleting any remnant data before reinstalling it using the official channels.
To make things easier for you, we’ve put together a step-by-step series of instructions:
- Press Windows key + R to open up a Run dialog box. Next, type ‘appwiz.cpl‘ and press Enter to open up the Programs and Features menu.
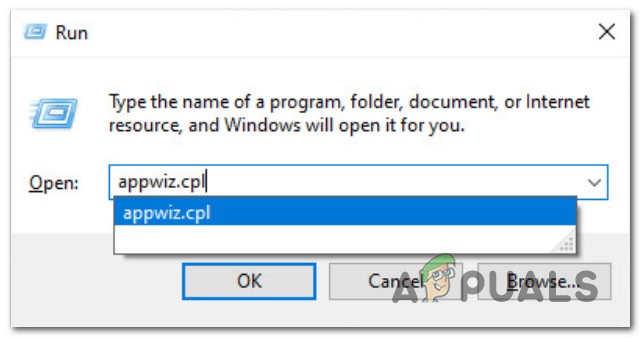
Opening the Programs and features menu via Run box - Once you’re finally inside the Programs and Features menu, scroll down through the list of installed applications and locate Starbound. When you see it, right-click on its entry and click Uninstall from the context menu that just appeared.
Uninstalling Starbound from the list of applications - Inside the uninstallation screen, follow the on-screen instructions to complete the uninstallation before finally restarting your computer.
- After the game has been successfully uninstalled, visit the location where you originally installed it and delete every leftover file and folder to ensure that there is no remnant data that will interact with the future installation.
Note: If you installed the game through Steam, you need to navigate to the following location:C:\Program Files (x86)\Steam\SteamApps\common\Starbound
- Once Starbound is uninstalled and the previous installation location is cleared, follow the official channels to download the game again (via Steam or a different launcher) and see if the ‘fatal error’ prompt is finally fixed.


