Fix: F1 22 PC VR Jittering, Freezing Screens and Crashing?
A lot of F1 22 enthusiasts are reporting game-braking jittering, constant screen freezing, and occasional crashes when playing the VR mode of the game. This problem seems to occur with both Nvidia and AMD GPUs and is confirmed to happen on both Windows 10 and Windows 11.
After we’ve looked into this issue thoroughly, we realized that there are actually several different underlying scenarios that might cause this type of behavior when playing the VR mode of F1 22. Here’s a list of potential culprits that you should be aware of:
- Steam VR glitch – As it turns out, you can expect to deal with issues if there’s an underlying issue with Steam VR. Several affected users have confirmed that once they reinstalled the entire Steam VR component, the issues related to the VR mode in F1 22 stopped occurring.
- Outdated GPU driver fleet – As it turns out, you can expect to deal with this issue in a scenario where you are using outdated GPU drivers that are unoptimized for VR gameplay. A lot of users dealing with this issue have confirmed that they were able to fix the problem by installing the latest available graphics card driver + the associated physics module. This is confirmed to work for both AMD and NVIDIA GPUs.
- In-Game Glitch – If you’re experiencing stuttering and freezing before the game eventually crashes when playing in VR mode, there’s a big chance you’re experiencing this problem due to a glitch that has already been patched by the developers. To take advantage of the hotfix, update your game version to the latest.
- Post-processing takes up a lot of GPU resources – As it turns out, the most GPU resource-consuming setting that is especially GPU-draining if you’re playing the VR mode of F1 22. A lot of users have reported that the issue was entirely fixed after they disabled the post-process feature from the in-game graphics settings.
Now that we went over every potential reason why you might end up experiencing constant screen freezing, and occasional crashes when playing the VR mode of F1 22, let’s go over a list of verified fixes that other affected users have successfully used to get to the bottom of the issue.
1. Set Post Processing to Low
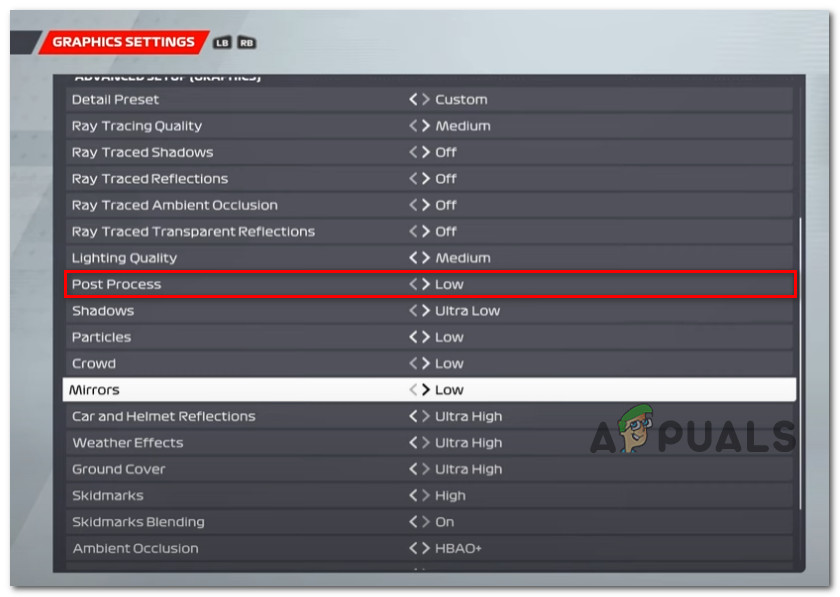
It turns out that the setting that uses the most GPU resources is extremely taxing on your GPU if you’re using F1 22’s VR mode. Many customers claim that after turning off the post-process option in the in-game graphics settings, the problem was completely resolved.
If you haven’t tried this fix yet, simply open the game normally (VR mode doesn’t have to be enabled) and go to Settings > Graphics Settings.
Next, once you are inside the Graphics Settings menu of F1, scroll down and set Post Process to Low before saving the changes.
Once you’ve done this, close the game and relaunch it again to see if the problem is now resolved.
If you’re still experiencing game-braking jittering, constant screen freezing, and occasional crashes, move down to the next method below.
2. Reinstall Steam VR
It turns out that if there is a fundamental problem with Steam VR, you can anticipate dealing with problems. A number of afflicted customers have indicated that the problems with F1 22’s VR mode disappeared after they completely rebuilt the Steam VR component.
Note: The Uninstall Programs section of the Control Panel can be used to remove Steam VR in the same manner as virtually any other software, although we advise clearing the local tool content inside the SteamVR properties from Steam before doing so.
If you haven’t tried this fix yet, follow the instructions below to reinstall Steam VR:
- Open the Steam program, then select the Library tab at the top.
- Search for SteamVR in the Library and then choose Properties from the context menu.
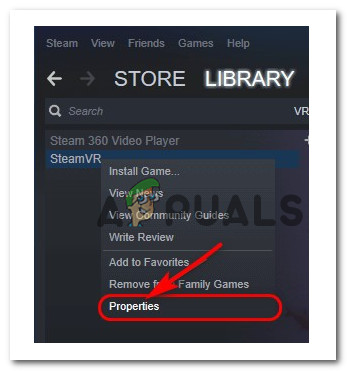
Accessing the Properties screen - Look under Library for SteamVR, then right-click on it and choose Properties.
- Select the Local Files tab and then select Browse from the menu. Delete each and every folder and file inside the new window.
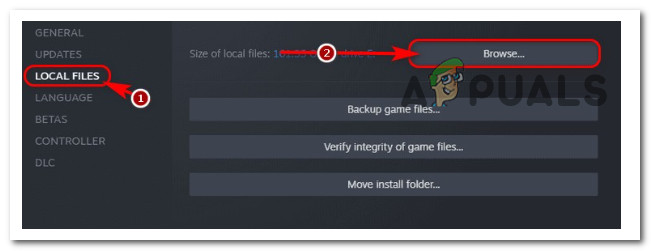
Browsing for the local file - Close Steam and make sure it’s not running in the background.
- Next, press Ctrl + Shift + Enter to open up Task Manager and get rid of all leftover files.
- Look for any Steam or Steam VR-related processes and kill them one at a time.
- By right-clicking and choosing “Edit address,” you may copy and paste this address into the address bar on This PC:
C:\Program Files (x86)\Steam\steamapps\common
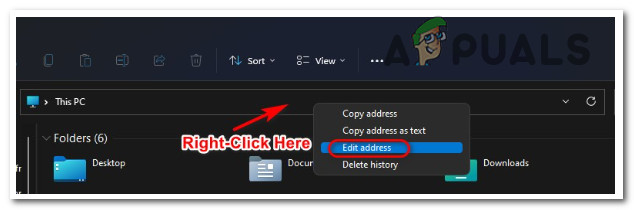
Editing the adress - You should see a couple directories as soon as you hit enter on your keyboard. Delete the SteamVR folder.
- As you did before, copy this address and paste it:
C:\Program Files (x86)\Steam\config
- Next, delete the file named steamvr.vrsettings present in this folder.
- Then, delete the folder named lighthouse.
- Next, launch Steam, then navigate to the Library section like you did before.
- From the context menu that just appeared, click on Uninstall.
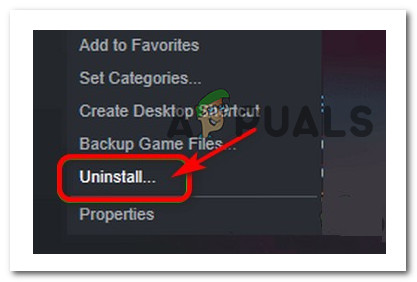
Uninstalling the Steam VR component - To finish the uninstallation, adhere to the on-screen directions.
- Finally, close Steam once again and paste the following address in the File Explorer address bar:
%ProgramFiles(x86)%\Steam\steamapps\common
- Search in the directory for a SteamVR folder and if you see it, delete it by right-clicking and clicking on Delete.
- Reboot your PC after this operation is complete and wait for the next startup to complete.
- After the next startup, open Steam, then go to the Library. Simply click the install icon next to Steam VR to get started.
- Launch F1 22 and see if the problem is now fixed
If you’re still experiencing the same type of issue, move down to the next method below.
3. Update the game to the latest version
When playing a VR game, if you experience stuttering and freezing before the game eventually crashes, there’s a good possibility the developers have already fixed the bug that’s the cause of your issue. Update your game to the most recent version in order to benefit from the hotfix.
If are not certain if your game is updated or not, follow the instructions below to ensure that it is:
- Launch the Steam application on your computer or Mac and select “Library” from the window’s top menu.
- Click “Properties” from the drop-down menu when you right-click on F1 22 in your library that you wish to adjust the update settings for.
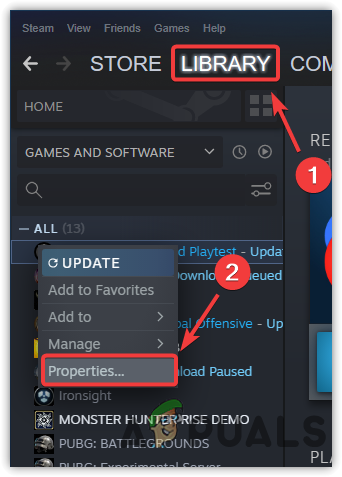
Accessing the Properties menu of the game in Steam - Choose the “Updates” tab from the vertical menu.
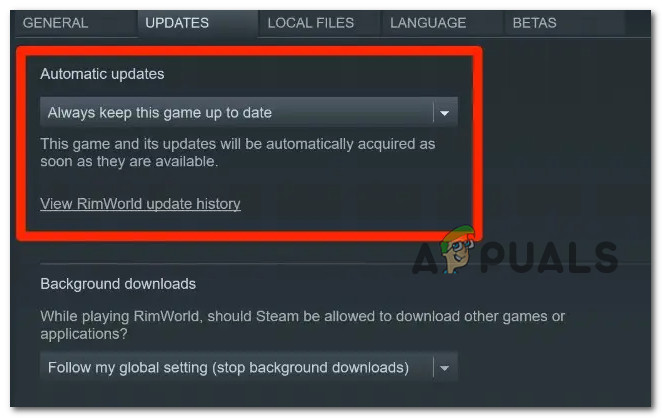
- Choose “Always keep this game up to date” from the automatic updates option if you want the game to update automatically whenever a new update is published. Select “Only update this game when I launch it” if you want to control when it gets updated.
Force the game to update - Open the Betas tab if the update you wish to install is an alpha or beta rather than the most recent public release (if one is available for F1 22).
- Click the drop-down menu and choose the beta or alpha version you want to participate in. Perhaps a code has to be entered.
- Steam will start updating your game to the version you’ve chosen, which is the most recent.
If the problem is still not fixed, move down to the next method below.
4. Update GPU drivers to the latest
It turns out that you may anticipate having to deal with this problem if you’re using outdated GPU drivers that aren’t designed for VR gaming. Installing the most recent graphics card driver and related physics module has been reported to work by many customers who have had this issue. It has been verified that this works with both AMD and NVIDIA GPUs.
The best approach to do this is to make sure you’re installing the most recent driver version for your GPU model from AMD or Nvidia by using the dedicated application (from AMD or Nvidia).
To make sure you’re using the most recent GPU drivers, choose one of the sub-guides below based on whether you’re on the Nvidia or AMD side:
4.1. Update the Nvidia GPU
If you suspect that your GPU driver fleet may be corrupt, Nvidia advises that you take the time to carefully delete each remaining driver file before installing the most recent version.
This will ensure that the installation of the new GPU drivers runs smoothly by briefly switching to the generic driver.
To update to the most recent Nvidia GPU for your specific model, follow the instructions below:
- To begin, use the Windows key + R to bring up the Run dialog box.
- To open the Programs and Features menu, enter “appwiz.cpl” in the text field and press Enter.
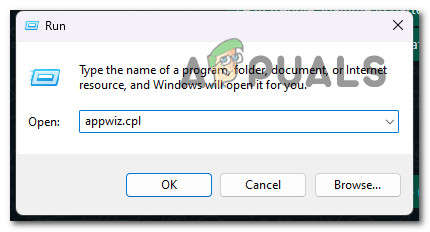
Open up the Programs and Features menu Note: To grant admin access, click Yes if the User Account Control popup appears.
- To sort every item according to its publisher, select the Publisher button from the Programs and Features menu.
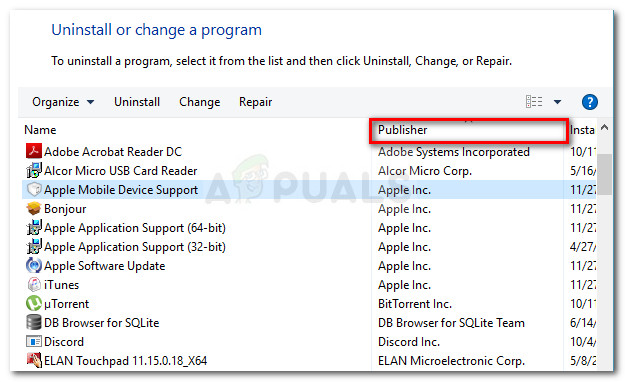
Accessing the Publisher tab Note: By taking this action, we will be able to recognize Nvidia-owned content more quickly.
- Next, scroll down and look for the Nvidia Corporation entries.
- From the context menu, select Uninstall when you right-click on each Nvidia component.
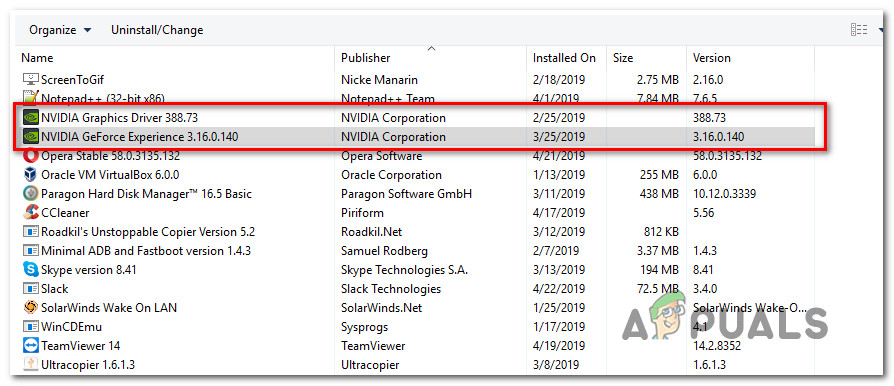
Uninstall every Nvidia driver - After that, proceed to remove all NVIDIA Corporation-produced software from your computer.
- After completing the previous step, restart your computer and wait for the subsequent startup to finish. Note that doing this will make the generic GPU drivers resume operation.
- Go to the GeForce Experience official download page after your computer has restarted.
- To get the most recent version of GeForce Experience, click the Download Now option on the dedicated download page.
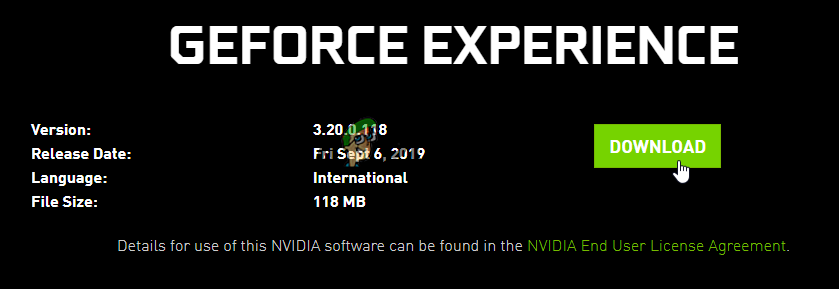
Download Nvidia Experience - Start installing the most recent version of GeForce Experience on your PC by following the instructions.
Note: To give admin access, click Yes at the confirmation screen. - Check the Drivers page in GeForce Experience to check whether a new driver update is available for installation.
- After that, select Express installation and follow the on-screen instructions to finish installing the driver.
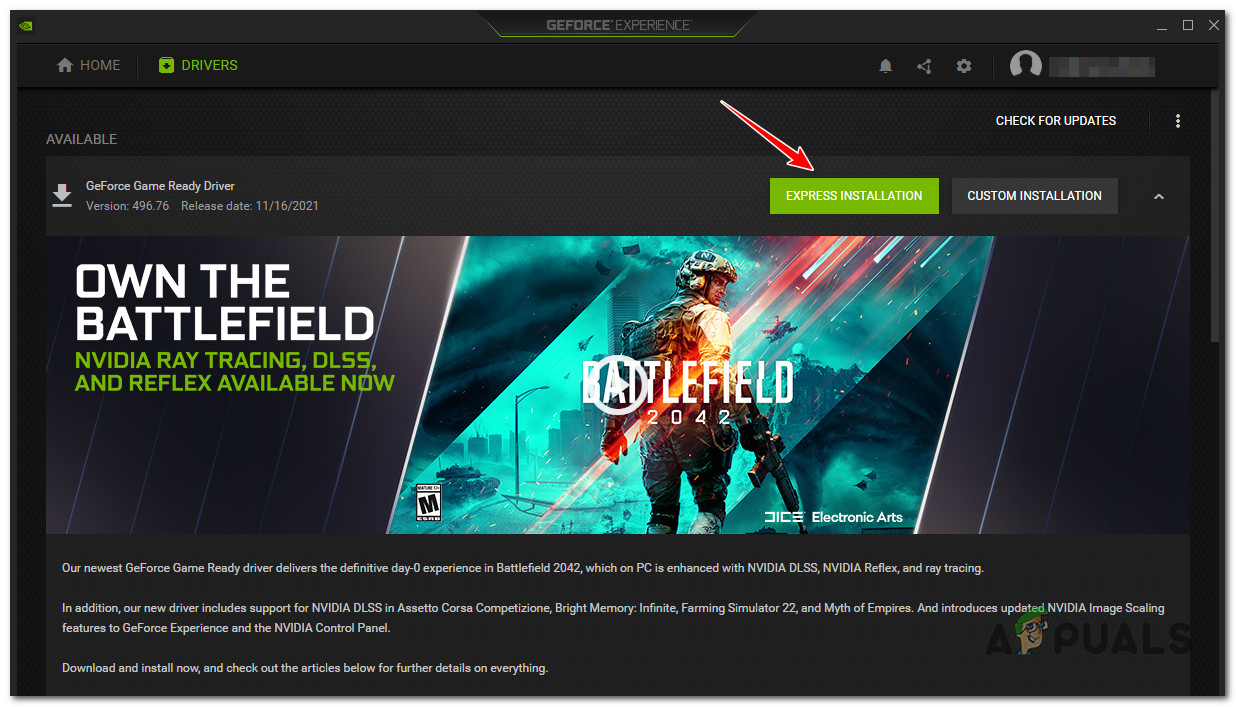
Performing an Express installation - To complete the adjustments after installing the most recent driver version, restart your computer.
- Try starting the VR mode of F1 22 again to see if the stuttering and freezing problem has been resolved.
4.2. Update the AMG GPU
However, if you have an AMD graphics card, you should absolutely use the cleanup tool before attempting to upgrade your current driver. By doing so, you can be sure to delete every trace of the previous driver installation and reinstall it from scratch.
After doing this, you can use the Auto-Detect tool to safely download the most recent GPU version.
The complete process steps are listed below:
- Click the AMD Cleanup Utility link to access the official download page. This should start the AMD Cleanup Utility’s most recent update downloading automatically.
- After the AMD Cleanup Utility has finished downloading, right-click on it and select Run as administrator from the newly displayed context menu.
- A prompt should then appear asking you to boot in Safe Mode in order to improve the utility’s performance.
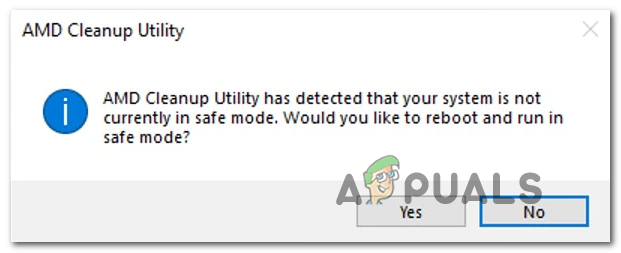
Deploying the cleanup utility Note: This program will first uninstall the existing AMD drivers before conducting a system-wide scan to check for any startup items and leftover registry entries that still have the AMD driver store signatures. It will erase any data that it discovers that shouldn’t be on your system without interfering with other system components. There is no more action required on your part because the entire procedure is automated.
- Clicking Ok will start the procedure and cause it to run in the background.
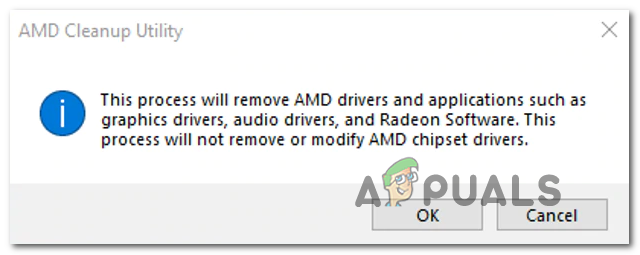
Removing the cleanup utility Note: As soon as the utility launches, you can anticipate that the display will begin to flicker before briefly going black. This is entirely typical.
- Click Finish to restart your computer normally and switch to the generic drivers after the procedure is finished.
- Visit the Auto-Detect and Install Graphics utility page on the official AMD website once your computer has restarted.
- Scroll all the way down to the Auto-Detect page and select Download Now under the Auto-Detect and Install Radeon Graphics Drivers for Windows section.
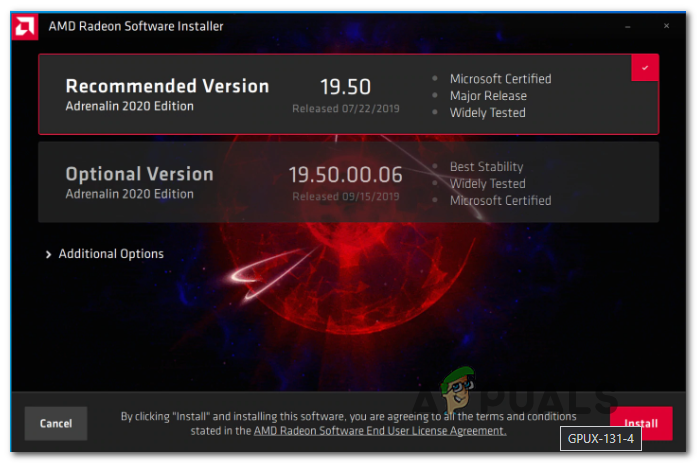
Downloading the latest version - To install Radeon Adrenalin, double-click the software you have downloaded and follow the on-screen instructions.
- After the installation is finished, AMD Adrenalin should activate automatically and begin looking for the most recent AMD graphic drivers that are compatible.
- Be patient and wait till the driver scan is finished.
- You will then be asked to install the correct driver for your model. When the option opens, select Install.
- Click the I accept to follow the procedure button on the EULA (End User License Agreement).
- To finish the process, restart your computer one last time.
- Finally, open F1 22 once more to see if the game is no longer crashing.


Not sure if this changed recently or I just skipped that setting but when I choose taa + fidelityfx sharpening in anti aliasing I suddenly get constant, great looking 90FPS on ultra settings without stuttering and bad quality I normally see with dlss and fsr. I could even change back resolution and FOV in steam to 100% which I previously had at 80% and 92% to maintain frame rate.My hardware:
Rtx 3080 12gb
5800x3d
32gb RAM 3600mhz
Reverb G2