How to Fix Explorer.exe Crashing at Reboot in Windows?
Explorer.exe typically crashes when one or more Windows services interfere with its process upon reboot. In some cases, the issue can also be caused when there is a problem with the power options in the system.
Below, we take a look at the troubleshooting methods to try to fix the problem. In this article, we have discussed the solutions to both common problems related to the error; interfering Windows services and problematic power options. Proceed with the method that suits your situation the best.
1. Restart the Intel HD graphics Control Panel Service
Several users found that a service named Intel HD graphics Control Panel Service interferes with the Explorer’s processes when they reboot their computer or wake it up from sleep, resulting in the issue at hand.
The easiest way to fix this problem is by restarting the service. This will get rid of any glitches within the services that might be causing the problem.
Here is how you can restart the Intel HD graphics Control Panel service in Windows:
- Press the Win + R keys together to open Run.
- Type services.msc in Run and click Enter.
- In the services window, look for the Intel HD graphics Control Panel Service and right-click on it.
- Choose Properties from the context menu.

Access the service properties - In the Properties dialog, click on the Stop button.
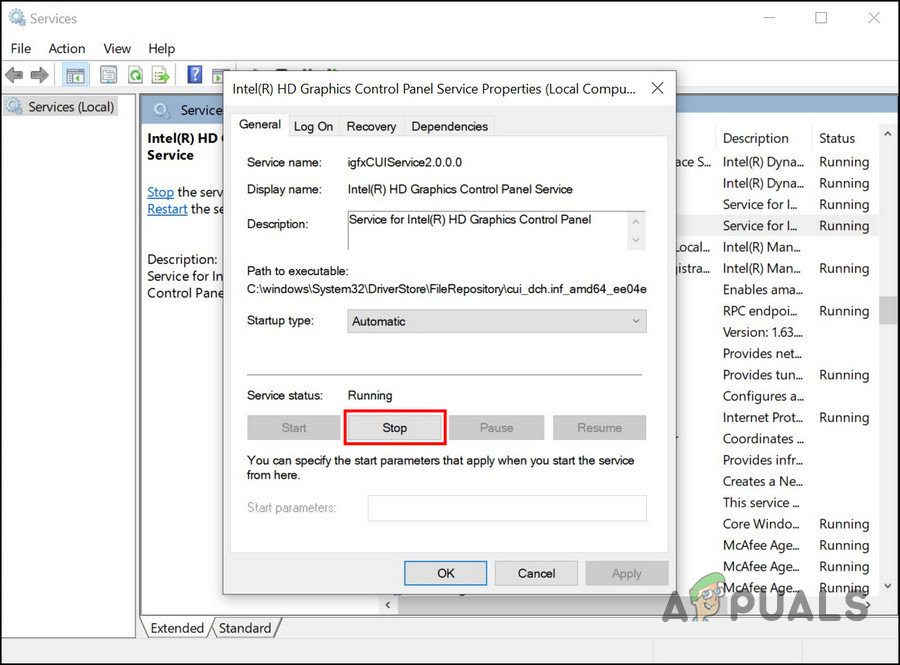
Stop the service - Wait for a few seconds, and then click on Start again.
- Click Apply > OK to save the changes.
You can now close the Services window and check if the issue is resolved.
In case this service is not the culprit in your case, you can also check if any of the other services are problematic. For this, you will have to launch the Clean Boot state. This state launches the system with only the basic set of drivers and services. Once you are in the Clean boot state, you can enable the services one by one and then check which causes the issue as soon as it is enabled.
Here is how you can proceed:
- Press the Win + R keys together to open Run.
- Type msconfig in Run and click Enter.
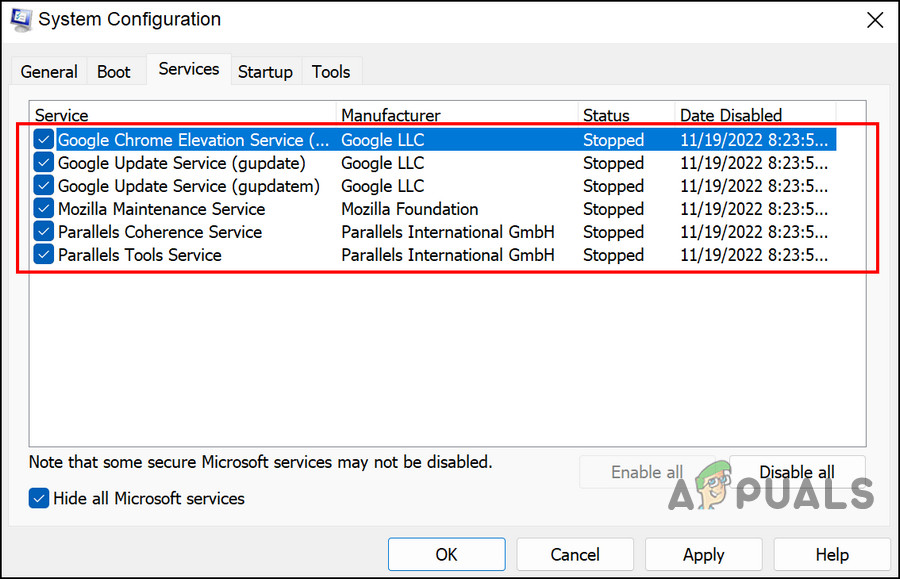
- In the System Configuration window, head over to the Services tab.
- Choose Hide all Microsoft services and select Disable all.

Disable the services - Now, head over to the Startup tab of System Configuration and select Open Task Manager.
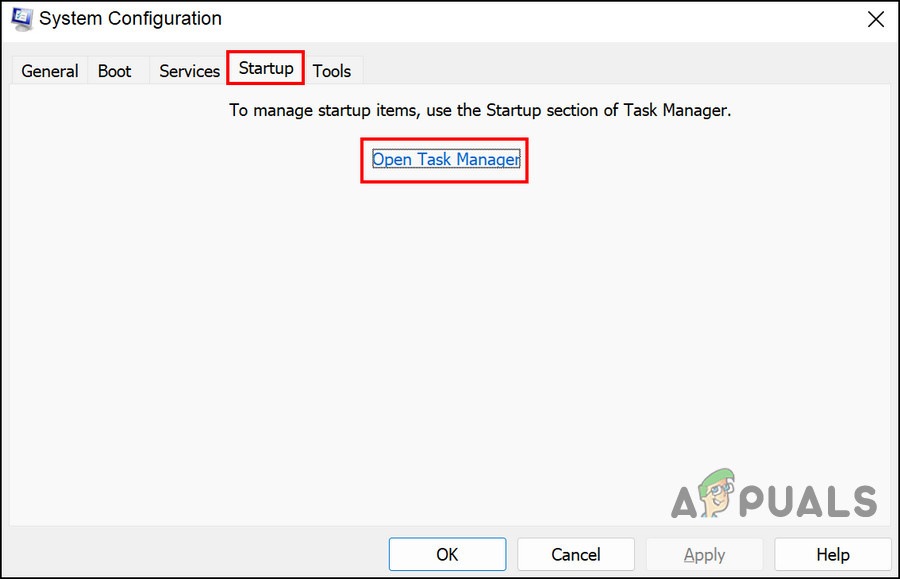
Launch Task Manager using the Startup tab - In the Startup tab of the Task Manager, select all the items one by one and choose Disable.
- Close the Task Manager and in the Startup tab of System Configuration, select OK.
- Now, restart the computer, and upon reboot, the computer will launch the Clean Boot state.
- Once you are in the Clean Boot state, launch the System Configuration window again.
- Head over to the Services tab, and then select Hide all Microsoft services.
- On the top half of the Service list, select each check box.
Divide the services in two parts - Click OK and then click Restart.
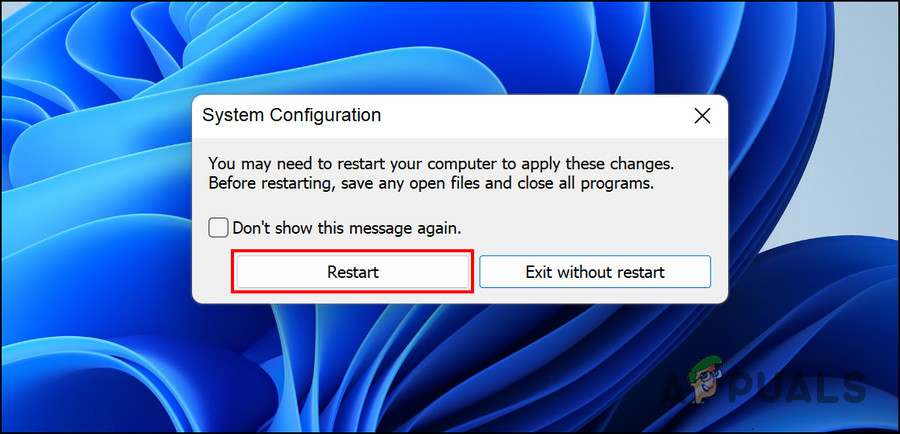
Restart your computer - If the Explorer issue occurs after restarting the computer, then it implies that the issue is with one of the checked items. Narrow down the list till you find the culprit.
- Similarly, if the issue does not appear at reboot, then it implies that the issue is not caused by the services you selected. Perform the same steps for the leftover services to identify the culprit.
- Once the culprit is identified, restart the service or disable it and check if that fixes the problem.
2. Restore the Default Power Options
If the underlying issue is not related to the services, then there is a chance that the issue is caused by a problem with the power options.
If this scenario is applicable, then the first thing you can do is restore the default power options. Follow the steps below to proceed:
- Press the Win + R keys together to open Run.
- Type powercfg -restoredefaultschemes in Run and click Enter.
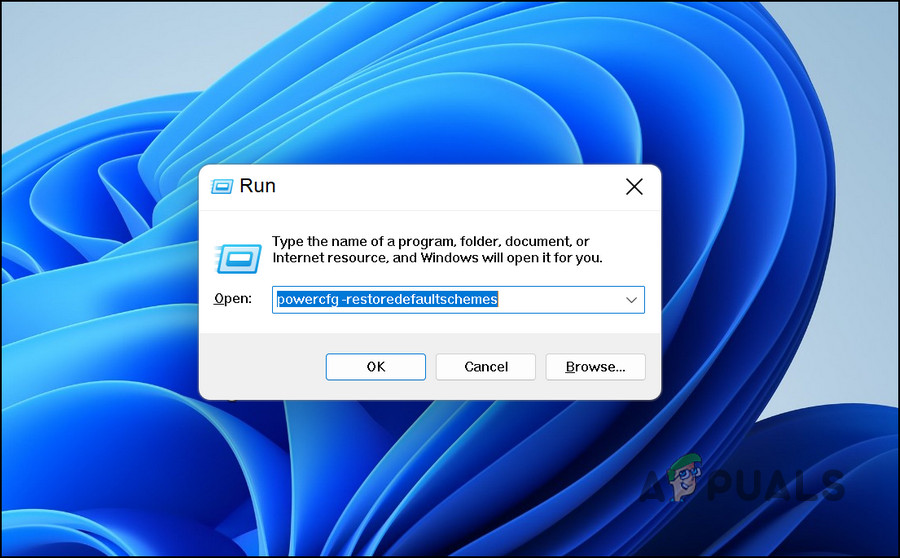
Execute the entered command - Then, restart your computer and check if the issue is resolved.
3. Run the Power Troubleshooter
Another way to fix issues with the power options is by running the power troubleshooter. This utility works by scanning the system for potential errors and then resolving the issues identified.
We will be using a Run dialog to run the power troubleshooter.
Here is all that you need to do:
- Open Run by pressing the Win + R keys together.
- Type msdt.exe /id PowerDiagnostic in Run and click Enter. The troubleshooter will now begin scanning the system for errors.
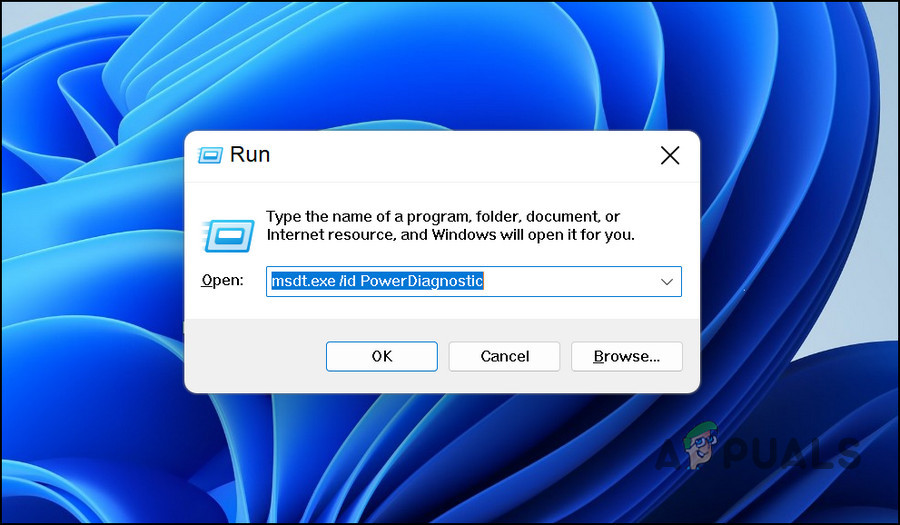
Execute the entered command - If any issue is identified, it will notify you. You can apply the suggested fix from within the troubleshooter by clicking on the Apply this fix button.
4. Run DISM and SFC Scans
Corruption errors and bugs within the system can also prevent you from launching and using Explorer on Windows.
The best way to identify any such corruption errors and then resolve them is by running the DISM and SFC utilities. There are both these tools available for free within the Windows operating system.
DIM stands for Deployment Image Servicing and Management, which is a command-line tool that administrators use to fix corrupt system images. It deploys the original image from the internet without reinstalling Windows 10. Users can use this to fix errors they can’t fix conventionally.
The System File Checker (SFC) controls file integrity and restores the health of your PC based on DISM’s image. Essentially, both tools work in tandem to resolve Windows PC issues.
Here is how you can run both utilities:
- Press the Win + R keys together to open a Run dialog box.
- Type cmd in the text field of the dialog box and press Ctrl + Shift + Enter to launch Command Prompt with administrative privileges.
- Enter the following command inside the Command Prompt window and execute it.
DISM.exe /Online /Cleanup-image /Restorehealth
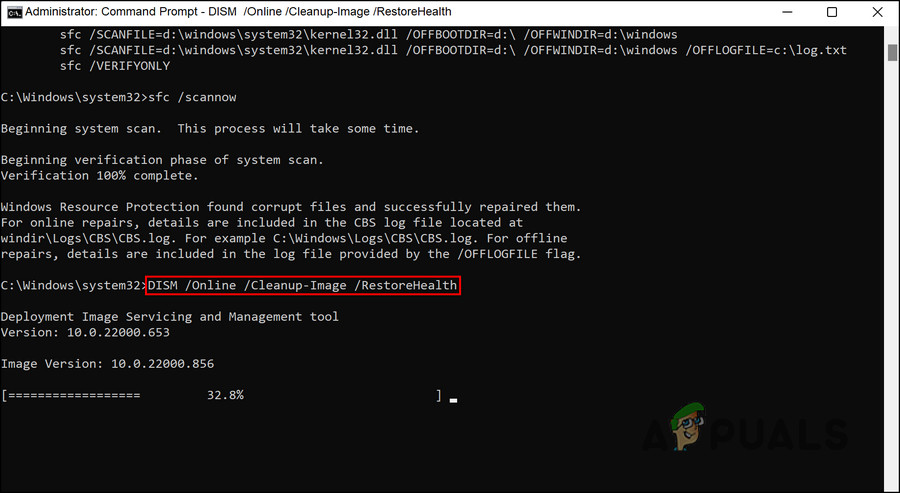
Run the DISM restorehealth command - The Command Prompt will take a few moments to execute the command successfully. After it, execute the following command in the same window.
sfc /scannow
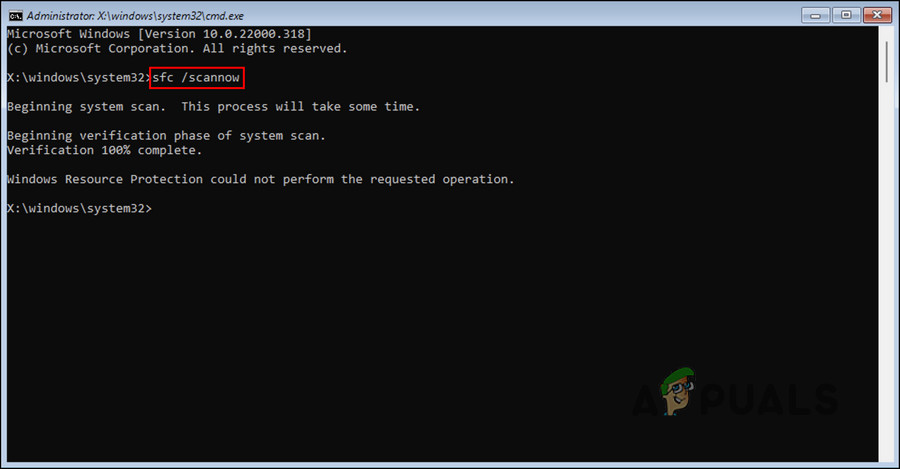
Run the SFC command
Once Command Prompt executes the command, restart your PC and check if the error appears again.


