How to Fix “Event ID 153: Source nvlddmkm Cannot Be Found”?
“NVLDDMKM” is a driver component that enables your computer’s operating system to communicate effectively with the NVIDIA graphics card. Think of it as a translator that allows your computer and the graphics card to understand each other.

This software is stored in a special part of your computer’s storage called the “System32 folder.” Its function is to manage important tasks such as ensuring that images and videos look great on your screen and performing complex calculations using the graphics card.
When you’re playing a game, it might suddenly crash or even cause your computer to freeze. A common reason for this is an issue with something called “NVLDDMKM,” which is a part of the software that ensures your computer’s graphics card functions properly.
Here’s why this might happen:
- Graphics Driver Problem: The software (driver) that helps your graphics card communicate with the rest of your computer might be outdated, incomplete, or have corrupted files. This is often the primary cause of the error.
- Permission Issues: Occasionally, your computer might prevent the graphics card from performing certain operations due to existing restrictions, causing problems.
- Overclocking: If you’re pushing your graphics card to run faster than its original design intended (commonly known as “overclocking”), it might lead to instability and errors.
- Hardware Problems: Sometimes, physical issues with the graphics card or other computer components can cause these errors.
To address these problems, there are some commonly suggested solutions from people who’ve faced similar issues.
1. Take Full Ownership of the Nvlddmkm File
Before resolving the GPU driver issue, it’s recommended to ensure you don’t have any permission issues blocking the system from accessing the file properly. By taking full ownership of the Nvlddmkm file, you can reduce the likelihood of encountering the Event ID 153 error, allowing the Nvidia driver and the system to interact with nvlddmkm.sys without restrictions.
- Open Windows Explorer by pressing the Win + E keys simultaneously.
- Navigate to C:\Windows\System32.

- Locate the Nvlddmkm file, right-click on it, and select Properties.

- Follow these steps to take full control of the Nvlddmkm file.
- Note that if this does not work, do not skip the following methods. This will confirm whether or not you have any permission issues with the nvlddmkm.
2. Disable Overclocking
Overclocking accelerates the hardware component beyond its limits, which can lead to crashes and system instability, especially in highly demanding games. Resetting the overclock can stabilize the system and resolve errors by returning the hardware component to its default speed and voltage settings.
So if you have overclocked any hardware components like the GPU and RAM, it’s worth trying to reset them to determine if this is the cause of the issue.
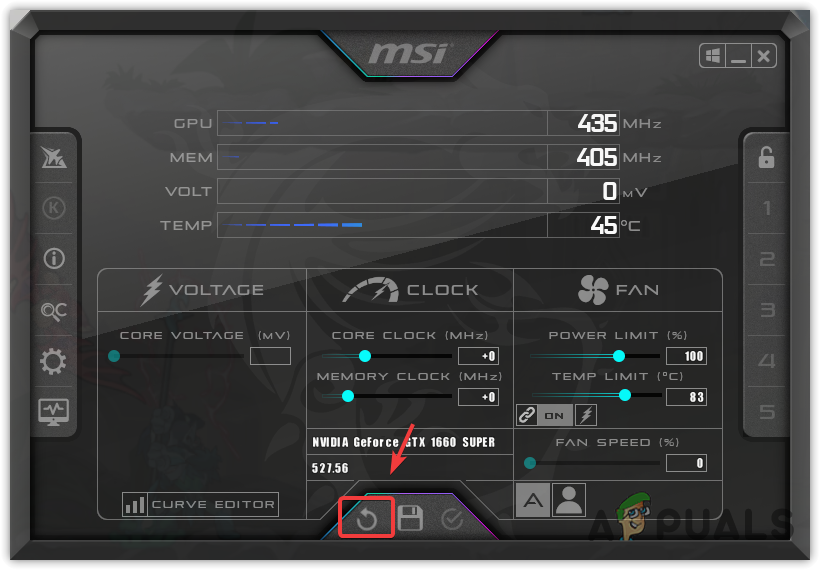
- If you have overclocked your GPU, open MSI Afterburner and simply reset the settings to default.

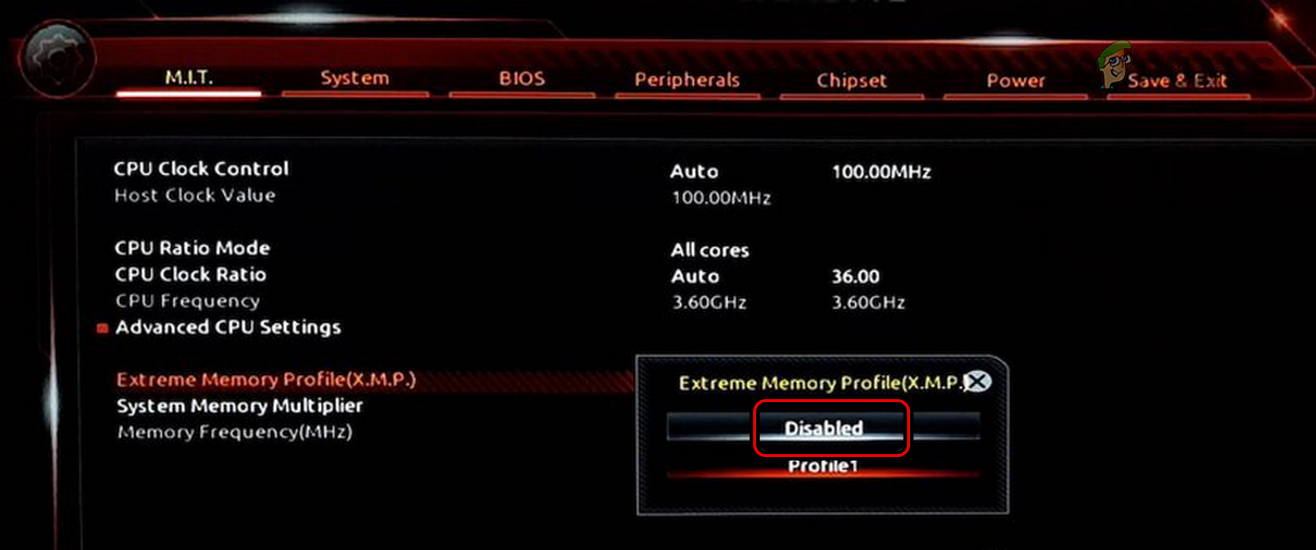
- If you are using XMP to overclock your RAM, access your motherboard BIOS settings, navigate to ‘Overclock’ or ‘Advanced Settings,’ and disable the XMP profile.

- Once completed, restart your computer and verify if the “The description for Event ID 153 from source nvlddmkm cannot be found” problem persists.
3. Reinstall the GPU Driver or Roll Back to a Previous Version
Since nvlddmkm is part of the Nvidia GPU driver files, a common fix involves reinstalling the GPU driver or reverting to an older version to restore the nvlddmkm file. Newer drivers can sometimes introduce issues with certain GPUs or applications, while older drivers might be more stable.
First, we recommend a clean reinstallation of the GPU driver. If the problem persists, trying older drivers can be a beneficial step. Many users have found success with this approach, so it might be worth it for you.
- Press the Win key and type Device Manager.

- Open Device Manager, expand Display Adapters, right-click the GPU driver, and select Uninstall device.

- Click Uninstall again.
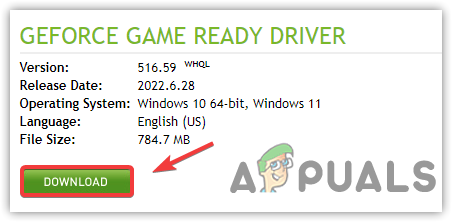
- Next, visit the Nvidia official website to install the GPU driver or use the Geforce Experience to download and install the driver.

- Make sure to check the box Perform Clean Install when installing the driver.
- Once done, restart your computer. If the issue persists, try downloading and installing an older driver version than the latest one you’ve installed on your system.
4. Check for Hardware Issues
Several user reports suggest that this issue might be due to underlying hardware problems, such as issues with the GPU. However, before arriving at any conclusions, thoroughly troubleshoot the problem by reinstalling the GPU driver or rolling back the driver. You may also reset the PC to rule out any software-related issues.
If you are sure that the issue is hardware-related, it’s advisable to take your system to a repair shop to verify if there is a hardware issue with your graphics card.


