How to Fix “Error Compiling Movie” in Premiere Pro?
Error “Compiling Movie” in Adobe Premiere Pro occurs during the export or rendering phase of a project, abruptly halting the process. This error signals that something is interfering with the completion of rendering, most often due to GPU overload. A frequent cause is mismatched or unsupported media formats within the project.

Other contributing factors include insufficient system resources, interference from background applications, or using an outdated version of Premiere Pro. This guide outlines clear and effective steps to resolve the issue.
1. Update Adobe Premiere Pro
Running an outdated version of Premiere Pro can lead to rendering issues due to older or incompatible rendering engines. Updating the software allows access to the latest performance optimizations and bug fixes that may resolve the error.
- Search for Creative Cloud in the Start Menu and open it.
- Locate Premiere Pro and check for updates.

- If an update is available, click Update and wait for the process to complete.
2. Close Background Applications
Too many background applications can consume system resources and lead to rendering failures. Closing unnecessary apps ensures Premiere Pro has enough memory and processing power to export the project smoothly.
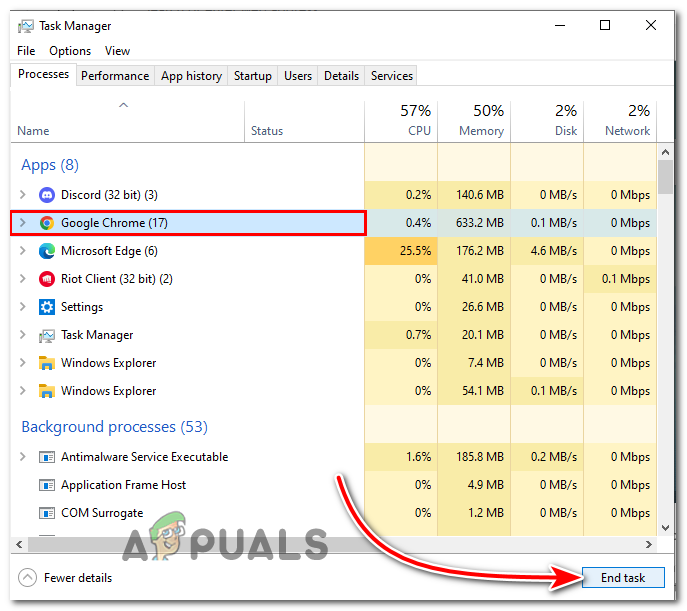
- Press Ctrl + Shift + Esc to open the Task Manager.
- Right-click on non-essential apps and select End Task.
3. Clear Media Cache and Video Preview
Corrupted or outdated cache files can interrupt the rendering pipeline. Clearing the media cache and preview files removes unnecessary data and helps eliminate export-related errors.
- In Adobe Premiere Pro, go to Edit > Preferences.
- Select Media Cache, then click on Delete.

4. Render in ProRes 422 Codec
The H.264 codec is highly compressed and often causes export issues in resource-constrained environments. Switching to the Apple ProRes 422 codec, which is less compressed and more system-friendly, can help bypass the error.
- Go to File > Export > Media.
- Set Format to QuickTime.
- Choose Apple ProRes 422 as the Video Codec.

5. Change Renderer to Software Only
If GPU drivers are causing the rendering process to fail, switching to Software Only rendering forces Premiere Pro to use CPU resources, avoiding GPU-related conflicts.
- Open Adobe Premiere Pro and click File.
- Go to Project Settings.
- Under Renderer, switch from Mercury Playback Engine GPU Acceleration to Mercury Playback Engine Software Only.

6. Reinstall Adobe Premiere Pro
If the error persists after trying all the above methods, a complete reinstallation can resolve underlying file corruption or misconfigurations that aren’t easily fixed through updates or settings changes.
- Open the Creative Cloud Desktop App.
- Go to the All Apps tab.
- Find Premiere Pro, click the three dots beside it.
- Select Uninstall.

- When prompted, choose Remove Preferences to delete leftover settings.
- Once uninstalled, reinstall Premiere Pro from the same Creative Cloud panel.


