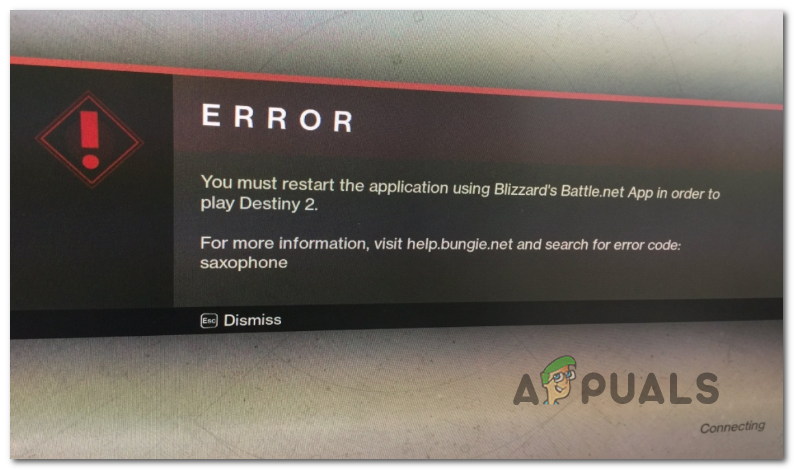
How to Fix Error Code ‘Saxophone’ in Destiny 2
Some PC players are seeing the ‘saxophone’ error code while attempting to launch Destiny 2 on Windows 7, Windows 8.1 and Windows 10. According to Bungie, this error code is largely attributed to a general networking error.
As it turns out, there are several different causes that might end up causing this error code with Destiny 2:
- Battle.net server thinks you don’t own the game – You might see this error if you don’t own the full game rights to Destiny 2 (you played it during a weekend where it was free) or you’ve idled out in the menus long enough for the license to expire. In this case, try restarting the Battle.Net client or claiming the game (in case you received it as a gift from Battle.net).
- Battle.net doesn’t have admin access – According to some affected users, this problem can also occur if the game’s launcher is not configured to launch with admin access. In this case, you can resolve the issue by modifying the default behavior to always run with admin access.
- Corrupted data inside CVAR files – As it turns out, there are two potential profile files that are known for causing this error code. To resolve the issue, you will need to access the AppData folder associated with Destiny 2 and clear the two files from your profile folder.
- Corrupted Destiny 2 installation or cached data – Under certain circumstances, this error can also be caused by some type of corrupted data that are currently stored locally. Some users facing the same error code have managed to resolve this issue by reinstalling both Destiny 2 and the launcher (Battle.net) after deleting every left-behind cached data.
Method 1: Ensure that you own the Game
According to the majority of affected users, the ‘saxophone’ error code seems to largely affect users that have tried the game during a weekend where it was free to play.
In most cases, code saxophone is a signal that you don’t have the license to play the game or that the session to the license has expired after you have idled in the menus for a long time.
In case you received the game a gift from one of Blizzard’s promotions, you’ll likely need to claim it using the launcher app on Battle.net.
If you already claimed it, it’s worth a try to restart the Battle.Net client or even restart your computer and see if the saxophone error code persists. Sometimes the launcher just needs a restart to register that you actually have the full rights to run the game outside of its free-to-play promotions.
In the event that you have already ensured you have the full rights to Destiny 2 and you’re still seeing the error even after rebooting your system, move down to the next potential fix below.
Method 2: Running Battle.net with Admin Access
Another fairly common cause that will produce the saxophone error code when launching Destiny 2 is a permission issue facilitated by insufficient permissions given to Battle.net.
If this scenario is applicable, you should be able to it the problem by ensuring that Battle.net is launched with admin access.
To deploy this potential fix, follow the instructions below:
- Right-click on the Battle.net executable and choose Run as Administrator from the context menu that just appeared.
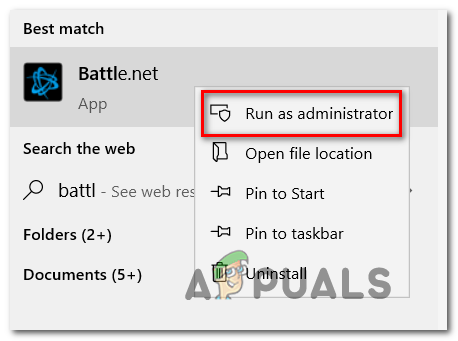
Running Battle.net as administrator - When you re-promoted by the UAC (User Account Control), click Yes to grant admin access, then launch Destiny 2 and see if the game launches without the saxophone error code.
- In case the problem doesn’t occur anymore, you will need to ensure that Battle.net is forced to run with admin access at every startup so the error doesn’t occur in the future. To do this, right-click on the launcher once again, and choose Properties from the context menu.
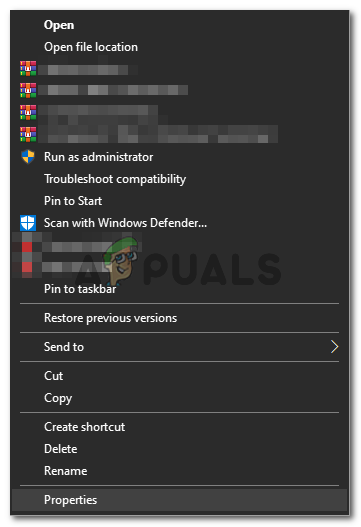
Right-clicking and selecting “Properties”. - Inside the Properties screen, select the Compatibility tab from the list of options at the top, then move over to the Settings section and check to box associated with Run this program as administrator.

Run this program as an administrator - Click Apply to save the changes the launch Destiny 2 once again. From this point, the executable should be configured to launch the game without the same error code.
If this fix didn’t work for you, move to the next potential method below.
Method 3: Removing the CVAR files for Destiny 2
If you want to avoid uninstalling Destiny 2 along with the launcher (Battle.Net) you might be able to resolve the saxophone error code by deleting a couple of CVAR files belonging to the user profile.
Several affected users have confirmed that this operation successfully allowed them to eliminate the startup error in Destiny 2 and play the game normally.
To deploy this potential fix, follow the instructions below:
- Ensure that Destiny 2 and the Battle.net launcher are completely closed (and not running in the background).
- Open File Explorer and navigate to the following location:
C:\Users\*USER_NAME*\Appdata\Roaming\Bungie\DestinyPC\prefs\
Note: *USER_NAME* is simply a placeholder. Replace it with the name of the Windows profile that you’re actively using.
- Once you’re inside the correct location, go ahead and delete cvars.xml and cvars.old that you find inside the prefs folder.
- Launch Destiny 2 once again and see if the problem is now resolved.
In case the same issue is still occurring, move down to the next potential fix below.
Method 4: Reinstall Destiny 2 & Battle.net (After clearing the cache)
As it turns out, this problem can also be facilitated by some type of corrupted cached data that’s currently being stored locally. Several affected users have confirmed that they managed to fix the issue by uninstalling Destiny 2, Battle.net 2, and deleting every bit of cached data before installing everything once again.
If this scenario looks like it could be applicable, follow the instructions below to uninstall the Destiny along with the game’s launcher and then clear every cache directory:
Note: Keep in mind that the operation you’re about to perform will cause you to lose every persistent setting including logged user credentials, custom keybinds, and custom graphic settings for Destiny and other games that you launch via Battle.net.
- Press Windows key + R to open up a Run dialog box. Next, type ‘ appwiz.cpl’ inside text box and press Enter to open up the Programs & Features menu.

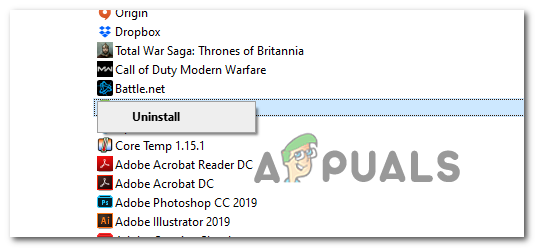
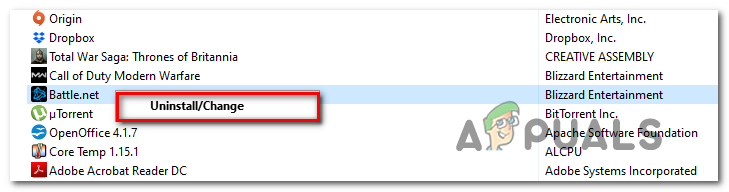
Type appwiz.cpl and Press Enter to Open Installed Programs List - Once you’re inside the Programs & Features menu, scroll down through the list of installed applications and locate Destiny 2. When you see it, right-click on it and choose Uninstall from the newly appeared context menu.
Uninstalling Destiny 2 - Inside the uninstallation screen, follow the on-screen instructions to complete the uninstallation.
- Next, return to the Program and Features screen and repeat step 2 and 3 with Battle.net.
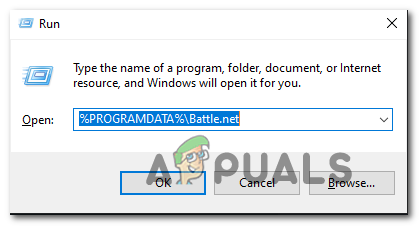
Uninstalling Battle.net - Once both Battle.net and Destiny 2 is uninstalled, press Windows key + R to open up another Run dialog box. Inside the text box, type ‘%PROGRAMDATA%\Battle.net‘ and press Enter, then go ahead and delete every file inside the folder that you just opened.
Deleting the cached data folder of Battle.net - Repeat step 5 with the remaining of the cache files and clear every folder until no file is currently present inside:
%APPDATA%\Battle.net
%LOCALAPPDATA%\Battle.net
%APPDATA%\Bungie\DestinyPC
- Once every cache file is deleted, restart your computer and wait for the next startup is complete. Once your PC boots back up, install Battle.net and Destiny 2 again, launch the game and see if the problem is now resolved.


