Fix: (Code NU80070422) on Google Play Games
The “Couldn’t install the app. Error code: NU80070422” error in Google Play Games for Windows usually appears when required Windows services are disabled or not running. This prevents the app from downloading and installing its components properly.
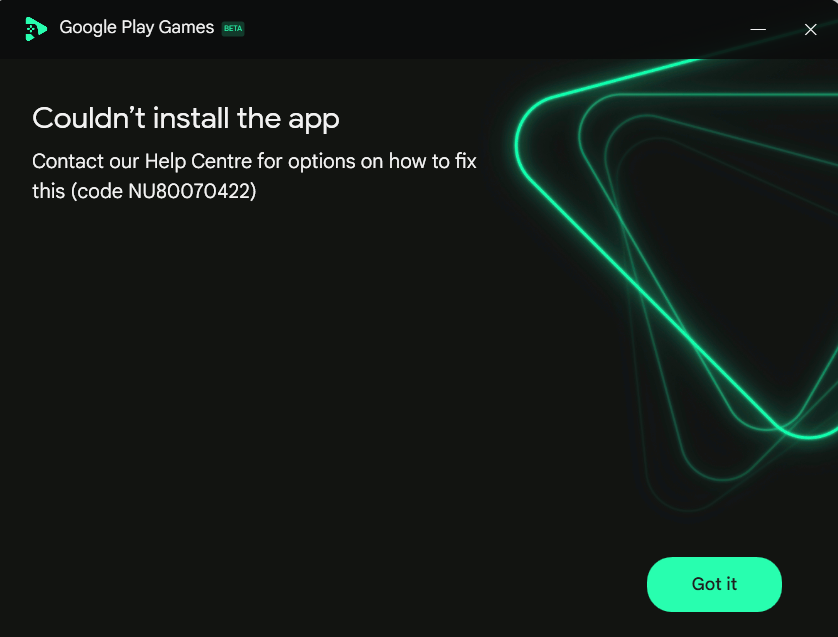
Error code 0x80070422 indicates that a critical Windows service, such as Windows Update or Background Intelligent Transfer Service (BITS), is disabled. Windows Update is responsible for installing system components required by apps, while BITS handles background downloads. If either service is not running, Google Play Games cannot complete its installation.
Follow the methods below, starting with enabling the required Windows services. Make sure you are using an administrator account before proceeding.
1. Enable Required Windows Services (Most Important)
This error is most commonly caused by disabled Windows services. Enabling them allows Google Play Games to download and install required components properly.
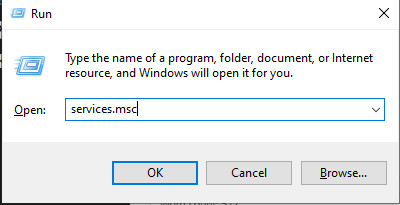
- Press Windows + R, type services.msc, and press Enter.
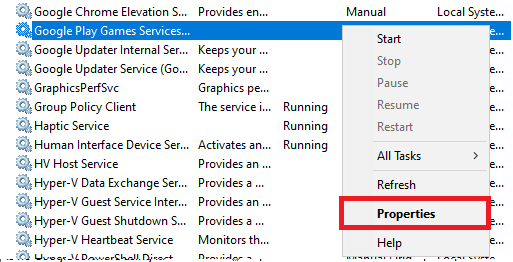
- Locate the following services:
- Windows Update
- Background Intelligent Transfer Service (BITS)
- Right-click each service and select Properties.
- Set Startup type to Automatic, then click Start.
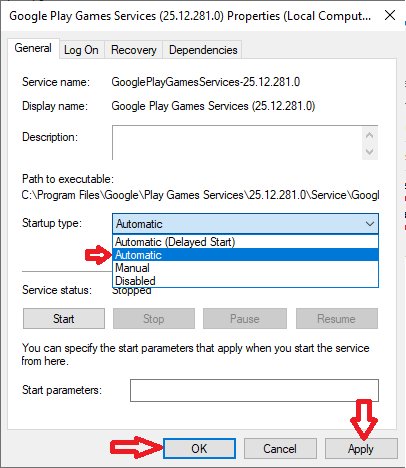
- Click Apply and OK.
- Restart your PC and try installing Google Play Games again.
2. Delete Corrupted Installation Files
If a previous installation failed, leftover files can interfere with new attempts. Removing them allows a clean reinstall.
- Close Google Play Games and its installer.
- Press Windows + E to open File Explorer.
- Navigate to:
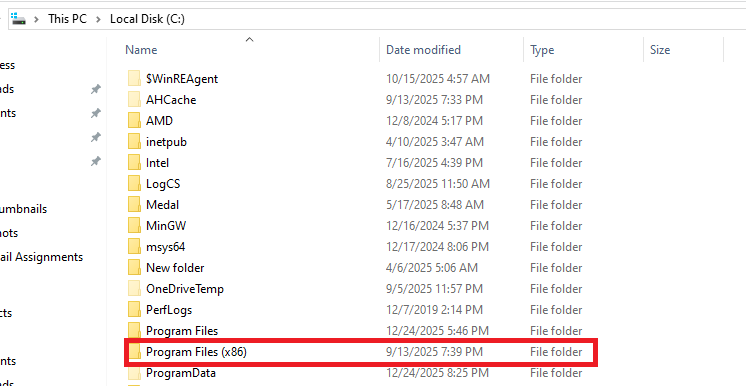
C:\Program Files (x86)
Paste this path into the File Explorer address bar and press Enter.
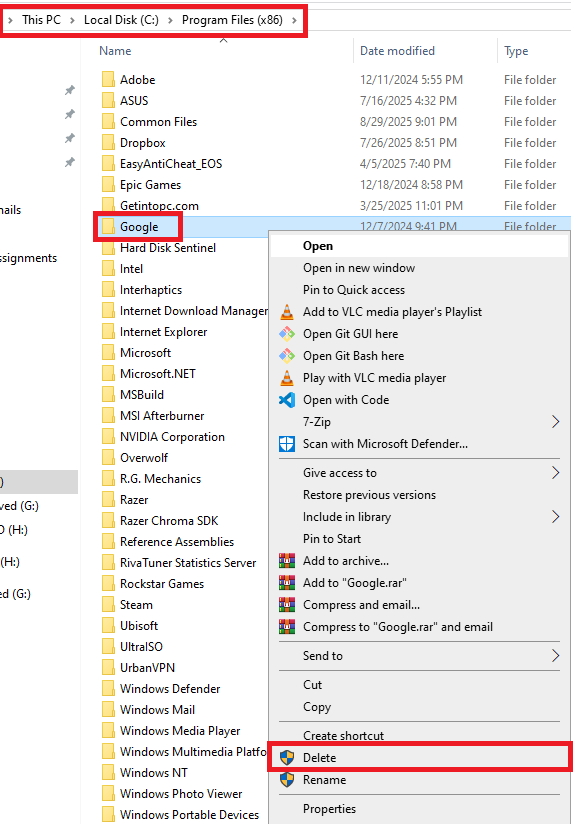
- Locate the Google folder and open it.
- Delete only the Google Play Games folder (if present).
- Restart your computer.
- Download and run the latest installer again.
3. Reinstall Google Play Games (Clean Setup)
If the installation is incomplete or corrupted, reinstalling ensures that all required components are downloaded correctly.
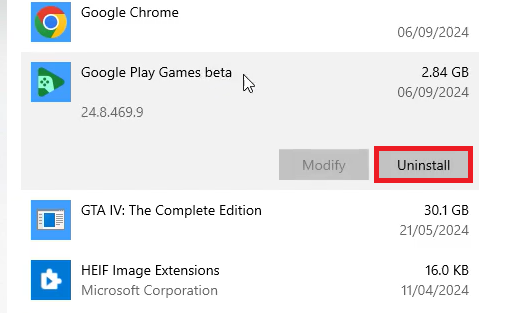
- Press Windows + R, type appwiz.cpl, and press Enter.
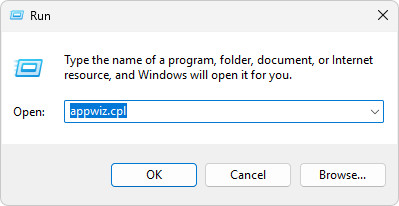
- Find Google Play Games, right-click it, and select Uninstall.
- Restart your PC after uninstalling.
- Download the latest version from the official website.
- Run the installer and check if the issue is resolved.
4. Enable Window Hypervisior
Windows Hypervisior or Hyper-V is a virutalizaion technology built into windows that allows your computer to run virutal machines. Enabling the Windows hypervisor to start automatically at the boot, which is important for apps like Google Play Games for Windows that depends on hardware virtualization to run Android games.
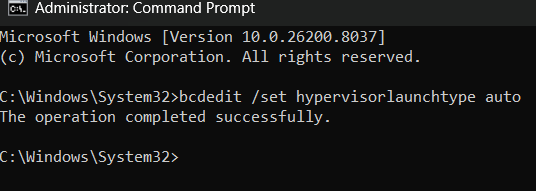
- Open Command Prompt as Administrator.
- Type the folliwng command in CMD.
bcdedit /set hypervisorlaunchtype auto
- Relaunch the installer and try installing the program again.
5. Check Virtualization (If Issue Persists)
Enabling virutalizatoin can help fixing the error because this platform depends on a built-in Android virtualization environment to run mobile games on your PC. If virtualization (Intel VT-x or AMD-V) is disabled in BIOS, the emulator cannot properly create a virtual Andrioid system.
By enabling virtualization, you allow your system to support hardware based virtualization which ensure that emulator services run correctly and eliminting conflicts that cause the error.
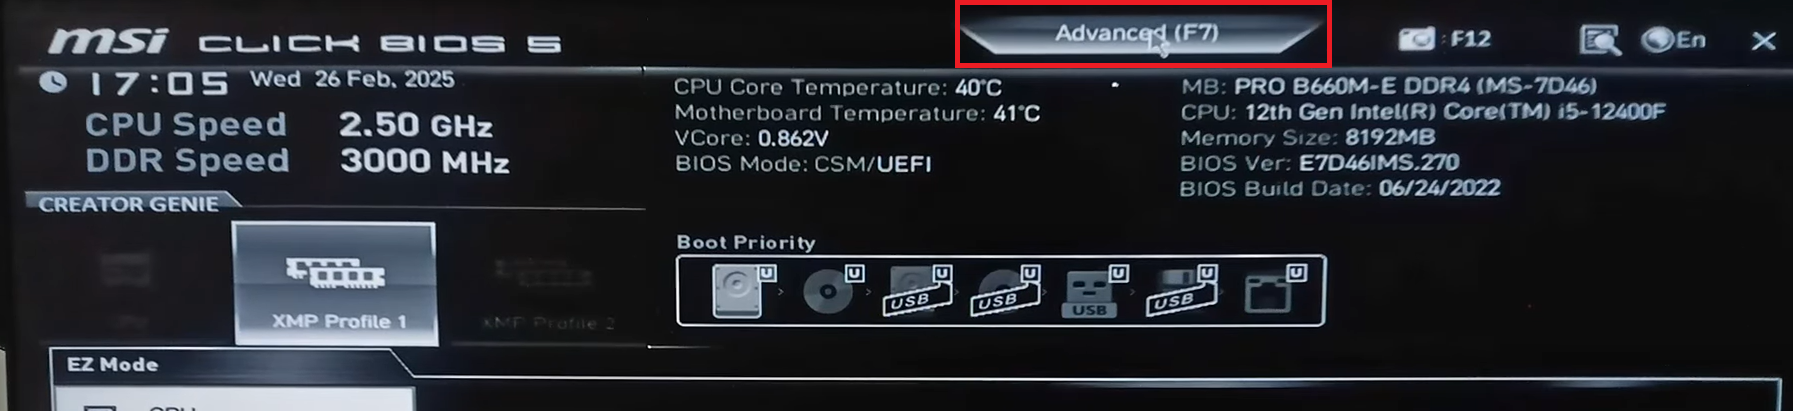
- Restart your PC and enter BIOS/UEFI settings.
- Go to Advanced tab in your BIOS.
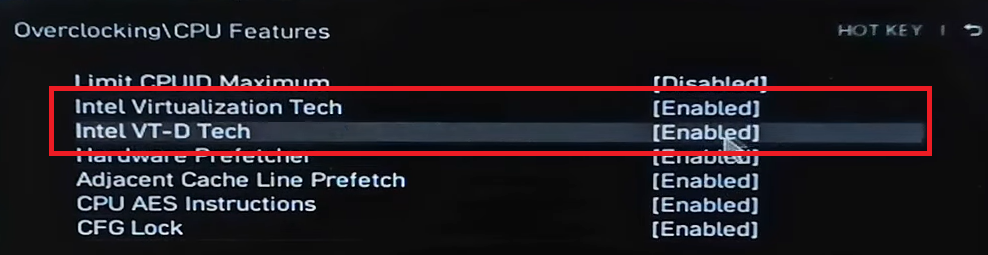
- Look for CPU Features in Overclocking settings.
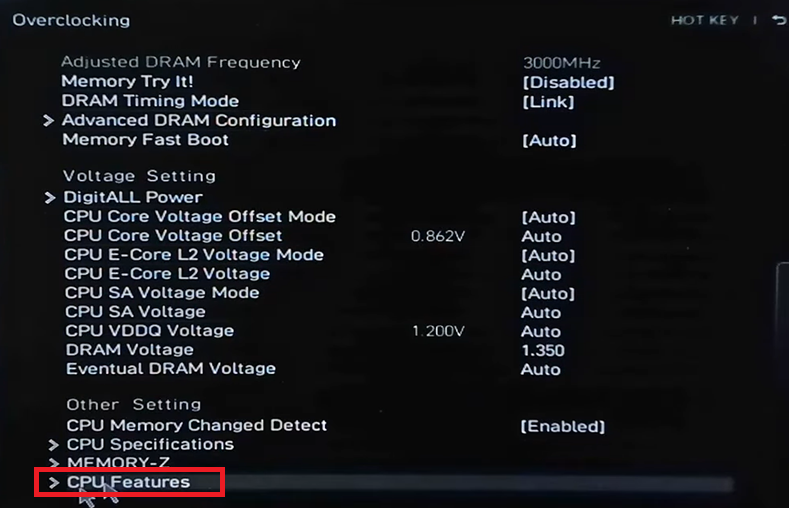
- Enable Intel Virtualization Tech and Intel VT-D tech.
- Save the changes and then restart your PC.
- Boot back into Windows and try installing again.
If none of the methods above resolve the issue, make sure your Windows system is fully updated and temporarily disable any third-party antivirus or firewall that might be blocking the installation.