How to Fix ‘Error Code 282’ Roblox
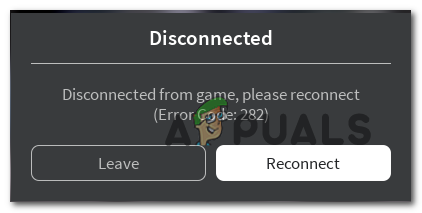
Some Roblox players are suddenly unable to join any ongoing games. Every time they attempt to do this they are prompted by the error Disconnected from game, please reconnect (Error code:282).
After investigating this particular issue, it turns out that there are several different causes that might be causing this error code. Here’s a shortlist of potential culprits that might trigger the 282 error code in Roblox:
- Roblox Sever issue – Under certain circumstances, this problem can be caused by an ongoing issue with the game megaserver. If this scenario is applicable, the only thing you can do is identify the server problem and wait for the server problem to be resolved.
- VPN or Proxy interference – As it turns out, certain versions of Roblox (particularly modded builds) don’t play well with anonomity systems like system server VPNs and Proxy servers. You can test whether this culprit is responsible by disabling your proxy server or uninstalling your system level VPN.
- Incompatibility issue – As it turns out, this issue can also appear when there’s an incompatibility issue between the local game installation and the game’s megaserver. To fix this issue, you’ll force the game executable to run in compatibility mode with Windows 7 and Windows 8.1.
- DNS Inconsistency – As a lot of users have confirmed, this problem can very well occur due to a bad domain name address that is affecting the stability of the game. if a DNS inconsistency is to blame, you should be able to fix it by flushing your DNS cache or by changing your current DNS to a stable range.
Method 1: Checking for Server Issues
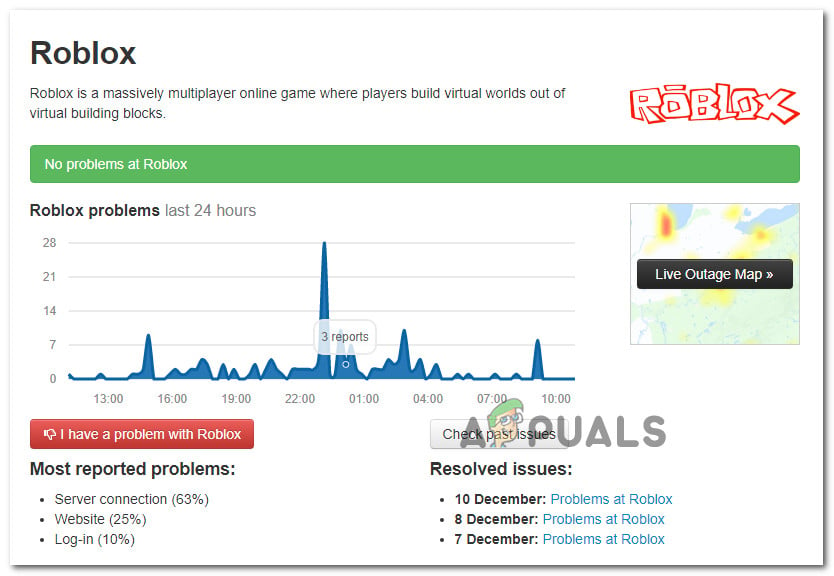
Before you try any of the other potential fixes below, you should start this troubleshooting guide by making sure that the main mega servers powering the game are not currently experiencing outage issues.
If you suspect this is what’s causing the problem, you should check if other users in your area are also encountering this error code. The easiest way to do this is via services like IsTheServiceDown and DownDetector.
Note: If the two directories above have revealed an underlying server issue, none of the fixes below will fix the issue. In this case, the only thing you can do is wait for Roblox developers to fix the issue.
If the investigation you just finished didn’t reveal any underlying server issues that other Roblox players are occurring, you can conclude that the error code 282 is occurring due to a local problem – In this case, move down to the next potential fixes below.
Method 2: Disable VPN or Proxy Server
One of the most common instances that will spawn the 292 error code is a system-level VPN or a proxy server that ends up blocking the connection between your local game installation of Roblox and the mega server that you’re attempting to connect to.
If you’re using a system-level VPN or a Proxy server, you should be able to fix this problem simply by disabling the anonymity system that you currently have in place. There are a lot of confirmed reports of users that managed to prevent the 282 error code entirely by letting go of their VPN or proxy server.
In case this scenario is applicable, follow one of the sub-guides below to uninstall your system-level VPN or disable your proxy server:
A. Disable the Proxy Server
- Press Windows key + R to open up a Run dialog box. Next, type ‘inetcpl.cpl’ inside the text box and press Enter to open up the Internet Properties tab.
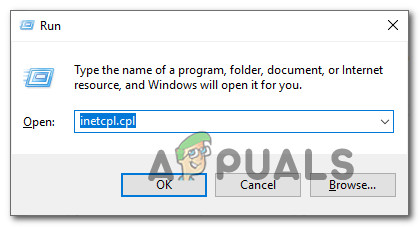
Opening the Internet Properties screen - Inside the Properties tab, access the Connections tab (from the menu at the top), then click on LAN Settings (under Local Area Network LAN settings).

Open LAN settings in Internet Options - Inside the Settings menu of Local Area Network (LAN), click on Proxy server category and uncheck the box associated with Use a proxy server for your LAN.
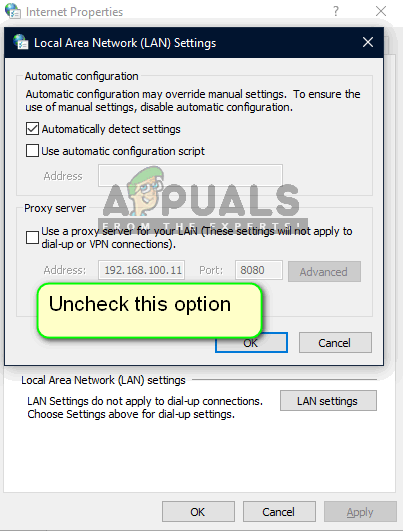
Disabling Proxy Server - Once you have successfully disabled the Proxy server, reboot your computer and see if the problem is fixed at the next startup.
B. Uninstalling the VPN Client
- Open up a Run dialog box by pressing Windows key + R. Next, type ‘appwiz.cpl’ and press Enter to open up the Programs and Features screen.

Type appwiz.cpl and Press Enter to Open Installed Programs List Note: When you see the UAC (User Account Control) menu, click Yes to grant administrative privileges.
- Once you’re inside the Programs and Features menu, scroll down through the list of installed programs and locate the system-level VPN that you want to get rid of.
- After you manage to locate it, right-click on it and choose Uninstall from the context menu.
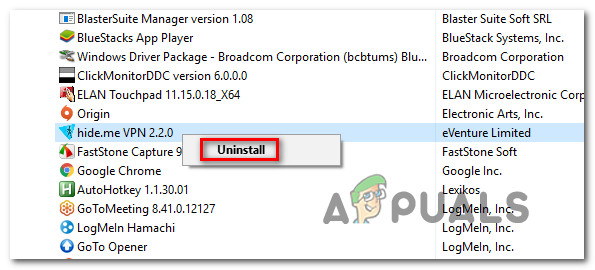
Uninstalling the VPN client - Follow the on-screen prompts to complete the uninstallation, then restart your computer and launch the game once the next startup is complete.
If you still end up encountering the 282 error code, move down to the next potential fix below.
Method 3: Running in Compatibility Mode
If you’re encountering this problem on Windows 10 while attempting to run an older version of Roblox, chances are you’re dealing with some kind of incompatibility issue.
This is a fairly common issue for Roblox players attempting to run an older game build.
Fortunately, this problem can easily be resolved by forcing the game’s executable to run in compatibility mode with Windows 7 or Windows 8.1.
Here’s a quick guide on how to enforce this potential workaround:
- Open File Explorer and navigate to the location where you installed Roblox.
- When you get to the correct location, right-click on the main Roblox executable and choose Properties from the newly appeared context menu.
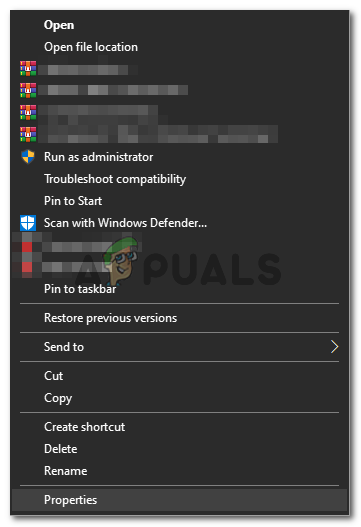
Right-clicking and selecting “Properties”. - Once you’re inside the Properties screen, click on the Compatibility tab from the horizontal menu at the top.
- Inside the Compatibility tab, go to the Compatibility Mode section and check the box associated with Run this program in compatibility mode for, then select Windows 8.1 or Windows 7 (if available) from the newly appeared context menu.
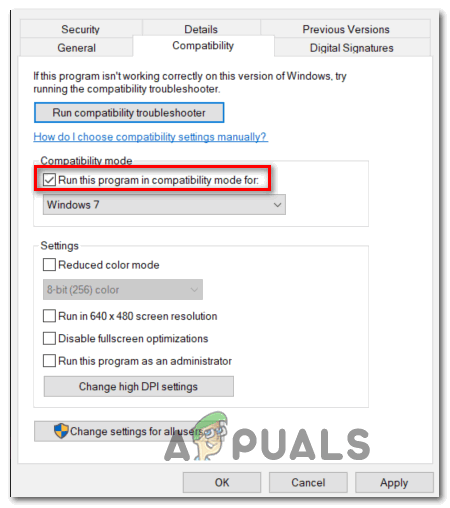
Running installer in compatibility mode - Click Apply to save the changes, then open Roblox once again and see if the problem is now resolved.
If the same problem is still occurring, move down to the next potential fix below.
Method 4: Flushing the DNS
As it turns out, this problem can also occur due to a DNS (Domain Name Address) inconsistency that ends up affecting your connection with the game server. Some users that were also struggling with the 282 error code have reported that the issue was entirely fixed by flushing the DNS cache.
If the problem is caused by a bad DNS cache, flushing your DNS cache should fix the majority of stability issues with Roblox.
Here’s a quick guide on flushing the DNS cache on any Windows computer:
- Press Windows key + R to open up a Run dialog box. Next, type ‘cmd’ inside the text box and press Ctrl + Shift + Enter to open p the elevated Command Prompt.

Running the Command Prompt Note: When you see the User Account Control (UAC), click Yes to grant admin access.
- Once you’re inside the elevated Command Prompt, type the following command and press Enter to flush the DNS cache:
ipconfig/flushdns
Note: After you successfully flush your cache, this process will end up removing any info related to your DNS cache. What this does is essentially forcing your router to assign new DNS information.
- If the flushing process is complete, you’ll see a success message.
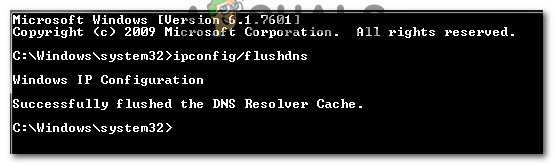
Example of a successfully flushed DNS Resolver Cache - Open Roblox again and see if the error code is now fixed.
In case you’re still seeing the same 282 error code, move down to the next potential fix below.
Method 5: Changing the DNS servers
If a DNS flush didn’t work for you, one last thing you can do to resolve the error code 282 is to change the DNS (Domain Name Address) range.
Some users that were also struggling with this Roblox issue have managed to fix this problem by migrating their DNS range to a more stable domain name address. One common choice is Google DNS, but there are other alternatives you can go for.
If you haven’t tried this yet, follow the instructions below to change the DNS on any Windows computer:
- Press Windows key + R to open up a Run dialog box. Next, type ‘ncpa.cpl’ and press Enter to open up the Network Connections window.
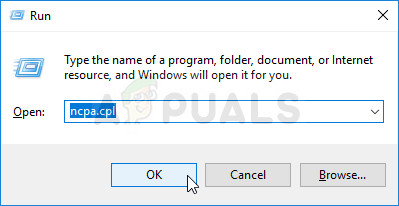
Run this in the Run dialog box - Inside the Network Connections window, right-click on Wi-Fi (Wireless Network Connection) and choose Properties from the context menu. If you are using a wired connection, right-click on Ethernet (Local Area Connection) instead.
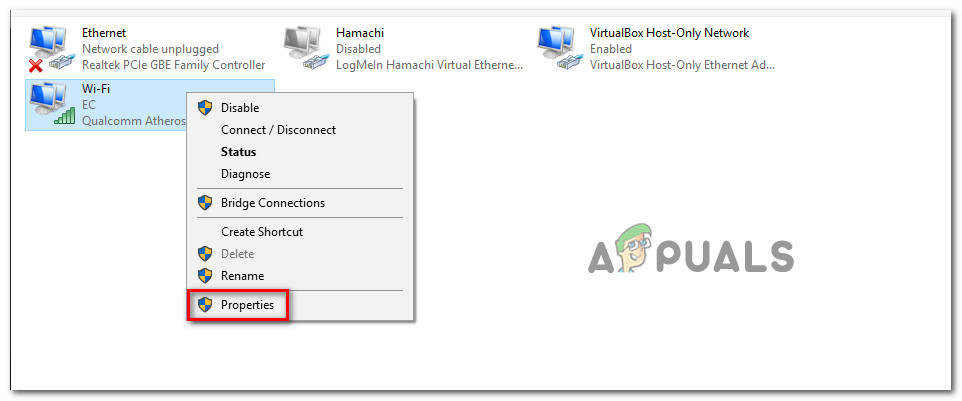
Opening the Properties screen of your network Note: When you are prompted by the UAC (User Account Control) prompt, click Yes to grant admin access.
- Once you’re finally inside te Ethernet or W-Fi menu, click on the Networking tab, then find the section that says This connection uses the following items. When you get to this menu, click on the box associated with Internet Protocol Version 4 (TCP /IPv4), then click on the Properties button.
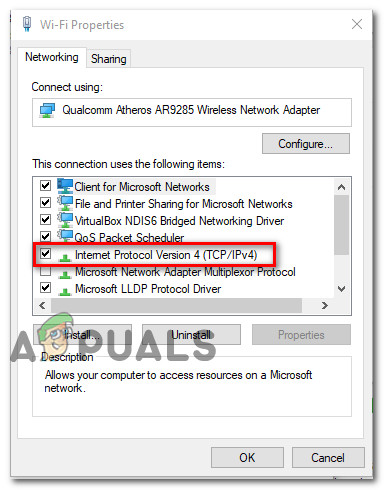
Accessing the Internet Protocol Version 4 settings - Once you’re inside the Internet Protocol Version 4 settings, click on General, then enable the box associated with Use the following DNS server address.
- At the next screen, replace the values for Preferred DNS server and Alternate DNS server with the following values:
8.8.8.8
8.8.4.4
Note: This is the DNS range for Google, but you can also use 1.1.1.1 and 1.0.0.1 as Preferred DNS server and Alternate DNS server.
- Save the changes to enforce the new DNS range, then reboot your computer and see if the problem is fixed at the next computer startup.


