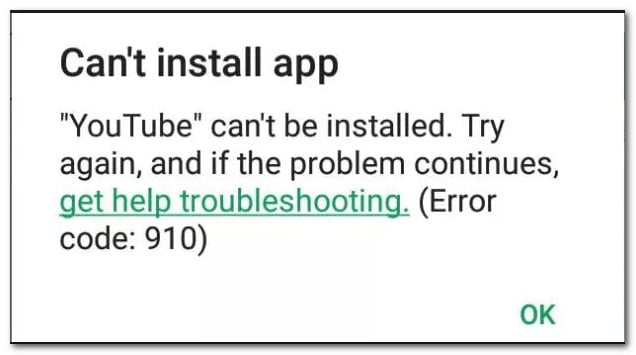
Fix: Error 910 on Google Play ‘Cant install app’
The ‘Error Code 910‘ is typically encountered when the user tries to install, update or uninstall an app from Google Play Store on an Android device. This is typically known to occur if the user previously uninstalled preinstalled updates for the same app. The issue is mainly reported to occur on Lollipop (5.x), Marshmallow (6.x), Nougat and Oreo.
What is causing the ‘Error Code 910’ issue?
We managed to discover some of the most common causes that will trigger this particular issue. We’ve done this by looking at various user reports and the repair strategies that they used to get the issue resolved. Here’s a shortlist with common scenarios that have the chance of triggering this particular error message:
- Corrupted data stuck in the Cache folder – It is confirmed that the issue can occur due to some badly cached data in the installation folder. Several users encountering this particular error code have managed to get it sorted by clearing the cache & application data of the Google Play Store app.
- Glitched Google Account – This particular error can pop up if you’re dealing with a corrupted Google account. These things are known to happen with no apparent trigger. But luckily, you can rectify most issues related to your Google account by signing out & in of it.
- Data present on the SD card is inaccessible – The frequency of this error code is much higher on Android devices that are using an SD card for extra memory. There’s no official explanation why this occurs, but some users speculate that it’s probably related to the fact that the SD card is formatted with a different file system. In this case, you will be able to resolve the issue by moving the app to the internal storage and update it while it’s there.
- Corrupted Data on the SD card – There is a scenario where the error code is encountered because of corruption present on the SD card. Several affected users have managed to get this resolved by physically or virtually ejecting the SD card before trying to update the app.
- Google Play Store is preventing the update to complete – Another possible reason that would trigger this error code is an incompatibility between your device model and the application. The Google Play Store is responsible for determining that, so you can probably get around this inconvenience by sideloading the app from an external APK website.
- Blackberry Launcher doesn’t have admin privileges – This scenario is exclusive to Blackberry Priv devices running Android 6.0+. As it turns out, a system bug might cut the privileges of Blackberry Launcher whenever Google Pay is enabled on the device. In this case, you can resolve the issue by disabling the admin access of Google Pay and enabling the admin access of the Blackberry Launcher.
- Severe App corruption – This scenario won’t occur unless you sideload the app, try to debugg it or interfeer with it’s files. But if you’ve done this and you are unable to update or install the application, the only way forward is to use the ADB utility to remove the application package manually.
If you’re struggling to find some troubleshooting steps that will resolve the ‘Error Code 910‘, this article will be of help. Down below, you’ll discover several verified methods that other users in a similar situation have successfully used to get the issue resolved.
We’ve arranged the potential fixes below by efficiency and severity. So if you’re looking for the most efficient approach, follow the methods below in the order that they are presented.
Method 1: Clearing the Cache of the Google Play Store
The following method is one of the most popular ways to resolve the ‘Error Code 910‘ on Android devices. If the issue occurs due to some badly cached data that ends up preventing the application to update, clearing the cached data of the Google Play Store application will fix the issue permanently. The steps below were confirmed to be effective by a lot of users struggling to resolve the same error code:
Here’s how to clear the cached data of the Google Play Store application on an Android device:
Note: The Android realm encompasses is a highly fragmented market. Older Android versions look and behave differently, not to mention that you might be dealing with a customized ROM, depending on the manufacturer. Because of this, some steps might be slightly different than what you see on our screens. But you should have no problem replicating them on your device.
- On the home screen of your Android device, tap on the Settings menu. Inside the Settings menu, tap on Apps & notifications.
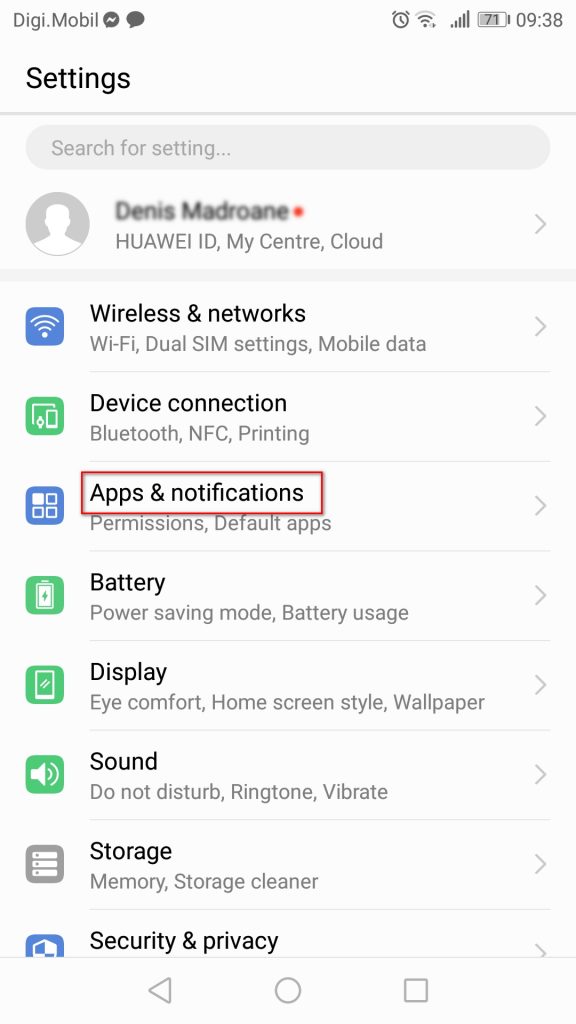
Apps & notifications Note: If you’re not taken directly to the list of apps, also click on Apps or App List.
- Scroll through the list of apps and locate Google Play Store. Once you see it, tap on it open.
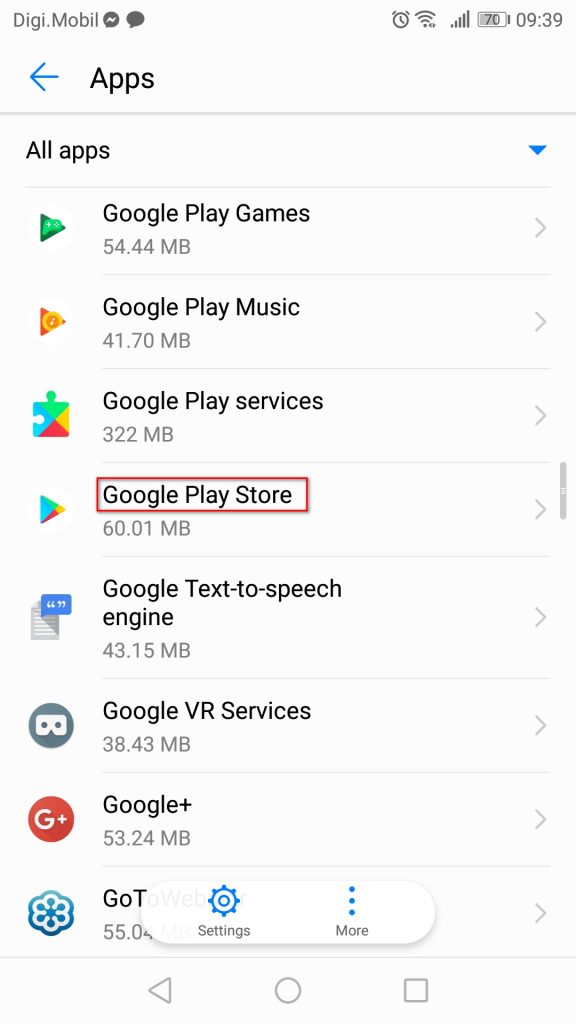
Accessing the Google Play Store setting menu - From the Info menu of Google Play Store, tap on Storage to reach the option about clearing data.
- Inside the Storage option, click on Clear Cache. Once the process is complete, follow through by clicking on Clear Data.
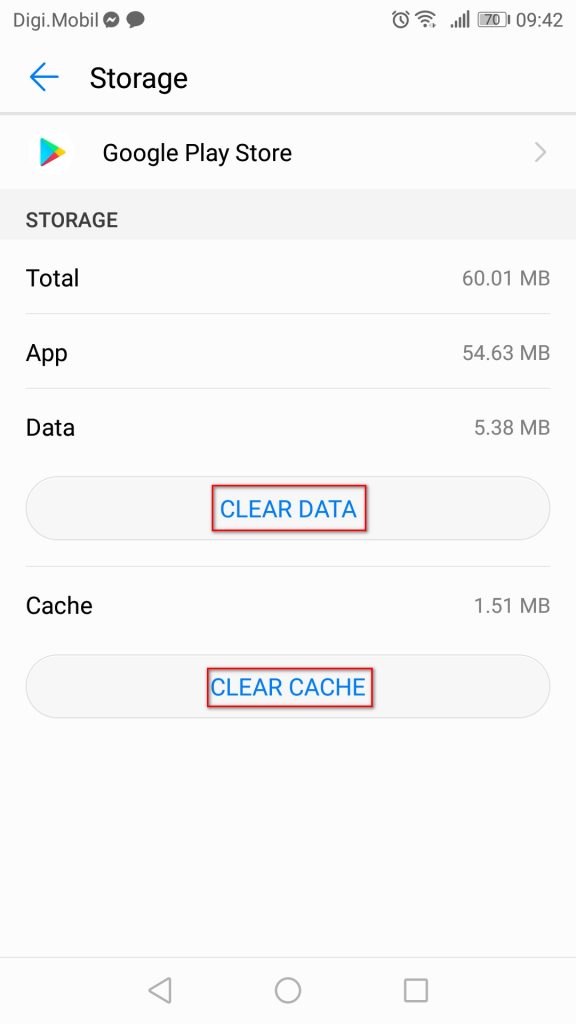
Clearing the cached data of the Google Play Store app After you’ve cleared the data of Google Play Store, restart your computer and try to update or download the app that was causing the issue again.
If you’re still encountering the same error message (‘Error Code 910’), move down to the next method below.
Method 2: Re-link your Google account
This procedure is one of the first ones mentioned by the official Google documentation when it comes to this particular error code. Even more, a lot of affected users have confirmed that signing in and out of their Google account resolved the issue and allowed them to install or update the application that was previously failing with the ‘Error Code 910’.
Here are the steps to remove your Google account from your device and re-add it in order to resolve the Error Code 910:
- On your Android phone, open your Settings app and access the Accounts menu.
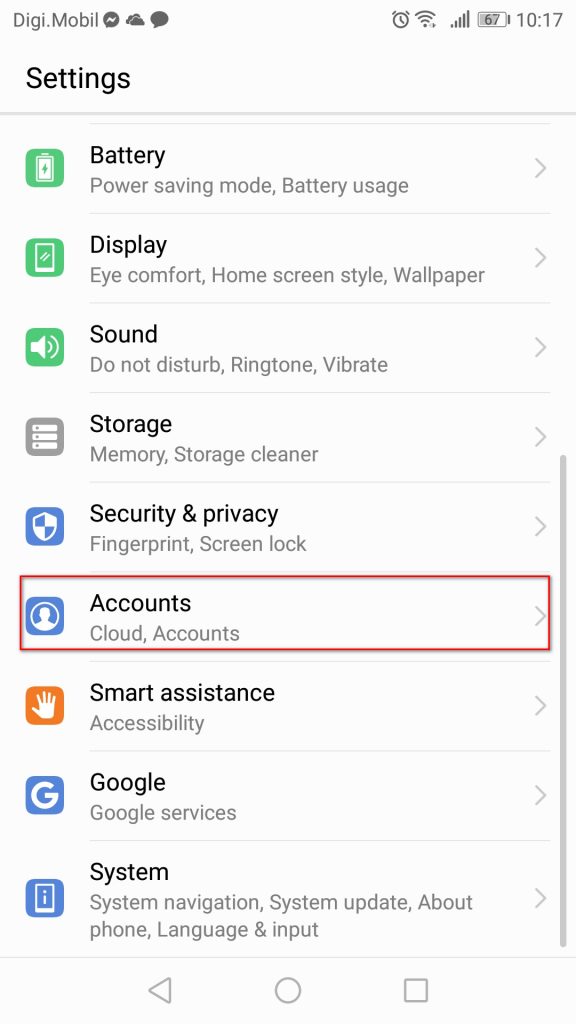
Accessing the Accounts menu - Inside the User & accounts screen (Accounts), find your Google account and tap on it. Once you’re inside your Google account settings, scroll down to the bottom of the screen and tap on Remove.
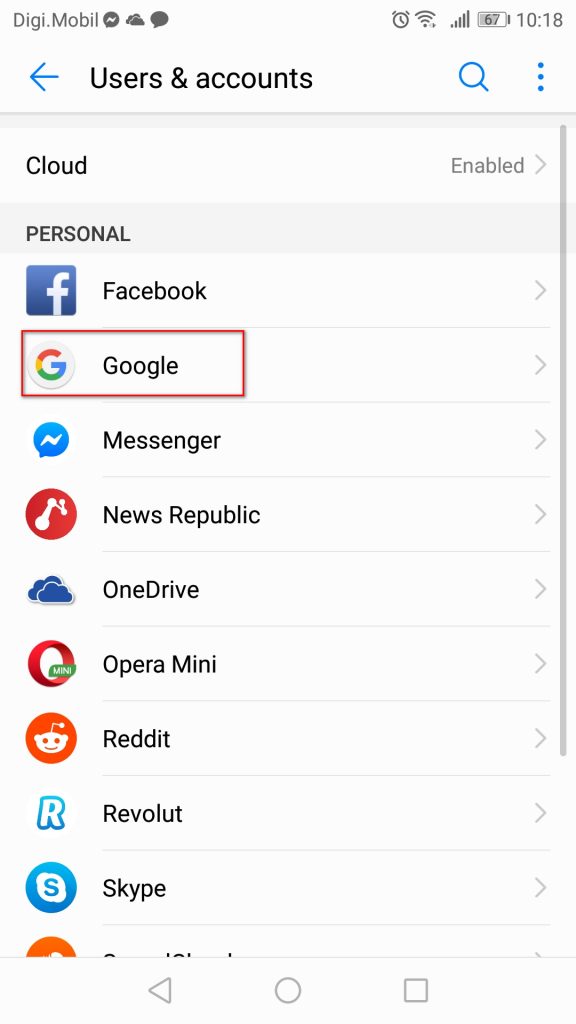
Accessing your Google account - Once the Google account has been removed, return to the User & accounts screen (Accounts) screen, scroll down to the bottom of the screen and tap on Add account.
- Then, from the Add an account window, tap on Google and follow the on-screen instructions to re-add your Google account.
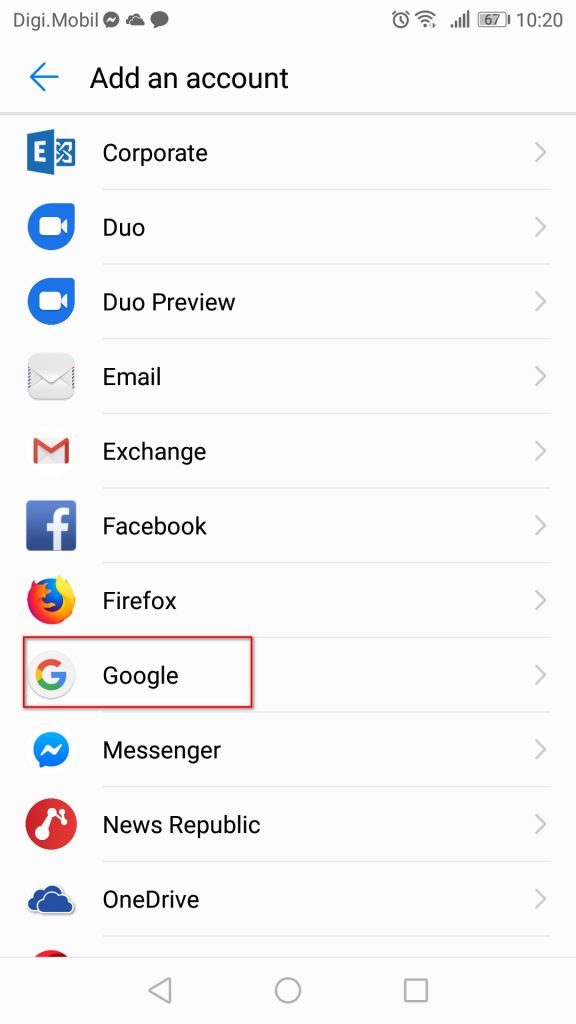
Re-adding the same Google account - Once you re-link your Google account by reinserting your credentials, restart your computer and try to update or download the app at the next startup.
If you’re still encountering the same error message, move over to the next method below.
Method 3: Moving the app from SD to Internal
Another popular fix to get around Error 910 when trying to update an already installed application is to move the app from your external SD storage to internal storage. Chances are the app will update normally after being moved on internal storage. After the update is complete, you can move it back to its initial place (external SD card). Several users that struggling to resolve this error have confirmed that the steps below served as a permanent fix for them.
Here’s what you need to do:
- Open your Settings menu and go to Apps & Notifications. Then, tap on Apps (Application List) to see all your installed applications.
Apps & notifications - Inside the list of installed applications, locate the app that is refusing to install and tap on it to expand its menu.
- Tap on Storage, then tap on Change storage location and move the app to Internal Storage.
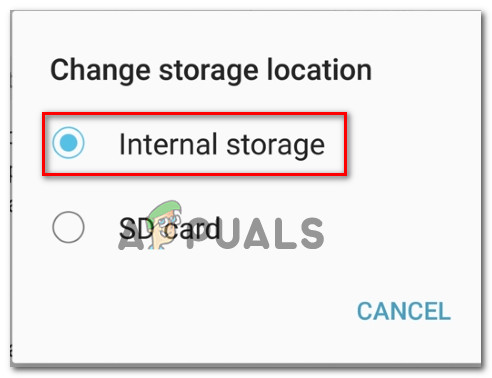
Moving the App to internal storage - Once the app has been moved to internal storage, update the application again and see if the procedure completes without issues.
Note: If you’re still getting the same error code (‘Error Code 910’), jump straight to Method 4. - If you manage to update the app while it’s moved to the Internal Storage, you can move it back to the SD card once the procedure is complete.
If this method didn’t resolve the error in your particular scenario, move down to the next method below.
Method 4: Ejecting the SD card from the Settings menu
Early on into the investigation stage, we observed that most of the users that we’re encountering this particular error used an SD card. Even more, some affected users have managed to resolve this issue by simply ‘ejecting’ the SD card via the Android Settings menu.
This procedure won’t require you to physically take your SD card out of your phone – Android has a built-in function that will virtualize this scenario. Here’s what you need to do in order to virtually eject your SD card and resolve the ‘Error Code 910’:
- On your Android device, open the Settings menu and tap on Storage.
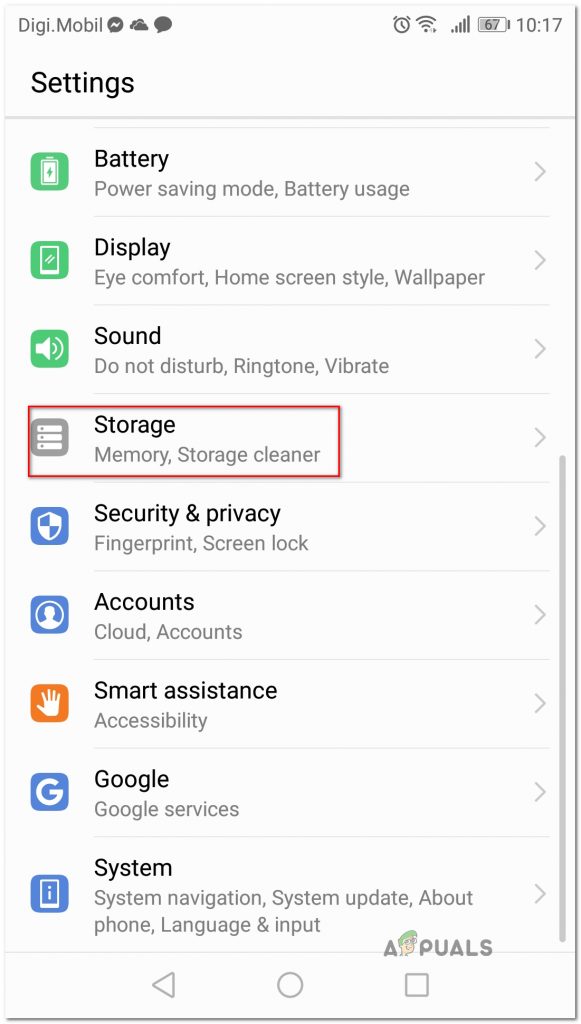
Accessing the Storage option - Inside the Storage screen, tap on Unmount SD card and confirm to force your Android into pretending that the SD card has been physically removed.
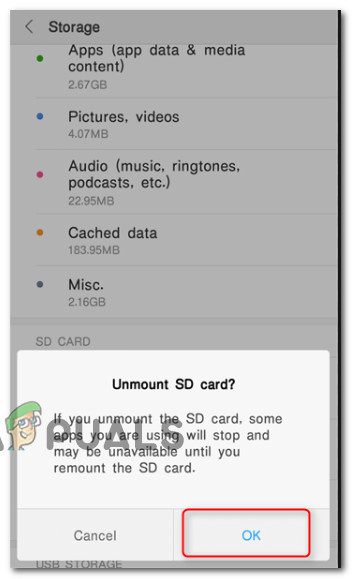
Unmounting SD card - Open Google Play Store again and redownload/update the app that was previously showing the error message.
If the issue is still not resolved, move over to the next method below.
Method 5: Downloading & install the APK from a third party website
If none of the potential fixes above worked for you, you might want to start considering the possibility of using a third party service to install or update the application that is failing with the ‘Error Code 910’. This procedure will be effective in those scenarios where the issue is caused by some kind of incompatibility or because your current Android version does not support the latest application update.
In this case, sideloading the app might bypass some restrictions that are enforced by Google Play Store. Here’s how to download & install the application’s APK from a third party website:
- Visit a 3rd party website with APKs. There are a lot of sketchy websites that are known to contain a lot of adware, so stay away from obscure places. We recommend APK pure (here).
- Use the search function to find the latest version of the application that you’re struggling to install and tap on it.
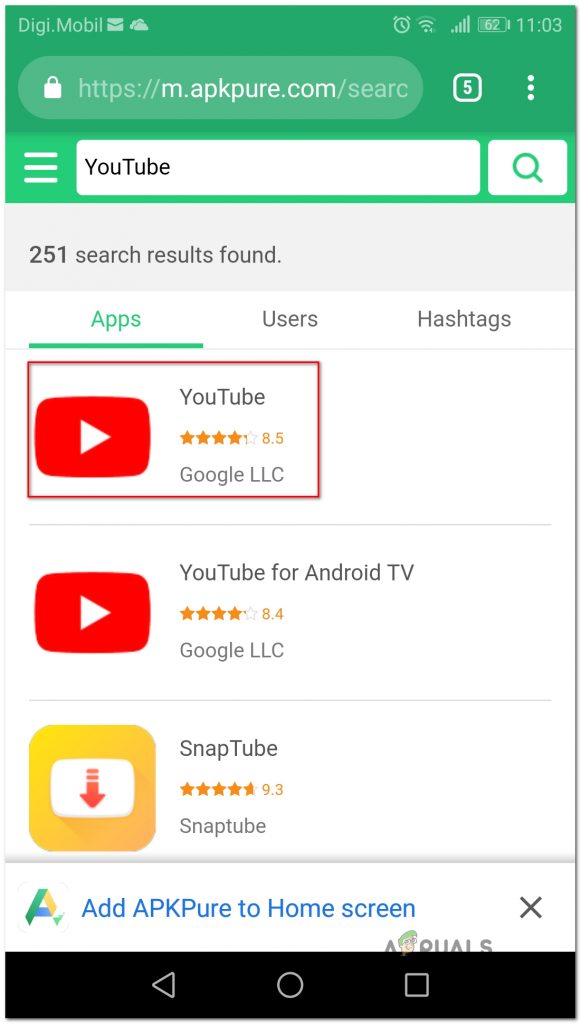
Searching for the right APK - Hit the Download APK button and wait for the download to complete. Hit Ok at the security prompt to start the download.
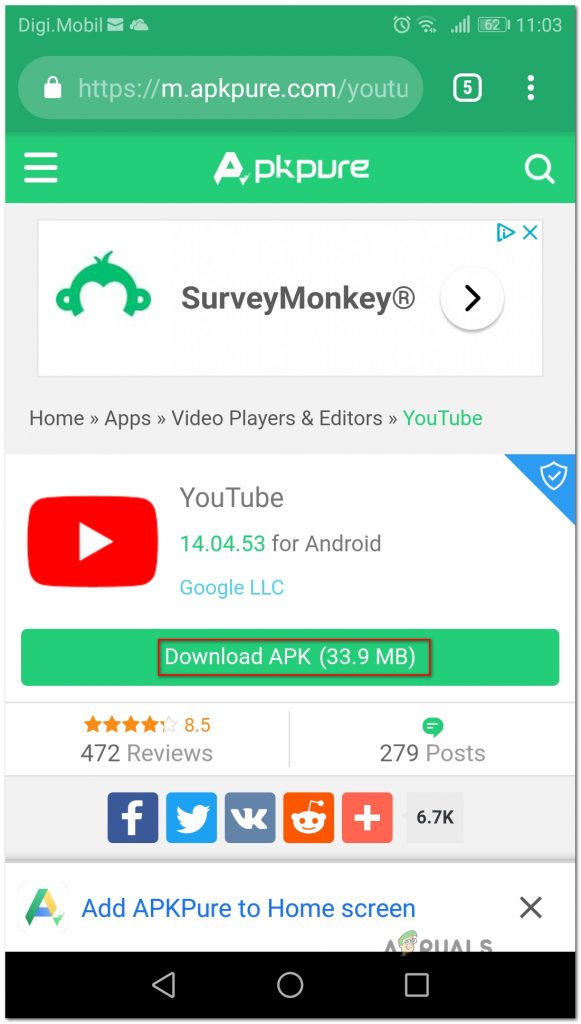
Downloading the required APK Note: If you haven’t installed APKs before, you will be notified that your device is blocking the installation of apps from unknown sources. In this case, you’ll need to go to Settings > Security & Privacy and modify the default Install unknown apps behavior to be Allowed under your browser.
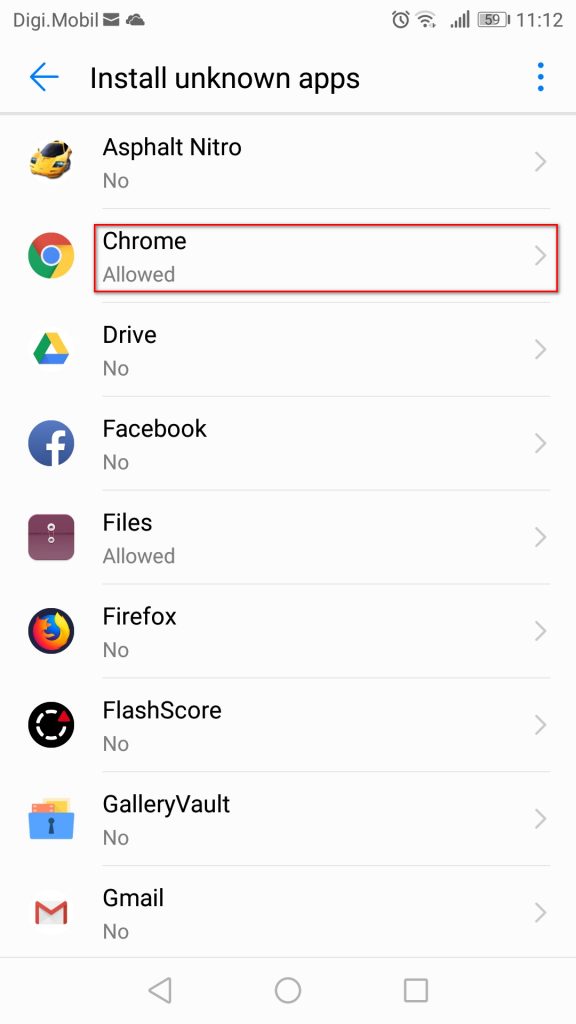
Allowing the installation of unknown apps - Once the APK is downloaded, open it and follow the on-screen prompts to install the application or update. If you’re trying to install an update, you will be prompted to confirm whether you want to install an update over your existing app. If so, tap Install to start the process.
Using this process, you should no longer be encountering the ‘Error Code 910’. But in case you still do, move down to the next method below.
Method 6: Disabling Google Pay admin & enable Blackberry Launcher admin (Blackberry Priv only)
If you’re encountering this particular issue on a Blackberry Priv device, the fix is a little more exotic. A couple of users struggling to resolve this problem on a Blackberry device have managed to eliminate the ‘Error Code 910’ by disabling the admin access of Google Pay and enabling the admin access of the Blackberry Launcher. After logging out & in of their account, the issue was resolved and they were able to complete the installation/update.
Note: If you’re not using a Blackberry Priv device, move over to the next method below.
Here’s what you need to do:
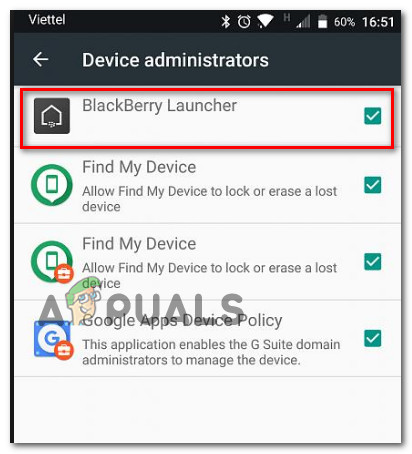
- On your Blackberry Priv device, go to Settings > Personal > Security > Device administrators. Once you get there, disable the admin access of Google Pay. Next, make sure the administrator access is enabled for Blackberry Launcher.
Ensuring that BlackBerry Launcher is enabled and Google Pay is disabled - Next, go to Settings > Device > Users and select Guest to log out of your account. Wait a couple of seconds, then select Myself and follow the instructions to log back in.
- Return to Google Play > My apps and games and continue with the update/installation. You should now be able to complete it without issues.
If this method wasn’t applicable to your particular scenario, move over to the next method below.
Method 7: Using ADB to uninstall the app
If you’re finding yourself in a situation where the app can’t be updated, reinstalled or uninstalled, your last choice (aside from doing a factory reset) is to use ADB to forcefully remove the application package. This procedure is a little advanced and will require you to do some initial setup on both your Android and computer, but it will get the job done.
If you didn’t know about it ADB (Android Debug Bridge) is a very versatile command-line tool that will let you perform various operations on your Android device. It facilitates a lot of device actions including installing and debugging apps, which is exactly what we need in this case.
Here’s a quick guide on using the ADB to uninstall the app forcefully and resolve the ‘Error Code 910’:
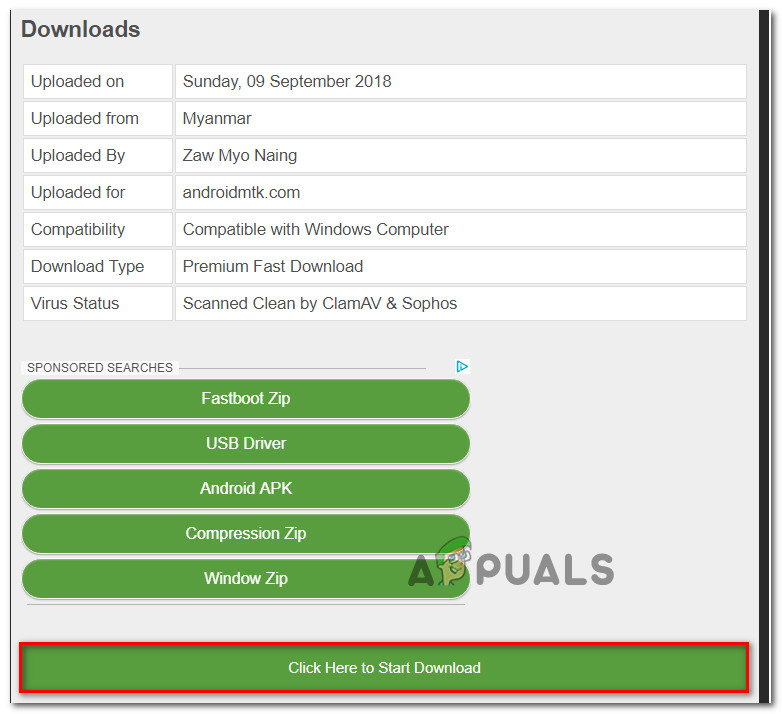
- First things first, we need to install the ADB environment. You will already have this installed if you previously installed Android Studio. If not, download the latest version of Minimal ADB Fastboot from this link (here).
Downloading the latest version of Minimal ADB Fastboot - Once the download is complete, use a utility like Winzip or 7Zip to extract the contents of the minimal_adb_fastboot.
- Simply run the executable file and follow the on-screen prompts to install Minimal ADB and Fastboot on your computer.
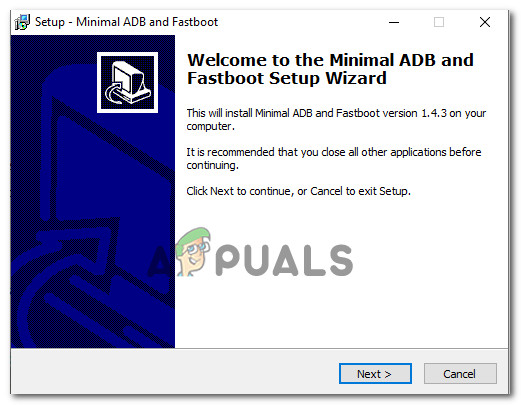
Installing Minimal ADB & Fastboot - Once the installation is complete, move over to your Android phone and go to Settings > System > About phone. When you get there, start pressing on Build Number. After you press it for the 7th time, you’ll get a success message telling you that you are now a developer.

Pressing the Build Number seven times Note: Depending on your security method, you might be prompted to insert the password or the pin in order to complete the procedure.
- What we essentially did above was enable the Developers Options tab. Next, we are going to allow the ADB to access the contents of the phone. to do this, go to Settings > Developer Options and enable USB debugging (under Debugging).
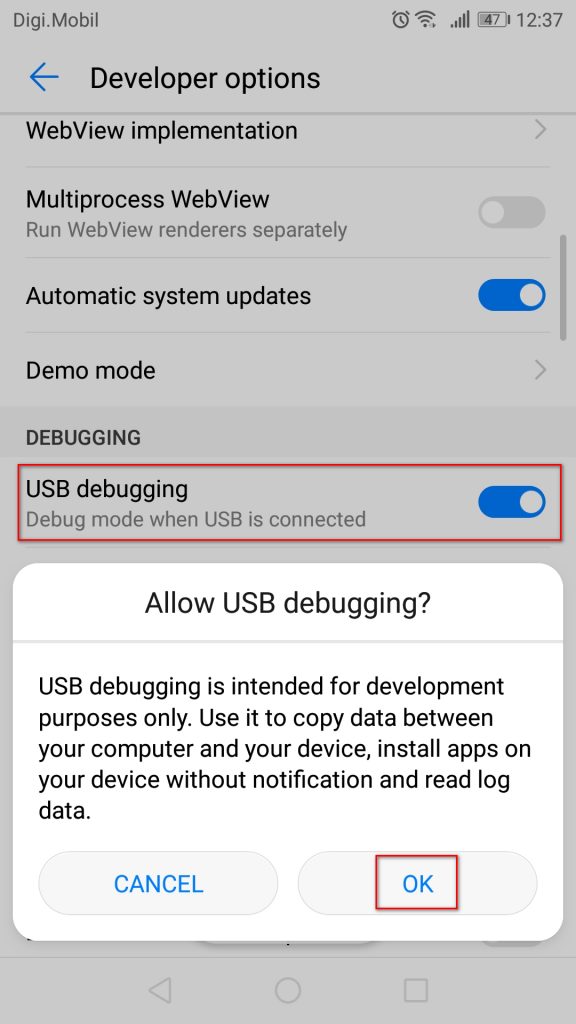
Enabling USB debugging from the Developer Options tab - Connect your Android phone to the PC via a USB cable and wait until the connection is established. You might need to allow it again from your Android phone.
- Once the Android is connected to your PC via the USB cable, open Minimal ADB and Fastboot. First, type “adb devices” and press Enter to see if your device is connected properly.
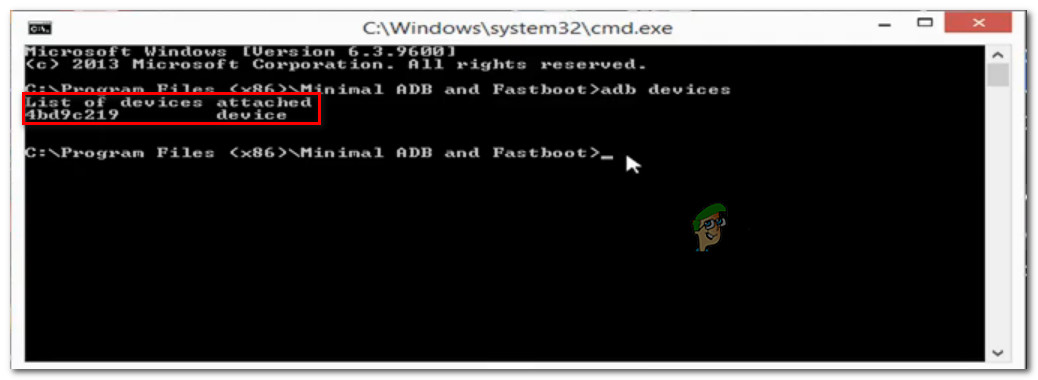
Attached Android device - Move over to your phone and tap Yes on the Authorisation prompt that appeared on your screen.
- In the same Minimal ADB window, type the following command to uninstall the broken app:
adb uninstall <Package Name>
Note: Replace Package Name with the package name belonging to the application you wish to install. If you don’t know the package name of the application, execute “pm list packages -f” in the Minimal ADB window and you’ll get a full list of installed applications.
- Disconnect your Android from the USB cable and restart your mobile device. Then, once the next boot sequence is complete, reinstall the application again. You should have no problems doing so.


Thanks for sharing now can I fix Error 910 on Google Play ‘Cant install app. I have ever received this error while using whatsgbplus. No doubt this site is one of the best site That Is Putting Best Articles Over tech News and tech updates