Fix: Error 0x800701AA: The Cloud Operation Was Not Completed
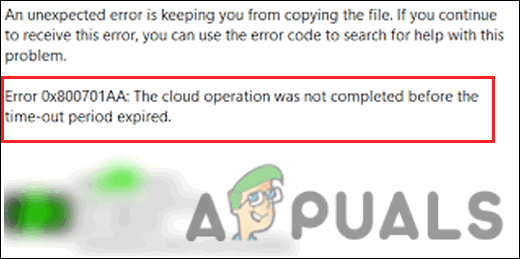
The error ‘0x800701AA: The Cloud operation was not completed occurs’ when the users attempt to access and copy the shared files in OneDrive. It prevents users from downloading these files on their devices as well.
Below, we take a look at the troubleshooting methods that can help you identify the root cause of the issue and fix the problem in no time.
1. Before You Troubleshoot
Before you move to the troubleshooting methods, make sure that you have enough space on your HDD, especially if you are trying to download files from OneDrive on your device.
Here is how you can make sure of this:
- Right-click on the partition with OneDrive (C drive in most cases) and choose Properties from the context menu.
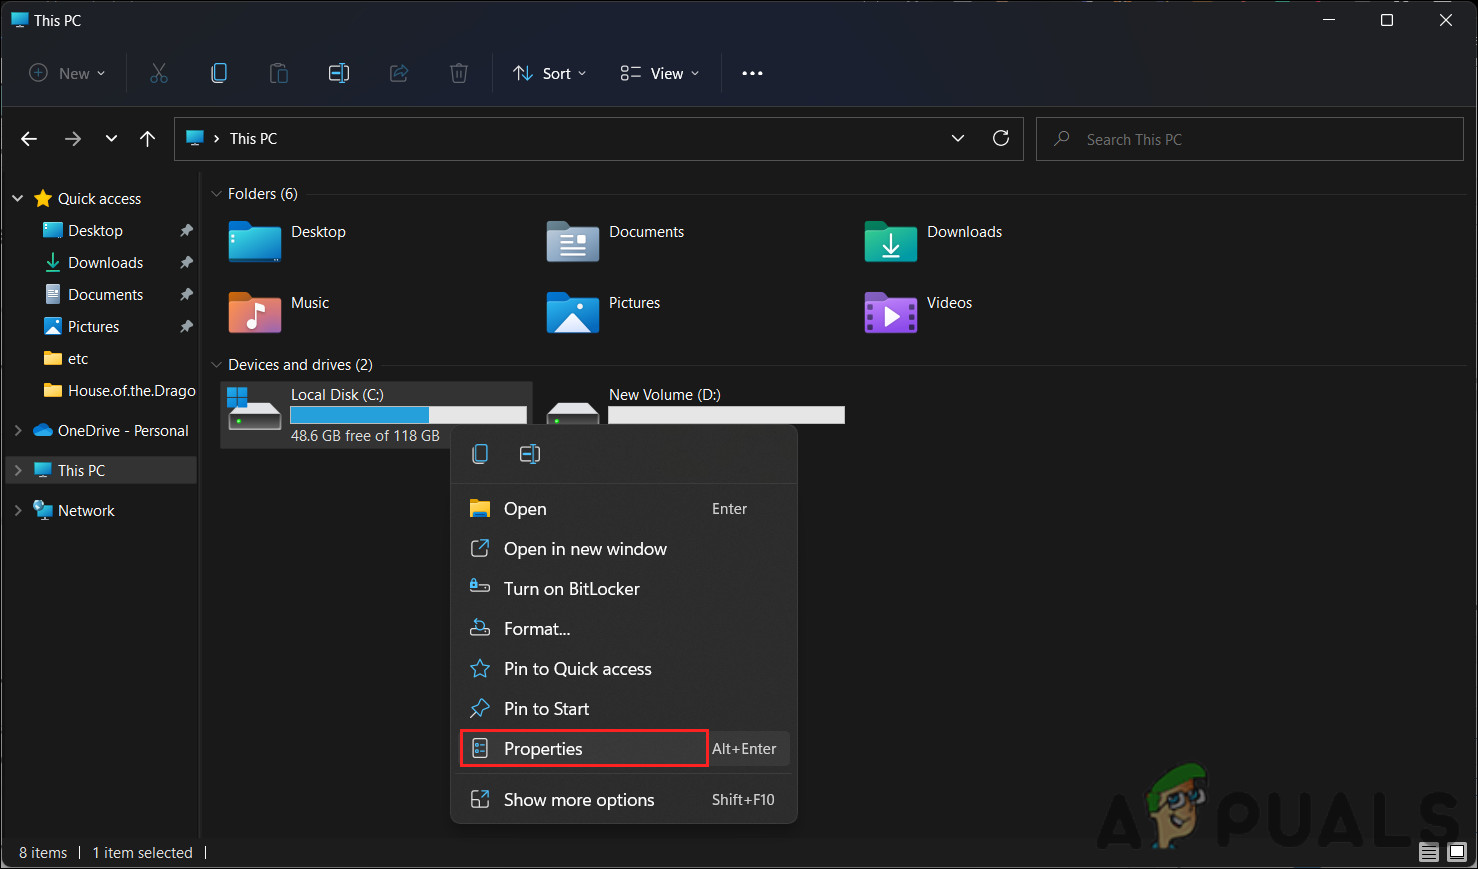
Access the C drive properties - Check if there is enough space in the drive. If not, right-click on the OneDrive icon in your taskbar and choose Settings.
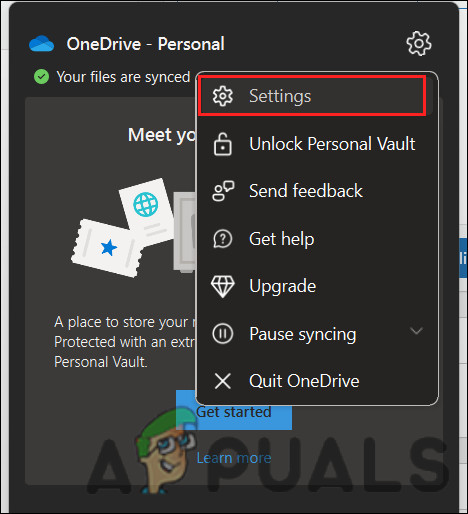
Access OneDrive settings - Head over to the Account section and click on the Unlink this PC button.
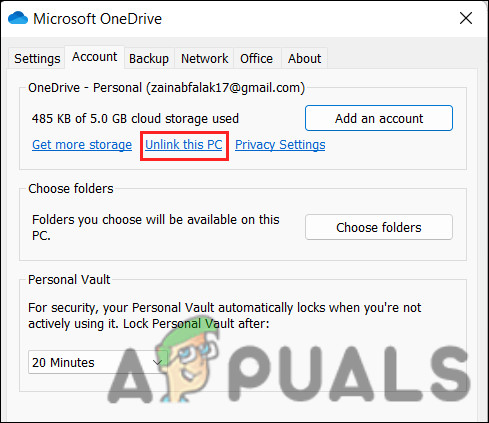
Click on the Unlink this PC option - Login into OneDrive to select another location to sync files and the local OneDrive folder.
2. Reset OneDrive
In most cases, it is the corrupt cache files of OneDrive that prevent the users from accessing these files. The best way to resolve the issue is by resetting OneDrive to its default values. This will reset the network certificate as well as the settings of the OneDrive application.
Here is how you can proceed with a reset:
- Open a Run dialog box by pressing the Win + R keys together.
- Type the following text inside Run and click Enter. This command will begin the reset process and may take a while to complete, so hang in there.
%localappdata%\Microsoft\OneDrive\OneDrive.exe /reset
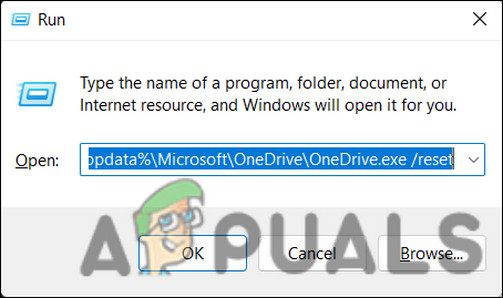
Reset OneDrive via Run - If Microsoft OneDrive does not launch on its own after the process is completed, open a Run dialog again by pressing the Win + R keys together.
- This time, enter the following command in OneDrive and hit Enter. This will launch OneDrive manually.
%localappdata%\Microsoft\OneDrive\OneDrive.exe
- Once done, check if you can access the files now.
3. Map a SharePoint Document Library as a Network Drive
The above solution should work for the file you were trying to access, but if the error still appears for another file, mapping a SharePoint Document Library as a Network Drive might be a solution you can try. This is a built-in feature in OneDrive that works by creating a network hub to improve accessibility, thus fixing the problem at hand.
Here is how you can proceed with it:
- Launch your browser and head over to the official Microsoft OneDrive login page.
- Access the library containing the targeted files.
- Copy the URL of the document from the search bar on your clipboard by pressing Ctrl + C keys together.
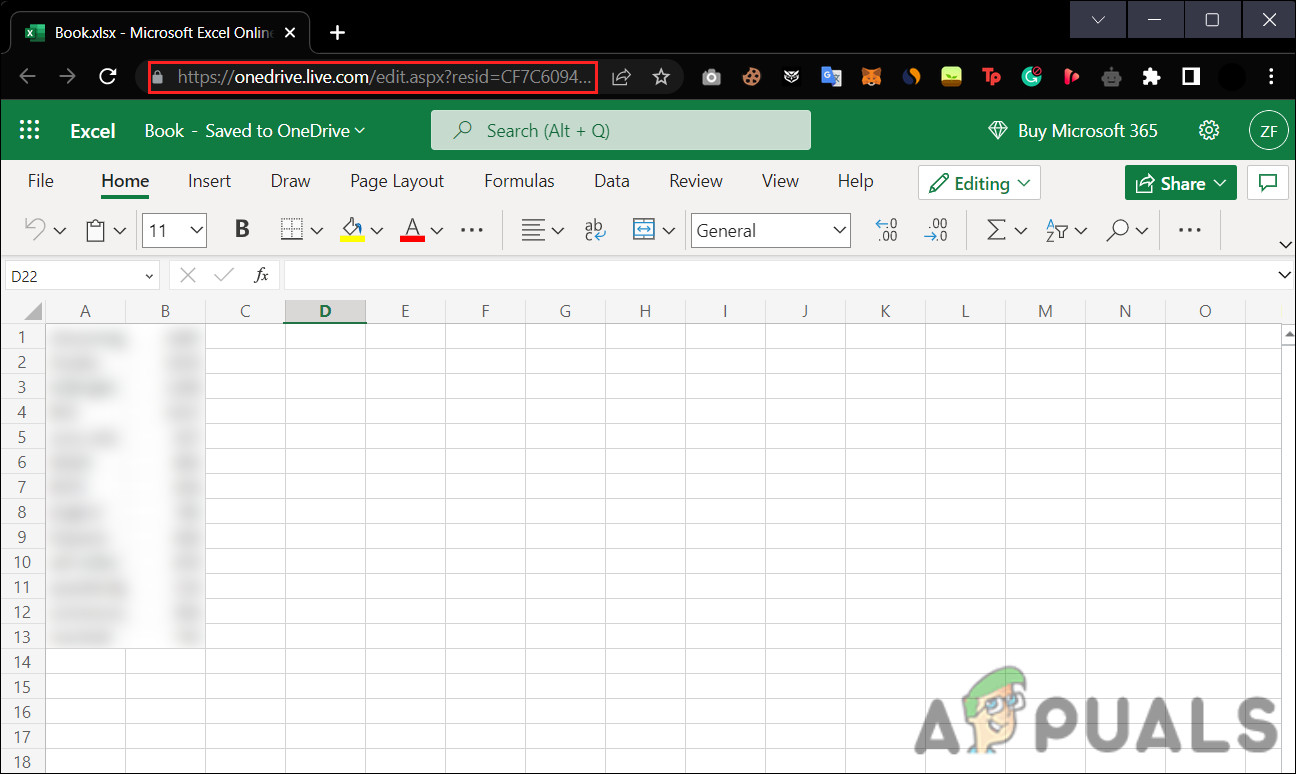
Copy the file link from the search bar - Now, click on the File Explorer icon in the search bar to launch the program.
- Right-click on Network from the left pane and choose Map network drive from the context menu.
- Next, click on Connect to a Web site that you can use to store your documents and pictures in the following dialog. This will launch the Network Location Wizard.
- Hit Next in the following dialogs till you reach the Specify the location of your website dialog. Here, paste the location that you copied earlier in the text field under the Internet or network address.
- Click Next.
- Enter a name for the location and hit Next > Finish.
- Now, type Windows Powershell in the search area of the taskbar and click on Run as administrator.
- Inside the Powershell window, type the command listed below and hit Enter to execute it:
{
$_.FullName
Get-Content -Path $_.FullName -first 1 | Out-Null
}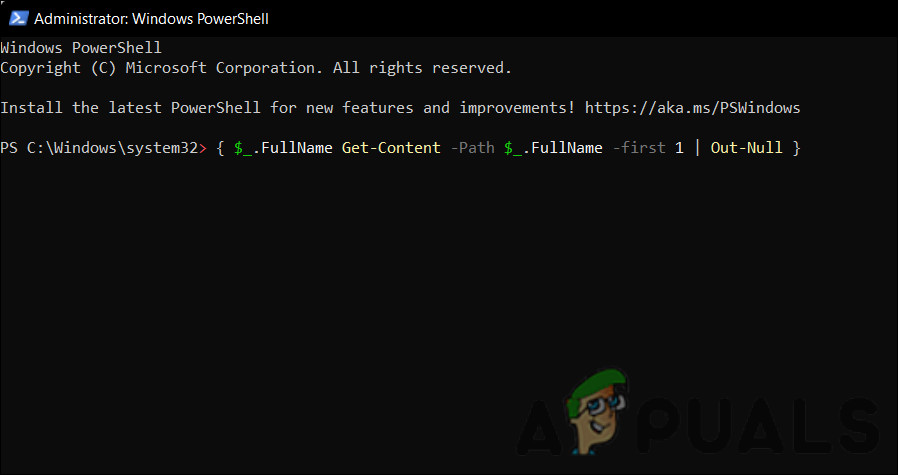
Execute the Powershell command - Once the command is executed, restart your computer. Upon reboot, check if the issue is resolved.
4. Reinstall OneDrive
You can also try reinstalling the OneDrive application to resolve the issue within the program. You can try this last resort if none of the other troubleshooting methods work.
Here is how to proceed:
- Open Windows + I keys together to open Windows Settings.
- Navigate to Apps > Apps & features > App list.
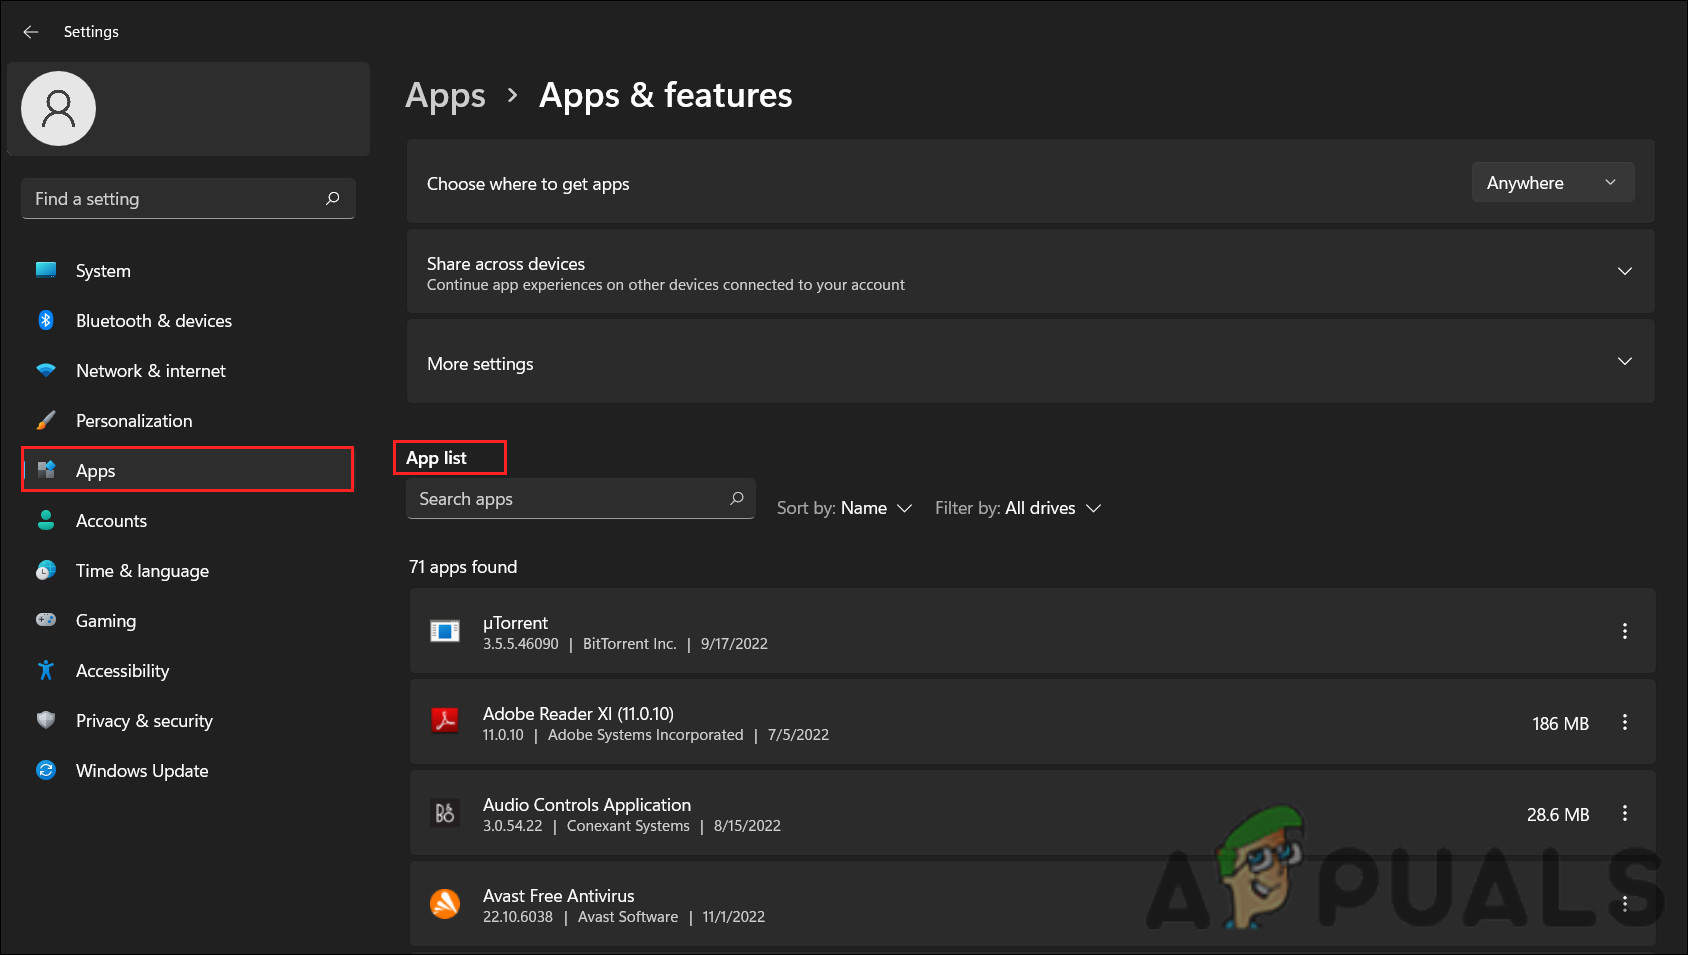
Access the app list - Scroll down in the App list and locate Microsoft OneDrive.
- Click on the three dots for it and choose Uninstall from the context menu.
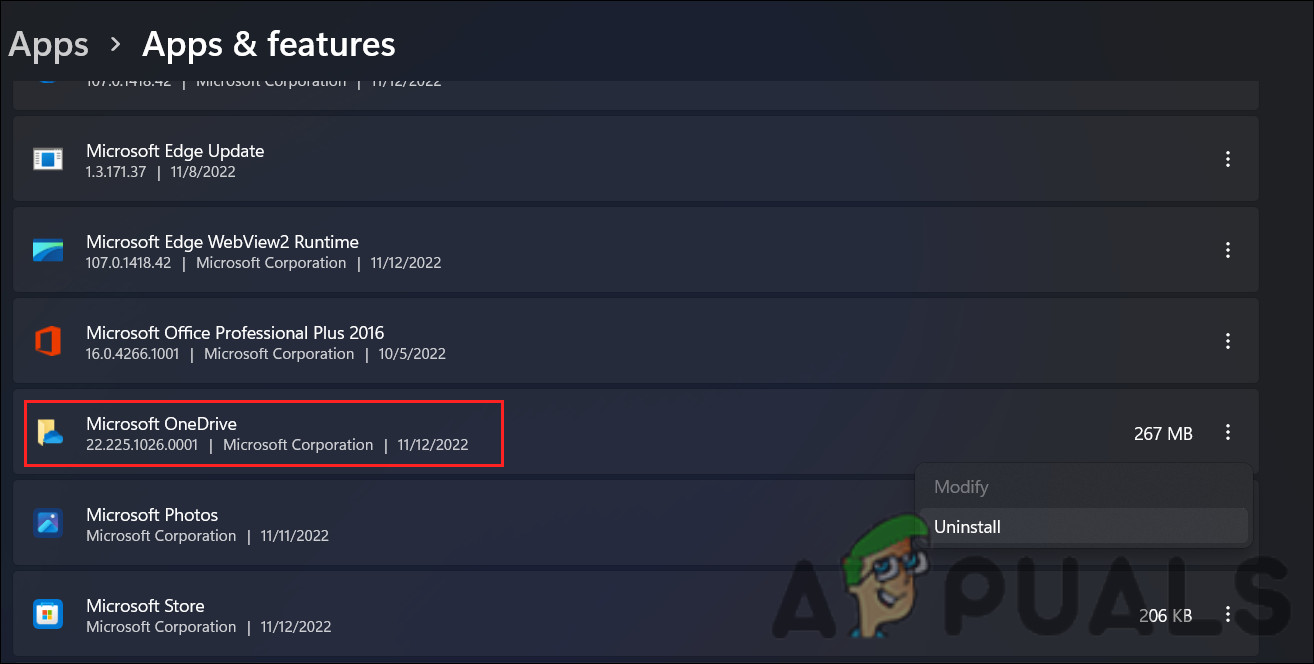
Uninstall OneDrive - Now, follow the on-screen to proceed.
- Once OneDrive is uninstalled, click on the Microsoft Store icon in the taskbar.
- Use the search bar to search for OneDrive.
- Click on the Get button for OneDrive.
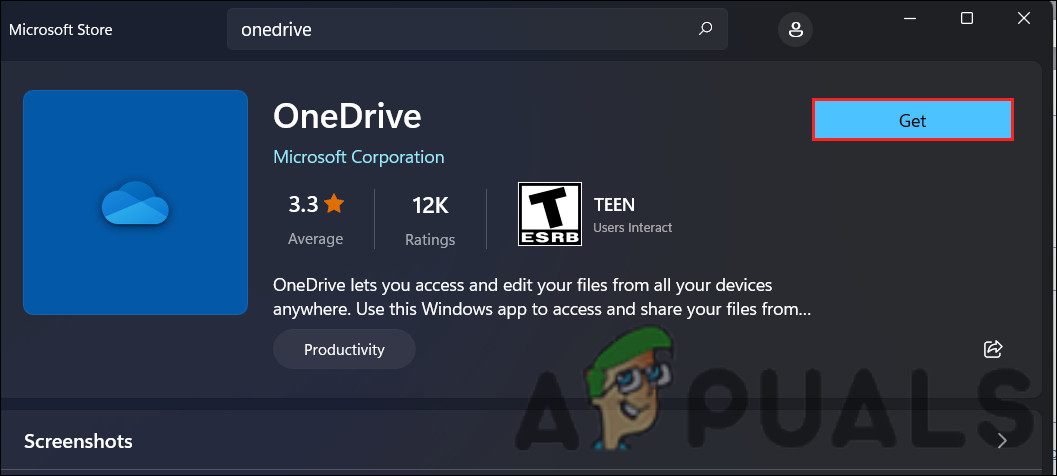
Click on the Get button - Once the app is downloaded, click on Install and wait for the system to install the app.
- Finally, sign into OneDrive and try accessing the targeted files now.


