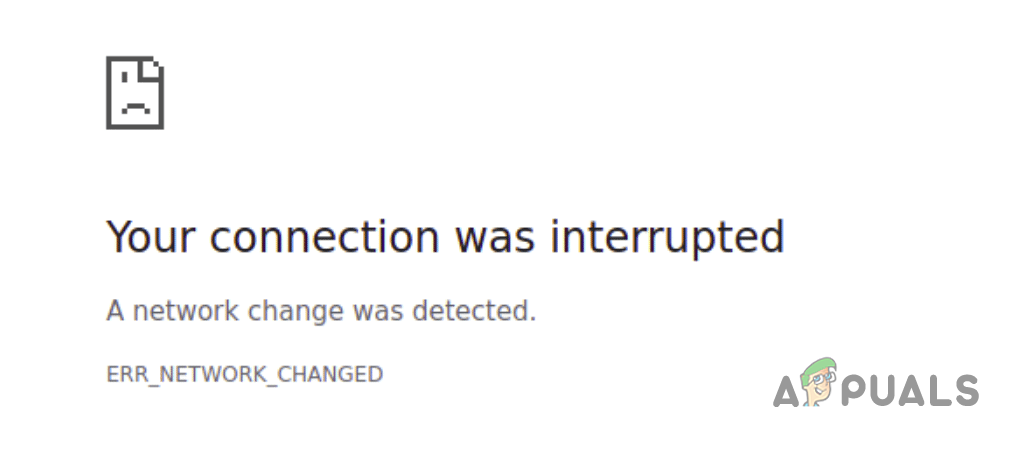
How to Fix ‘ERR NETWORK CHANGED’ in Google Chrome?
The error code ERR_NETWORK_CHANGED can occur due to a misconfiguration in your network settings, the presence of multiple network adapters on your computer that is installed by various third-party programs, and much more.
In some scenarios, the third-party extensions installed on your browser can inhibit your internet connection which leads to the error code. In this article, we will take you through a number of methods that you can implement to resolve the ERR_NETWORK_CHANGED error code on your browser.
1. Restart your Router and Computer
The first thing that you should do when trying to troubleshoot the error code is to start off with a restart. In some scenarios, an inconsistency in your network connection from your internet service provider (ISP) can result in the issue mentioned.
When this happens, you can often circumvent the problem by simply restarting your router. Doing so will establish a new connection between your router and the ISP servers which can get rid of the problem.
In addition, the network adapters on your computer can also malfunction which leads to the ERR_NETWORK_CHANGED error. As such, we recommend restarting your computer along with the router to negate both of these possible causes. If the problem persists after a successful reboot, move to the next method below.
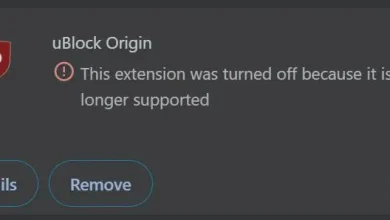
2. Disable Third-Party Browser Extensions
The third-party extensions installed in your web browser can also trigger the ERR_NETWORK_CHANGED error code in some scenarios. This can happen when a specific add-on inhibits the internet connection which prevents the browser from establishing a connection to the respective web server.
In such a scenario, you can resolve the issue by disabling your third-party browser extensions. To do this, you can use the Private or Incognito window in your web browser. By default, third-party extensions are not allowed in private/incognito mode. Therefore, you can try visiting websites in a private window to see if the error occurs.
However, if you have manually enabled specific add-ons in your private window, make sure to disable them before proceeding. If the problem goes away in incognito mode, it will be evident a third-party add-on is triggering the error code.
In such an instance, you can navigate to the extensions page on your browser and start disabling your installed extensions one by one to locate the culprit. You can navigate to the extensions screen via the More menu > Extensions option in almost all of the browsers out there.
3. Disable Third-Party Network Adapters
Certain third-party applications on your computer install their own network adapters to be used by the program. VMware, VirtualBox, VPN clients, and more are prime examples of such applications. These third-party network adapters can often interfere with your primary network adapter causing connectivity issues.
The error code ERR_NETWORK_CHANGED is no exception to use interferences. Therefore, if you have any third-party network adapters added to your computer, you will have to disable them to see if that fixes the issue. To do this, follow the instructions below:
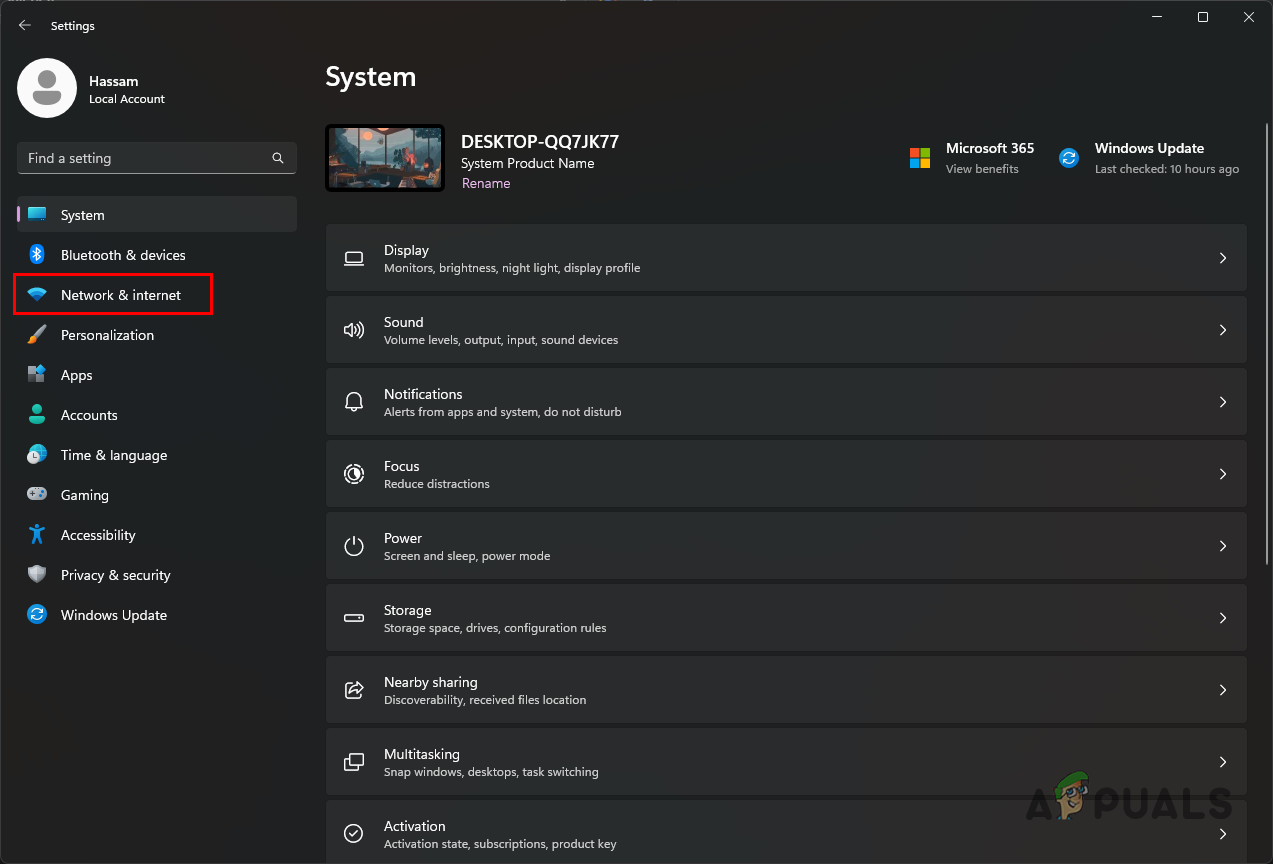
- First, open the Settings app by pressing the Win key + I on your keyboard.
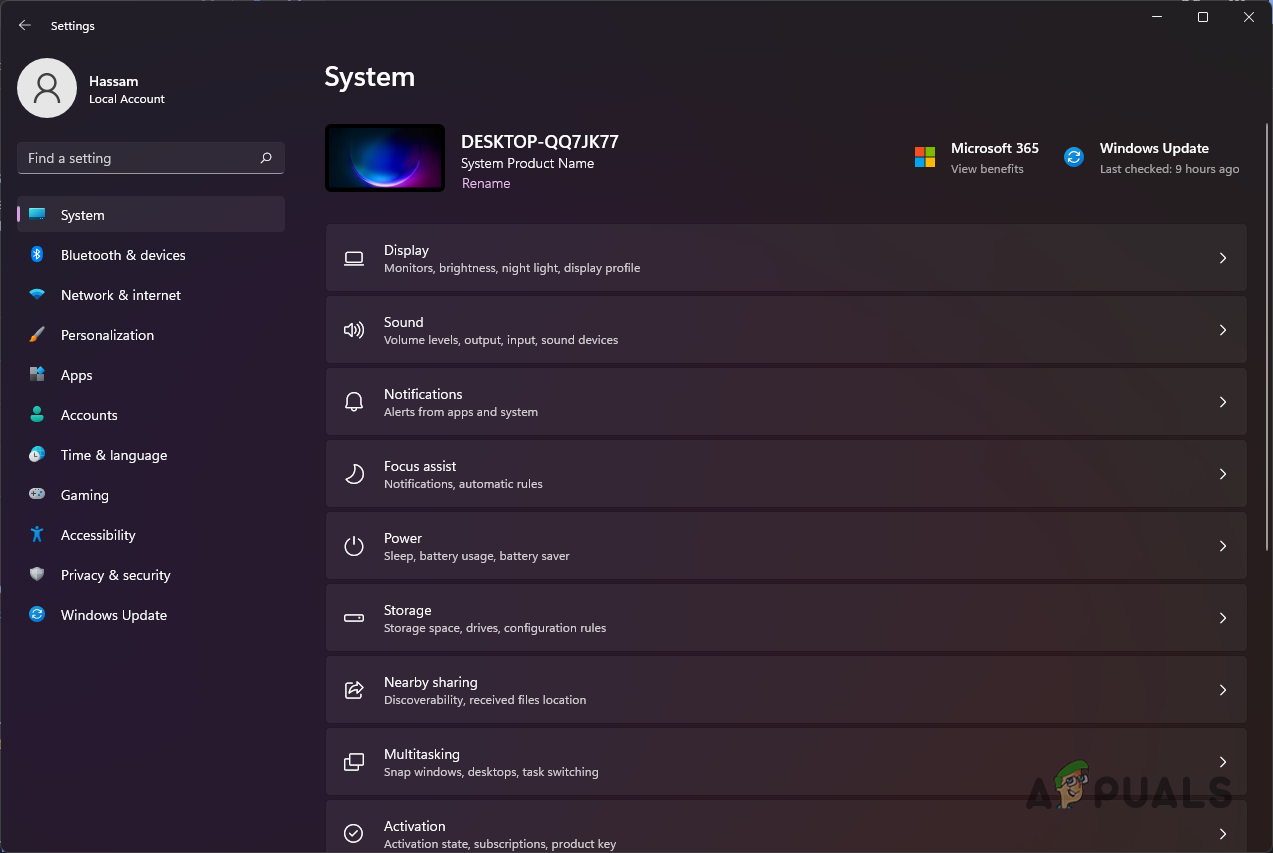
Windows Settings - On the Settings window, navigate to Network and internet > Advanced network settings.
Navigating to Network Settings - There, click on the More network adapter options option at the bottom.
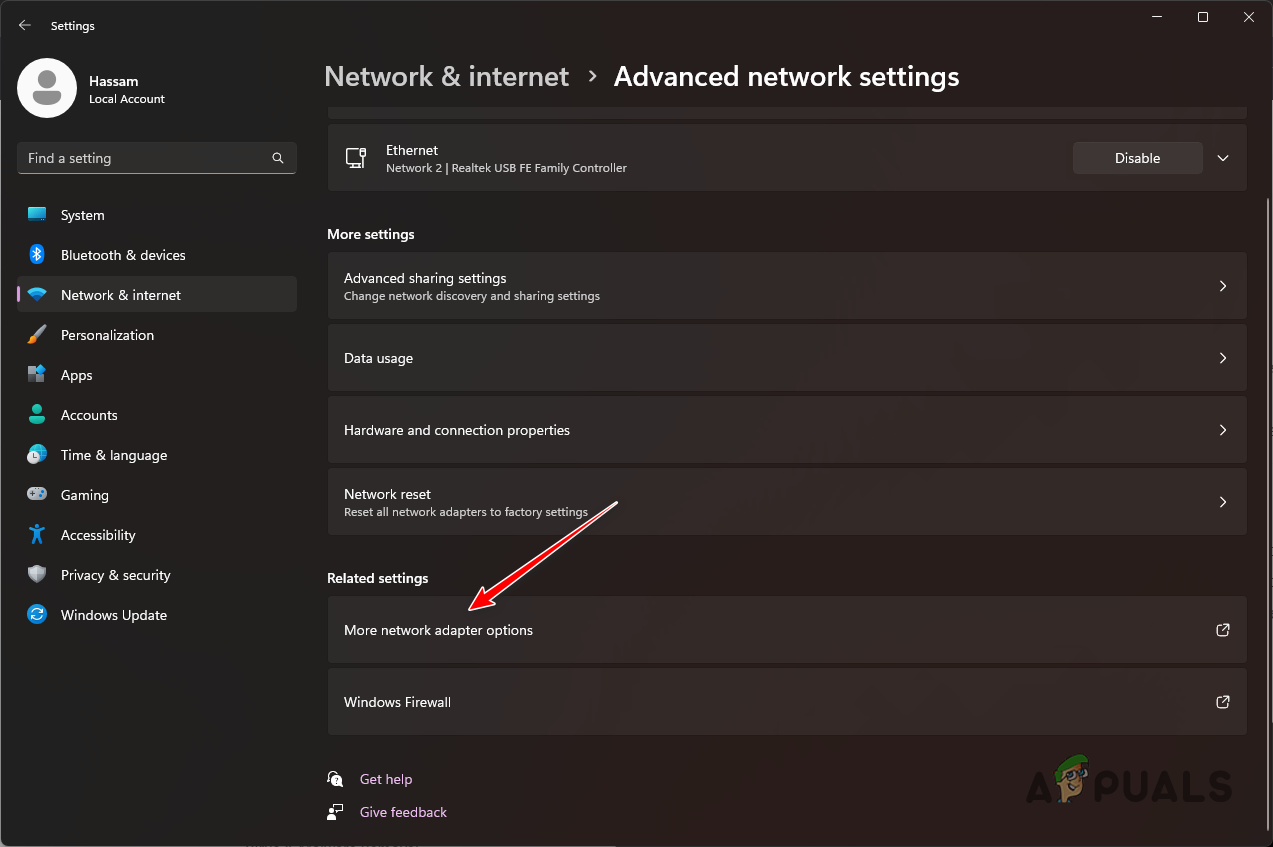
Navigating to More Network Adapter Options - This will open a new Network Connections window with all your network adapters.
- Right-click on each adapter except your primary network adapter (often named Ethernet, or Wi-Fi if you are using WiFi) and choose Disable from the drop-down menu.
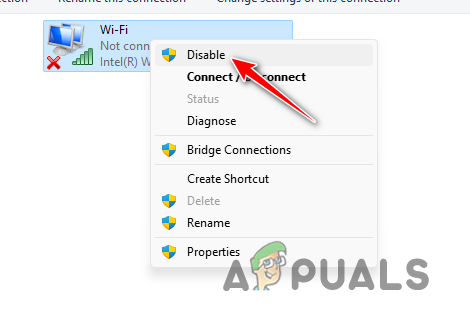
Disabling Network Adapter - Once you do that, restart the web browser.
- See if that fixes the issue.
4. Disable Network Device Power Management
Windows has a built-in power management feature that disables some of the components on your device in order to save the power consumed. This can sometimes disable the network adapter on your computer which can lead to network connectivity issues.
In such a scenario, you will have to disable the power management feature on your network adapter to stop Windows from turning it off. This can be done via the Device Manager window. Follow the instructions below to do this:
- First, open the Start Menu and search for Device Manager. Open it up.
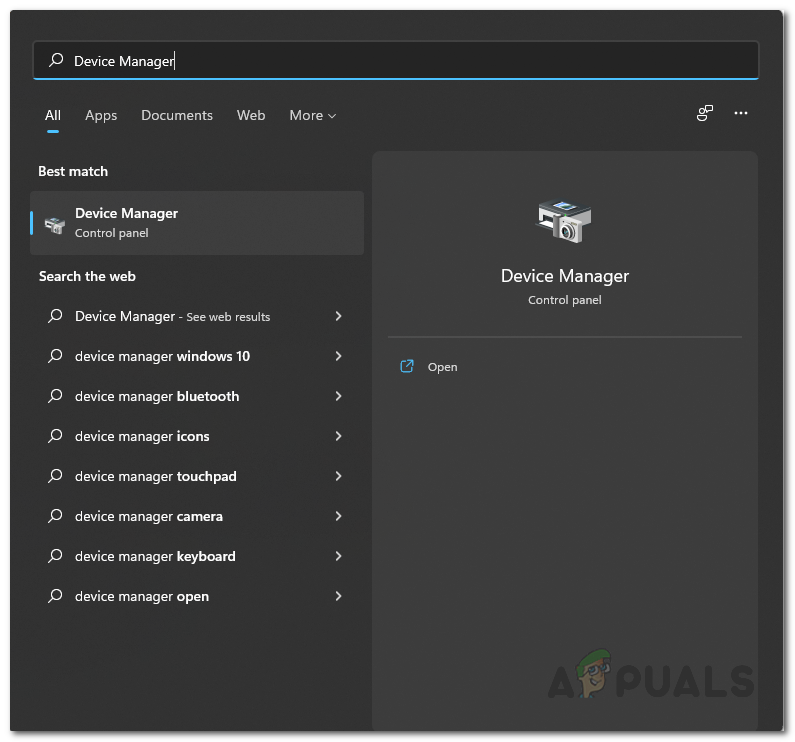
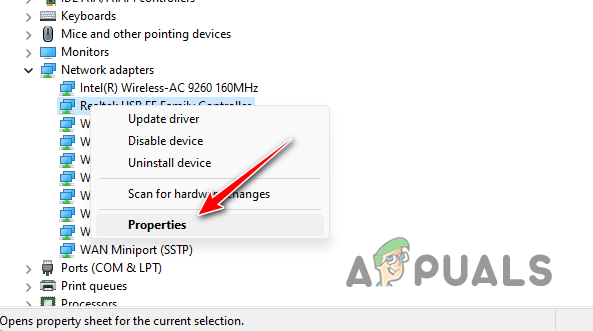
Opening Device Manager - On the Device Manager window, expand the Network adapters list.
- Then, right-click on your network adapter and choose Properties from the drop-down menu.
Navigating to Network Driver Properties - On the Properties tab, switch to the Power Management tab.
- Finally, untick the Allow the computer to turn off this device to save power checkbox.
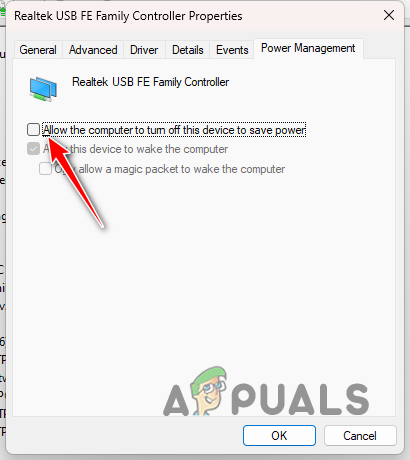
Disabling Network Adapter Power Management - Click OK and restart your computer. See if that fixes the issue.
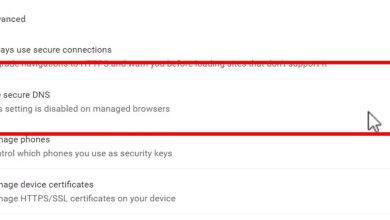
5. Disable IPv6
In some scenarios, the cause behind the error code can be the IPv6 feature on your network adapter. IPv6 is the newest version of the internet protocol that allows computers to communicate and identify each other on a network.
This technology is needed with the increasing number of internet devices, and will eventually replace IPv4. However, at the moment, IPv4 is widely prevalent while IPv6 is not really used. Albeit, IPv6 is supported by Windows and you can find it in your network adapter properties.
To disable IPv6, follow the instructions below:
- Start by opening the Settings app with the Win key + I shortcut.
- On the Settings app, navigate to Network and internet > Advanced network settings.
Navigating to Network Settings - At the bottom, click on More network adapter options.
Navigating to More Network Adapter Options - After that, right-click on your network adapter and choose Properties from the drop-down menu.
Navigating to Network Adapter Properties - In the list, locate Internet Protocol Version 6 (TCP/IPv6) and untick it.
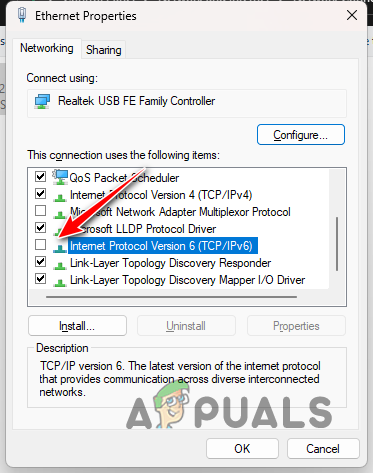
Disabling IPv6 - Finally, click OK and restart your computer.
- See if that resolves the issue.
6. Flush DNS
Domain Name System essentially contains the IP addresses of all the websites on the internet. When you enter a web address in your web browser, the web address is converted to its respective IP address by the DNS server and thus you are connected to the respective web server.
In some scenarios, inconsistencies in the DNS settings on your computer can cause the issue in question. When this occurs, you can simply flush the DNS settings via the command prompt. To do this, follow the instructions below:
- First, open an elevated Command Prompt. To do this, search for it in the Start Menu and click on the Run as administrator option.
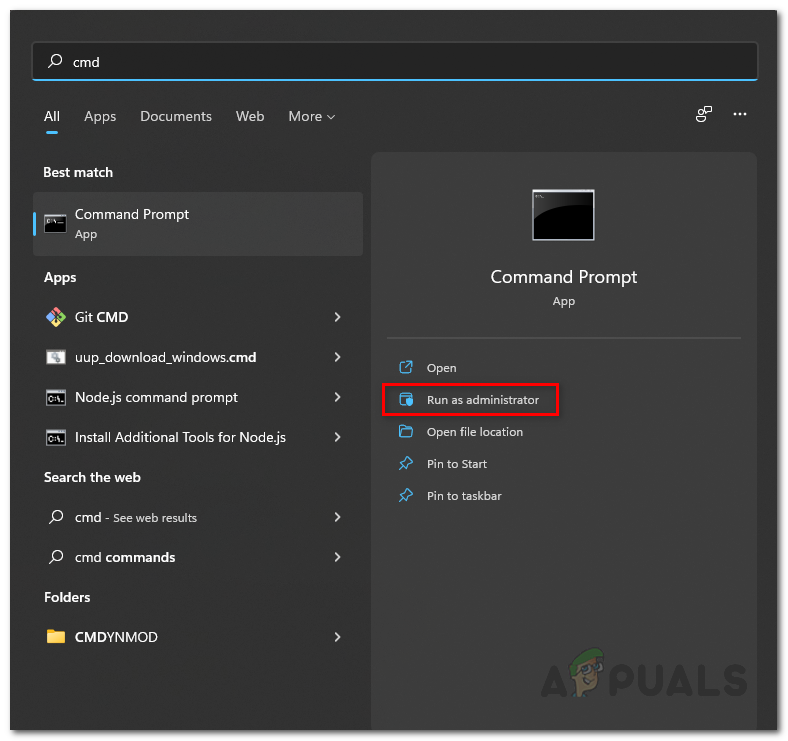
Opening the Command Prompt as Admin - In the command prompt window, type in ipconfig /flushdns and hit the Enter key.
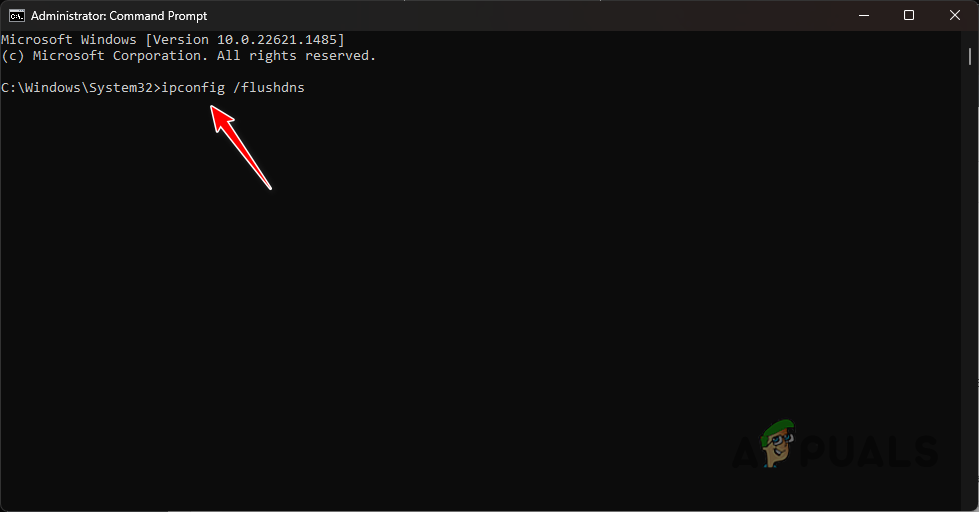
Flushing DNS - Then, enter the ipconfig /registerdns command.
- Once you do that, restart your PC and see if that fixes the issue.
7. Change DNS Server
In some scenarios, the problem can originate due to the DNS server you are using. This can happen when the DNS server is not able to resolve the domain names you are trying to access. In such a scenario, you can change the DNS server on your computer.
By default, your computer automatically detects a DNS server from your ISP. However, you can change it to a different one when you want. There are public DNS servers available from Google, and Cloudflare that you can use on your computer.
Follow the instructions below to change your DNS server:
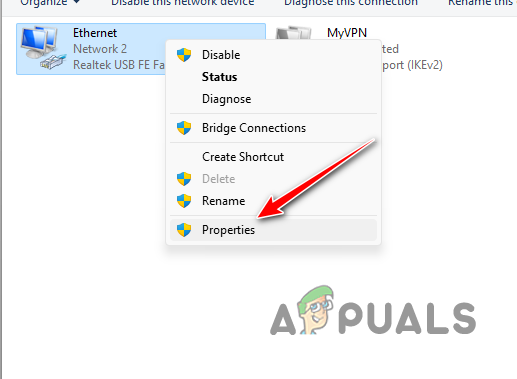
- First, open the Start Menu and search for Network Connections. Open it up.
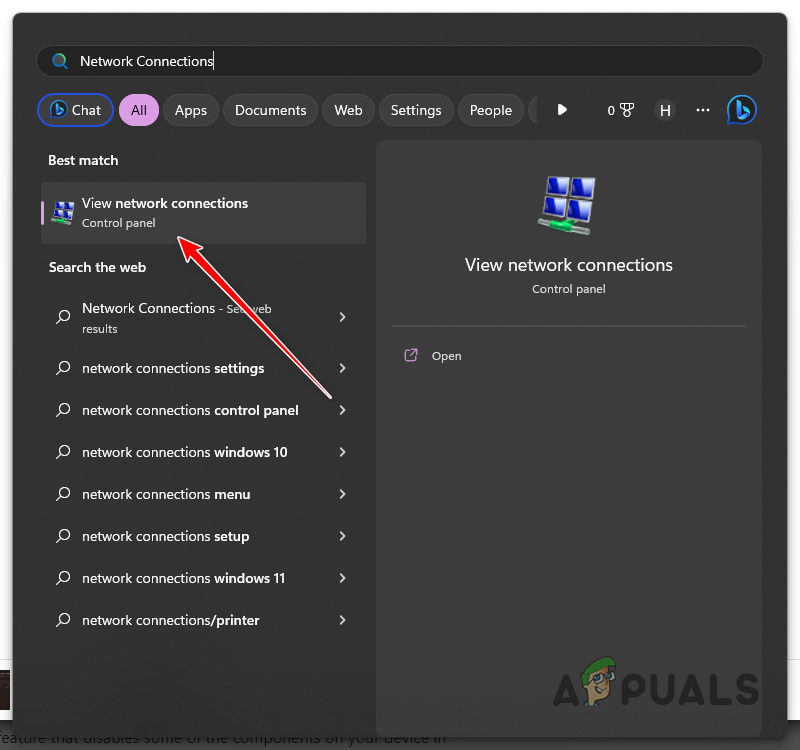
Opening Network Connections Window - After that, right-click on your network adapter and choose Properties from the drop-down menu.
Navigating to Network Adapter Properties - On the Properties window, scroll down and double-click on the Internet Protocol Version 4 (TCP/IPv4) option.
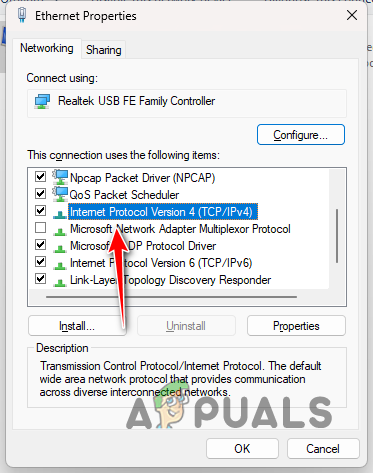
Navigating to IPv4 Properties - After that, choose the Use the following DNS server addresses option.
- If you want to use Cloudflare’s DNS server, enter 1.1.1.1 and 1.0.0.1 respectively. If you wish to use Google’s DNS server, provide 8.8.8.8 and 8.8.4.4 addresses respectively.
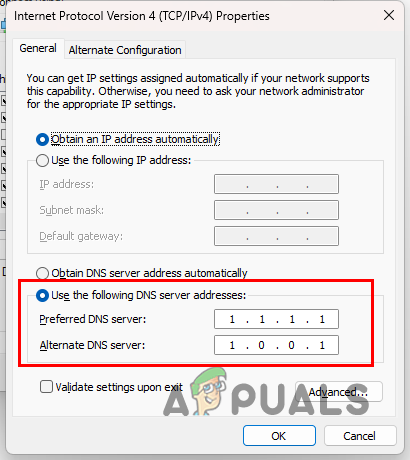
Changing DNS Server - Finally, click OK.
- Restart your browser and see if that fixes the issue.
8. Reset Network Settings
Your computer’s network settings can also cause the ERR_NETWORK_CHANGED error code. This can happen when there is a misconfiguration in your network settings or the cache has been damaged.
If this case is applicable, you will have to reset the network settings on your computer. This will reinstall the network adapters on your computer and reset other networking components. If you have third-party VPN clients, you will have to reinstall them after resetting your network settings.
Follow the instructions below to reset your network settings:
- First, open the Settings app by pressing the Win key + I on your keyboard.
- On the Settings app, navigate to Network and Internet > Advanced Network Settings > Network Reset.
Navigating to Network Settings - There, click on the Reset now button.
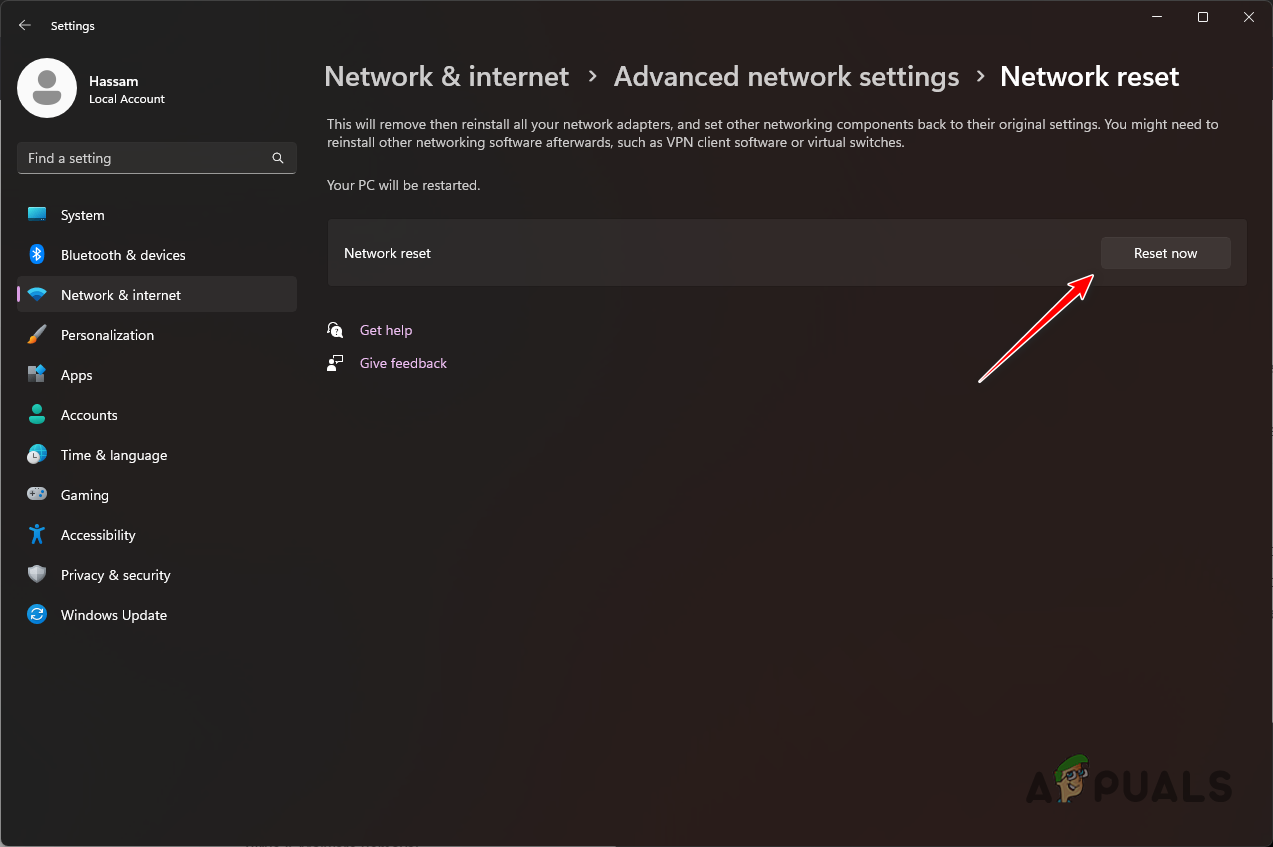
Resetting Network Settings - After your PC boots, open your browser and see if the error code is still there.
9. Test Internet Connection on Different a Device
If the problem persists even after following all of the above methods, the problem is likely due to the internet connection from your internet service provider. In such a case, you can test out the theory by using your internet connection on a different device.
This can be your mobile device or laptop. Open it up and connect to your network. Once you do that, try using your browser to see if the problem occurs. In case the problem persists even on a different device, it will be evident that the issue is from your internet connection. In case it does not move to the next method below.
10. Use Mobile Hotspot
If the problem does not persist on a different device, you will have to verify if the problem is limited to only your network connection on your computer. To do this, you will have to connect to a different network.
You can pull this off by connecting to your mobile hotspot to see if you are able to use your browser. If the problem goes away on a different network, it will evident that the problem is only limited to that specific network. In such a case, move to the next method below.
11. Contact ISP
At this point, the only option left for you is to reach out to your internet service provider and discuss the details of the problem with them. It is likely the error code is being triggered due to an issue with your internet connection from the provider’s end.
In such a case, they will be able to investigate and resolve the issue on their end once you have notified them. Once they have refreshed your connection on their end, the problem should go away and you will be able to use the web browser without any issues.