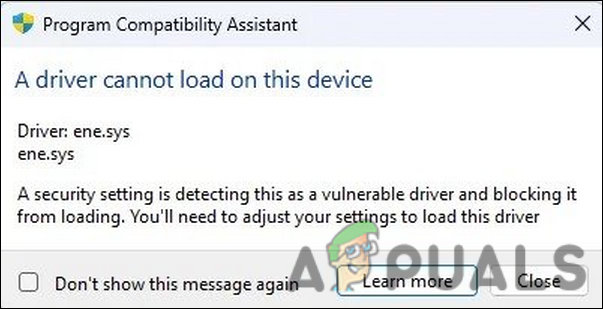
How to Fix ‘ene.sys’ Driver Error in Windows 10/11?
The ene.sys error prevents certain drivers from loading on the system and is accompanied by a message stating, ‘A driver can’t load on this device’. It can occur in both Windows 10 and 11 but has recently been reported frequently by users who just upgraded to Windows 11.
In this guide, we will take a look at the troubleshooting methods you can try when this error pops up on your computer. Proceed with the solution that fits your situation the best.
1. Uninstall the Update
If the error started occurring right after you installed an update, then the installed update might be the culprit. It can be infected with a corruption error or a bug that is interrupting the system’s operations.
The best way to counter this problem is by uninstalling the problematic update. Once you do that, the driver issue will automatically resolve.
Here is how you can do that:
- Press the Win + R keys together to open Run.
- Type control in Run and hit Enter.
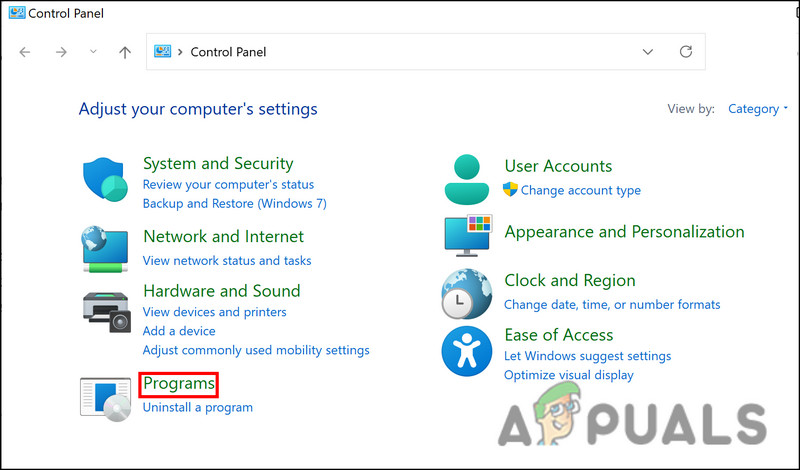
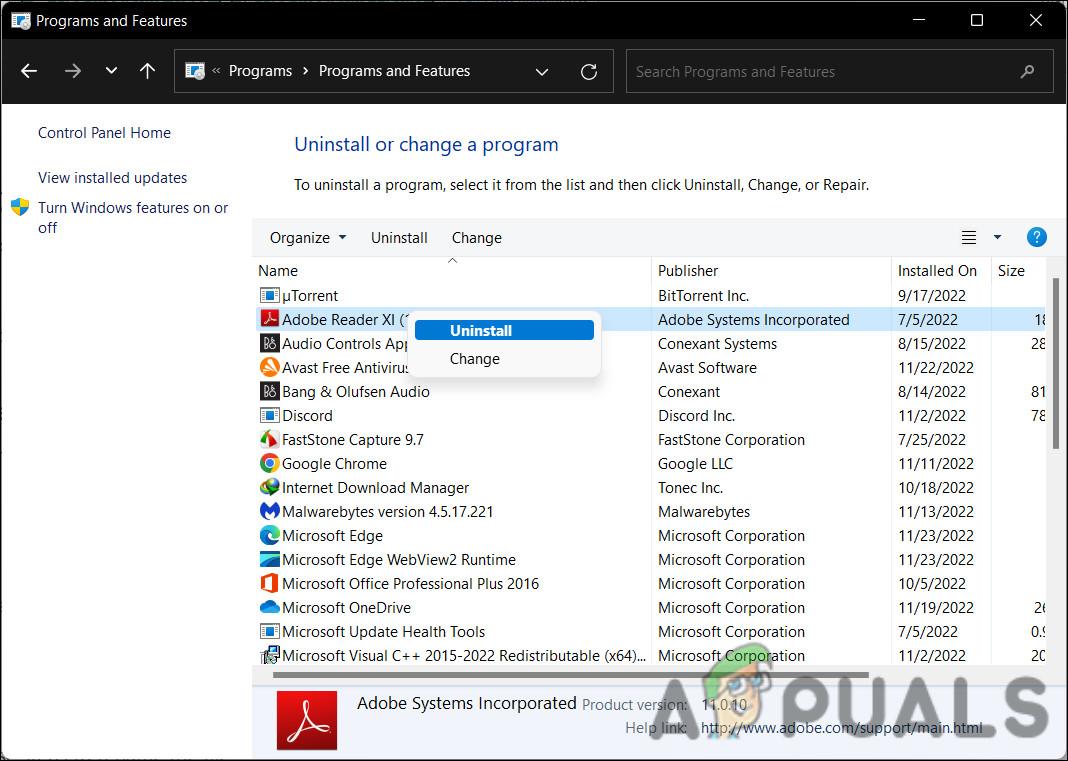
- In the Control Panel window, click on Programs from the list of options available.
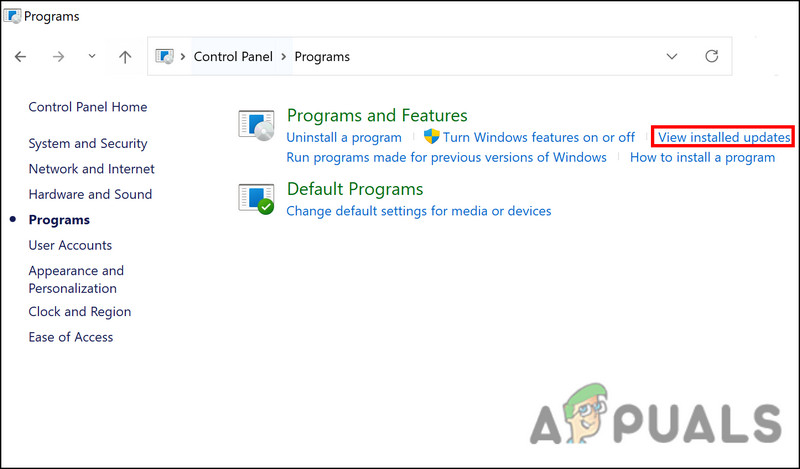
Click on the Programs option - Now, click on View installed updates under the Programs and Features option.
Access the installed updates on the system - You should now be able to see a list of all the installed updates on your computer. Right-click on the problematic one and choose Uninstall.
- Follow the on-screen instructions to proceed and then restart your computer.
Upon reboot, check if the driver issue is resolved.
2. Uninstall the Related Utilities (If Applicable)
Ene.sys is a driver related to RGB lighting control on your system. If you are using a utility to control the RGB lighting on your PC or one to control the RGB lighting on a keyboard or mouse, the utility is likely to be the culprit.
It might be faulty, thus preventing the driver from launching properly.
In this case, the best way to fix the issue is by uninstalling all the additional relevant utilities.
Here is how you can do that via Control Panel:
- Press the Win + R keys together to open Run.
- Type control in Run and hit Enter.
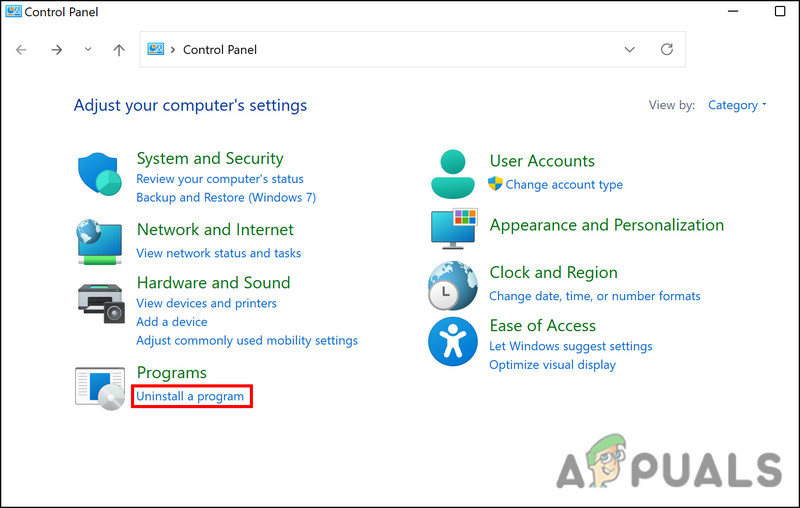
- In the Control Panel window, click on Uninstall a program under the Programs option.
Click on the Uninstall a program option - Now, locate the targeted utility and right-click on it.
- Choose Uninstall from the context menu and follow the on-screen instructions to complete the process.
Uninstall the application - Once done, restart your PC and check if the issue is resolved.
3. Rename the ene.sys File
There might also be an issue with the file of the driver itself, which is leading to the problem at hand. In this case, you can fix the problem by renaming the ene.sys file.
While it is still unclear why this fix works, we suggest you give it a shot. Hopefully, it will fix the problem for you as well.
Follow these steps to rename the file:
- Launch File Explorer and head over to the C drive to locate the ene.sys file.
- Right-click on it and choose Rename from the context menu.
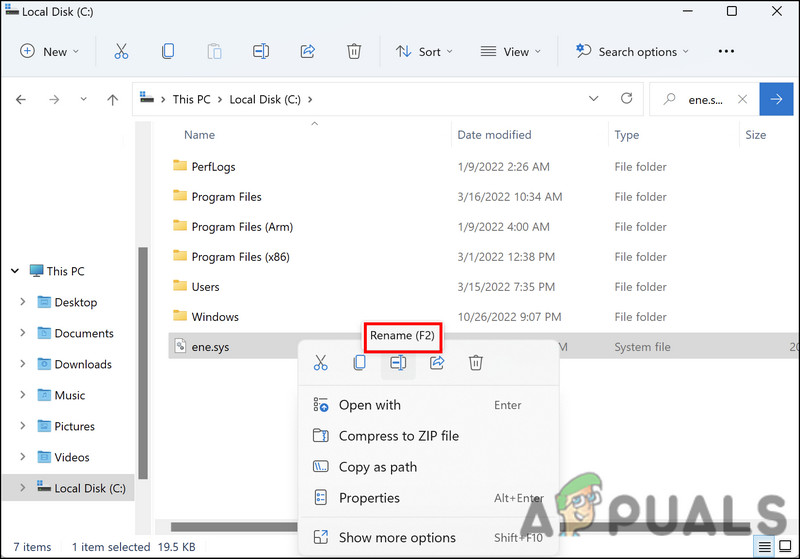
Rename the file - Now, rename the file to ene.sys0 or anything similar. Then, check if the issue is resolved.
4. Disable Memory Integrity
A Microsoft Windows feature called Hypervisor-protected Code Integrity (HVCI) or memory integrity protects memory and prevents malware from taking over your computer via low-level drivers.
In spite of the fact that this is a great security feature, it is dependent on hardware compatibility and hardware drivers, which makes it less suitable for individual user devices. Enterprise environments are best suited for it. This function may cause many personal software programs to not operate properly. It is not necessary to enable memory integrity for individual users, so you should be fine without it.
Here is how you can proceed:
- Type Core Isolation in the search area of the taskbar and click Open.
- In the following window, head over to the Memory integrity section and disable it.
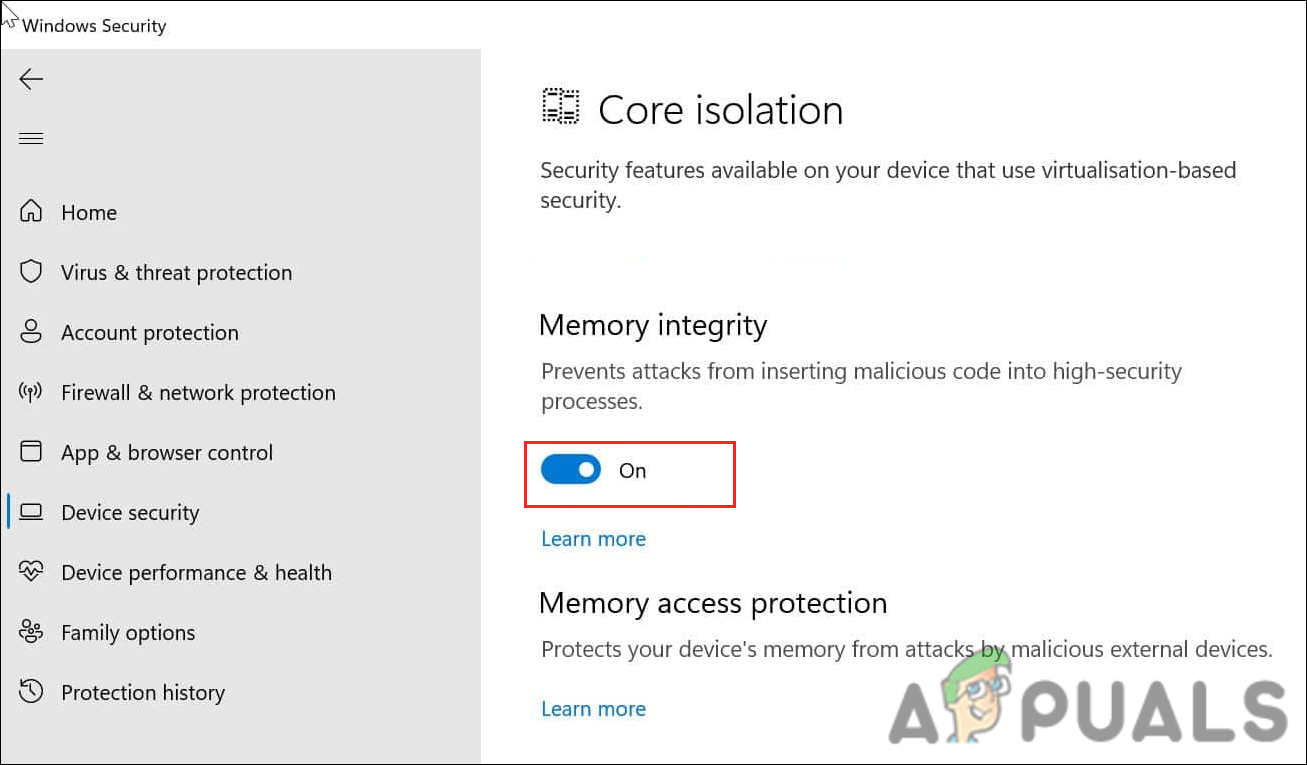
Turn the toggle off for Memory integrity
Once the feature is disabled, close the Settings app and check if the error is resolved.
5. Run the Hardware & Devices Troubleshooter
Windows has a built-in tool called Hardware and Devices Troubleshooter, which can scan the system for hardware/device-related errors, identify the potential problems that might be causing the issue, and then fix the issue as well.
However, unlike other troubleshooters, this tool can not be run via Windows Settings. We will be using the Command Prompt for this purpose.
Here is all that you need to do:
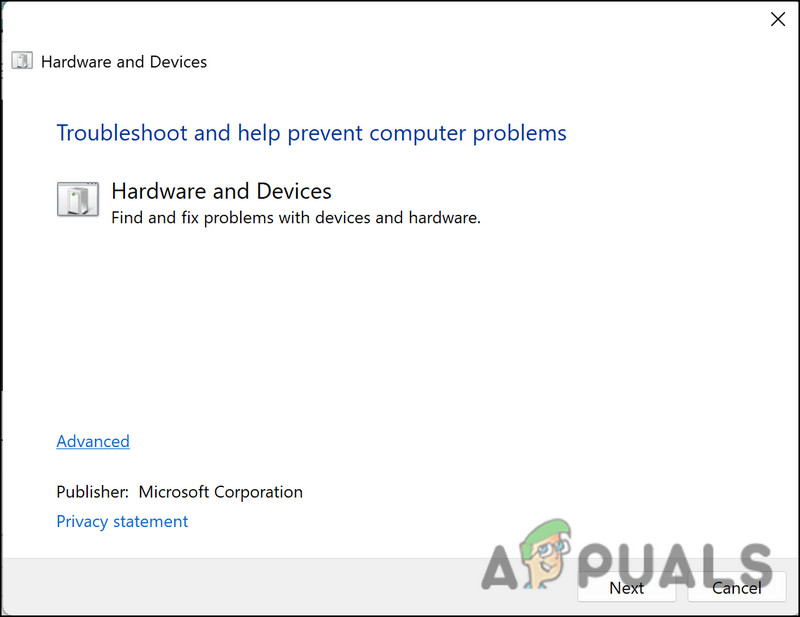
- Press the Win + R keys together to open Run.
- Type cmd in Run and click Ctrl + Shift + Enter keys simultaneously. This will launch the Command Prompt as an administrator.
- In the Command Prompt, execute the following command:
msdt.exe -id DeviceDiagnostic
- Follow the on-screen instructions to proceed and then check if the issue is resolved.
Run the Hardware and Devices troubleshooter


