How to Enable the Legacy Boot Menu in Windows 10
Anyone who has dual-booted Windows 10 with Windows 7 will know that Windows 10 has the modern graphical bootloader, not the classic text-based bootloader from Windows 7 that we all knew and loved. While the folks at Microsoft might think that the graphical bootloader is a step forward and is better than the text-based bootloader, most Windows users will agree that the graphical bootloader spruces things up a bit too much and, for lack of a better phrase, is just not what they are used to.
In addition, to top it all off, Windows 10’s graphical bootloader performs an additional reboot every single time you choose to boot into Windows 7 instead of Windows 10, and this can be pretty annoying and time-consuming. However, thankfully, anyone who dual boots Windows 10 with Windows 7 can save themselves from the menace that is the graphical bootloader by simply switching to the classic Windows 7 bootloader (or the Legacy bootloader). Yes, that’s right, it is entirely possible for you to switch to the beloved text-based bootloader from Windows 7 that provides you with a list of installed Operating Systems from which you can choose which OS you want to boot into.
Replacing Windows 10’s graphical boot manager with Windows 7’s Legacy bootloader is a pretty simple process, and the following are the exact steps that you need to perform in order to do so:
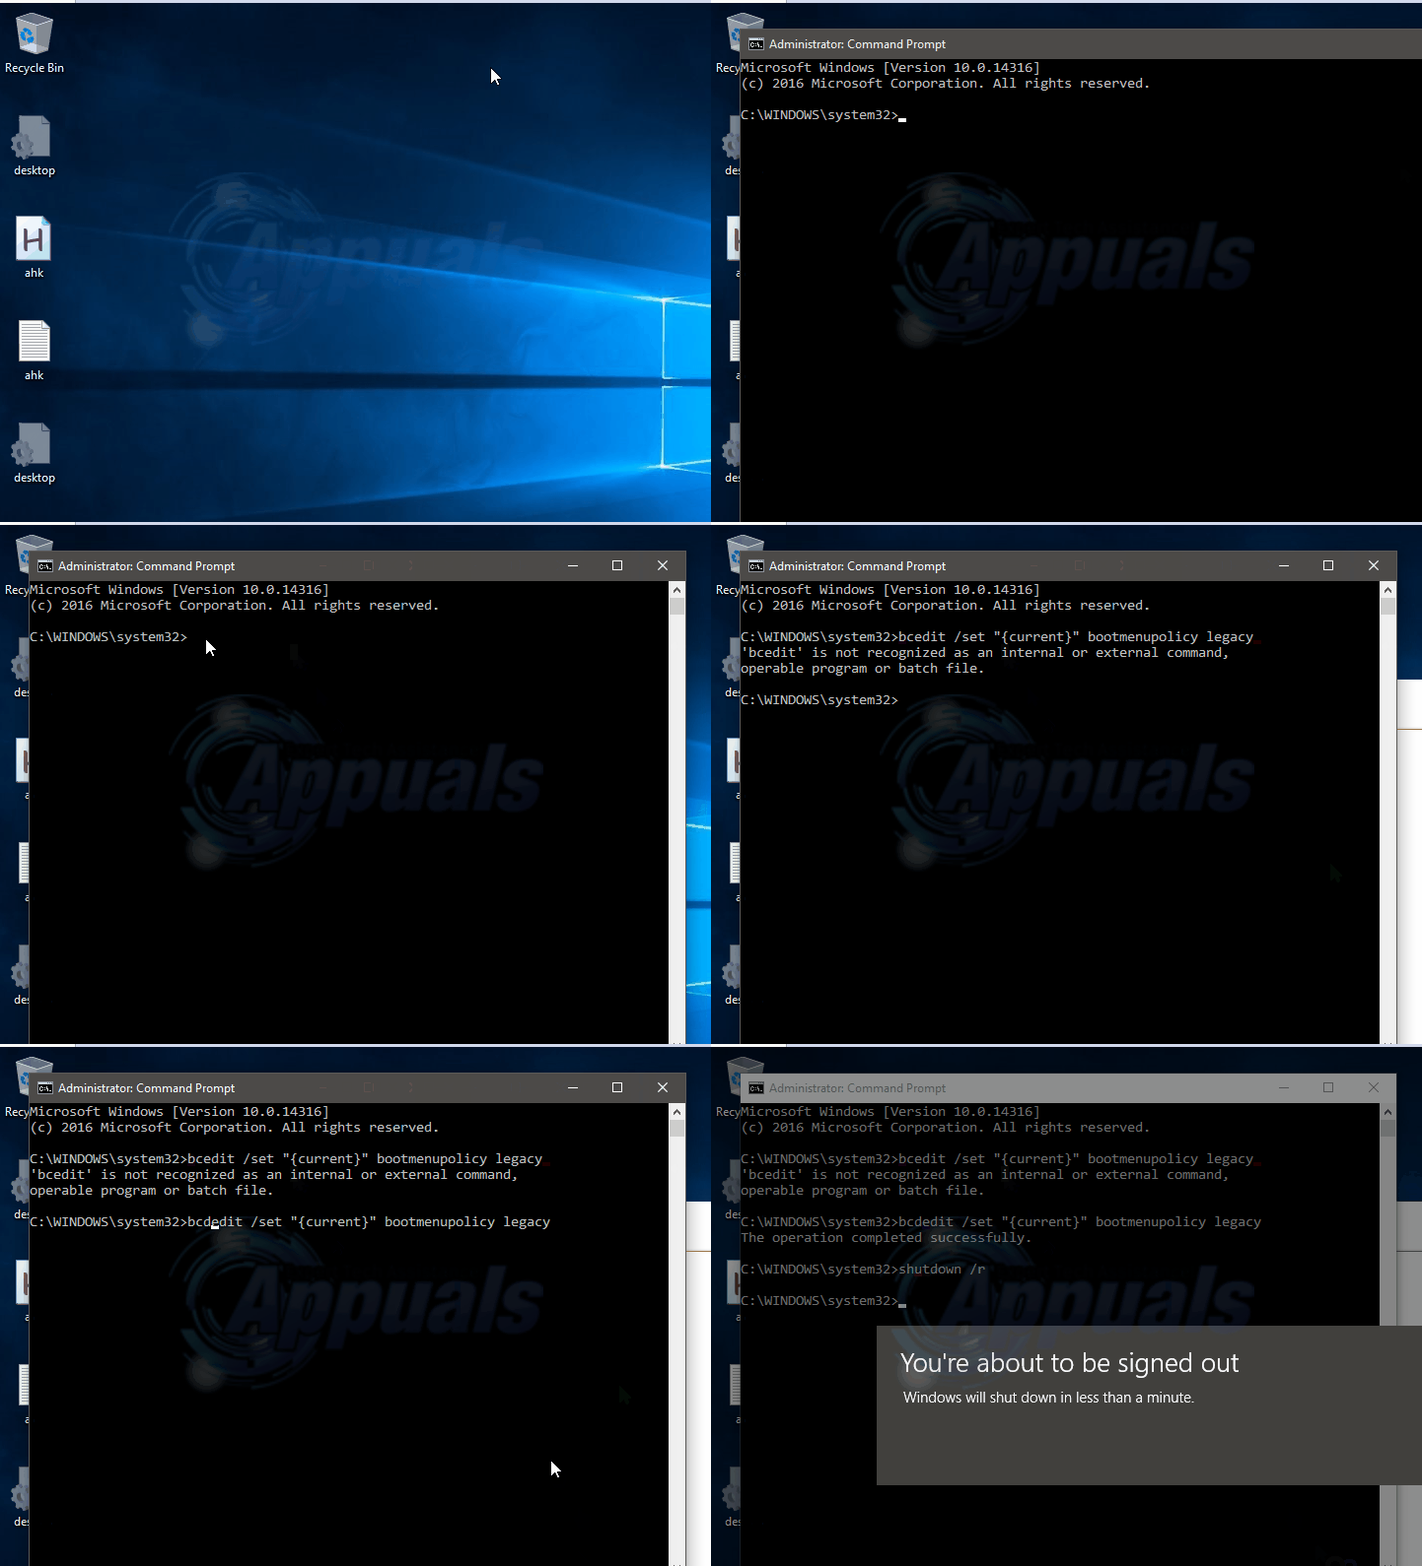
Right-click on the Start Menu button to open the WinX Menu or Hold the Windows Key and Press X
Click on Command Prompt (Admin) to launch an elevated Command Prompt.
Type the following into the elevated Command Prompt and press Enter:
bcdedit /set “{current}” bootmenupolicy legacy
Exit the elevated Command Prompt.

When you reboot your computer, you will see that your bootloader has been switched to Windows 7’s Legacy

Note: To switch back to the graphical bootloader, simply repeat steps 1–4, but, this time, type the following into the elevated Command Prompt:
bcdedit /set {default} bootmenupolicy standard