How to Enable or Disable Projecting to this PC in Windows 10?
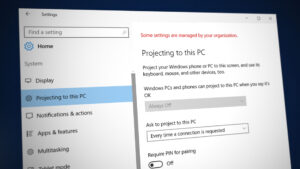
The Projecting to this PC is a Windows feature that allows users to wirelessly connect to another computer monitor. This only works if the hardware of both devices supports the Miracast. It uses the Connect app to project the display of one device to another. However, you can also disable this feature on a system if you don’t need it. If it is already disabled, then you can enable it. In this article, we provide you methods through which you can enable or disable the Projecting to this PC feature in Windows 10.
Enabling or Disabling Projecting to this PC
All the below methods do the same job of enabling and disabling this feature. You can use any one of the methods to accomplish the task. Mostly we will be showing you methods through which you can disable this feature. However, in each method, we will also provide the step for enabling it back too.
The Local Group Policy Editor is only available in the Windows 10 Pro, Windows 10 Education, and Windows 10 Enterprise. If you are using the Windows Home version, then skip to the Registry Editor method.
Method 1: Using the Local Group Policy Editor
The Local Group Policy Editor is a Windows feature that controls the working environment of the operating system. The setting that you want to use is already available in the Local Group Policy Editor. A user just needs to edit the policy to enable or disable the Projecting to this PC feature. Follow the below steps to see how it works:
- Open the Run dialog box by pressing the Windows and R keys together on your keyboard. Then, type “gpedit.msc” and press the Enter key to open the Local Group Policy Editor window.
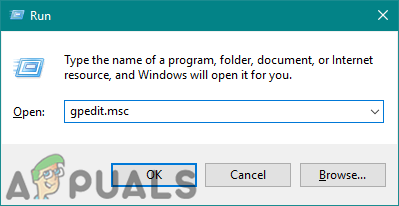
Opening the Local Group Policy Editor - In the Local Group Policy Editor window, navigate to the following location:
Computer Configuration\Administrative Templates\Windows Components\Connect\
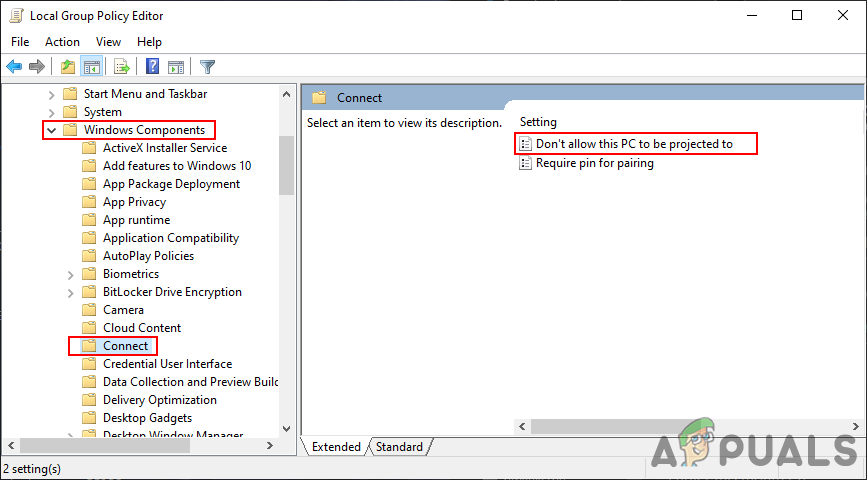
Navigating to the setting - Double-click on the setting named “Don’t allow this PC to be projected to” and it will open in another window. Now change the toggle option from Not Configured to Enabled.

Enabling the setting - Click on the Apply button and then the Ok button to save the changes. This will disable the Projecting to this PC feature.
- The policy will automatically update the settings on your system. However, if it doesn’t update, then open the Command Prompt as an administrator.
- Now type the following command in Command Prompt (Admin) to force an update for the policy that you configured. You can also update the group policy by restarting the system.
gpupdate /force
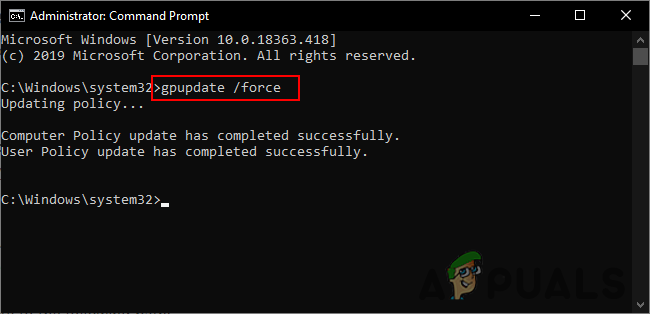
Updating the Group Policy configuration - You can always enable it back by changing the toggle option to Not Configured or Disabled.
Method 2: Using the Registry Editor
The Windows Registry Editor is a graphical tool through which users can view and make changes in the Windows Registry. It stores all the low-level settings for your Windows operating system. This is also the only available method for Windows Home users. Unlike the Group Policy method, you have to create the missing value/key for the setting in the Registry Editor. Follow the below steps to configure the setting in the Registry Editor:
- Open the Run dialog box by pressing the Windows + R key together.
- Now type “regedit” in the box and press the Enter key to open the Registry Editor.
Note: If prompted by the UAC (User Account Control) window, click on the Yes button.
Opening the Registry Editor - If you want to create a registry backup, click on the File menu and then choose the Export option from the list. Name the file and provide the location where you want to save it, then click on the Save button.
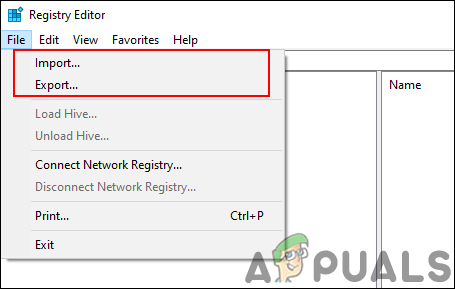
Creating a Registry backup Note: To recover the registry, click on the File menu and choose the Import option from the list. Select the backup file that you previously created.
- Navigate to the following path in the Registry Editor window:
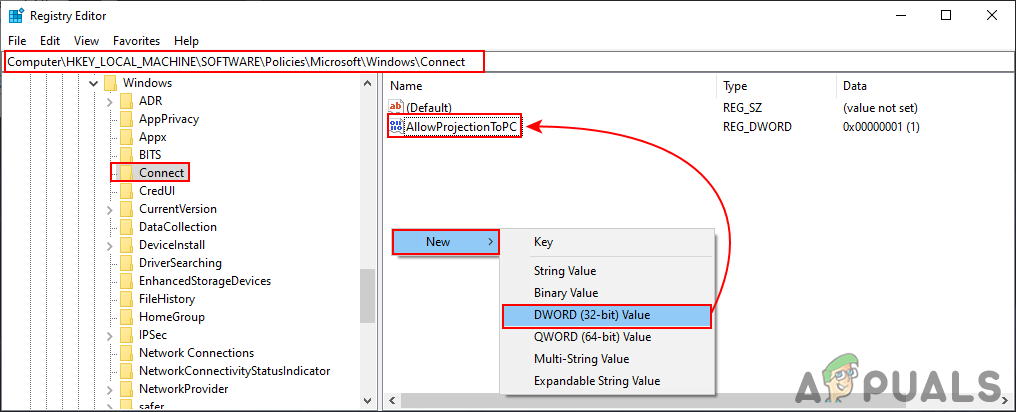
HKEY_LOCAL_MACHINE\Software\Policies\Microsoft\Windows\Connect
Note: If the Connect key is missing, right-click on the Microsoft key, and choose the New > Key option. Rename the key as “Connect“.
- In the right pane of the Connect key, right-click and choose the New > DWORD (32-bit) Value option. Rename this value as “AllowProjectionToPC“.
Creating a new value - Double-click on the value to edit it. Now change the value data to 0 to disable the value and change the value data to 1 to enable the value. You can also remove the value to set it back to the default setting.
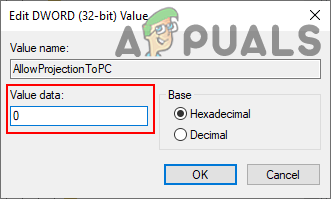
Changing the value data - Once the changes are made, make sure to reboot the computer to apply these changes to your system.


Hi, I updated registry and gpedit but still it won’t project.. it says bloody proected content..please hep mate.