How to enable Developer Mode on Chrome OS
Chrome OS is a fairly minimalistic operating system, and is mainly designed for people who want their computers to ‘just work’. To that end, it is also extremely limited in terms of customization and tweaking. However, if you do want to tweak your Chromebook’s settings, install Ubuntu on it, or do anything beyond the confines of Google’s tightly closed Chrome OS environment, you can do so by enabling developer mode. In this tutorial, we will show you how to enable Developer mode on your Chromebook.
Backing Up and Recovery
Enabling Developer Mode formats your Chromebook, so all your locally stored files (i.e. the Downloads folder) will be erased. Hence, it is a good idea to backup the files on your Downloads folder to a USB Drive or Hard Disk. Also, playing around with Developer mode runs the risk of breaking your operating system, so we will go ahead and create a recovery image so that in case anything happens, you can go back to your good old Chrome OS.
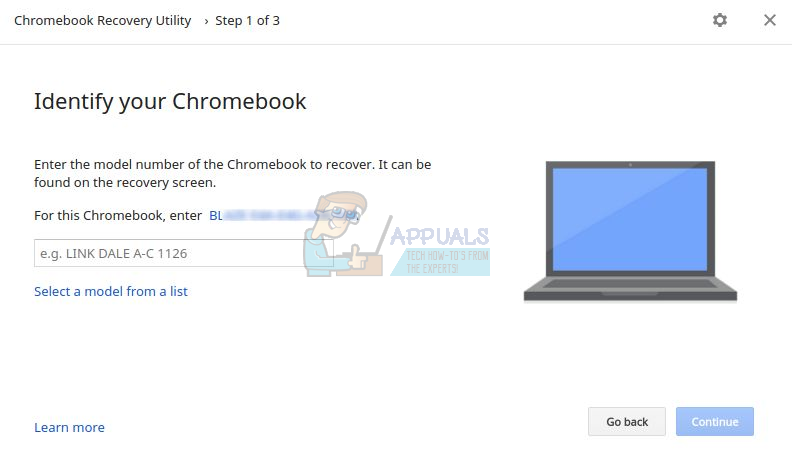
You need to have a pen drive with at least 4GB of storage for creating a recovery image. Download Chromebook Recovery Utility from the Chrome Web Store. Open the app and enter your Model number, which will be listed right above the text box.

Then, insert your pen drive and follow the simple steps to create a recovery image on your USB drive. Once you are done, we can proceed to enabling developer mode.
Enable Developer Mode
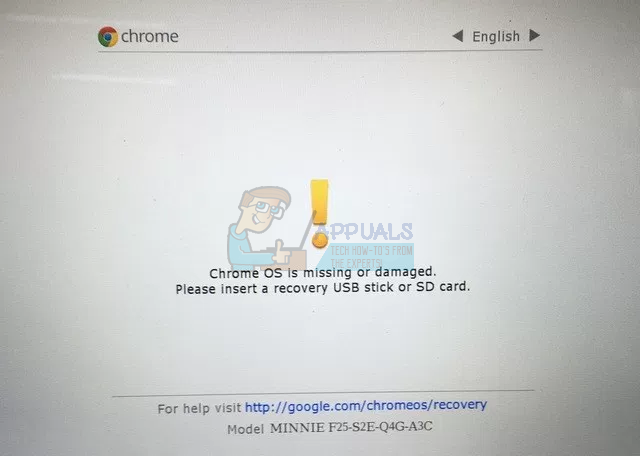
Older Chromebooks have a manual switch to toggle Developer mode. On more recent Chromebooks, the switch can be made by pressing Esc + Refresh + Power button together. When you do so, your Chromebook will reboot and you will be greeted with this screen.

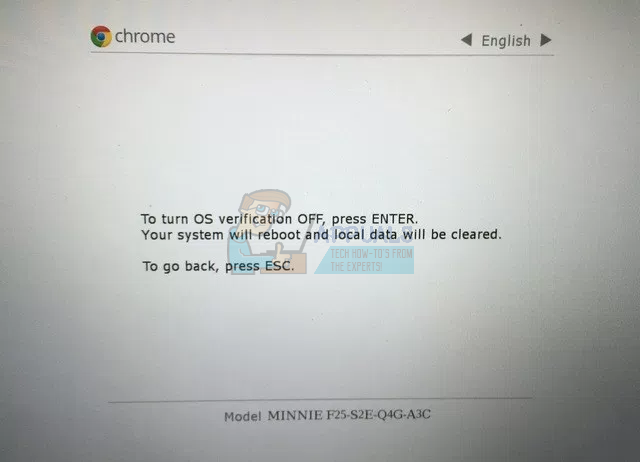
Don’t worry about the message. Chrome OS should be intact and working. Just press Ctrl + D on this screen. On the next screen, you will be asked to press Enter if you want to turn OS verification off (screenshot below), which we want to do.

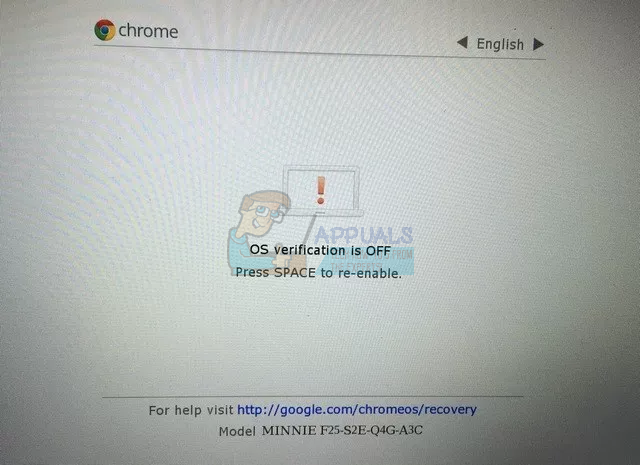
Go ahead and press ENTER. Your Chromebook will reboot, and you will be greeted with this screen on start-up.

Press Ctrl + D to skip this screen. After this, you will be taken to a final confirmatory screen, and your Chromebook will then start transitioning to Developer Mode. This process can take come time (around 15-20 minutes) so sit back and relax.
The ‘OS verification is OFF’ screen will appear again and you can press Ctrl + D to skip it. You will then be taken to your good old Chrome OS login screen.
Note that the OS verification screen will appear every time on start-up while in Developer mode, and you can always press Ctrl + D to skip it, or Spacebar to turn off Developer mode and reset your Chromebook to default.