Fix: Docx files Not Showing Word Icon Windows 10/11
Docx Files might not show icons due several reasons. Outdated Windows and False registry configurations are prime examples of what could cause you to face such an issue. Before digging deep into the solutions, it is advised to learn the causes for future measures.
After a thorough investigation, we have gathered the below-mentioned factors to be the main reason we are facing this error.
- Outdated Windows- It is advised to keep your computer’s operating system up-to-date. Microsoft comes out with new updates every now and then that usually fix minor bugs like the one in question.
- Incorrect Default application- Inside the windows settings, you can manually add or remove default applications. It is possible that some other application is selected to open the .Docx Files by default.
- False registry configuration- Windows registry is a database that stores information about all applications it deals with. It is possible that the Windows registry is falsely configured, causing this issue.
- Corrupt Office Installation- Your office installation might be forged; reinstalling or re-registering the Microsoft office suite can help us in such cases.
Without further ado, let’s move on to the solutions.
1. Set Word as Default for “.Docx” files
Windows allows users to set default applications for all formats. It is possible that the application configured to handle the “.Docx” files is not Microsoft Word. Follow these steps to set word as default for “.Docx” Files:
1.1 Windows 11
- Press the Windows key to open the windows start menu and click on the Settings icon.
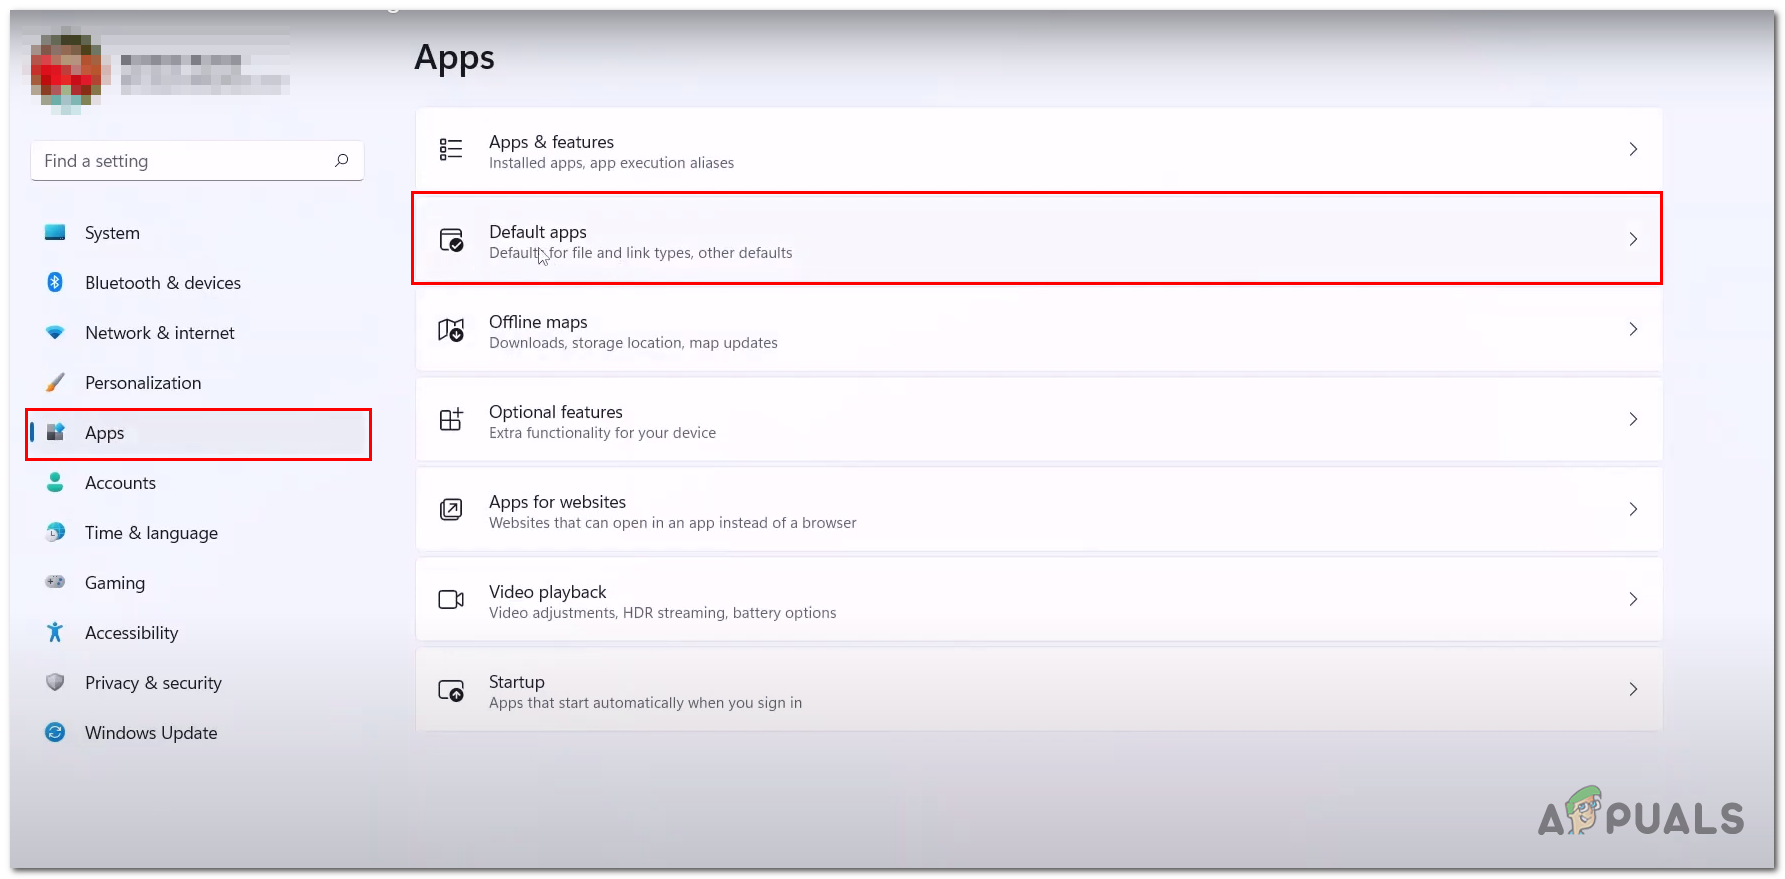
- Click on Apps.
- Now, Click on Default Applications.
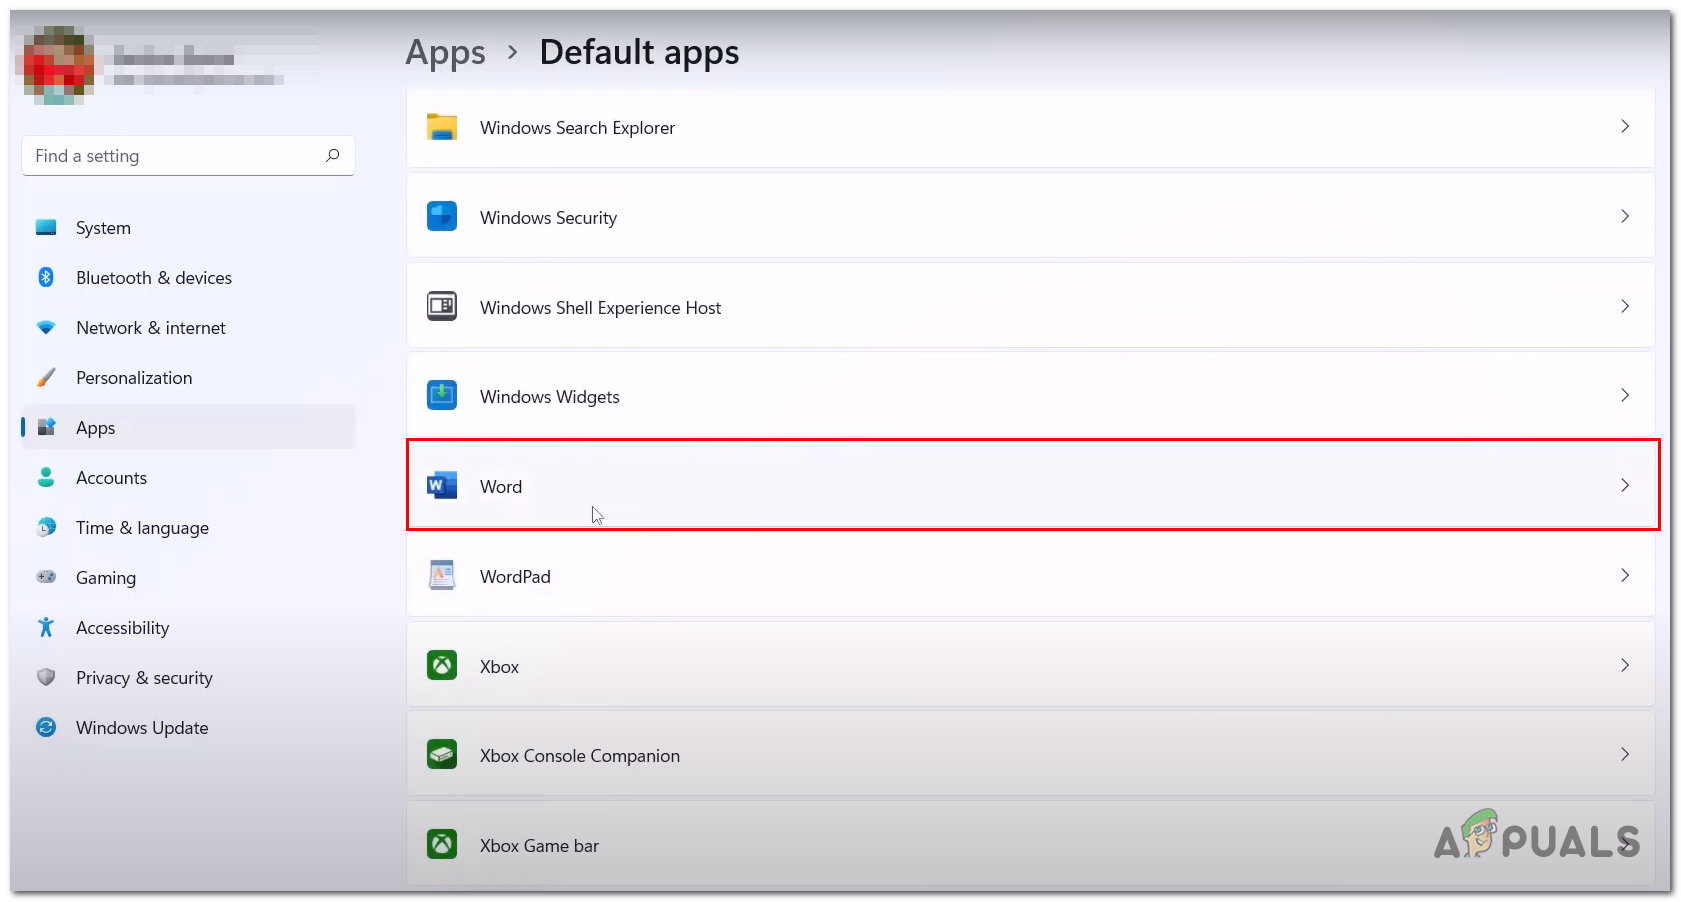
Setting Microsoft word as default for “.Docx” files - Locate Microsoft Word in the list, and click on it to open.
Setting Microsoft word as default for “.Docx” files - After that, Locate the “.Docx” subheading and click on Choose a default.
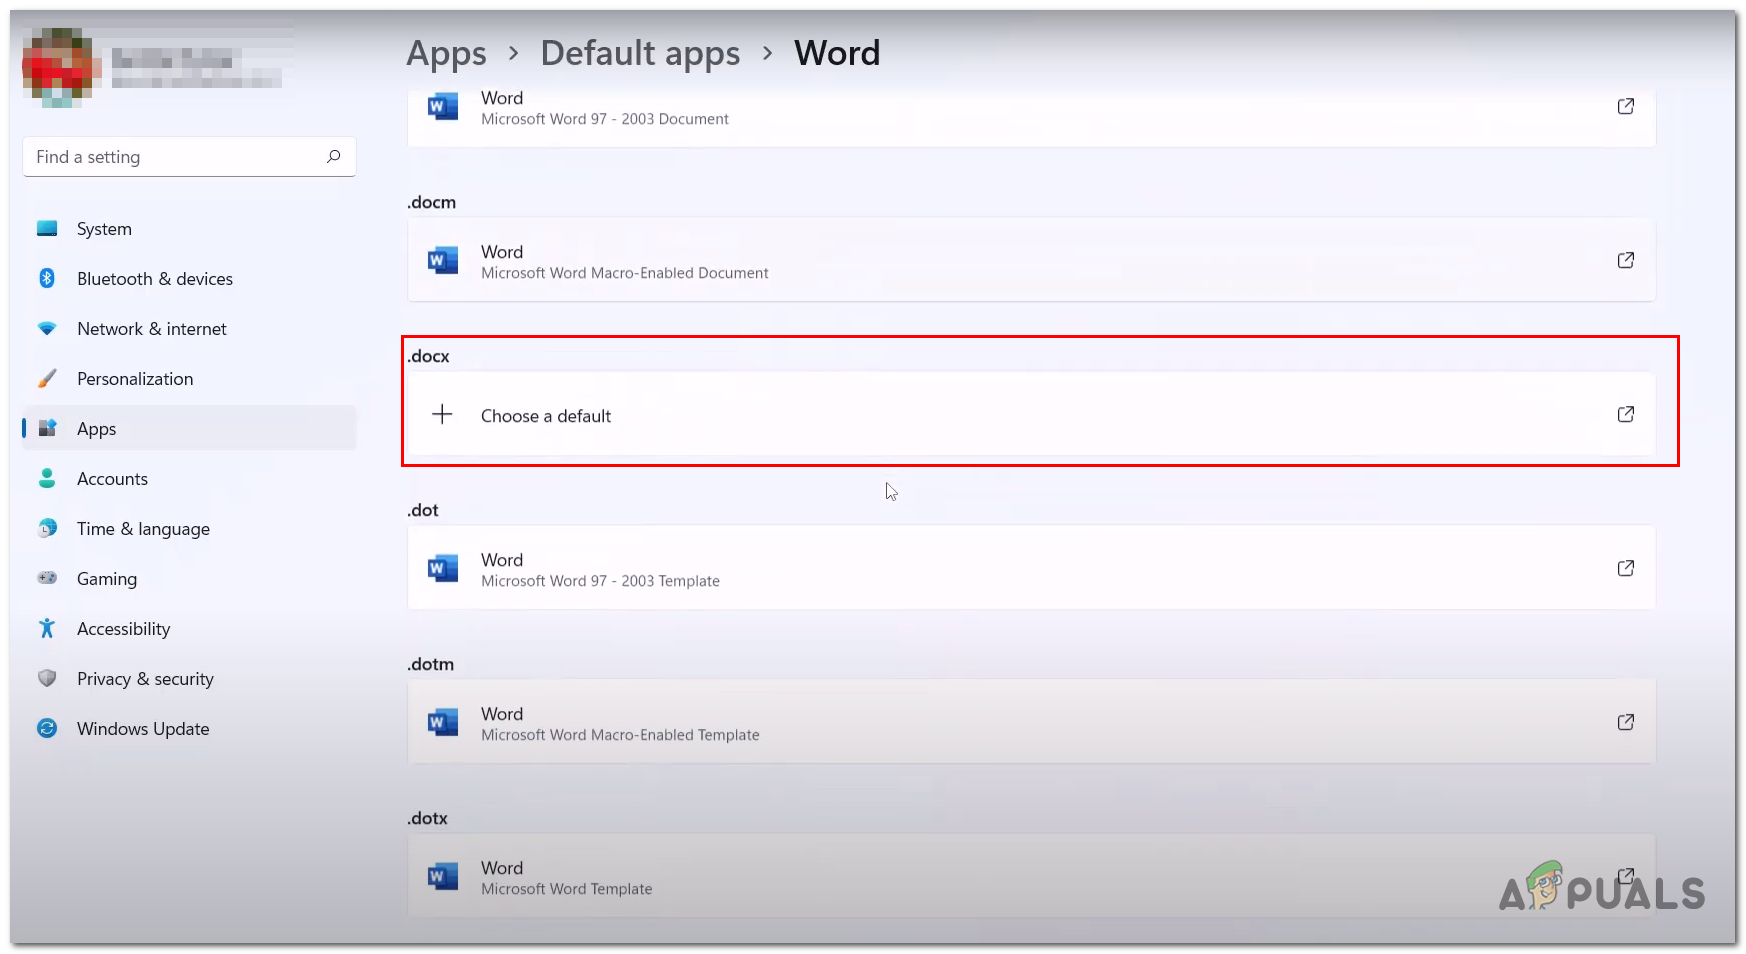
Setting Microsoft word as default for “.Docx” files - Select Word and click on Ok.
Once you have selected Word as the default app for “.Docx” files. Check if the files open appropriately
1.2 Windows 10
- Press the Windows key and Click on the settings icon as shown in the image below.
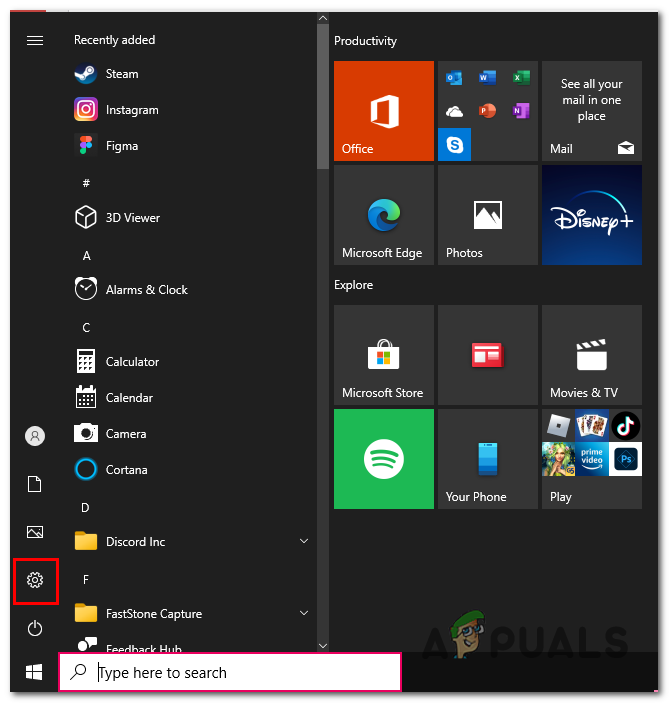
Setting Microsoft word as default for “.Docx” file - Click on Apps.

Setting Microsoft word as default for “.Docx” file - Click on the Default Apps option present in the left panel.
- Scroll down, Click on Choose Default Apps by type.
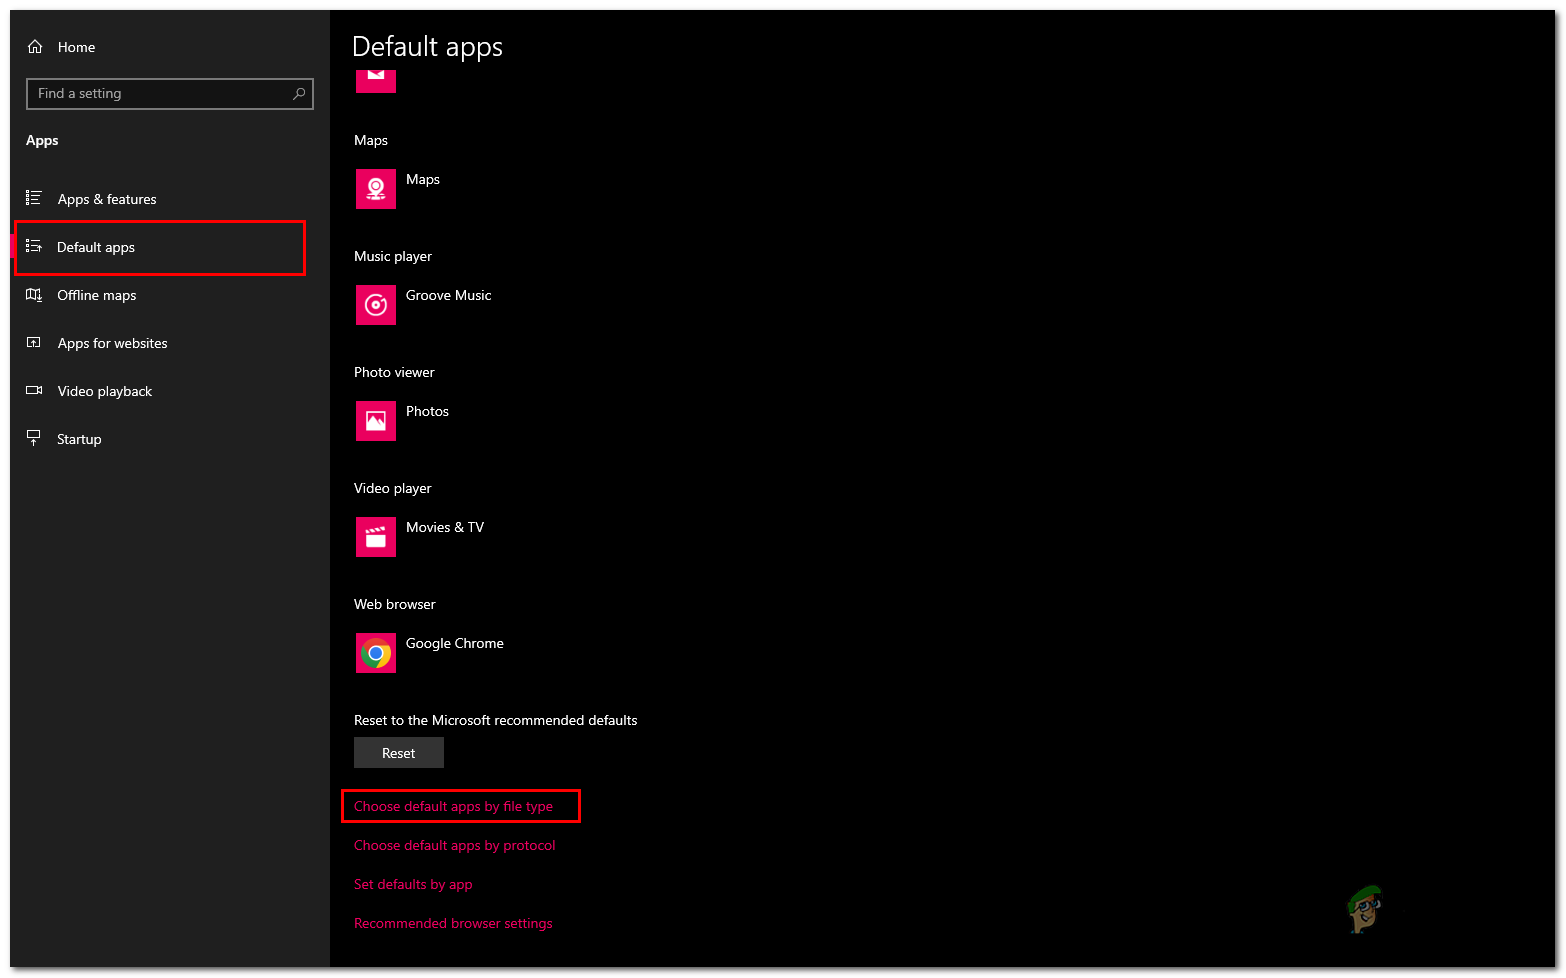
Setting Microsoft word as default for “.Docx” file - In the list, Locate “.Docx”
- Click on
2. Delete Icon Cache
Icon Cache can be found inside your computer’s C: Directory; there is a possibility that your icon cache database is corrupt. We are going to rebuild the icon cache; follow these steps:
- Press Windows + R keys simultaneously to open the run dialog box.
- Type Cmd in the Run dialog box search box to open the command prompt.
- Paste in the following text to delete the icon cache.
1) cd /d %userprofile%\AppData\Local
2) del IconCache.db
- Once Done, Reboot your Computer
3. Reconfigure the Registry editor
It is possible that the entries that handle files are possibly corrupt or misconfigured, follow these steps to reconfigure the registry editor:
- Open the windows start menu by pressing the Windows key; in the start menu, search bar type Registry editor and open it.
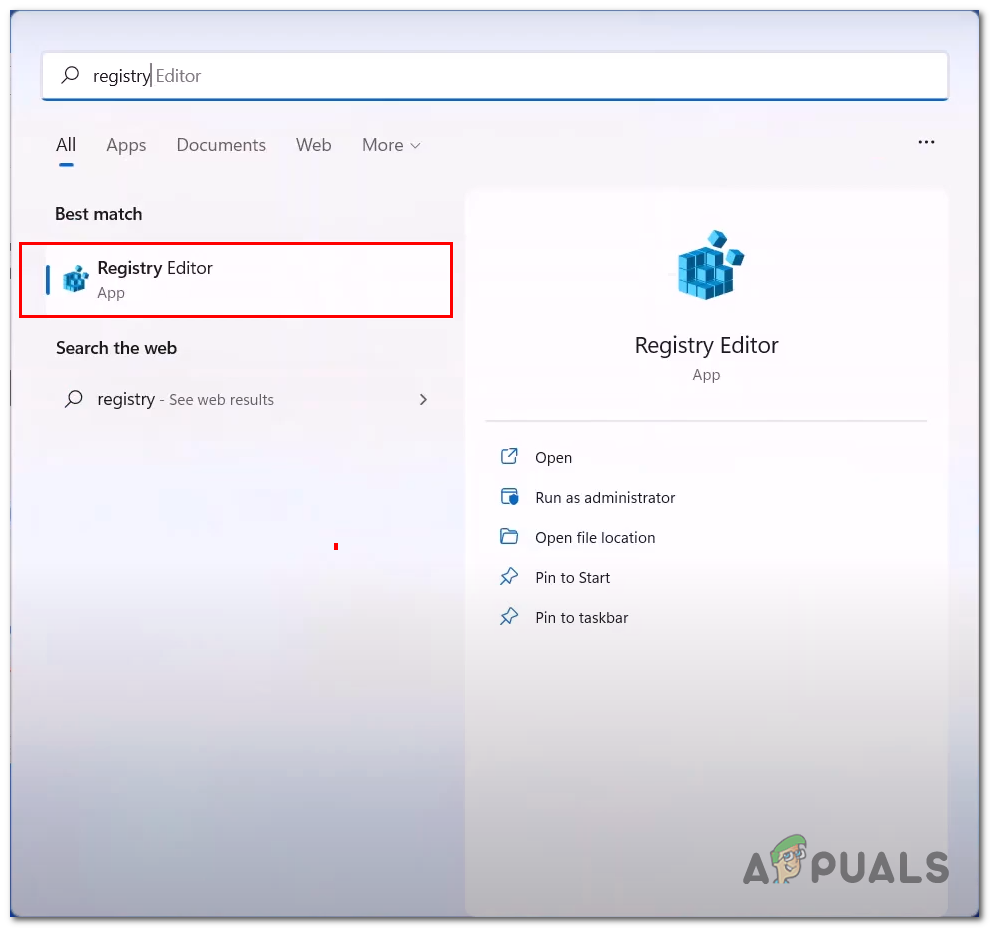
Re-configuring the registry editor - Click on Yes to allow.
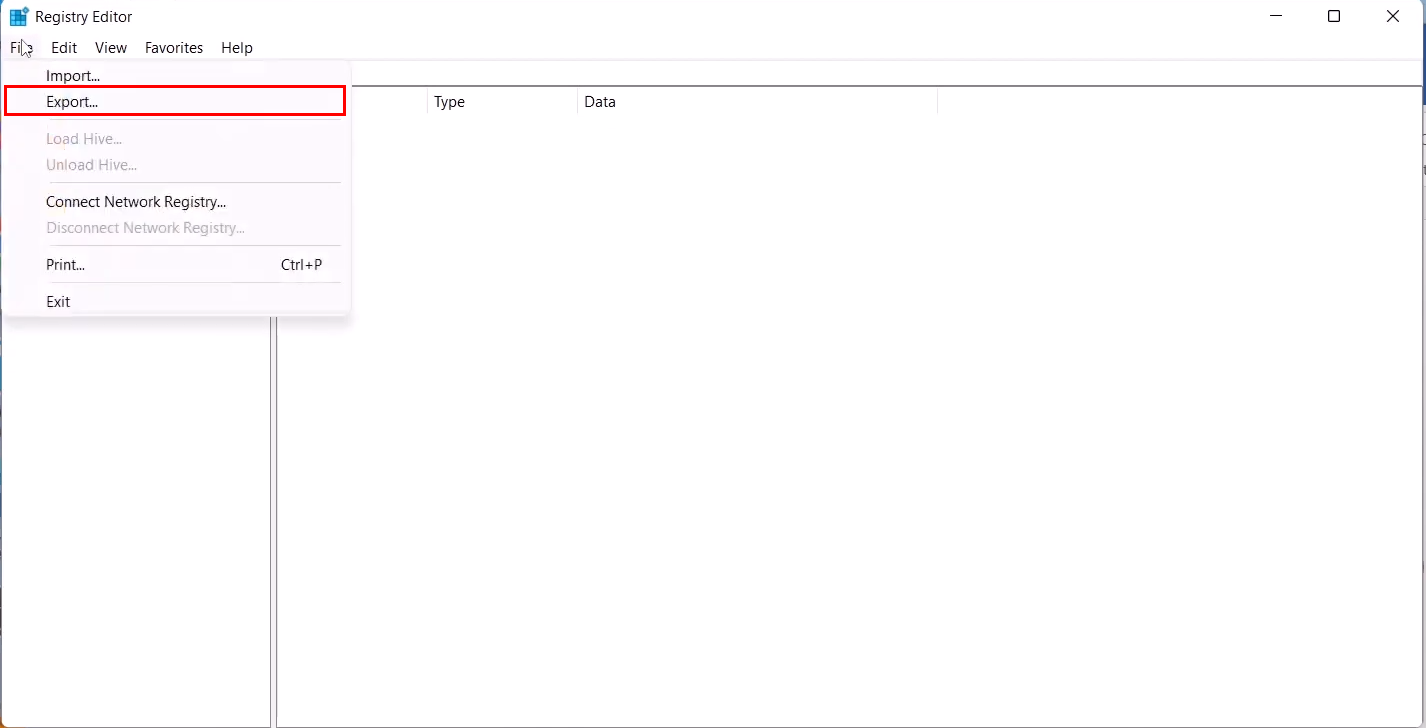
- Before making any changes to the registry, follow these steps to create a backup as a safety measure.
- In the registry editor, click on the Files tab in the navigation menu.
- Click on Export and choose a save location.
Re-configuring the registry editor - Click on the All radio button and select All files, as shown in the image below.
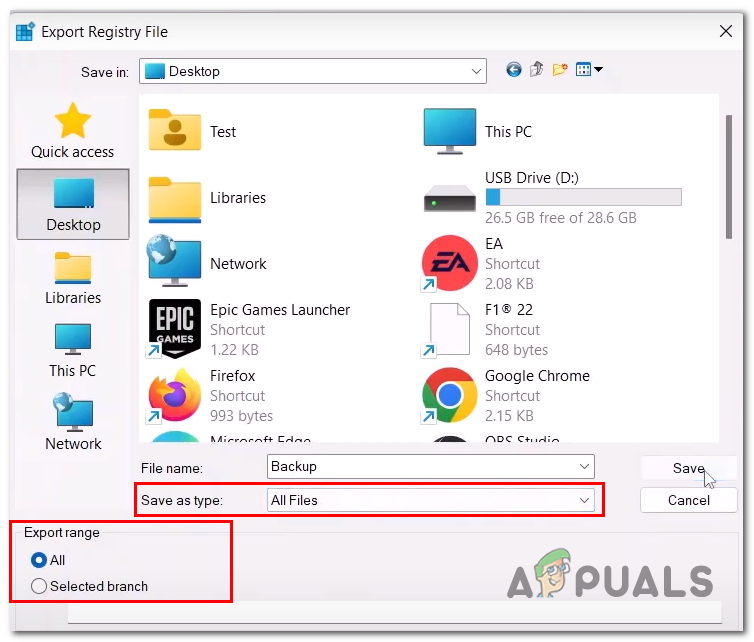
Re-configuring the registry editor - Click on the Save button.
- Wait for a while until it finishes backing up. After that, continue with the rest of the steps to reconfigure your registry editor.
- Now Press the Windows key on your keyboard to open the windows start menu, search for CMD, and open the command prompt as an administrator.
- Paste the following command in the command prompt terminal
REG ADD HKEY_CLASSES_ROOT\.docx\OpenWithList\Wordpad.exe
- Once done, Paste the following command
REG ADD HKEY_CLASSES_ROOT\.docx\Word.Document.16\ShellNew /v NullFile
- Now, lastly, Paste this command and exit out of the registry editor.
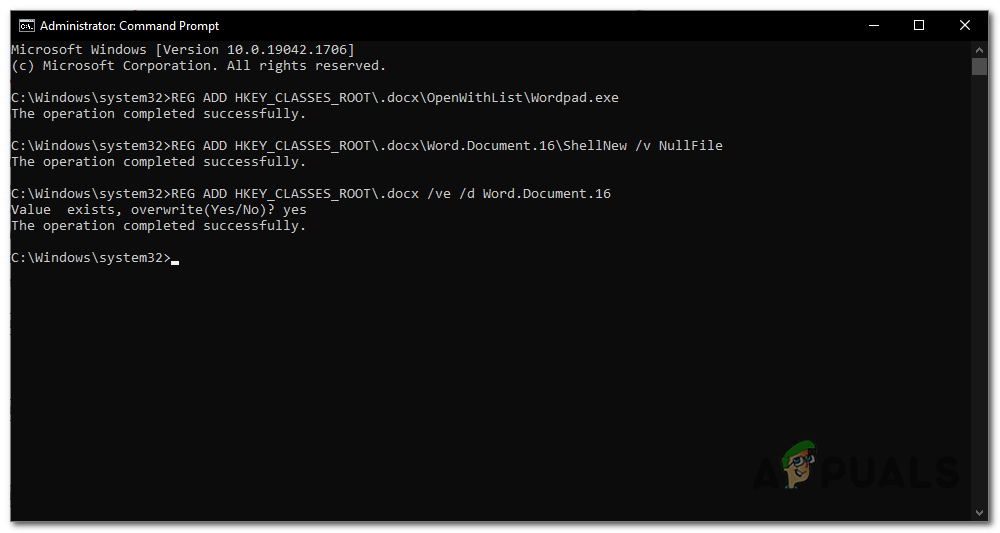
Re-configuring the registry editor REG ADD HKEY_CLASSES_ROOT\.docx /ve /d Word.Document.16
Once done following the above-mentioned procedures, Restart your computer. Once restarted, check if the issue is fixed; if not, continue to the next step.
5. Repair Microsoft Office
Your office installation might be corrupt due to several reasons. Follow these steps to repair the Microsoft office installation on your computer.
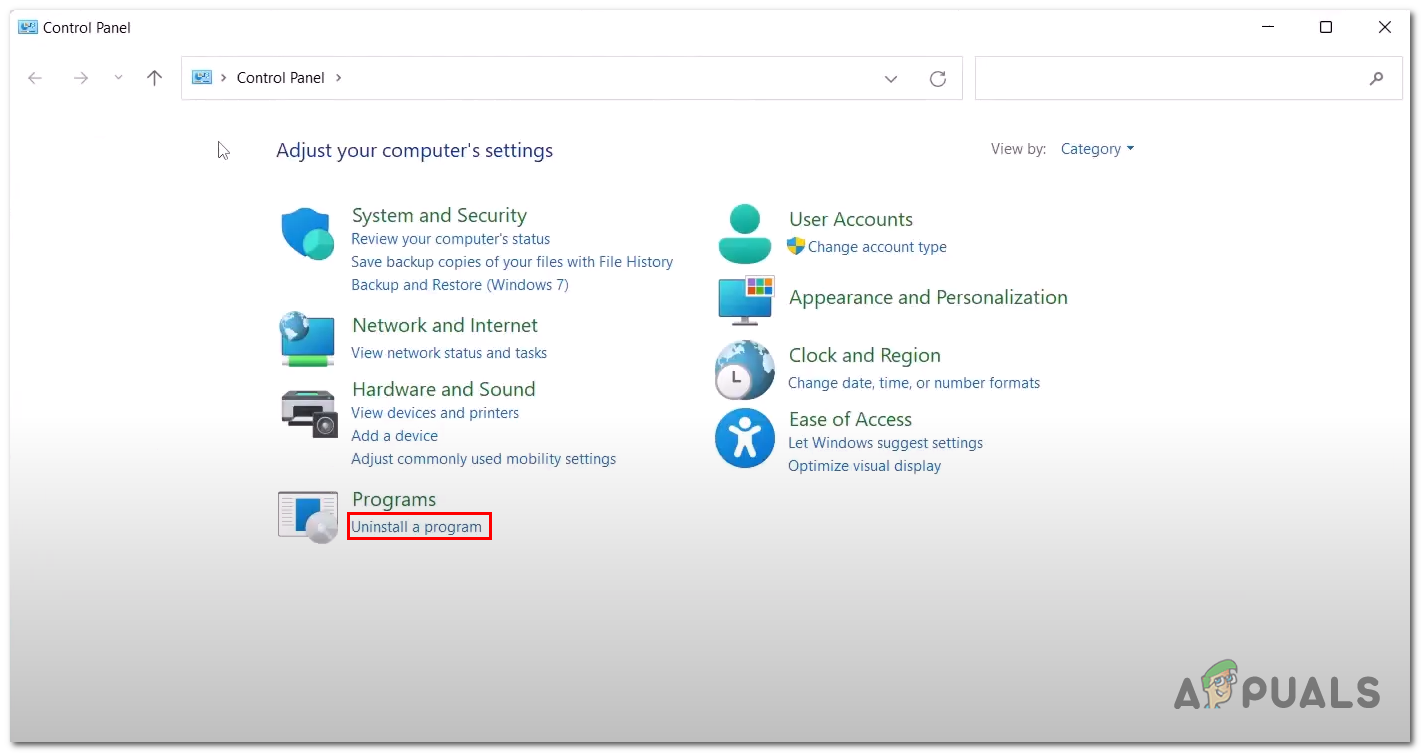
- Press the Windows key to open the windows start menu. In the windows start menu search bar, type Control Panel and open it.
- Click on Uninstall a program.
Repairing the Microsoft office - Locate Microsoft Office and make right-click on it.
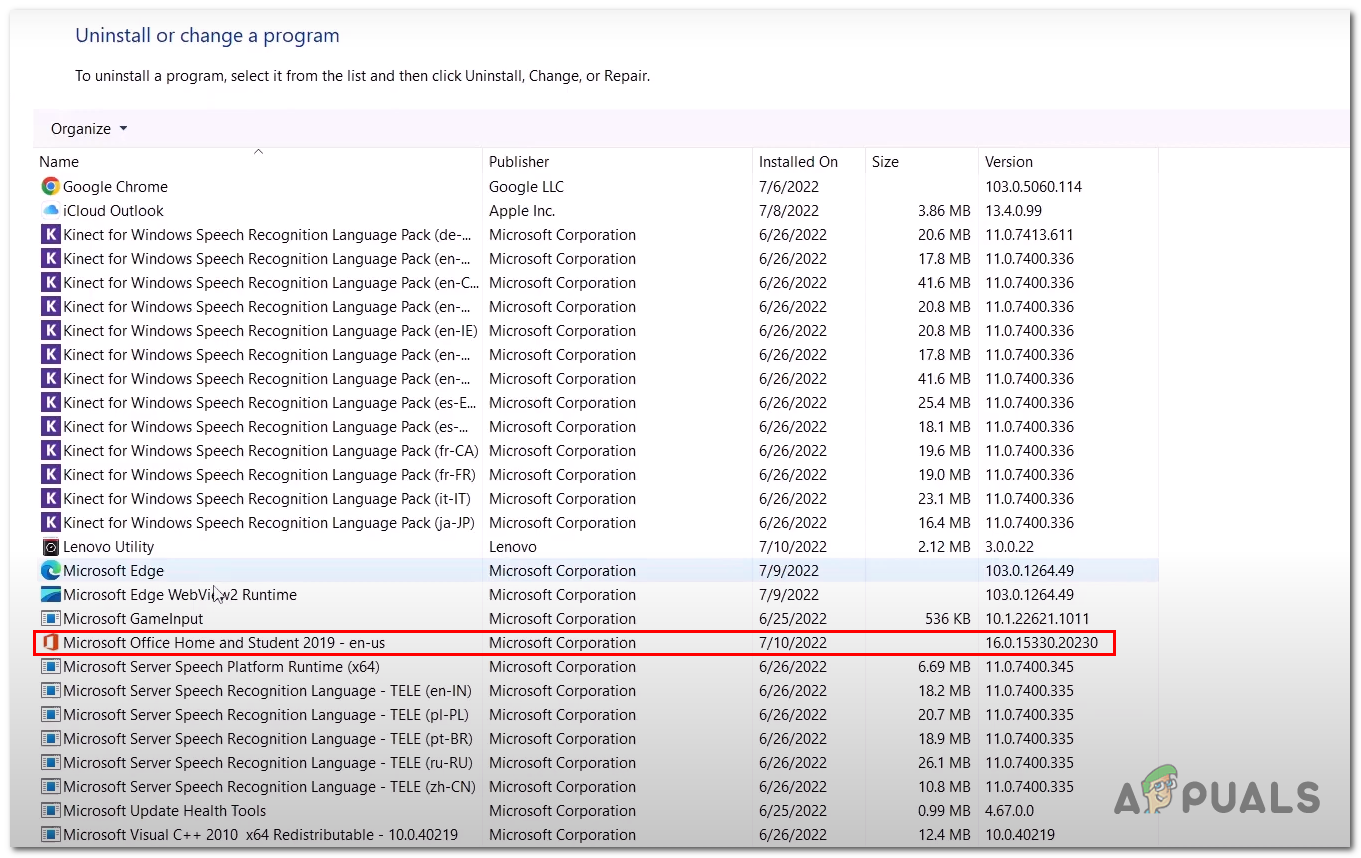
Repairing the Microsoft office - Click on Change.
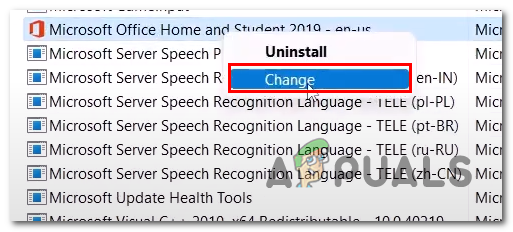
Repairing the Microsoft office - Proceed with repairing Microsoft office.
Once the Microsoft office has been repaired, Reboot your computer.


