How to Fix “Unexpected WSL Error” in Docker Desktop?
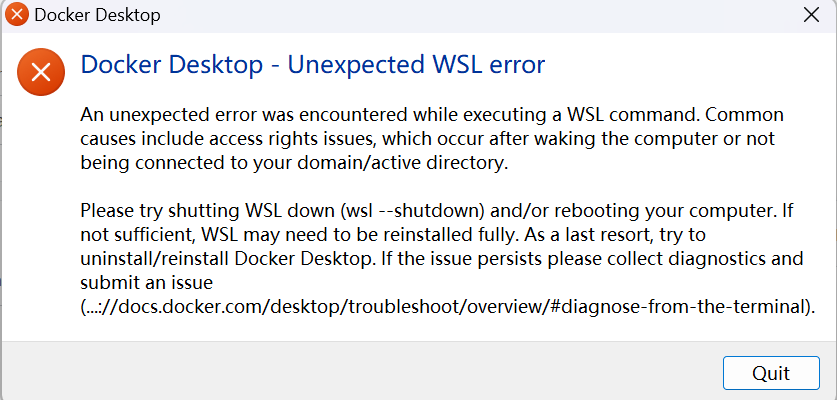
“Docker Desktop – Unexpected WSL error: An unexpected error was encountered while executing a WSL command” occurs when there is a problem with the Windows Subsystem for Linux (WSL), which Docker relies on to run Linux containers on Windows.
The most common cause of this error is an outdated or improperly installed WSL. However, other causes may include disabled Hypervisor and virtualization settings in the BIOS, as well as network issues.
Before we proceed to the solutions, please ensure that your network is working properly. If there is a problem with your network connection, the occurrence of this error is common. You just need to wait for the internet connection to start working properly.
1. Reset Winsock
Since this error can result from corrupted network settings, we can start by resetting Winsock. Winsock defines how network-related applications and software can access network services. If the network settings become corrupted, it can lead to network issues, resulting in this WSL (Windows Subsystem for Linux) error message. Therefore, by resetting Winsock, all your network settings will go back to their default state, which might resolve this issue.
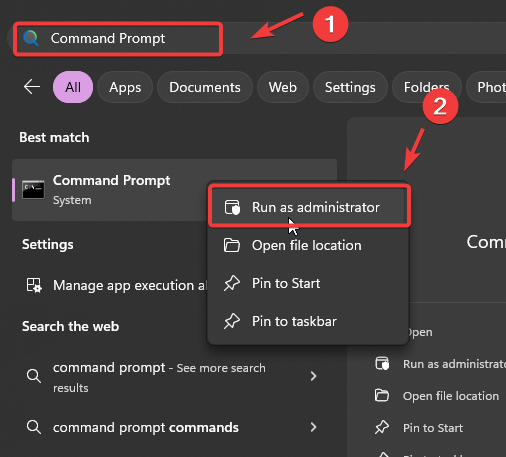
- Click the Start Menu and type Command Prompt.
- Right-click the Command Prompt and select Run as administrator.
- Enter the following command to reset Winsock.
netsh winsock reset
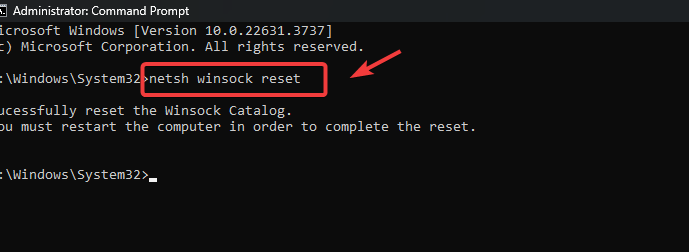
- Once done, check if the error is resolved or not.
2. Update WSL
If the WSL is outdated, the error might be occurring due to bugs or missing functionalities that are interfering with Docker’s operation. Therefore, ensure that you have an updated version of WSL. If it’s outdated, you can easily update it by running a simple command on Windows PowerShell.
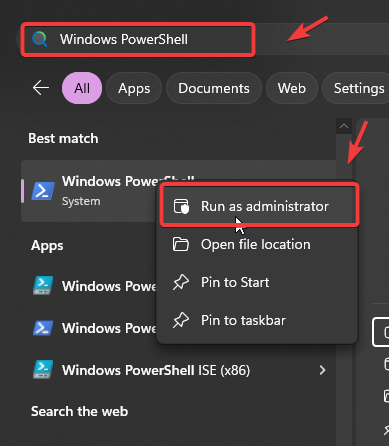
- Press the Win key to open the Start Menu.
- Right-click the Windows PowerShell and select Run as administrator.
- Enter the command wsl –update to update the WSL.

- Once the update is installed, restart your computer to restart the WSL.
3. Enable Hypervisor
Docker Desktop relies on virtualization technology to create and manage virtual machines and containers. If the Hyper-V is enabled, the CPU can better manage multiple operating systems, virtual machines, and isolated environments, which Docker requires for running containers. If this feature is disabled, Docker might fail to utilize the necessary hardware capabilities, leading to this issue. Therefore, you should enable Hyper-V by following the steps below.
- Press the Win key and type Turn Windows features on or off.
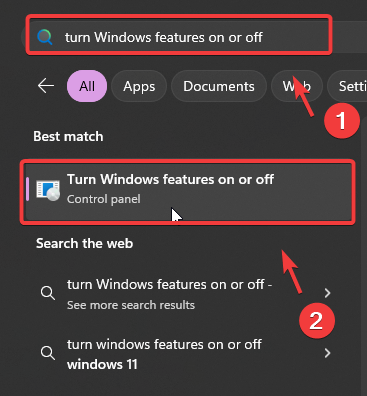
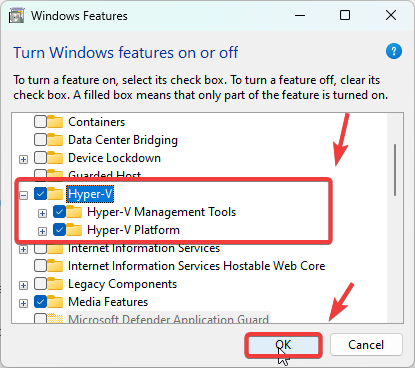
- Hit Enter to open the window. Here, enable the Hyper-V by selecting it.
- Once done, click OK to install the feature. If the option is disabled, then you need to enable it from the motherboard BIOS settings.
- To do so, turn off your system completely.
- Then, turn it back on.
- As soon as you see the manufacturer logo, start pressing the key that enables the BIOS settings. The most common are the F2 and Delete keys.
- Once you are in the motherboard BIOS settings, go to Advanced Mode and navigate to the CPU Configurations settings.
- Here, you will find the Virtualization option. Simply enable it and exit the BIOS settings.

- Now boot into Windows and enable the Hypervisor by following the first three steps of this method.
- Once done, the issue should now be fixed.
Even though the error should be resolved after following the above methods, if it persists, try reinstalling Docker Desktop, which should resolve this issue.


