How to Disable Widgets in Windows 11?
Every time a new version of Windows appeared, it came with many new features and changes that in many people’s opinions made the experience of using it better. But it still depends on the person’s own taste and preference to decide whether to use the new features or not.
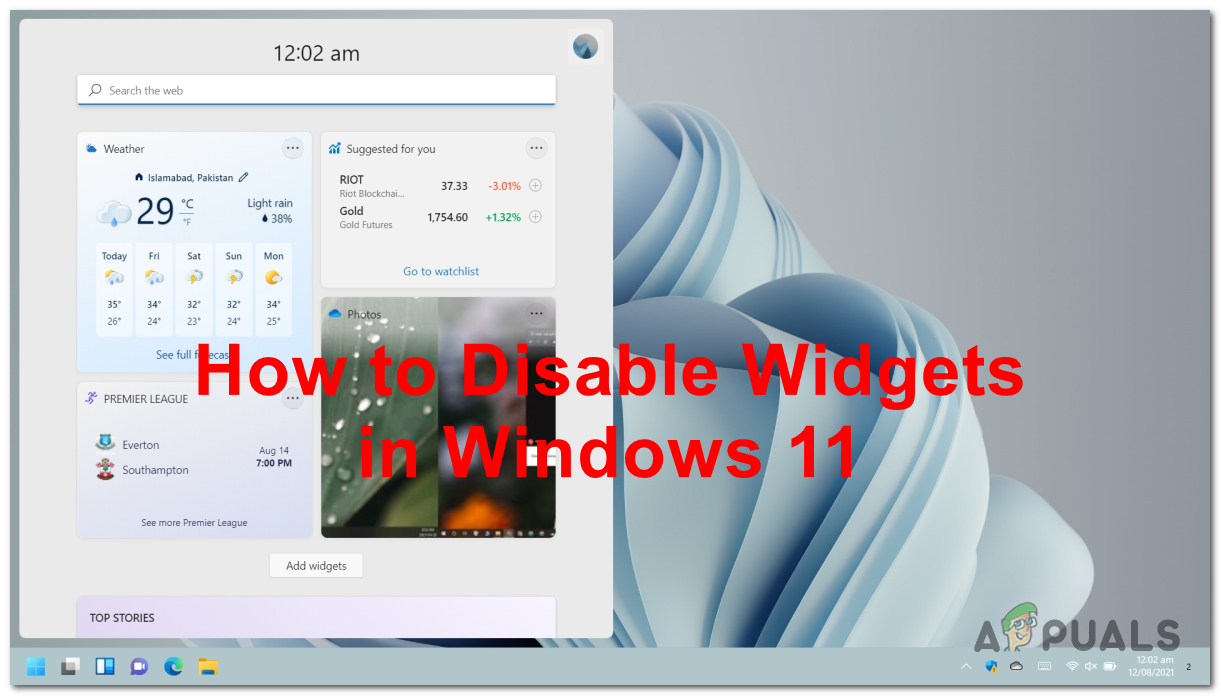
One of the most useful features that came with the Windows 11 is the apparition of widgets. The user can quickly glance at a variety of information sets on the desktop thanks to the widgets. By removing the need to open programs for quick actions like checking the weather forecast or news feeds, they assist in enhancing overall functionality and saving time. They are very easy to use for every Windows user, being able to open the widget menu directly from the taskbar.
But while it is a useful feature that has many good uses which could help you in your daily use throughout the day, not every Windows user wants to use it. Maybe you don’t want to use them because you simply don’t like them, or you feel like you can improve the performance of your PC by disabling them.
As people report, the performance of your computer might be actually slowed a bit by these widgets, depending on the components of it. If your PC is not that strong and it is not working as it should since you installed Windows 11, you should try to disable the widgets to see if it makes your PC better.
In case you decide that you want to disable the widgets in Windows 11 and don’t know how don’t worry because you are one of the many people that have asked for help. This is why we have decided to do a guide that can be used by every people and help them disable this feature.
We have managed to find three different ways that you can follow to disable the widgets in Windows 11.
Here are the guides that will help you do it:
1. Disable the Widgets from the Windows Settings
The first method that you could use is to disable the widgets feature from the Windows Settings. The reason that this method is the first one on the list is that is the easiest to do, being the most common method in this case.
To do this method, all you have to do is to open the Windows Settings, then you need to access the Taskbar Settings. There you will see the option to disable the widgets on your computer.
In case you don’t know how to do this, follow the next steps for exact instructions:
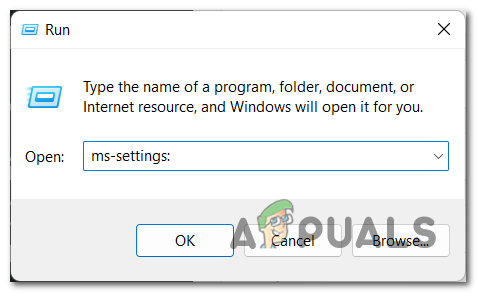
- The first thing you need to do is to open the Windows Settings. This can be done in many ways, one of them is to open a Run dialog by pressing the Windows key + R and typing inside the search bar ‘ms-settings:‘, then press Enter.
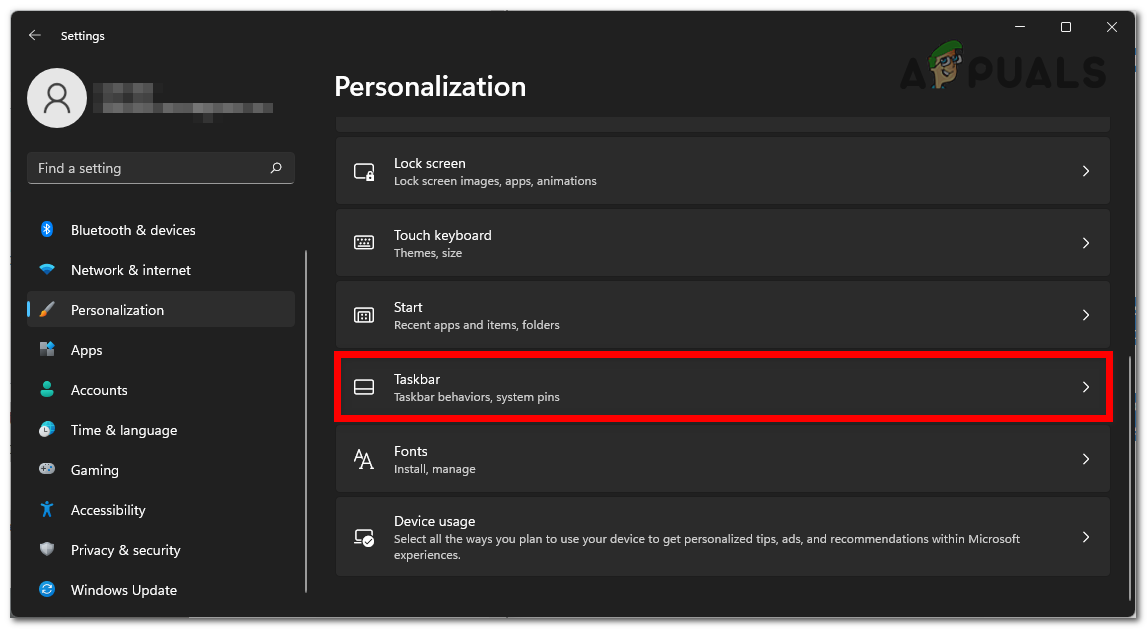
Opening the Windows Settings using a Run dialog box - Now that you are inside the Windows Settings, look on the menu located on the left side of your screen and find the Personalization section. Once you find it, click on it.
- After that, you have to scroll down to find the Taskbar section, then access it.
Accessing the Taskbar Settings inside the Personalization section Note: You can also access the Taskbar Settings directly from the taskbar by right-clicking on it, then the Taskbar settings button should be visible.
- Once you are inside the Taskbar Settings, right under where it says Taskbar items you should see some features. One of them should be the Widgets feature. Click on the toggle next to it to make it turn grey, making sure that the feature is disabled.
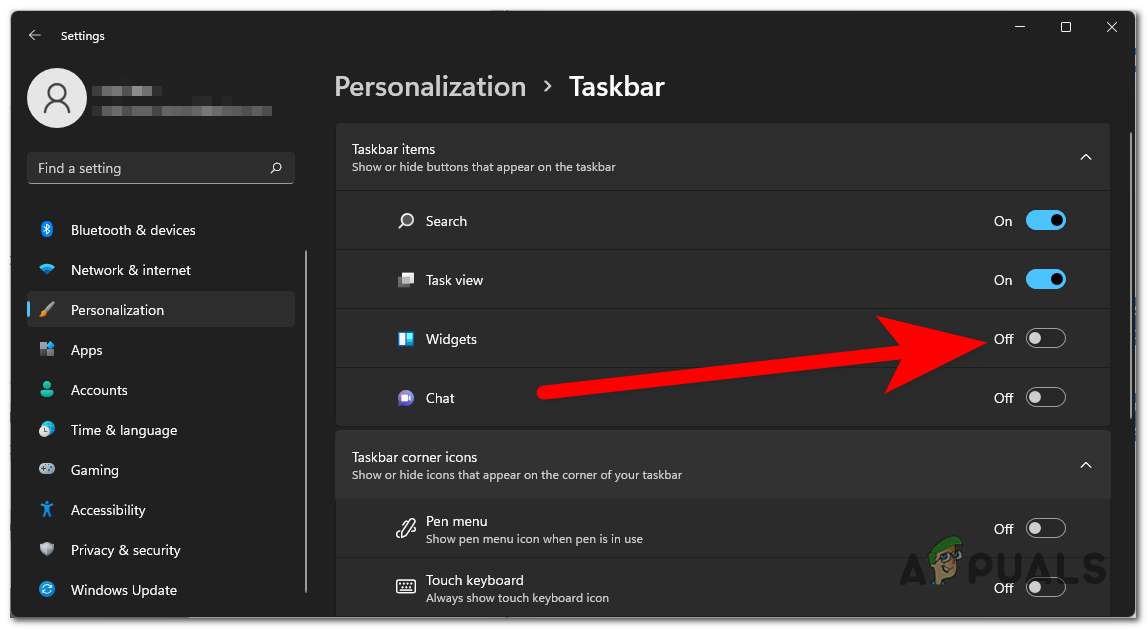
Disabling the Widgets from the Taskbar Settings - The widgets button should instantly disappear from your taskbar, meaning that the feature is disabled.
2. Disable the Widgets using the Registry Editor
The second way that you could disable the widgets is to use the Registry Editor. This method is a bit harder than the one before but with the help of this guide, you can do it with ease.
The Windows operating system’s registry can be seen, monitored, and, if necessary, edited using the graphical application known as the Registry Editor. Being a database that contains all the settings of your PC, you can also use it to disable features like Widgets.
Note: But you have to keep in mind that a simple misconfigured key could cause your computer problems, so make sure that you follow the steps closely to not cause any issues.
With that being said, all you have to do is to open the Registry Editor and navigate to the specific folder that is associated with the widgets. You need to change the value from on to off to disable the feature. The change will take effect only after you reboot your PC.
Here is a guide with the step-by-step instructions on how to use the Registry Editor in order to disable the widgets:
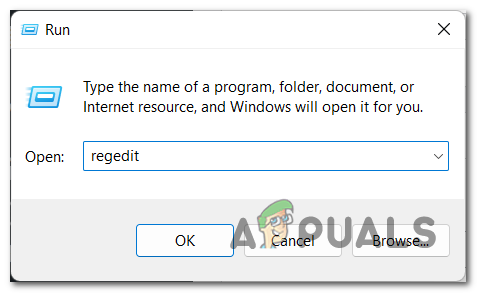
- You need to start by opening the Registry Editor. To do this, you have to open a Run dialog box by pressing the Windows key + R, then type inside the search bar ‘regedit‘ and press Enter.
Using a Run dialog box to open the Registry Editor - Now that the Registry Editor has appeared on your screen, you have to go to a specific folder named Advanced. To not be forced to search for it manually because it can take some time, use the search bar option and paste the following code to get to the address instantly:
Computer\HKEY_CURRENT_USER\Software\Microsoft\Windows\CurrentVersion\Explorer\Advanced
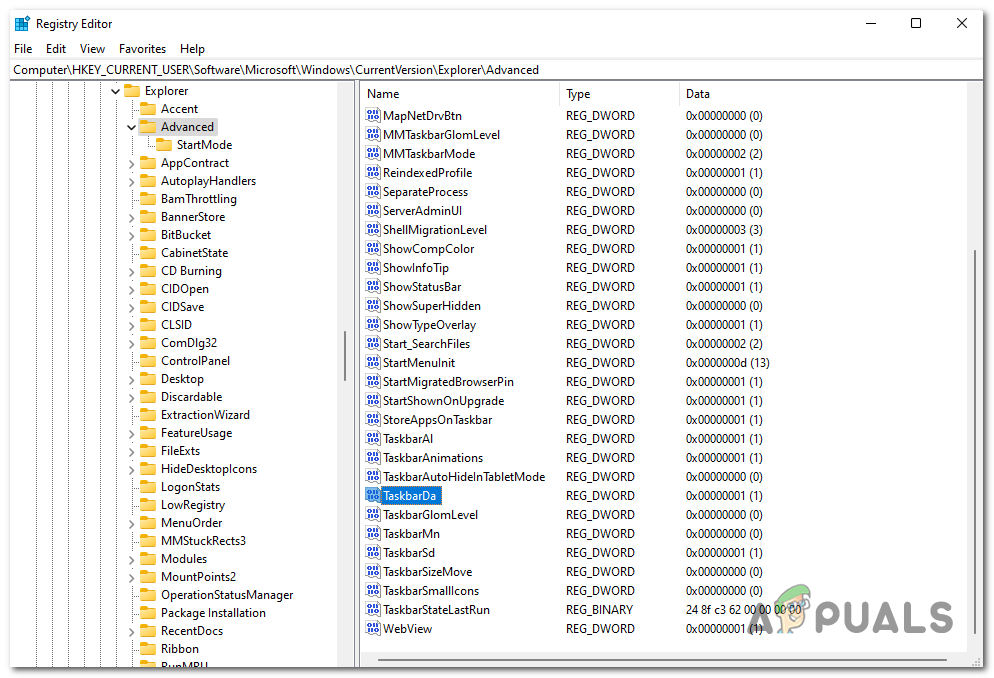
- Once you are inside the Advanced folder, scroll through the list and search for the TaskbarDa value. When you find it, double-click it.
Opening the TaskbarDa value to disable it - An editing menu should appear on your screen that lets you change the value. All you have to do is to change the digit from the Value data from 1 to 0. Once you’ve done it, click on OK to confirm the change.
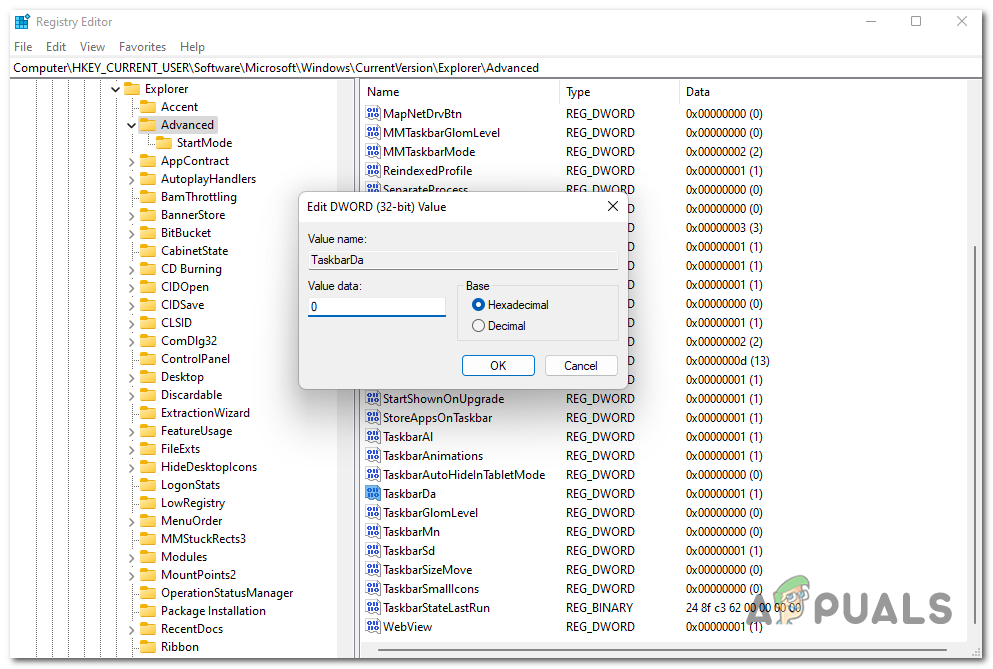
Changing the value data of the TaskbarDa value to disable the widgets - Now to complete this process and make the changes apply, all you have to do is to reboot your PC.
- Once it boots back, the widgets should be disabled.
3. Disable the Widgets using the Group Policy Editor
The last but not least method of this article is to use the Group Policy Editor to disable the widget in Windows 11. This is the last method only because you need to use the Group Policy Editor, which is a not very used app, even less used than Registry Editor. So it makes it unfamiliar for users, but with the help of this guide, you can do it easily.
Note: The Group Policy Editor is a Windows administration tool that enables users to adjust a variety of crucial settings on their networks or machines. Administrators can choose what programs or settings users can alter, as well as the password requirements and launch programs.
For this method, all you have to do is to open the Group Policy Editor and navigate to the Widgets folder. There you will need to disable the option. To make the changes apply, you need to use the Command Prompt to make the policy update without restarting your PC.
Here’s how you can disable the widget on your Windows 11 using the Group Policy Editor:
- You need to start by opening the Group Policy Editor. To do this, an easy way is to open a Run dialog by pressing the Windows key + R, then type ‘gpedit.msc‘ inside the search bar and press Enter.

Using a Run dialog box to open the Group Policy Editor - Once the Group Policy Editor appears on your screen, you need to click on Computer Configuration and Administrative Templates, then click on Windows Components and access the Widgets folder.
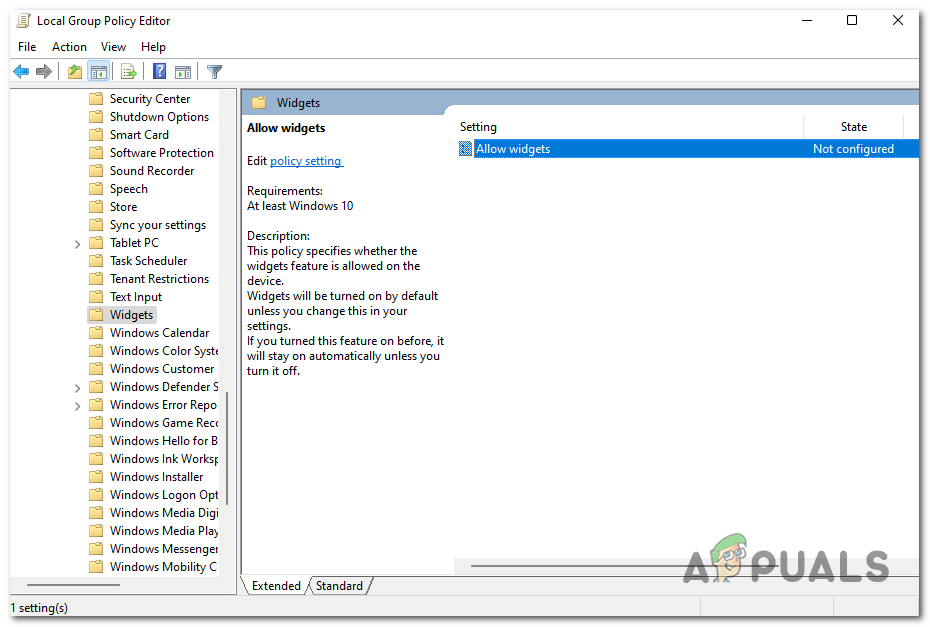
Navigating through the Group Policy Editor to get to the Widgets folder - Now you have to double click on Allow widgets button to open the settings in particular. There, you will have to select the Disabled button, then click on the Apply button.
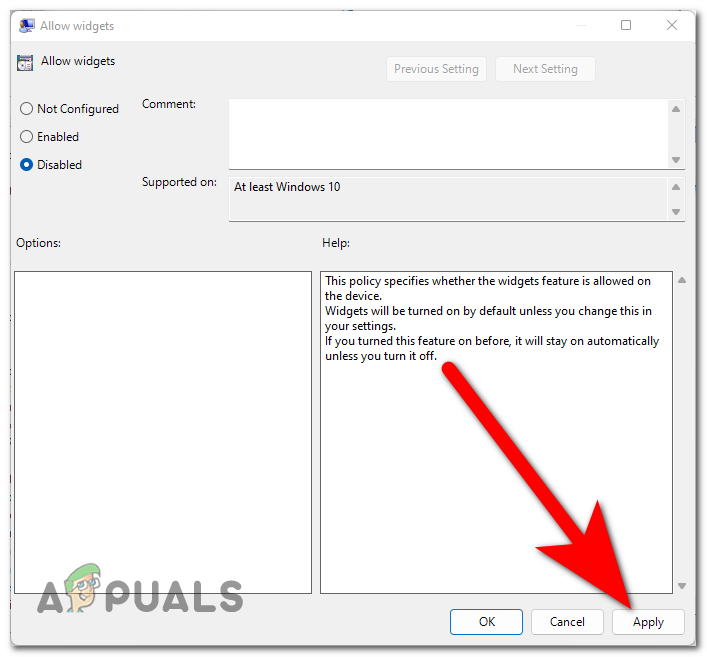
Disabling the widgets from the Group Policy Editor - After you are done with that, you have to make sure to make the changes apply. To do this, you can either restart your PC and wait until it reboots, or you can use the Command Prompt to make it apply instantly.
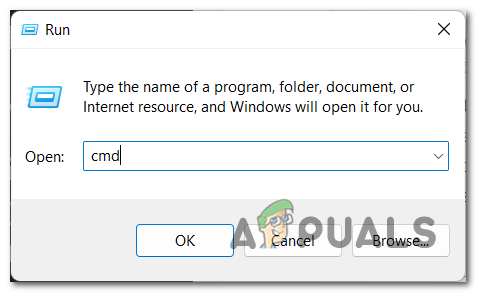
- To do this, you have to open a Run dialog box by pressing the Windows key + R and typing inside the search bar ‘cmd‘, then you need to press the CTRL + Shift + Enter to open it with admin privileges.
Opening the Command Prompt using a Run dialog box - Now that the Command Prompt is on your screen, you have to insert the following command and press Enter to force your computer to apply the change:
gpupdate/force
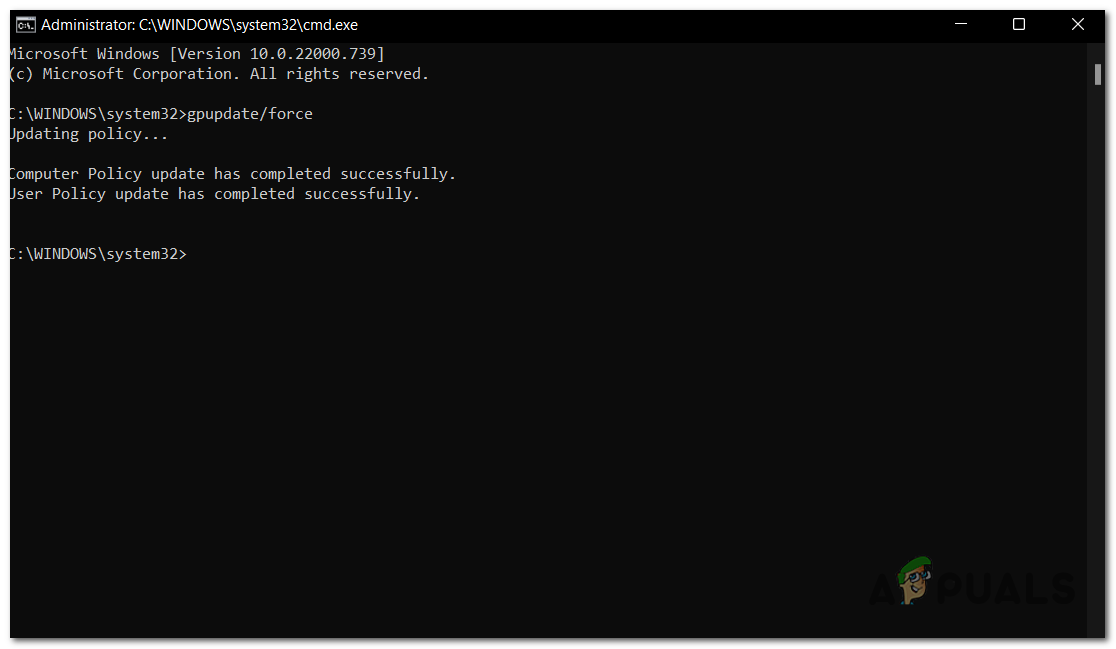
Forcing the changes to apply to disable the widgets - After that, all Windows widgets should be disabled.
You’re done!


