How to Disable or Enable ‘Remember Window Locations’ on Windows 11
An awesome feature that’s only available on Windows 11 is the ability to remember windows location for various monitor connections. This is super helpful if you have more than one display connected and you regularly switch between multiple and single screens – Windows 11 will remember all your windows locations so you won’t need to spend time re-arranging everything every time.
This feature comes enabled by default regardless if you clean install Windows 11 or upgrade to Windows 11 from an older Windows version.
But if you’re not a fan of it and you wish to disable it or it’s disabled for some reason and you want to turn it back on, we’ll show you step-by-step how to do it.
There are actually two different ways that will allow you to enable or disable the ‘remember windows location’ feature on Windows 11:
- Enable or Disable Windows Locations on Multiple Displays via the Settings App
- Enable or Disable Windows Locations on Multiple Displays via Registry Editor
Feel free to follow the guide that you feel more comfortable with:
Enable / Disable ‘Remember Windows Locations’ via Settings
This is the easier approach since you can enforce the change directly from the Settings app of Windows 11.
Here’s what you need to do:
- Expand a Run dialog box by hitting the Windows key + R key at the same time. Next, type ‘ms-settings:easeofaccess-display’ and hit Enter to open up the Display tab of the Settings app.
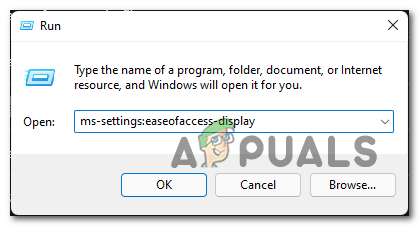
Opening the Display tab of Settings Note: You can also go to the traditional app by opening the Settings app via the Start ba and navigating manually to the Display settings.
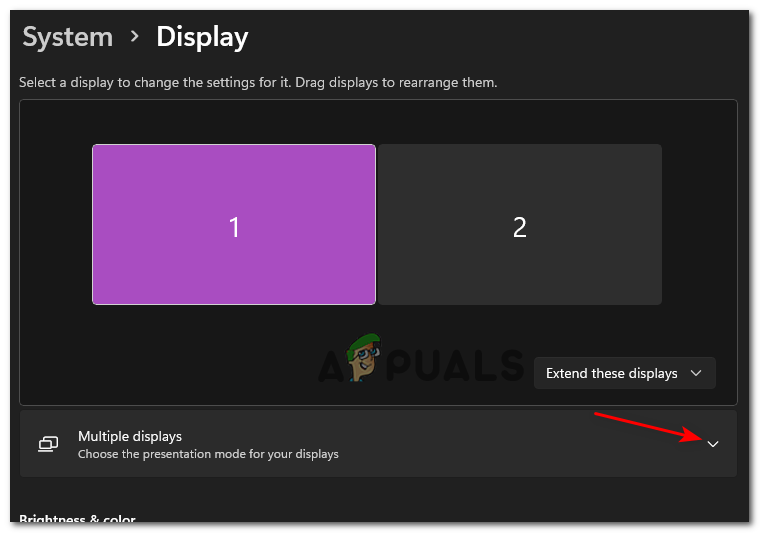
- Once you’re inside the Display tab, expand the Display drop-down menu (under Related Settings).

Expanding the Display Settings - Once you’re inside the dedicated Display tab, go ahead and expand the drop-down menu associated with Multiple displays.
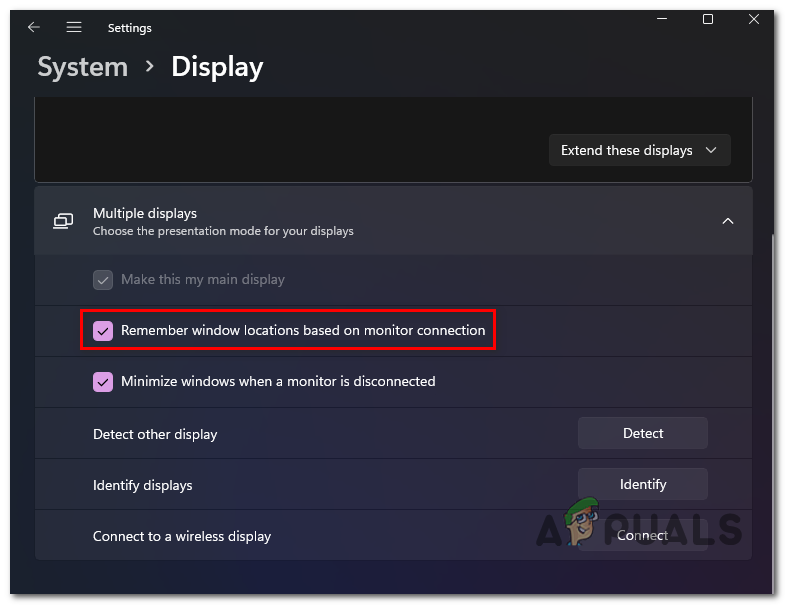
Accessing the Multiple displays settings - Inside the expanded Multiple displays drop-down menu, check the box associated with Remember window locations based on monitor connection to enable the feature or uncheck it to disable the feature.
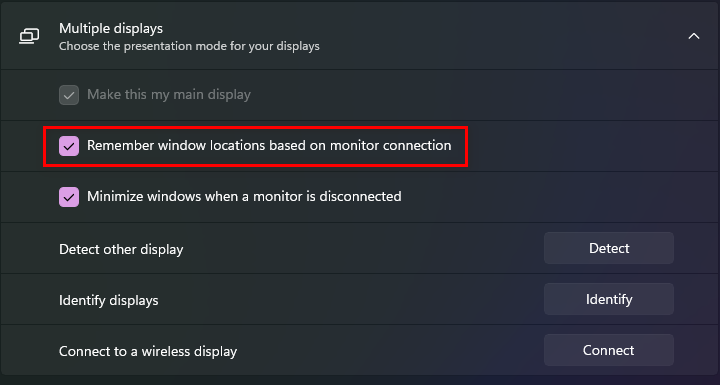
Disable or Enable Windows Location Remembering on Windows 11 - That’s it, once you modified the status of the ‘Remember windows locations based on monitor connections‘ box, the status of the feature will be changed – No need to restart in order to allow the changes to take effect.
Enable / Disable ‘Remember Windows Locations’ via Registry Editor
If you’re a technical person and you love doing things via the Terminal and by meddling with the Registry Keys of Windows 11, this is the way to go for you.
Follow the instructions below to disable or enable windows locations by creating or modifying the RestorePreviousStateRecalcBehavior value key:
- Press Windows key + R key at the same time to open up the Run interaction box. When you’re prompted by the Run box, type ‘regedit’ and press Ctrl + Shift + Enter to open up Registry Editor with admin access.
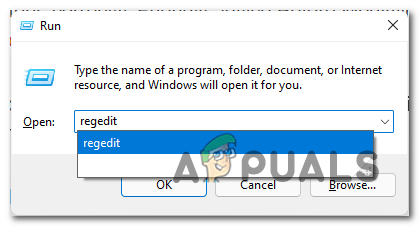
Open Registry Editor - When you see the UAC (User Account Control), click Yes to grant administrative privileges.
- Once you’re inside Registry Editor, use the left-hand side tab to navigate to the following location:
HKEY_CURRENT_USER\Control Panel\Desktop
Note: You can either get to this Registry location manually or you can paste the location directly inside the navigation bar and press Enter to get there immediately.
- With the Desktop key selected, move over to the right-hand section, right-click on an empty space, and choose NEW > DWORD (32-bit) Value.
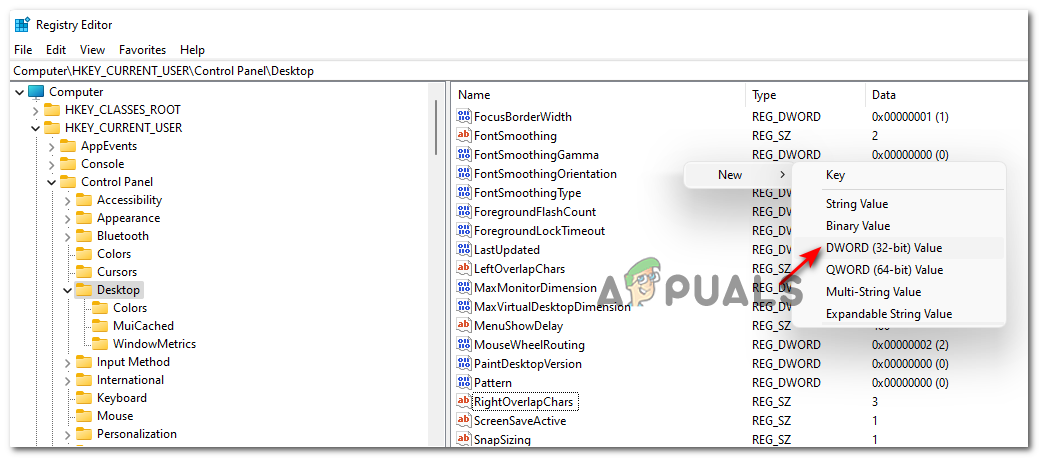
Creating a new DWORD - Next, right-click on the value that you recently created and choose Rename from the context menu that just appeared, name it RestorePreviousStateRecalcBehavior and press Enter to save the changes.
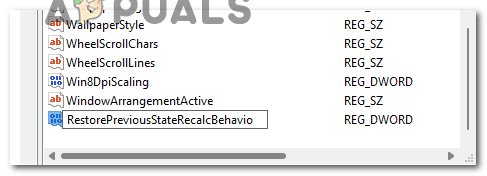
Renaming the new value - Finally, double click on the newly created RestorePreviousStateRecalcBehavior value key and set the Base to Hexadecimal and the Value data to 0 if you want this feature Enabled or 1 if you want this feature Disabled.
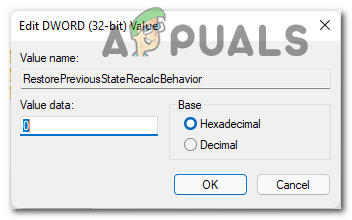
Disable or Enable this feature via Registry Editor - For the changes to take effect, you’ll need to close the elevated Registry Editor and restart your computer.


