How to Disable a Laptop’s Keyboard on Windows?
If you’re facing issues with your laptop’s keyboard, such as keys getting pressed automatically or the keyboard keeps disconnecting, disabling it can be a useful solution. However, as laptop keyboards are often permanently attached, it can be challenging to fix issues by replacing them.

In this article, we’ll explore five ways to disable the keyboard on Windows 10 and Windows 11, including using Device Manager, disabling the service that controls the PS/2 port, enabling device installation restriction, selecting the wrong driver to disable the keyboard, and disabling automatic driver installation.
| 🚫When to Disable: | laptop keyboard is malfunctioning |
| ✅Best Solution: | 2. Disable the Service that Controls the PS/2 Port |
| 🔍Other Causes: | Liquid spillage, physical damage, or a software issue. |
| 📣Command: | sc config i8042prt start= auto |
1. Use Device Manager to Disable the Keyboard
Device Manager is a tool that displays a list of drivers installed on your computer. To disable your laptop’s keyboard, follow these steps:
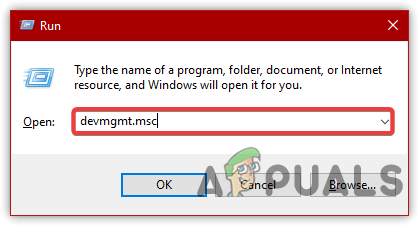
- Press Win + R to open the Run program
- Type devmgmt.msc and click OK

Launching Device Manager - Expand the keyboard menu to see the list of drivers
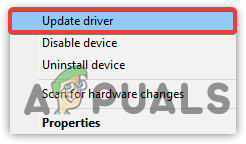
- Right-click Standard PS/2 Keyboard and select Disable or Uninstall
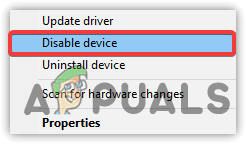
Click to Disable Device - Click Yes if asked for confirmation
- Restart your computer to see if the issue is resolved.
2. Disable the Service that Controls the PS/2 Port
The PS/2 port connects most laptops to the keyboard. Disabling the service that controls the PS/2 port can be an effective way to disable the internal keyboard. To do so, follow these steps:
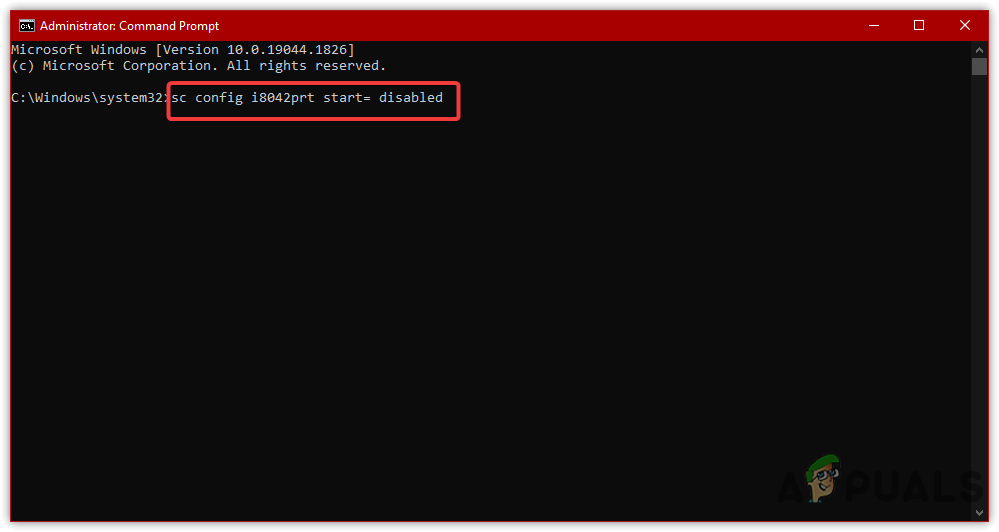
- Open Command Prompt as an administrator
- Type the following command:
sc config i8042prt start= disabled
Disabling PS/2 Port Service - If you want to enable copy and paste the below command
sc config i8042prt start= auto
- Restart your computer to see if the keyboard is disabled
3. Enable Device Installation Restriction (Old Version)
You can use Device Installation Restriction to prevent Windows from installing the driver for your keyboard. To enable this feature, follow these steps:
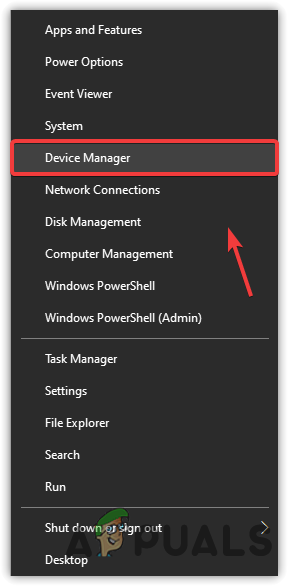
- First, get your hardware ID for the keyboard. For that, right-click on Start Menu
- Select Device Manager from the listed options
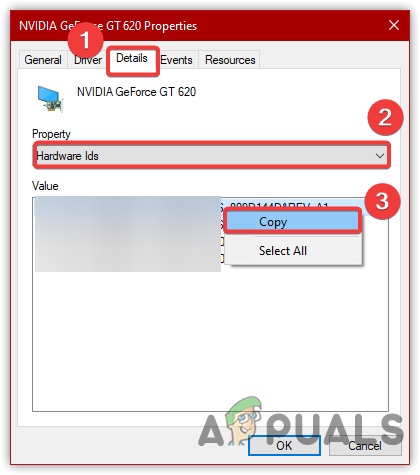
Open Device Manager - Find and right-click Standard PS/2 Keyboard and choose Properties
- Go to Details from the top and select Hardware Ids from the Property Menu
- Now right-click on the first entry and click Copy
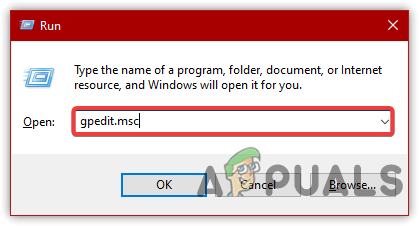
Copying Hardware Id - Launch Group Policy Editor by pressing Win + R and typing
gpedit.msc
Navigating to Group Policy Editor - Under Computer Configuration, navigate to
Administrative Templates > System > Device Installation > Device Installation Restrictions
- Double-click Prevent installation of devices that match any of these device instance IDs
- Select Enabled and click Show
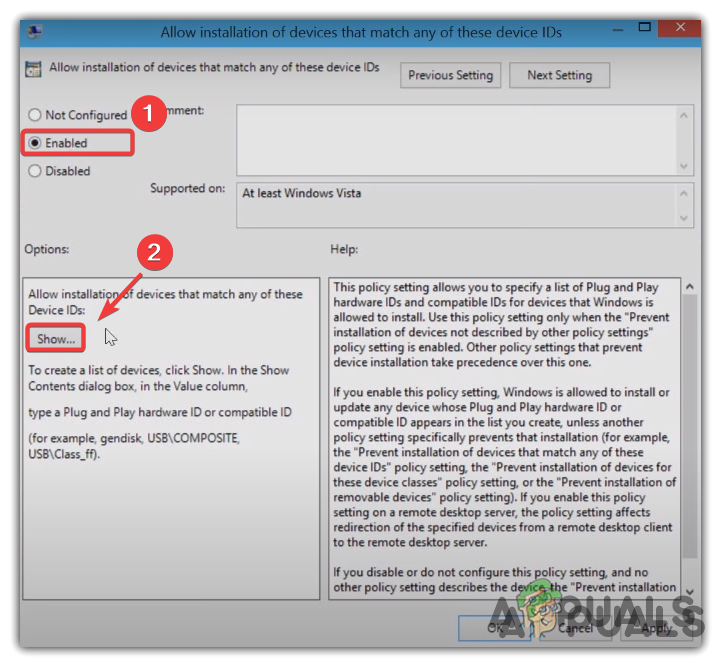
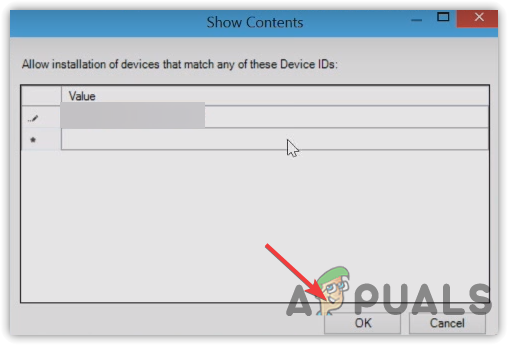
Enabling Device Installation Restriction - Paste the hardware ID in the empty space under Value and click OK
Enter the Hardware Id - Now launch the device manager. For that, right-click on Start Menu
- Select Device Manager from the list of options
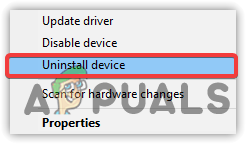
- Expand the Keyboard Menu and right-click on Standard PS/2 Keyboard
- Choose Uninstall and restart your computer
Uninstalling Device
4. Use the Wrong Driver to Disable the Keyboard
You can select an incompatible driver for your keyboard to disable it permanently. To do so, follow these steps:
- Open Device Manager
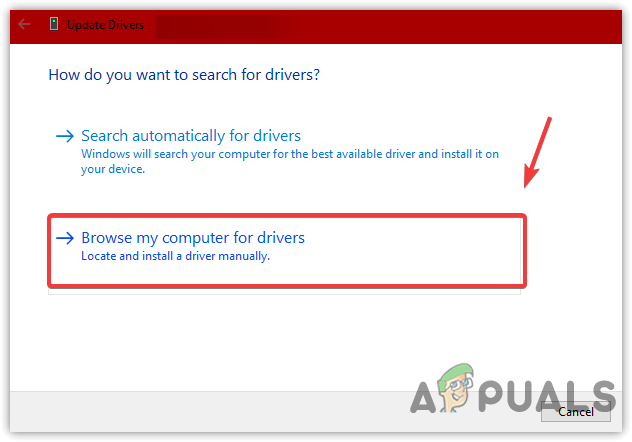
Navigating to Device Manager - Right-click Standard PS/2 Keyboard and select Update Driver
Selecting Update Driver - Select Browse my computer for drivers
Select Browse My Computer For Drivers - Click Let Me Pick a List of Available Drivers on My Computer
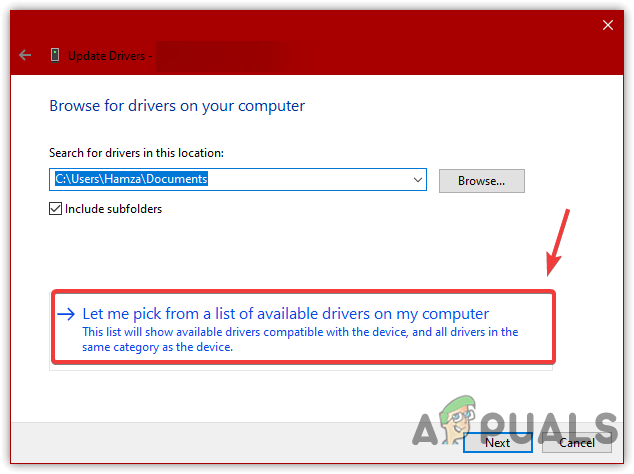
Manually Pick Incompatible Driver - Select a driver from the list that is not compatible with your keyboard
- Once done, click Next. Click Yes when asked for the confirmation
- Restart your computer
5. Change Device Installation Settings
To prevent Windows from automatically reinstalling a driver that’s causing issues with your device, you need to disable automatic driver installation. Follow these steps:
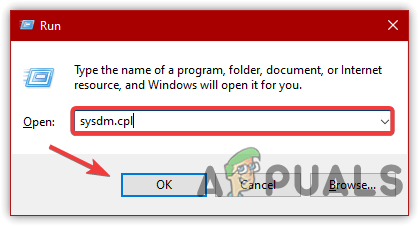
- Open the Run program by pressing the Win + R keys simultaneously.
- Type sysdm.cpl in the dialog box and click OK to open the System Properties window.
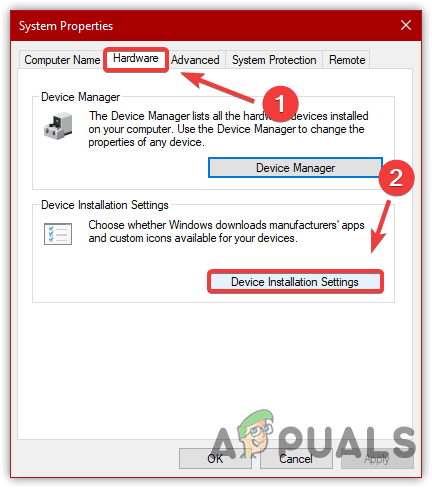
Navigating to System Properties - Select the Hardware tab and click Device Installation Settings.
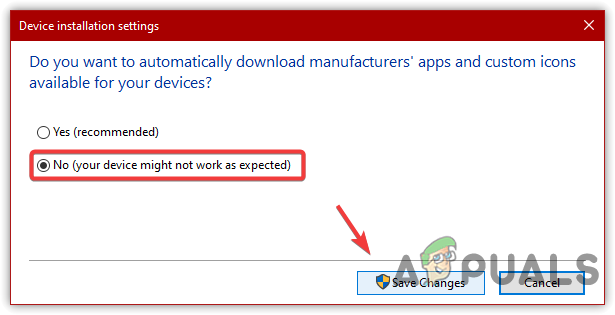
Changing Device Installation Settings - Select No to disable automatic driver installation, then click Save Changes and OK.
Click No to Disable Automatic Reinstall Driver - Right-click on the Start Menu and choose Device Manager.
- Locate and right-click on the Standard PS/2 Keyboard and select Uninstall.
Click to Uninstall - Restart your computer to complete the process.
In conclusion, disabling your laptop’s keyboard can be an effective solution for resolving issues such as keys getting pressed automatically or the keyboard constantly disconnecting. As we have seen, there are various ways to disable your laptop’s keyboard on Windows. By following the steps outlined in this article, you can prevent Windows from automatically installing problematic drivers for your device and keep your laptop functioning smoothly.


