How to Stop Destiny 2 from Freezing on Your PC?
Some PC users are experiencing peculiar freezing issues where they encounter significant frame-rate drops while playing Destiny 2. This issue typically arises during matchmaking and while the player is navigating through the menu or roster. The problem seems to persist on PC systems that are more than adequately equipped to run Destiny 2 on medium to high settings.
Below is a list of potential culprits that could be responsible for this problem:
- Overlay software interference: A common scenario causing this issue is interference from overlay software. Known culprits include Steam’s overlay, Discord’s overlay, and third-party overlay software that provides in-game FPS information. In this case, the only workaround (pending a fix from Bungie) is to disable or uninstall these software overlays.
- Outdated GPU driver: Freezing issues with Destiny 2 can also stem from ‘bad’ GPU driver versions that AMD or Nvidia have addressed through patches. Thus, installing the latest driver version is a critical first step.
- Third-party antivirus interference: Certain antivirus software, such as BitDefender, has been reported by players to cause freezing, followed by crashes, in Destiny 2. To resolve this issue, you can disable real-time protection, establish a whitelist rule for the Destiny 2 executable, or uninstall the antivirus altogether.
Now that you are aware of the most common scenarios that might lead to freezing issues in Destiny 2 on your PC, let’s explore a list of verified methods that have helped users in similar situations resolve the issue.
1. Disable Overlay Software
Overlay software, especially ones offered by Steam, Discord, or third-party developers, can introduce conflicts with Destiny 2, leading to performance issues. The current temporary resolution requires either disabling or removing the overlay software entirely.
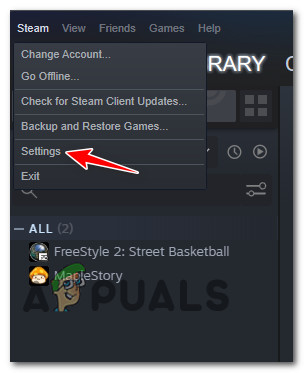
- Launch the Steam application and log in with your account.
- From the Steam home screen, select Steam in the top menu, then choose Settings from the dropdown.
Accessing Steam’s Settings - In the Settings window, use the left-hand menu to select In-Game.
- On the right side, uncheck the box next to Enable the Steam Overlay while in-game.
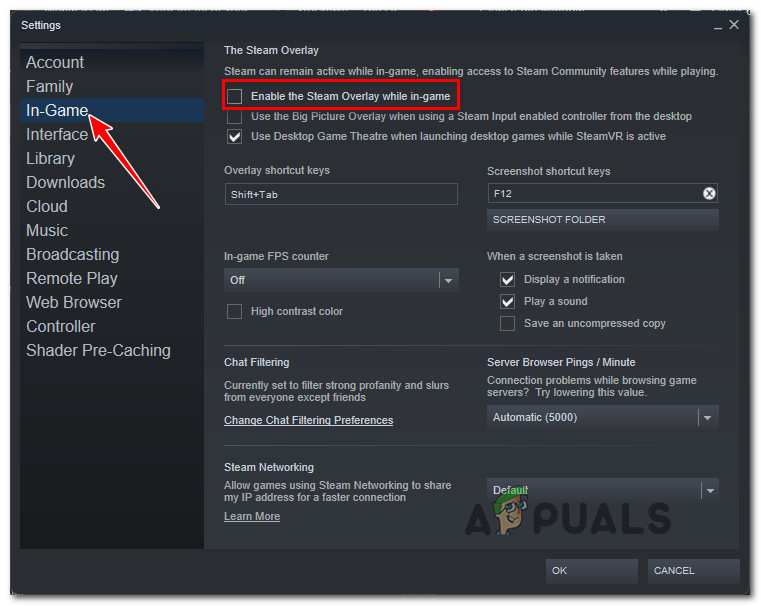
Disabling the Steam in-game overlay - Click Ok to apply the changes and disable the Steam overlay.
- With the overlay disabled, start Destiny 2 again to check if the issue has been resolved.
Discord’s overlay feature, while useful, is also known to cause freezing issues with Destiny 2, similar to other overlays.
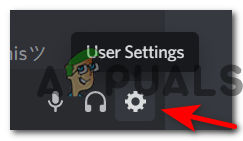
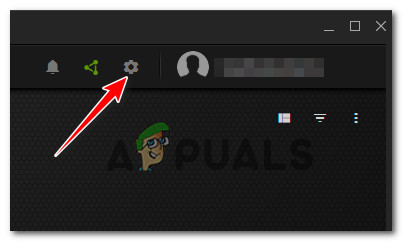
- Open the Discord app and sign in to your account.
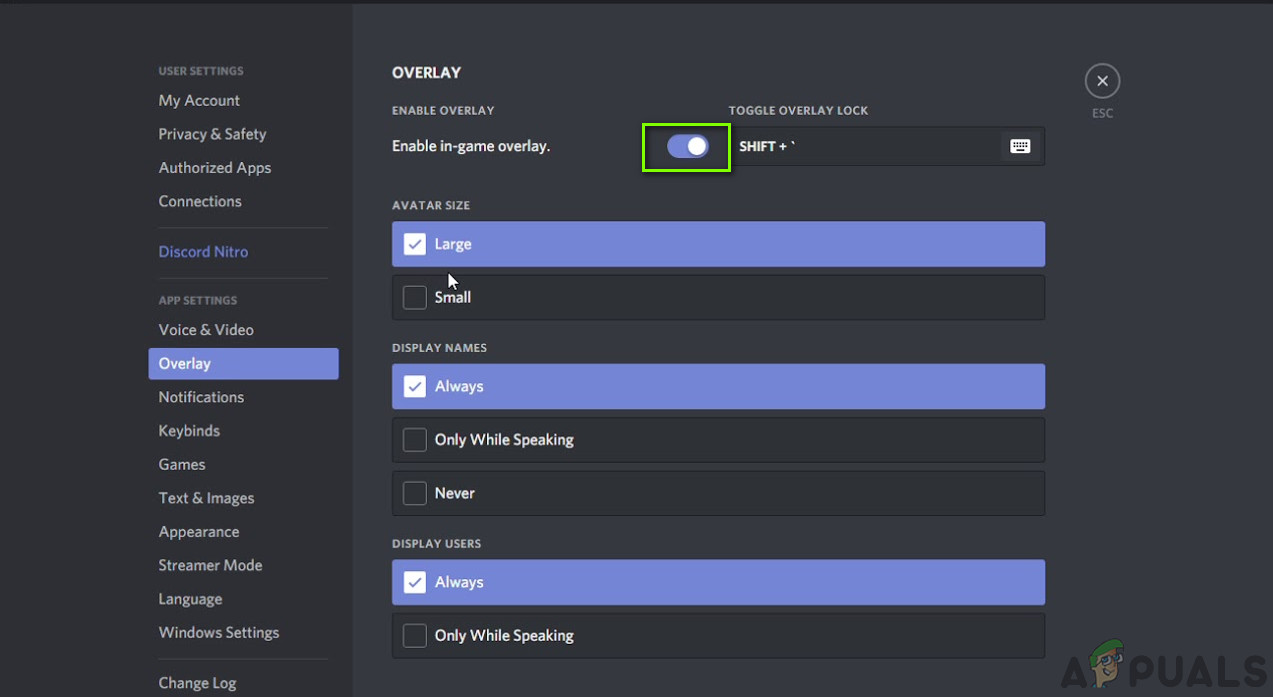
- Navigate to the gear icon (User Settings) beside your username.
Accessing Discord Settings - In User Settings, select the Overlay tab, found under App Settings.
- Uncheck the Enable in-game overlay box.
Disabling the Discord overlay - After disabling the overlay, click Ok to save changes. Open Destiny 2 to see if the freezing issue persists.
For users with an Nvidia GPU, utilizing the built-in overlay feature of Nvidia Experience may also lead to freezing and stuttering in Destiny 2. This can be avoided by disabling the overlay feature within Nvidia Experience.
- Launch Nvidia Experience and ensure the latest drivers are in use.
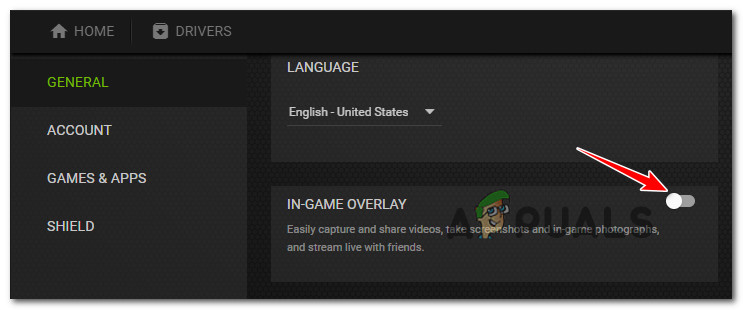
- Click on the gear icon (top-right corner) to access Nvidia Experience’s Settings menu.
Entering Nvidia Experience Settings - In the Settings, select General from the left-side menu.
- Scroll down to the In-Game Overlay section and toggle off the feature.
Turning off the in-game overlay - With the overlay disabled, run Destiny 2 to check if the freezing issues have ceased.
1.4 Uninstall Overlay Software via Appwiz.cpl
If you’re utilizing a standalone overlay software that cannot simply be disabled, removing it completely is the only viable solution to address freezing issues with Destiny 2.
- Press Windows key + R to summon the Run dialog box. Then, type ‘appwiz.cpl’ and press Enter to open the Programs and Features menu.

Accessing Programs and Features - In Programs and Features, scroll through the list of programs to locate the overlay software.
- Right-click on the software and select Uninstall from the context menu.

Removing Overlay Software - Follow the on-screen instructions to complete the uninstallation.
- After uninstalling the software, start Destiny 2 and check if the freezing issue has been resolved.
2. Update Your Dedicated GPU Card Drivers
Stuttering and freezing issues in Destiny 2 could also be caused by an inconsistent graphics card driver for dedicated GPUs. A specific driver version from Nvidia, affecting mid-range and high-end GPUs, was known to cause this issue.
For AMD GPU users, begin by using the AMD Cleanup Utility to clean any remnants of the previous driver version before downloading and installing the latest compatible GPU driver version through AMD’s software.
Instructions for installing the latest compatible AMD GPU driver:
- Visit the AMD Cleanup Utility download page in your browser.
- Download and run the AMD Cleanup Utility, granting administrative privileges when prompted.
- Confirm the prompt to run the utility in Safe Mode and proceed with uninstalling all AMD drivers.
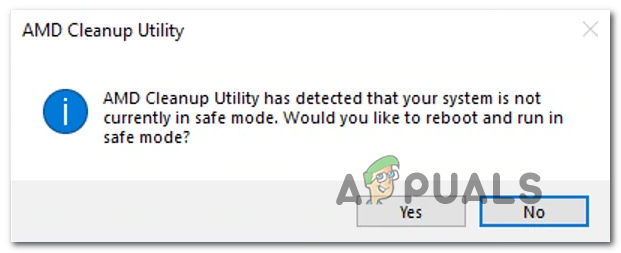
Using the AMD Cleanup Utility Note: This tool will remove installed AMD drivers, registry entries, and signatures. It will also eradicate remnants from previous installations.
- Accept the next prompt to begin the cleanup. During this process, expect display flickering and temporary screen blackout, which is normal.
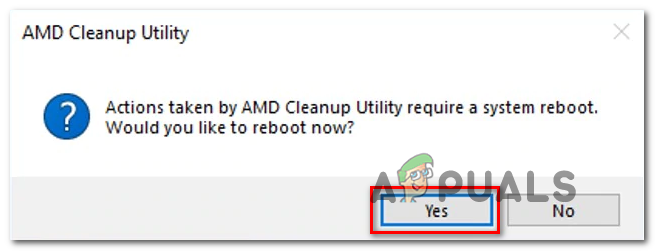
- After completing the cleanup, click Finish and restart your computer manually.
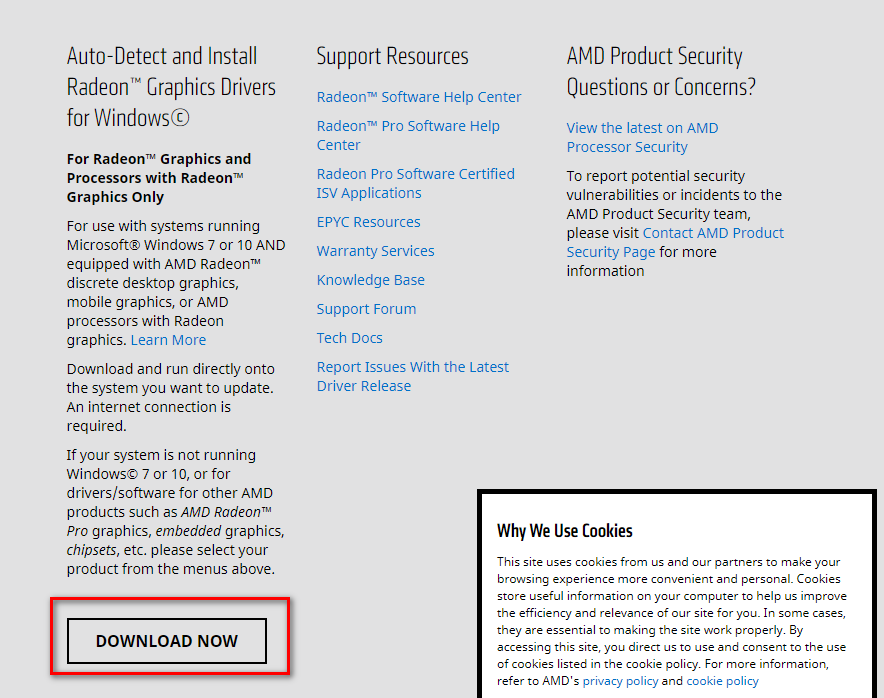
Rebooting post-AMD Cleanup - Post-reboot, go back to the browser and navigate to the Auto-Detect GPU page on AMD’s website.
- On the page, click on Download Now under Auto-Detect and Install Radeon Graphics Drivers for Windows.
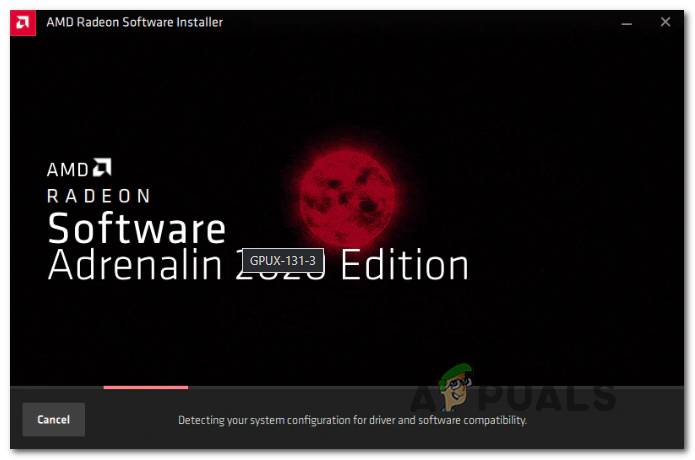
Downloading AMD Adrenalin - Run the downloaded Adrenalin executable and follow the on-screen instructions to complete the driver installation.

Unpacking Adrenalin Software - The software will automatically launch, detect your GPU model, and recommend the latest driver.
Installing Adrenalin Software - Accept the Recommended and Optional driver packages for installation and proceed by clicking Install.
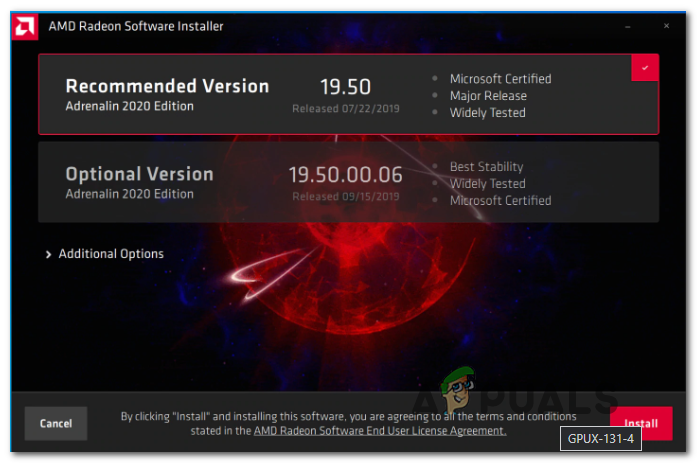
Installing Latest AMD Drivers - Agree to the EULA, click on Install, and complete the driver installation.
- Restart your PC and check if the freezing issue with Destiny 2 has been resolved.
For Nvidia GPU users, it’s essential to remove all remnants of the current GPU driver and physics module before installing the newest driver using the Nvidia GeForce Experience tool.
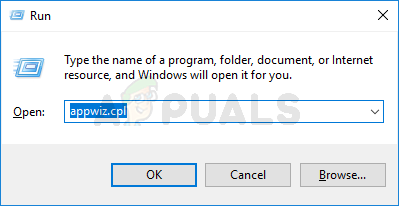
- Press Windows key + R to open a Run dialog box. Type ‘appwiz.cpl’ and hit Enter to open the Programs and Features menu.
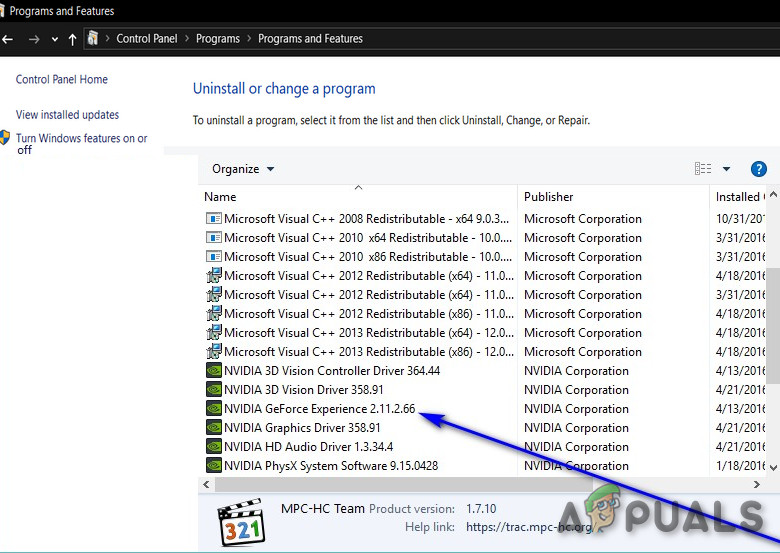
Accessing Programs and Features - Sort the programs by the Publisher to easily locate all Nvidia Corporation software.
- Uninstall each Nvidia-related entry by right-clicking and choosing Uninstall.
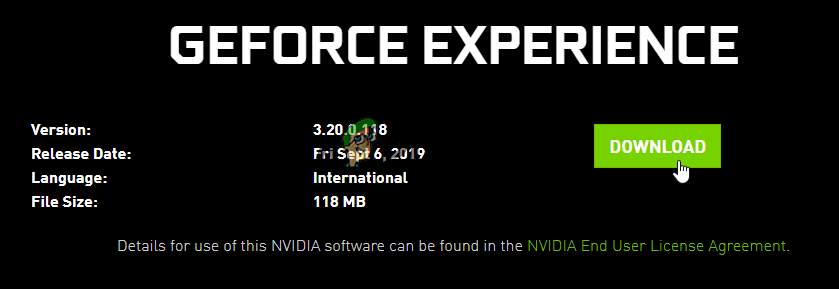
Uninstalling Nvidia Software - Complete the uninstalls, restart your computer, and then visit the Nvidia GeForce Experience download page.
- Click on Download Now and follow prompts to install the tool.
Downloading Nvidia Experience - Launch Nvidia Experience, sign in, and navigate to the Drivers page to install the latest driver.
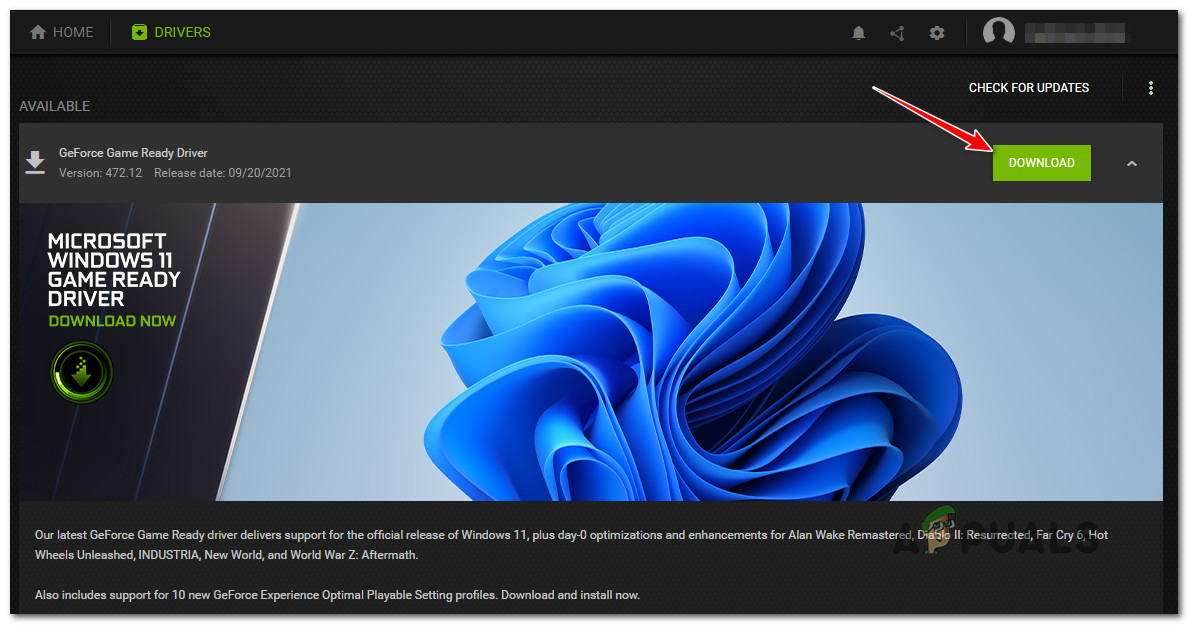
Downloading Latest Nvidia Driver - After the installation is complete, restart your PC and check if the issue with Destiny 2 has been resolved.
3. Stop Antivirus Interference
Some antivirus programs have the potential to interfere with and destabilize Destiny 2 on PC. BitDefender, in particular, is often cited as a culprit for such issues.
Antivirus programs may mistakenly interfere with Destiny 2’s main executable, impairing the game’s ability to manage its resources.
Important: This issue appears to be unique to third-party antivirus applications; Windows Defender has not been reported to cause these problems.
If you suspect antivirus interference, you have three main avenues to address the problem:
- Deactivate your antivirus’s real-time protection;
- Create a whitelist rule for Destiny 2’s executable in your antivirus software;
- Uninstall the third-party antivirus suite causing the issue.
Below are step-by-step guides for each method to help you resolve Destiny 2 freezing issues:
3.1 Disable Real-Time Antivirus Protection
The fastest way to check if your antivirus is causing the problem is to disable its real-time protection momentarily. If the issue is not related to the firewall, this should resolve interference with Destiny 2.
The process for deactivating real-time protection varies by antivirus, but most allow you to turn it off by right-clicking the antivirus tray icon and selecting the disable or turn-off option.
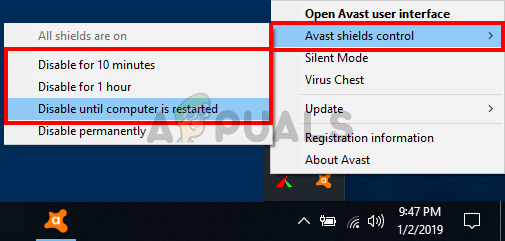
Note: For antivirus programs like BitDefender, additional steps to navigate to Advanced Settings may be necessary to disable the antivirus shield.

After you’ve disabled the real-time protection of your antivirus, run Destiny 2 to see if the freezing issues have been resolved.
3.2 Whitelist Destiny 2’s Executable in Your Antivirus
If deactivating real-time protection solves the issue, consider it a temporary fix, as it may leave your system vulnerable. A more sustainable solution is to add a whitelisting rule in your antivirus for Destiny 2’s executable to avoid future scans and interference.
The process for creating an exception rule depends on your antivirus software, but generally, you would navigate to its settings to configure it. If you’re using BitDefender or another antivirus reported to conflict with Destiny 2, here’s how to create a whitelist exemption:
- Launch BitDefender or access its main interface if it’s already running.
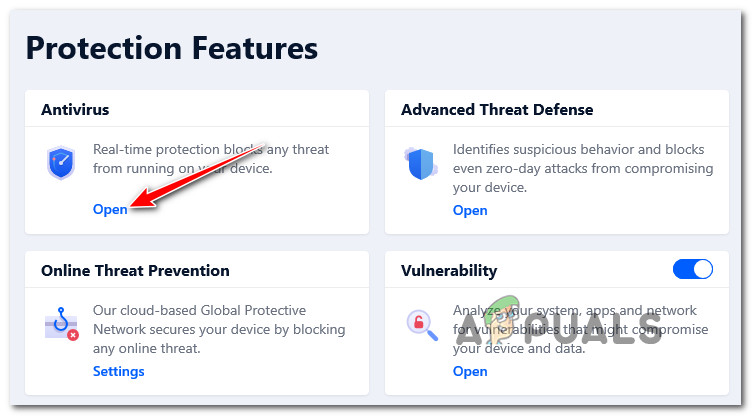
- Click on the Protection tab on the left.

Navigating to Protection in BitDefender - In the Protection menu, select the Open link under Antivirus.
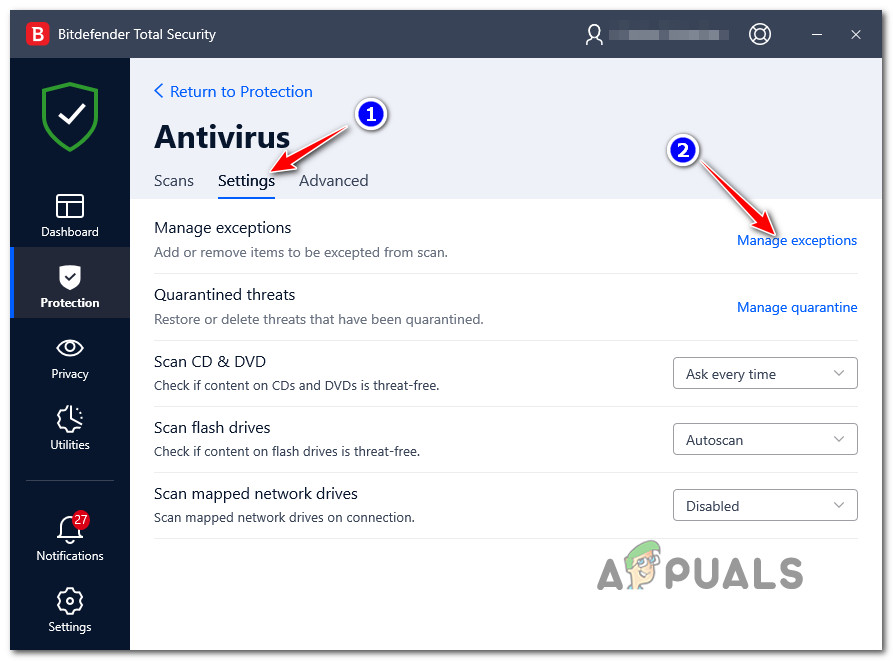
Accessing Antivirus Settings in BitDefender - In the Antivirus settings, go to Exceptions and then click on Add Exception.
Accessing Exceptions - Use the dialog to navigate to Destiny 2’s installation folder, select it, and click OK.
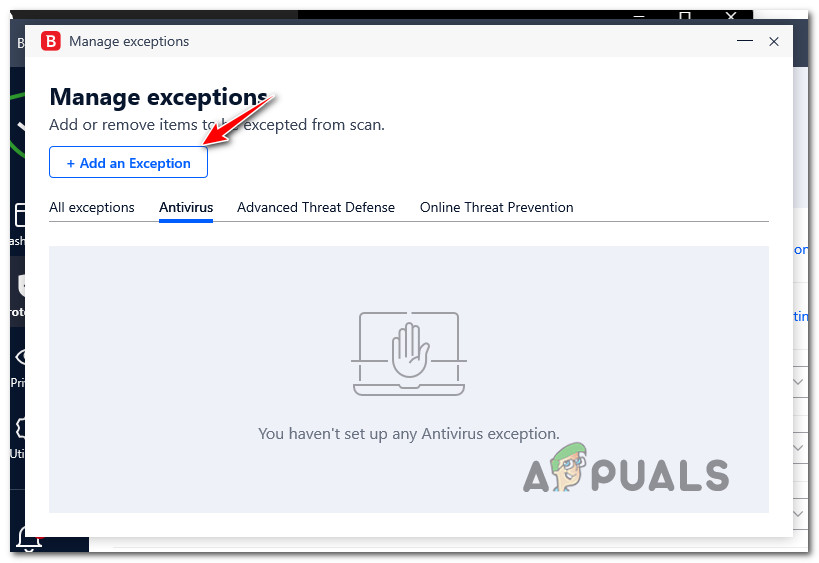
Adding Exception in BitDefender - Confirm your settings by clicking Save.
3.3 Uninstall the Third-Party Antivirus Suite
If neither disabling real-time protection nor creating a whitelist rule is a preferable option, the remaining solution is to remove the conflicting antivirus program through the Programs and Features menu.
- Press Windows key + R to invoke the Run command. Type ‘appwiz.cpl’ and press Enter to access the Programs and Features menu.
Programs and Features Access - In the Programs and Features menu, locate the antivirus suite you intend to uninstall.
- Select the program and follow the on-screen prompts to complete the uninstallation process.
- Once the antivirus has been removed, launch Destiny 2 to see if that resolves the freezing issue.


