Accidently Deleted Your Network Driver? Try these fixes to Get it Back
If you recently uninstalled your Wi-Fi driver by mistake or due to a procedure that has gone wrong, you might be wondering how to get it back. If you uninstalled the generic driver, you might expect to lose access to the Internet if there’s no fallback driver to replace it.
Let’s explore a series of fixes confirmed by other Windows users who found themselves in a similar situation.
1. Scan for Hardware Changes and Update
The network adapter should still be on your PC if you only uninstalled the Wi-Fi driver. This is most likely the scenario you find yourself in if you still have an Internet connection while you’re connected via ethernet cable.
In this case, fixing the issue simply means using Device Manager to scan for updated driver software. If all goes well, Device Manager should discover that a driver does not manage the Wi-Fi component and prompt you to install a generic equivalent.
This fix is confirmed to work on both Windows 10 and Windows 11.
If this scenario is applicable, follow the steps below to deploy a hardware scan via Device Manager:
- Press the Windows key + R to open up a Run dialog box.
- Next, type ‘devmgmt.msc” and press Ctrl + Shift + Enter to open up a Run dialog box.
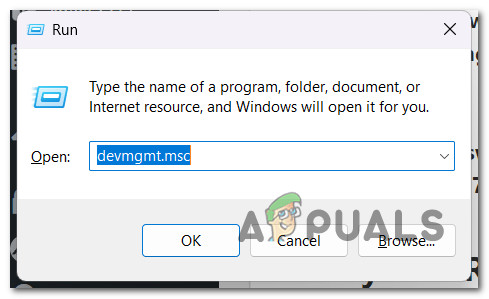
Open Device Manager - Click Yes to grant admin access when prompted by the User Account Control (UAC).
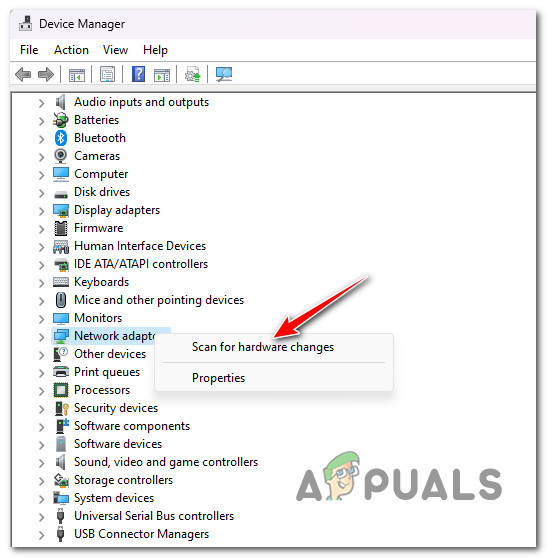
- Once you’re finally inside Device Manager, scroll down through the list of settings and right-click on Network adapters.
- Click on Scan for Hardware changes from the context menu that just appeared.
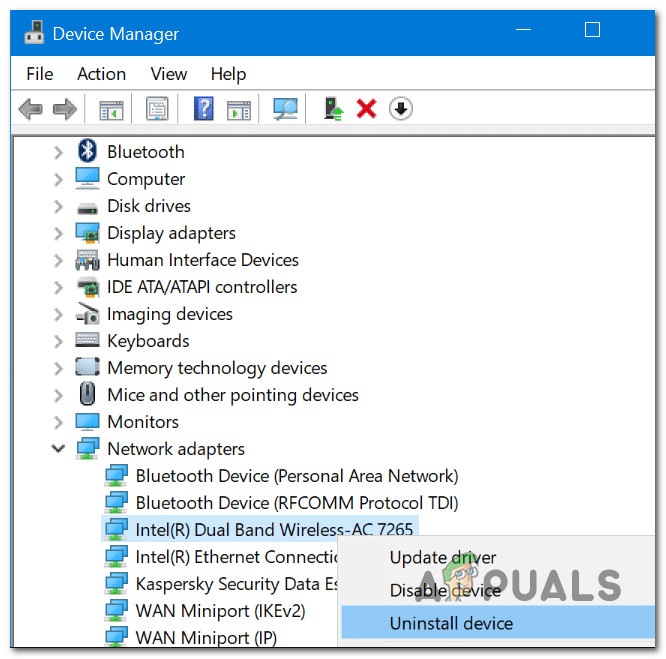
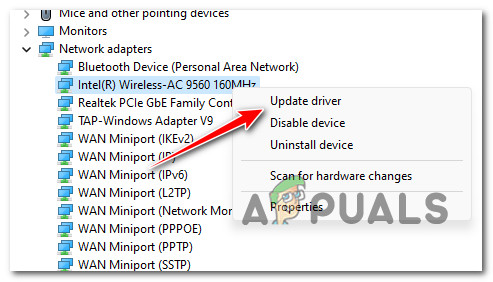
Scanning for hardware changes - Wait until the scan is complete, then scroll down and open the Network adapters drop-down menu. You should now be able to spot an entry associated with the Wireless driver.
- Right-click on it and choose Update driver from the context menu that just appeared.
Update driver - At the next screen, click Search automatically for drivers and wait until the operation is complete.
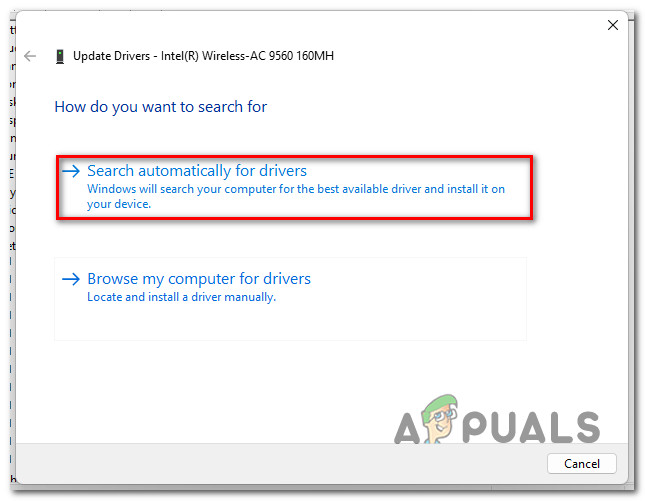
Search automatically for drivers Note: Depending on whether you have a dedicated network card, Device Manager might not be able to find the Wi-Fi driver you need. In this case, click on Search for updated drivers on Windows Update and see if Windows Update successfully finds the required driver.
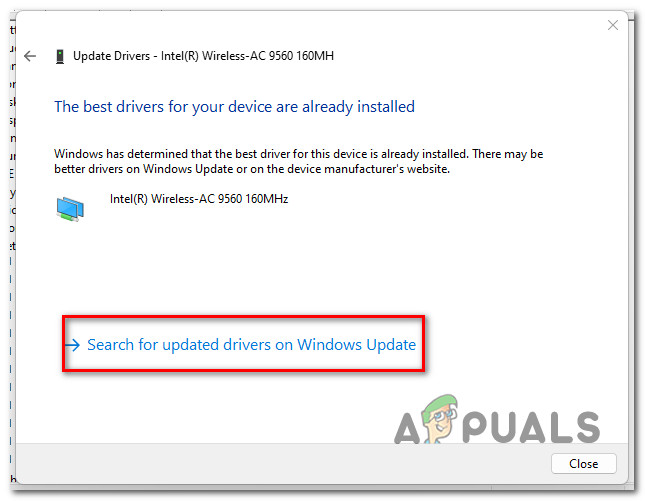
Search for updated drivers - Once the Wi-Fi driver is finally installed, reboot your PC and see if the problem is now fixed.
If Device Manager did not identify a new driver version for the Wi-Fi component, it’s likely that you uninstalled the entire network adapter component. In this case, try the next method below.
2. Use System Restore
If internet access is no longer working, even if you connect your Windows PC with an ethernet cable, chances are you managed to uninstall the network adapter driver along with every subsequent driver.
If you find yourself in this situation, using System Restore is the quickest way to revert your internet access to a working state.
Note: By default, every recent Windows version is configured to automatically create a system restore snapshot just before an important system change occurs. This includes the installation or uninstallation of a driver.
Unless you modified the default behavior of System Restore, you could use the restore snapshot that was created just before you uninstalled the network adapter driver to get your network drivers back.
Important: It’s essential to understand that if you use a System Testore snapshot, you will affect more than just your driver’s fleet. Everything you installed after creating the snapshot will be removed (drivers, applications, Windows Updates, etc.).
If you understand the consequences and you wish to process with using System Restore, follow the steps below:
- Open the Run dialog box, type “rstrui,” and press Enter to launch the System Restore wizard.
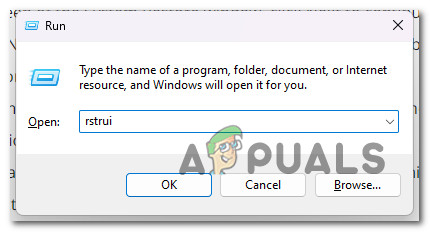
Open System Restore - Click Yes if the User Account Control asks you to provide admin access.
- To proceed, click Next on the System Restore window’s first screen.
- Before clicking Next, pick a reliable restore point and check the box next to Show more restore points.
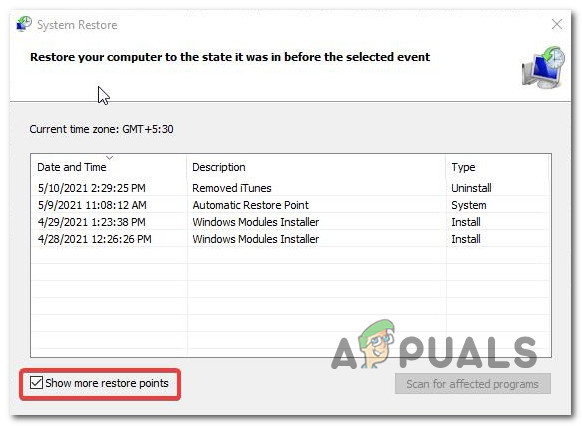
Show more restore points - Select a restore point created before uninstalling the network driver, then click Next to begin the restoration process.
- Restart your computer and see if internet access is restored when you boot up your PC again.
If you cannot connect to your Wi-Fi network, move down to the next method below.
3. Install the Network Adapter Driver Manually
If the two methods above don’t work in your case, the only viable option at this point is to download the wireless network driver from the official manufacturer’s website and install it manually.
Note: If you no longer have Internet access on the affected Windows PC, you’ll need to use a different device to download the driver.
If you have trouble locating the driver you need to install, check the make and exact model number of your laptop (or your motherboard). On laptops, this information is usually visible on a sticker on the bottom casing.
Additionally, you can use the System information screen to view this information. We’ll show you how to do it below:
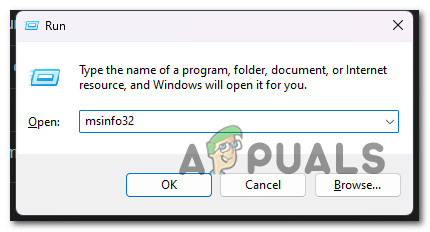
- Press the Windows key + R to open up a Run dialog box.
- Next, type ‘msinfo32’ inside the Run box, then press Ctrl + Shift + Enter to open up a Run dialog box.
Access the System Information screen - At the User Account Control (UAC) prompt, click Yes to grant admin access.
- Once you’re finally inside the System information screen, click on System Summary from the side menu on the left.
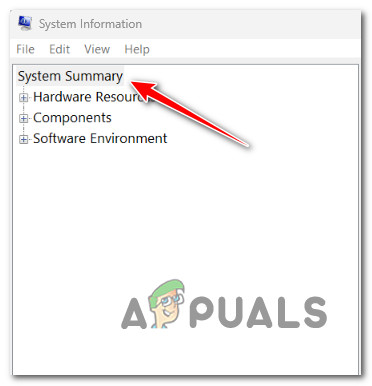
Access the System Summary menu - Move over to the right-hand pane, and check the System Name, System Manufacturer & System Model. Note this information down.
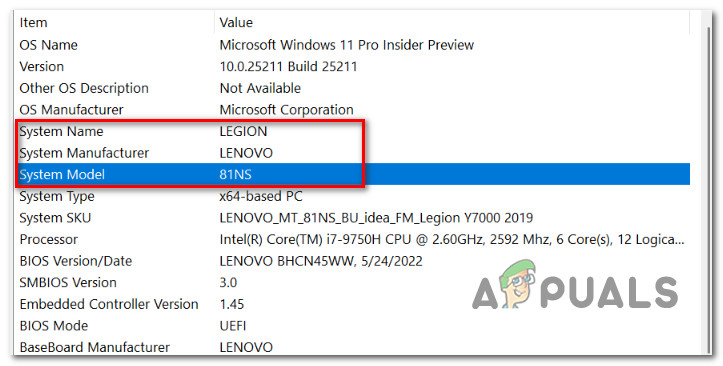
Check this information down
Once you know the model number, follow the instructions below to find the correct network adapter driver:
- Open any browser on a PC with internet access.
- Google ‘manufacturer name + model + model number + network adapter drive and press Enter to see the search results.

Search for network adapter driver Note: Replace the placeholders above with the manufacturer’s name, model, and model number. In our case, the search we conducted was: “lenovo legion 81ns network adapter driver“
- Once you see the results, go to the official manufacturer’s website. Their download directories always contain the latest version, and you don’t run the risk of installing malware or adware.
- Inside the official download page, look for a tab that allows you to download the drivers manually, then look under Networking: Wireless LAN for the wireless driver.
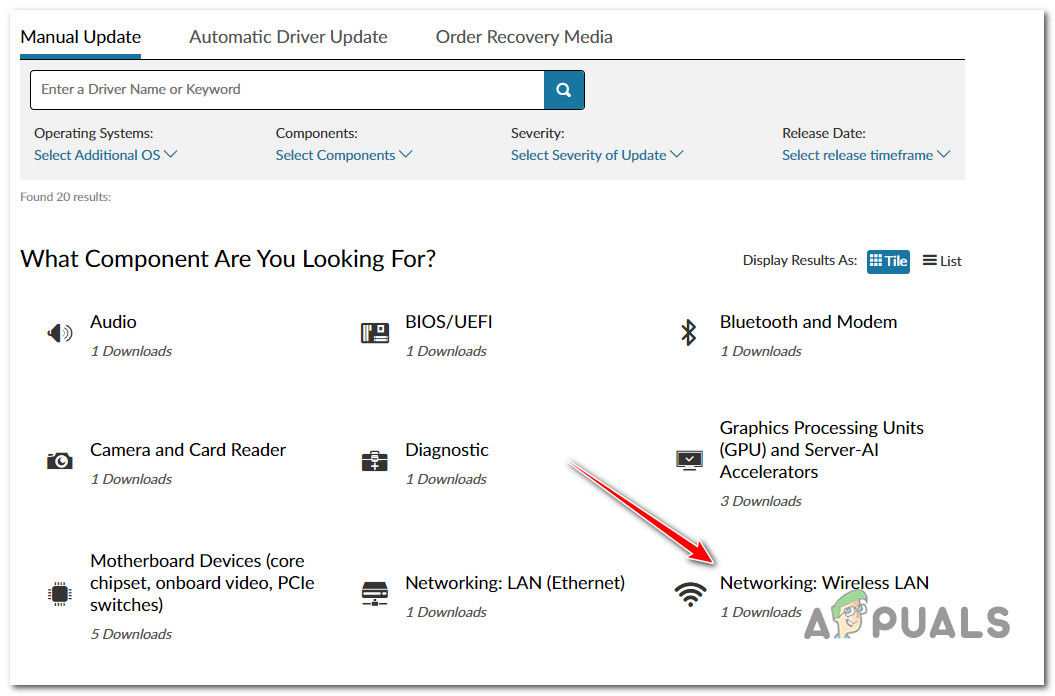
Download the wireless driver - Look for the WLAN driver and download it locally.
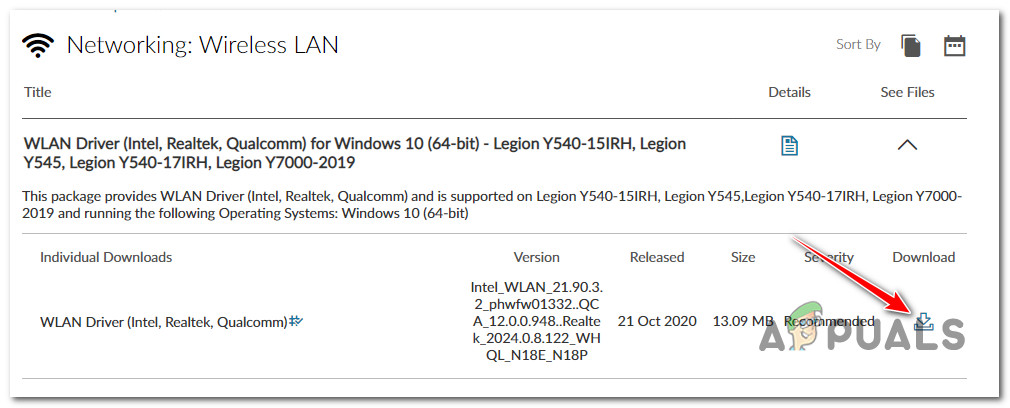
Download the network driver manually Note: If you downloaded it on a different PC, use a USB stick to move it to the PC where you’re experiencing the issue.
- On the affected computer, open the driver executable with admin access (right-click > Run as administrator).
- Follow the on-screen instructions to complete the network driver installation, then reboot your PC.
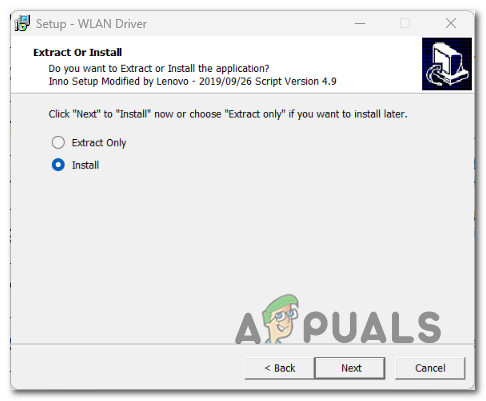
Installing the network driver
If you still aren’t able to connect to a Wi-fi network, the issue is likely rooted in some kind of network inconsistency. Move down to the next fix to reset your network settings.
- Press the Windows key + I to open up the Windows Settings menu. Once inside, click on Network & Internet from the menu on the left, then move to the right and click on Advanced network settings.
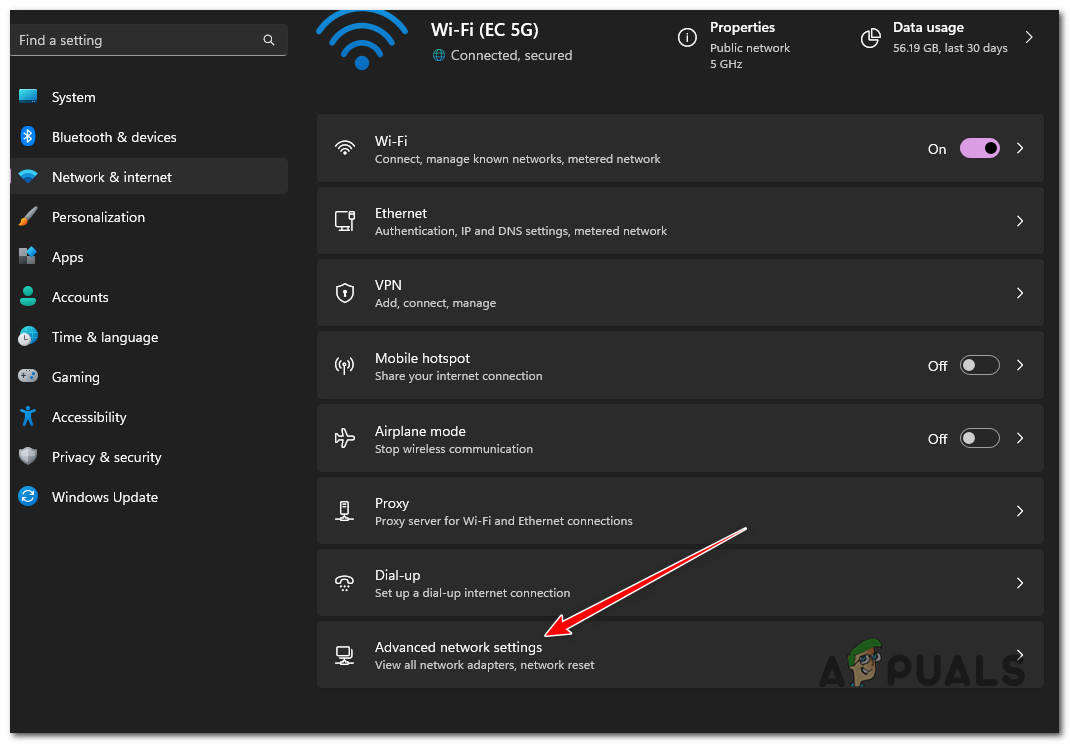
Advanced network settings - From the Advanced network settings menu, scroll down to the More Settings menu and click on Network reset.
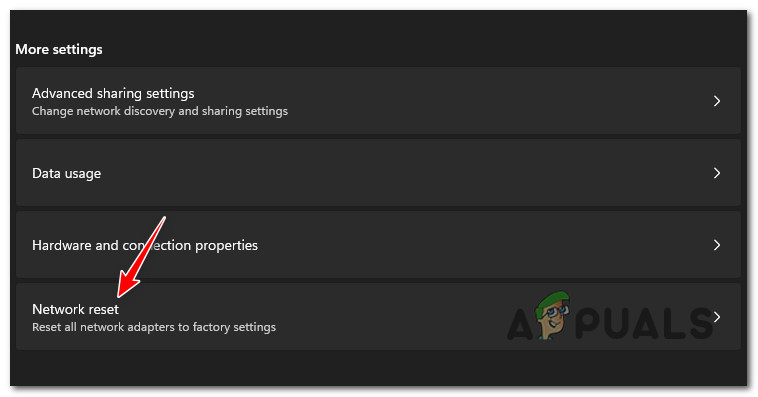
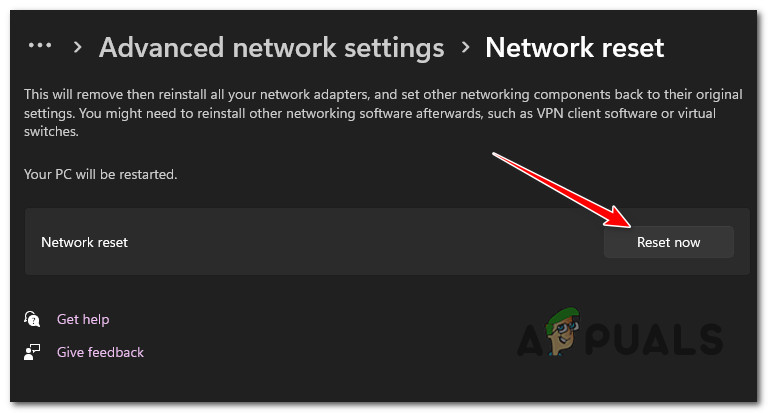
Perform a network reset - From the next menu, click on Reset Now, then confirm at the confirmation prompt.
Reset at the confirmation prompt - Reboot your Windows PC and see if the problem is now fixed.


