How to Fix Error Code: 8012 in Dead by Daylight?
Error Code 8012 is a Dead by Daylight issue that PC users have been dealing with for years. You probably can’t join the multiplayer action if you see this error. In most cases, the 8012 error appears when players try to join an online session, disconnecting them from the active session and sending them back to the main menu. This problem has been exclusively encountered on PC.
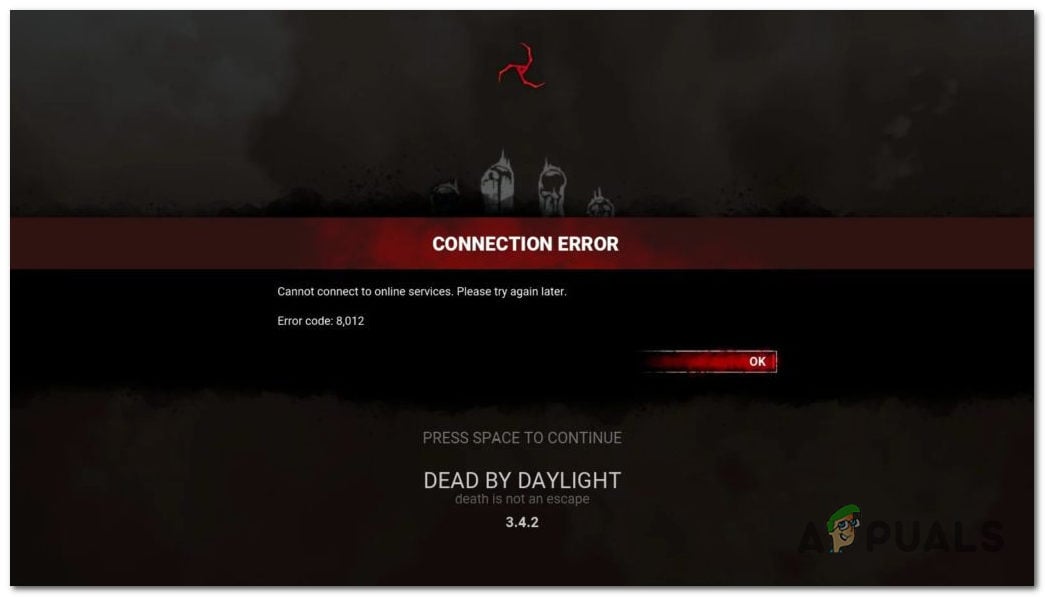
The main cause of this issue is a server problem beyond your control. In certain scenarios, it could also be caused by network issues affecting your connection or an interfering VPN or proxy issue.
Here is a list of methods that will help you fix the DBD Error Code 8012:
1. Restart the PC
The first thing you should do when encountering this issue is to restart your computer. This is a very simple process that might be enough to fix this error.
Let’s start with this and hope the error is not occurring due to a server issue. It could be a simple network inconsistency due to network congestion.
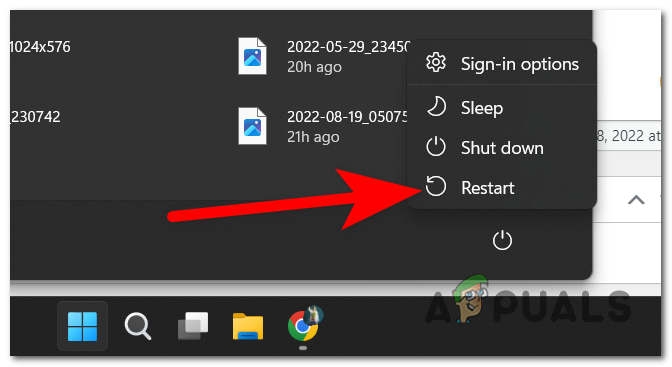
All you have to do is to restart your computer and wait until it boots back. The easiest way to do this is from the Start button on your desktop. Click on it, then click on the Power button and Restart. Next, wait until your PC is back on.
Once your PC has turned on completely, launch Dead by Daylight and try to join a session to see if the error code 8012 still occurs.
If the restart isn’t enough and the issue is still there, go to the next method.
2. Check the server status
The next thing you need to do is to check the server status to see if that is the cause of this issue. This is the most frequent scenario triggering the DBD Error Code 8012 error.
This might happens because the main matchmaking server is down or under maintenance, and the developers are working on a fix. Looking at the history of this game, this issue happened quite frequently.
To check the server status, you can use sites like Downdetector to see if other people have reported problems with the server. This site will show how many reports were made in the last 24 hours.
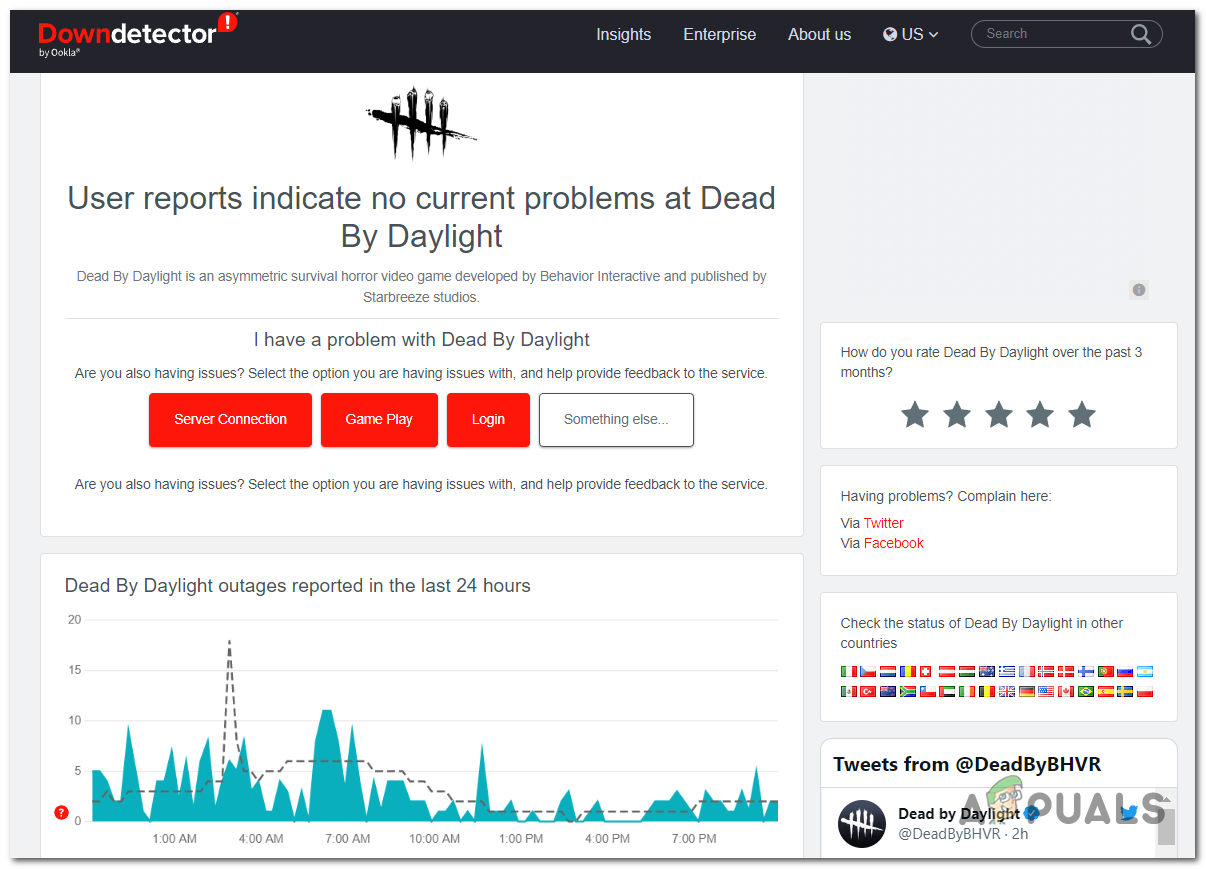
This way, you will determine if the error code 8012 is also happening to others or only to you.
If you see other people going through the same problems, you can investigate more on social media to pinpoint the server issue.
Visit the official Twitter page of Dead by Daylight to see if the developers have said anything about it.
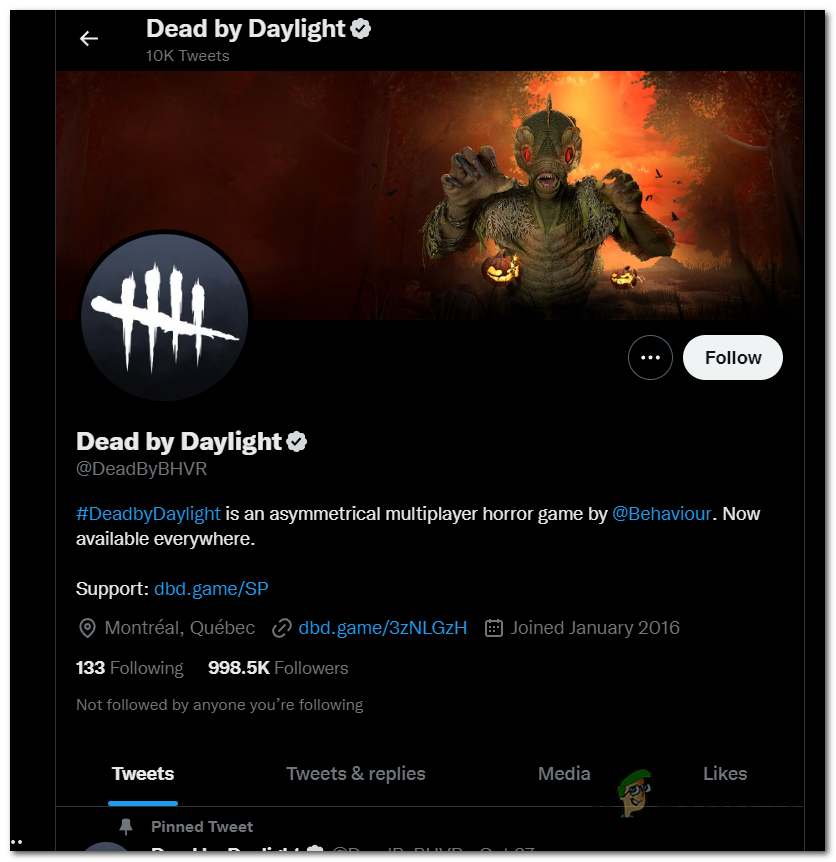
If you found any posts related to ongoing server issues, look at the comments to see what people have to do.
If you confirm that there’s currently a server issue, you can’t do anything about it besides waiting until the developers fix the issue. Find something to do until they fix the servers, and keep an eye on their official page to see when it is fixed.
If you’ve looked everywhere and the error code 8012 is not caused by some server issues, go to the next method to see how you can fix it.
3. Repair Easy Anti-Cheat
You can also try to repair the Easy Anti-Cheat to fix this issue. This might cause a problem because your computer is not detecting the Easy Anti-Cheat engine. This makes Dead by Daylight unable to connect to the servers.
You can expect to deal with this issue if you have multiple games using the same Easy Anti-Cheat engine or if you previously modified the Death by Deadlight game files.
Note: The Easy Anti-Cheat engine is an anti-cheating tool that stops (for the most part) online cheating in games like Dead by Daylight.
If you see this 8012 error and you previously confirmed that there are no server problems, you might see this because the Easy Anti-Cheat engine is not installed or corrupted.
You can rectify this issue by navigating to the game’s location and running the main setup executable of the anti-cheat engine with admin rights.
Here’s how you can do it:
- The first thing you need to do is to open the Steam app and access the Library.
- Now you need to find Dead by Daylight in the list of games and right-click on it, then highlight Manage and click on Browse local files.
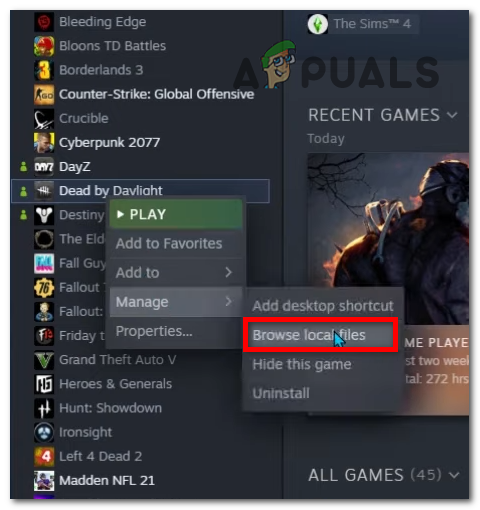
Opening the folder of Dead by Daylight - Once you are inside the Dead by Daylight folder, double-click on the EasyAntiCheat folder to open it.
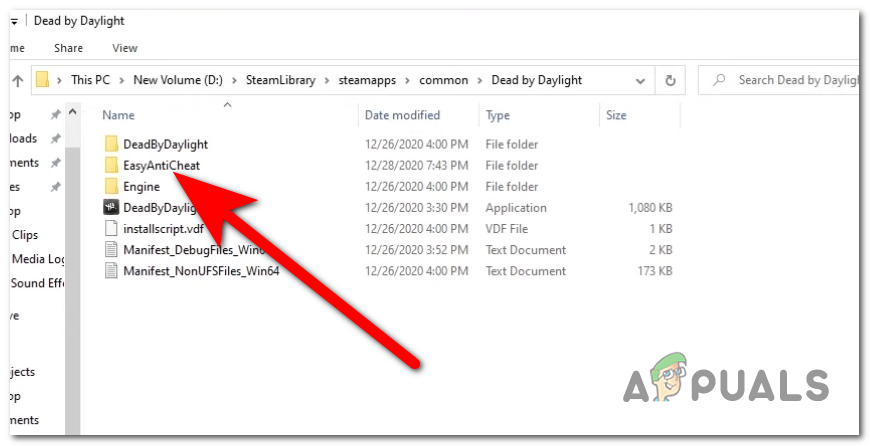
Opening the EasyAntiCheat folder - You need to right-click on the EasyAntiCheat setup and click on Run with administrator. Click on Yes to give permission to your computer to open the setup.
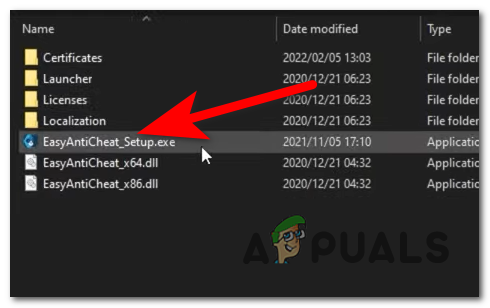
Opening the Easy Anti-Cheat with administrator privileges - You will either see the Install service button or the Repair service button on your screen. Click on the one that appears to complete this method.
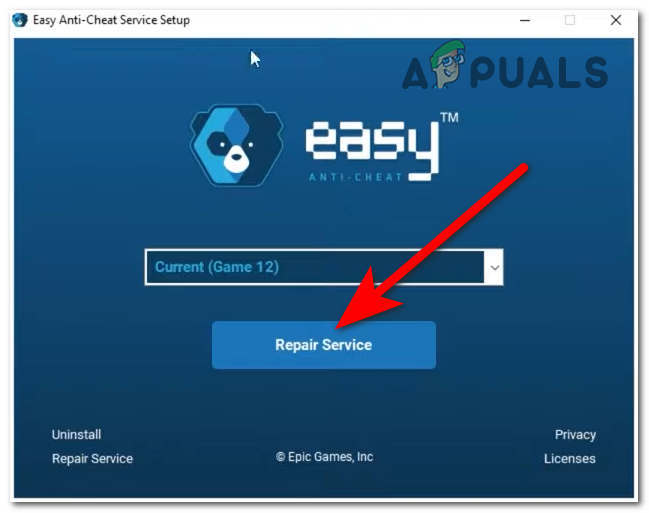
Repairing or installing the Easy Anti-Cheat - Once the anti-cheating engine has been completely repaired or installed, the only thing left to do is to check if the error code 8012 still appears in DBD.
If the error is still occurring, go try the next possible method.
4. Restart or Reboot your Router
If too much data is sent & received by a router on a limited bandwidth, you might see this error as the required game data packets are not sent in time.
This usually happens when too many devices are on the same network in a scenario where a lot of data is sent and received simultaneously.
You can alleviate this issue (at least temporarily) with a router reboot or reset.
Follow the first sub-guide (4.1) to see how you can restart your router. If this doesn’t change anything, you can also go to the next sub-guide to see how to reboot your router (4.2).
4.1 Reboot your router
To restart your router, you must press the On/Off button on the back of it once to turn off the router.
If your router doesn’t have an On/Off button, you can force it to restart by unplugging the power cord.

Once you turn off your router, unplug the power cord and wait a full minute to ensure the power capacitors are cleared.
Note: This action will clear the temporary TCP/IP data without losing any data, so don’t worry because you won’t be affected.
After successfully rebooting your router, restart your computer and open Dead by Daylight again to see if the problem is now fixed.
If the issue persists, go to the next sub-guide to see how to reset the router.
4.2 Reset your router
Before you do this, remember that this will wipe out any custom settings you may have set up in the past. This includes custom login credentials, whitelisted ports and IP ranges you allowed, and manually blocked items and ports you forwarded.
If you are sure you want to do this, look on the back of your router for the reset button. Once you see it, you’ll probably need a toothpick or something else sharp to get to it. This is how most manufacturers make it so it can’t be pressed by accident.
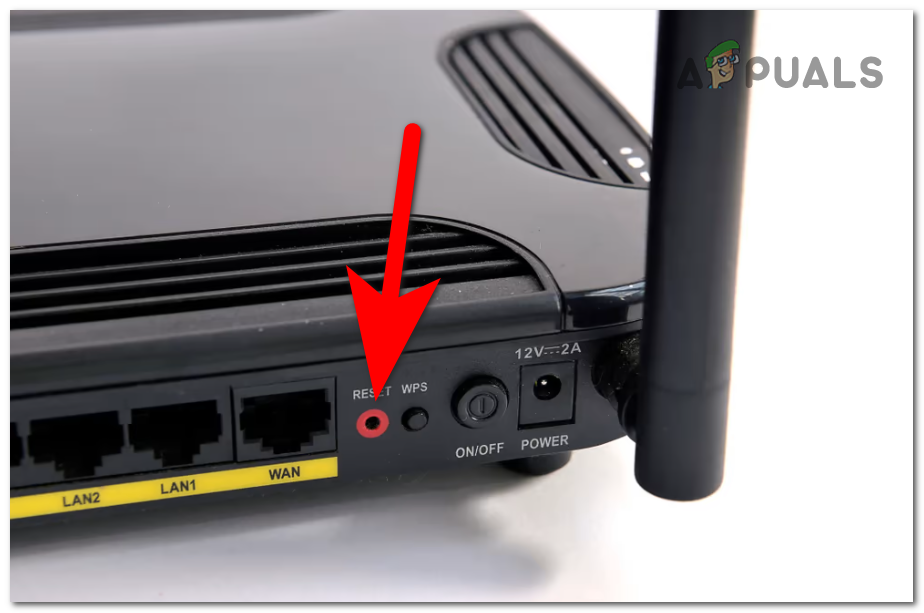
To initiate a reset, press and hold the Reset button for 10 seconds or until all the LEDs on your router’s front start flashing simultaneously. Next, let go of the reset button and wait for the reset to complete.
5. Disable VPN or Proxy
If a proxy or VPN program messes with the server’s authentication module, you might also expect to deal with the 8012 error. You can’t do anything besides disabling the VPN or proxy in this case. This game is notoriously known for refusing to allow players that use Proxies and VPN solutions.
The steps of doing this will differ depending on whether you’re using a proxy or a VPN.
We have prepared 3 different sub-guides that will help do this in the following case:
- You’re connected to a proxy server (sub-guide 1)
- You’re connected to a VPN natively (sub-guide 2)
- You’re connected to a VPN via a 3rd party program (sub-guide 3)
Follow one of the three sub-guides listed below, depending on the situation that applies to you:
5.1 Disable a Proxy server
If you’re using a proxy server, you must go to the Settings menu and click on the Probxy tab.
From there, you can ensure that this Windows installation doesn’t use a proxy server.
Here’s how you can do it:
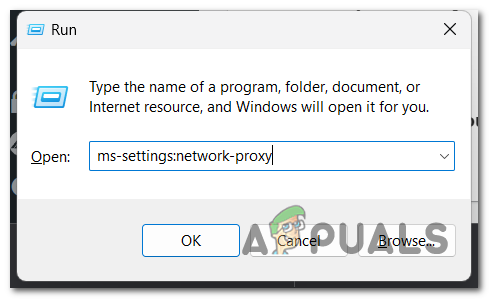
- Press the Windows key + R to open a Run dialog box, then type “ms-settings:network-proxy” inside the search bar and press Enter. You will open the Proxy section in Windows Settings.
Opening the Proxy settings - Once inside the Proxy settings, you will see two sections named Automatic proxy setup and Manual proxy setup. Make sure to disable both of them.
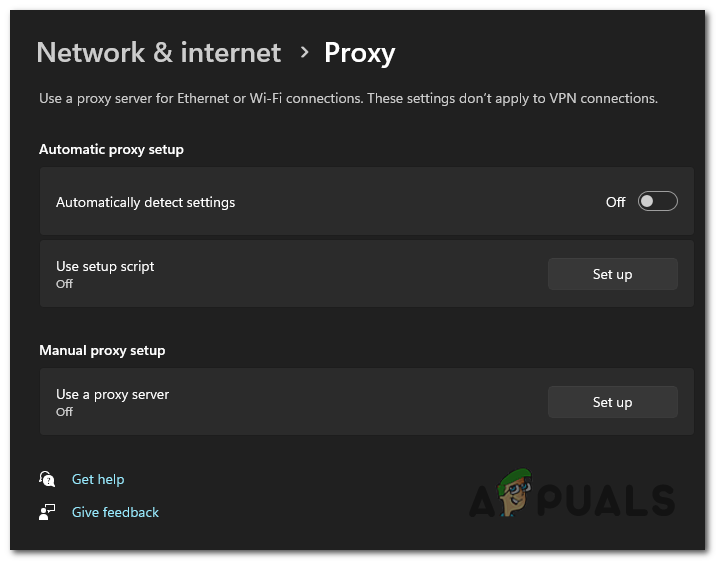
Disabling the proxy from the Settings - Once you are done with this, all that’s left is to close the Settings and reboot your computer.
When your computer is back on, launch Dead by Daylight to see if the error code 8012 still occurs.
5.2 Disable the native VPN
If your VPN connection is set up directly from the VPN connection tab, you can only turn it off by going to the Network & Internet Connection menu.
Here’s what you need to do to turn off a native VPN connection:
- Open a Run dialog box by pressing the Windows key + R buttons and type ‘ms-settings:network-vpn‘ inside the search bar, then press Enter to open the VPN tab in Windows Settings.
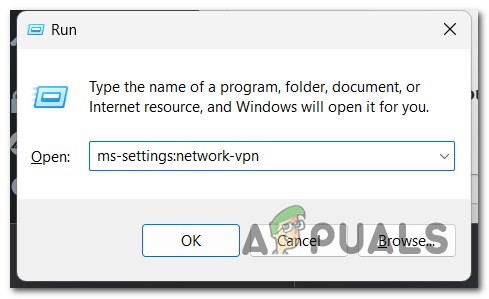
Using a Run dialog box to open the VPN settings - Once you’re in the VPN tab, go to the right side of the screen and, click on the VPN connection, then click on Disconnect.
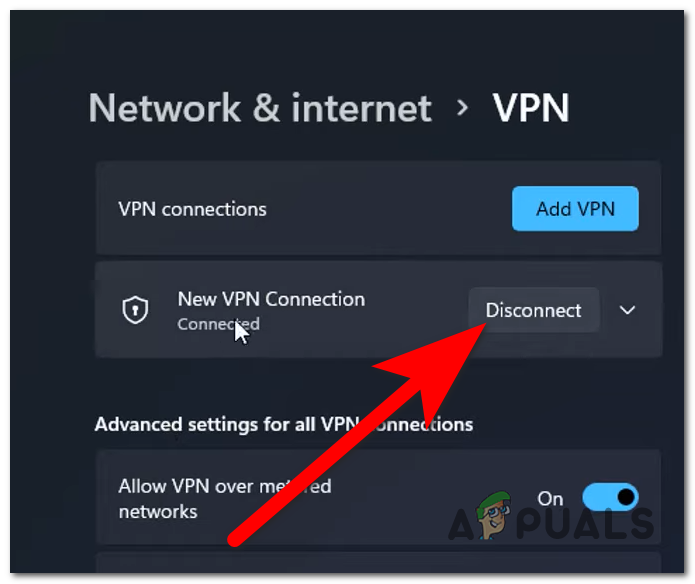
Disconnecting from a native VPN - Once you’ve done that, confirm the decision. You can also click on Remove to delete the VPN permanently.
- Now you need to restart your computer. Wait until your PC boots back.
Test the game to see if the error still appears in Dead by Daylight.
5.3 Remove the third-party VPN app
If you’re using a VPN app that doesn’t come natively with Windows, you’ll need to use the Programs and Features menu to get rid of it.
Follow the next steps to see how to do it:
- Press the Windows key + R to open a Run dialog box, then type ‘appwiz.cpl‘ inside the search bar.
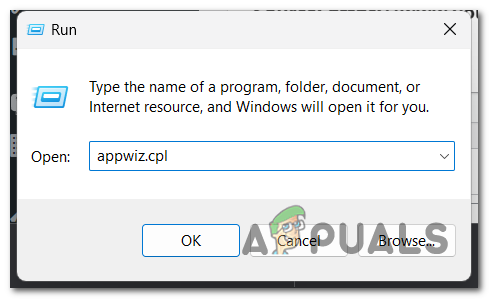
Opening the Programs and Features tab - Once you’re in the Programs and Features menu, move down the list of installed programs until you find the VPN program that is causing this problem.
- When you find it, right-click on it and click on Uninstall.
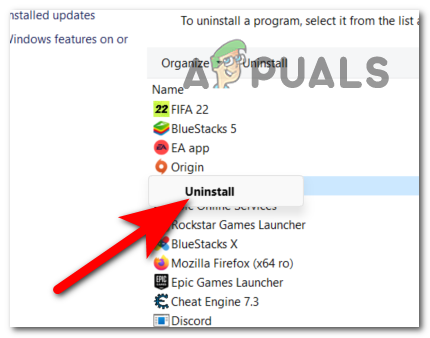
Uninstalling the VPN application - When the uninstalling process is complete, you need to restart your computer.
- When your PC is ready to use, launch Dead By Daylight and test it to see if the error code 8012 is still showing.
If you still didn’t fix this issue, go to the next and last method below.
6. Flush DNS
The last thing you can do to fix this issue is to clean the DNS cache. This can easily be done using the Command Prompt to flush the DNS.
This process will clear the DNS cache, so your router can start the connection again without using any temporary files.
Here are the steps you need to follow in case you don’t know how to flush the DNS:
- Open a Run dialog box by pressing the Windows key + R and type ‘cmd‘ inside the search bar, then press the CTRL + Shift + Enter buttons to open it with admin privileges

Opening the Command Prompt - Click on Yes to allow the Command Prompt to run with administrator privileges
- Once you are inside the Command Prompt, copy and paste the following commands one after the other:
ipconfig /release
ipconfig /renew
ipconfig /flushdns
- When the process is complete, the only thing left to do is to launch Dead by Daylight to see if the error code 8012 is now fixed.


