Fix: Creative SB Audigy 2 ZS Issue: No sound after Update
You may not hear sound from the SB Audigy speakers if the audio driver is not properly configured. Moreover, wrong configuration of SPDIF may also cause the error at hand.
The issue arises when a user performs a Windows update but his SB Audigy soundcard stops working.
Before moving on with the solutions, make sure your system drivers and Windows 10 version are updated to the latest build. Also, check if plugging the speakers directly into the sound card (not through an extension cable or multimedia hub) solves the problem. Moreover, make sure if all the checkboxes in the Headphones Detection tab are enabled (Speaker Properties >> Sound Blaster tab >> Settings >> Audio Control Panel).
Solution 1: Use another Driver
The Creative Labs have ended support for the Audigy 2 ZS soundcard and new drivers are not developed for it. In this case, using an older driver from Creative Labs or another driver from another source may solve the problem.
Warning: Proceed with extreme caution and at your own risk as using an older driver or a non-official driver/application may expose your system and data to numerous security threats.
- Open a web browser and navigate to the Driver page of the Sound Blaster Audigy Rx (usually, SBA5_PCDRV_L11_3_01_0056B).
- Then, at the bottom of the page, make sure you are shown the correct drivers for your relevant OS.
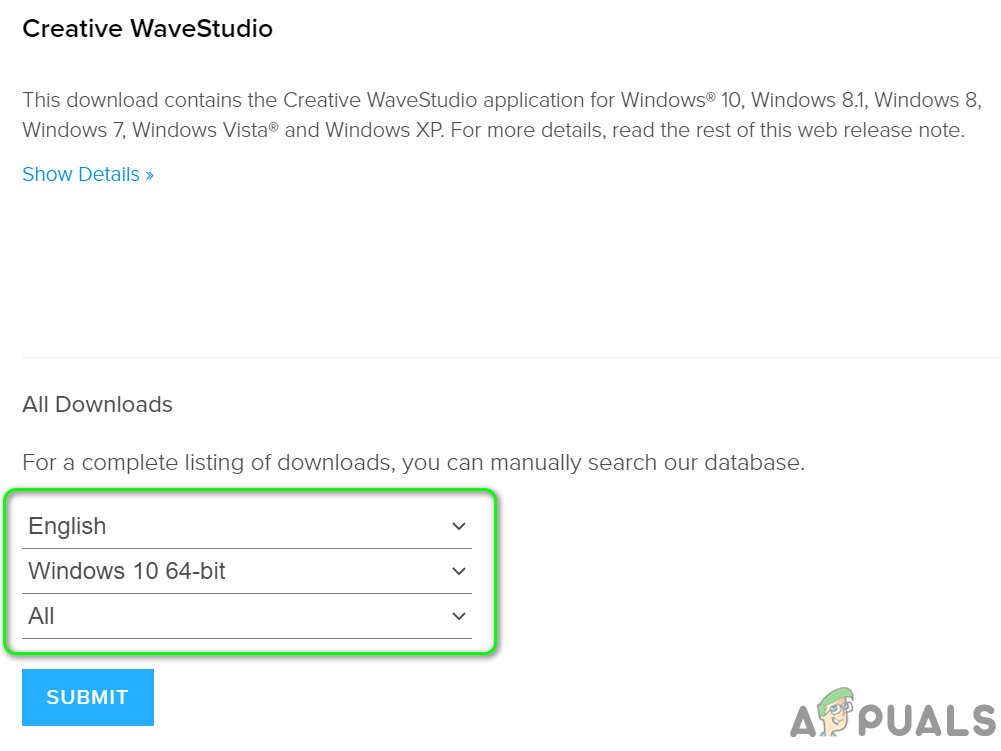
Check if You Are Shown the Proper Driver for Your System - Now, scroll up and download the latest of the drivers on the page.
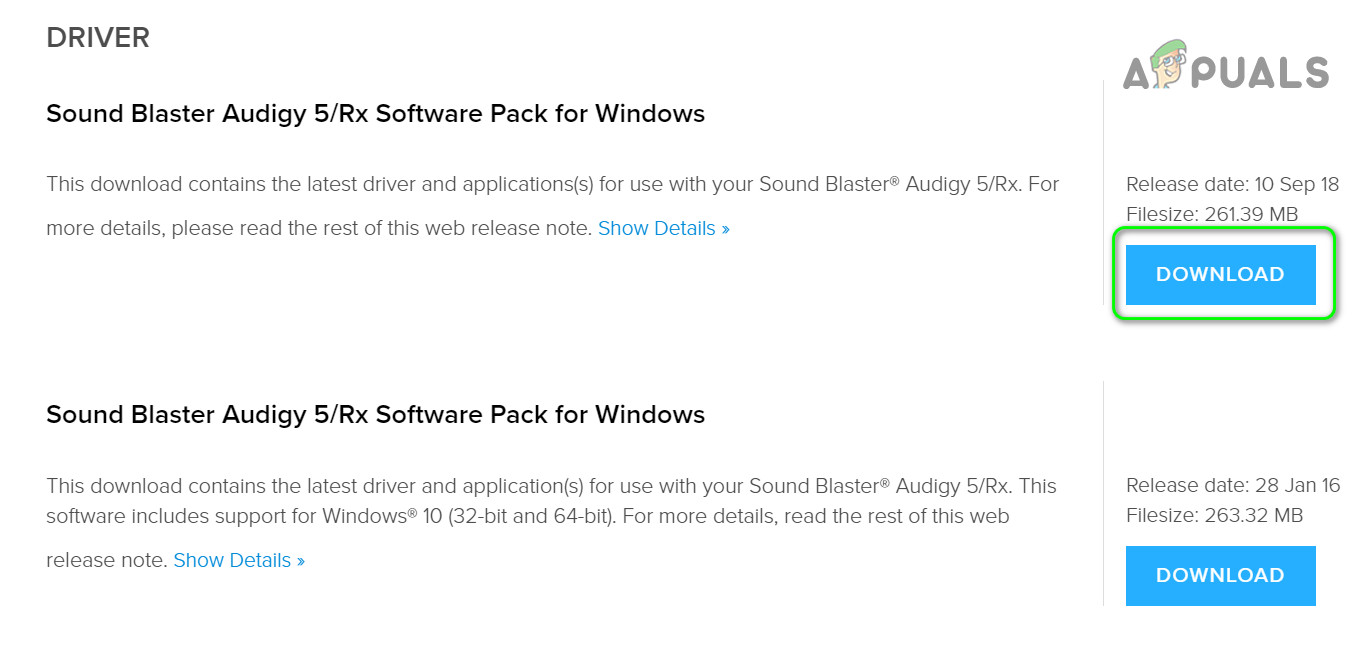
Download the Driver for Sound Blaster Audigy - Then right-click on the downloaded file and extract files to a folder.
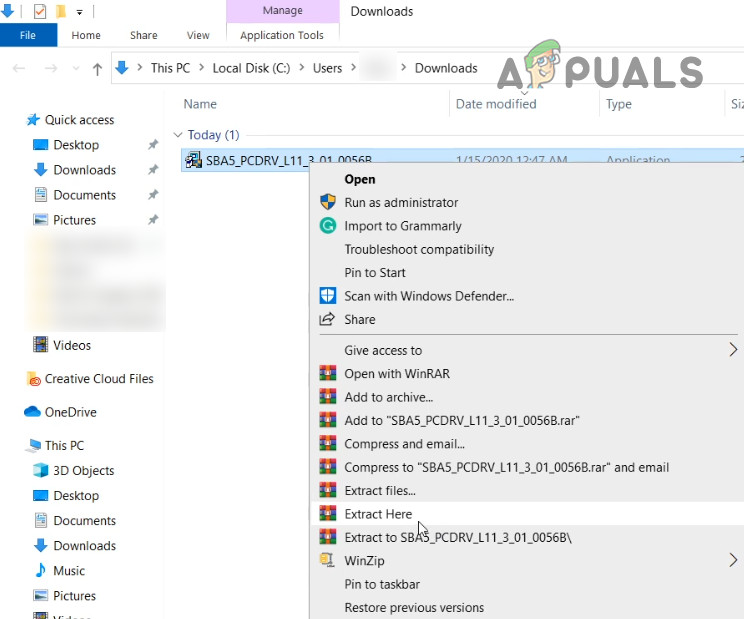
Extract the SBA5_PCDRV Driver - Now, open the extracted folder and navigate to the following path:
Audio\DriversWin10\wdm
- Then right-click on wdma_emu.inf and in the menu shown, choose Install.
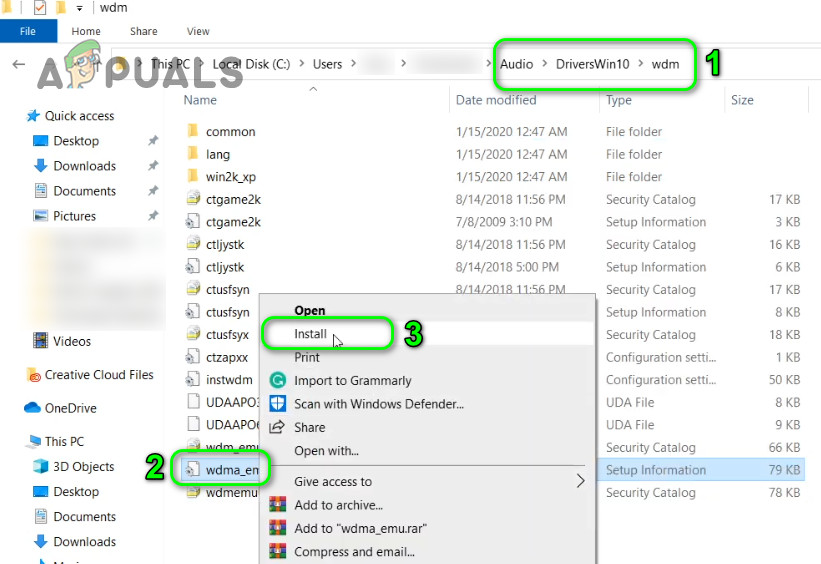
Install the wdma_emu.inf File - After installing the driver, reboot your system and check if the driver issue is resolved.
- If not, then download the Audigy_SupportPack_6_2.
- Then launch the downloaded file with administrator privileges and follow the prompts on your screen to install the application but make sure to uncheck the installation of any audio drivers (use the custom install option to only install the console, speakers, control panel, etc.).
- Now reboot your system and check if the sound card issue is resolved.
If the issue is still not resolved, then you may have to remove the audio drivers from the Device Manager and then reinstall them.
- Simultaneously press Windows + X keys and in the Quick Access menu, choose Device Manager.
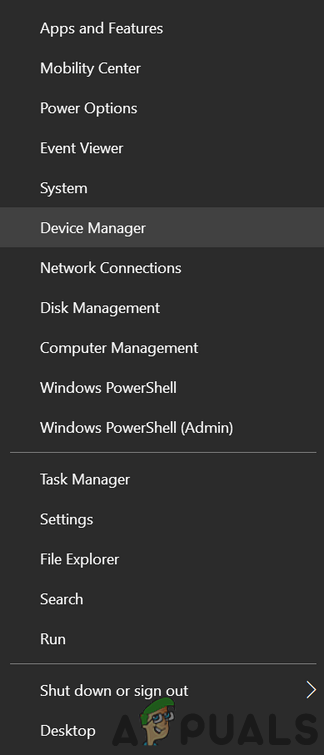
Open Device Manager - Then expand Audio Inputs and Outputs and right-click on the Audigy device.
- Now click on Uninstall Device and then confirm to uninstall the device after check-marking the Delete the Driver Software of This Device.
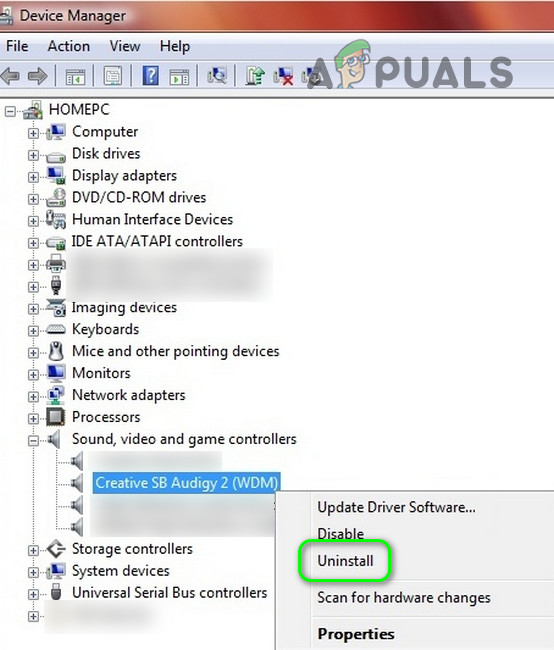
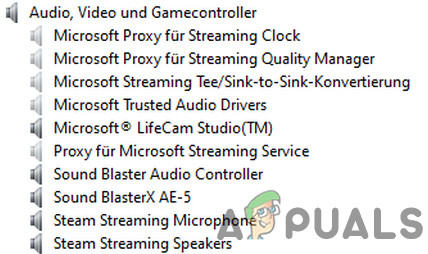
Uninstall the Audigy device - Repeat the same to remove all the audio devices under “Sound, Video and Game Controllers” and “Audio Inputs and Outputs”.
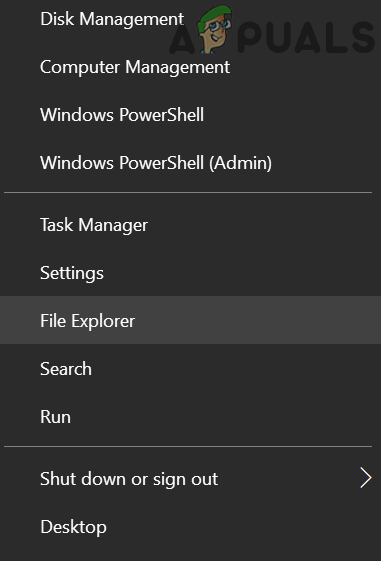
- Now reboot the system and upon reboot, right-click on the Windows button to select the File Explorer.
Open the File Explorer - Now navigate to the following path (you can copy and paste in the address bar):
\Windows\system32\Drivers
- Now delete the ha10kx2k.sys file. If you cannot delete the file, then try to delete the file in the Safe Mode.
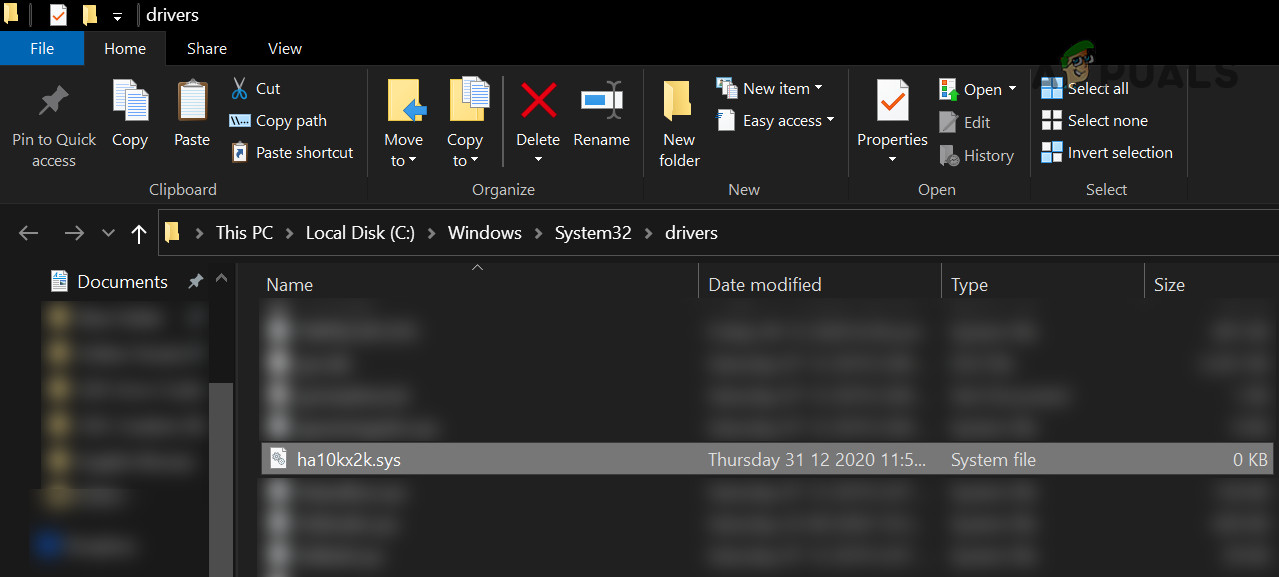
Delete the ha10kx2k.sys File - Then open the Device Manager (step 8) and right-click on the Audigy device (you may have to expand “Unknown Devices”, “Audio Inputs and Outputs”, and “Sound, Video and Game Controllers”).
- Then select Update Driver and select Browse My Computer for Drivers.
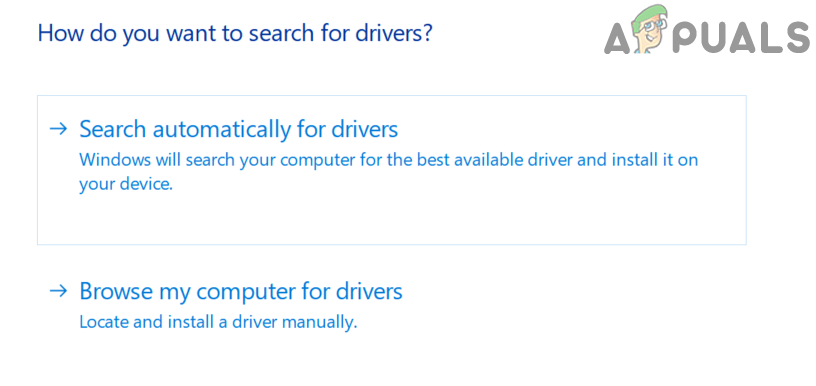
Browse My Computer for Drivers - Now click on the Browse button and navigate to the extracted folder at step 4.
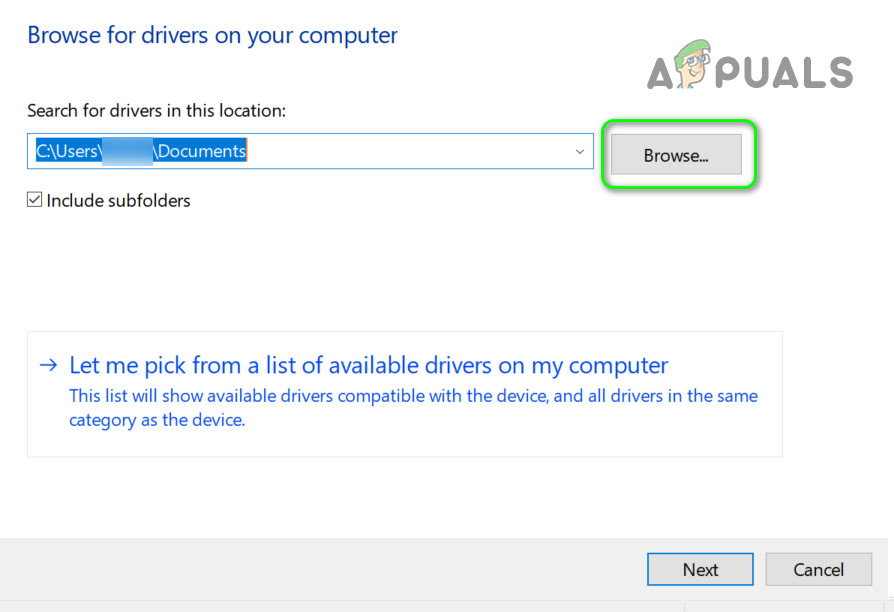
Browse for Extracted Driver of SB Audigy Device - Then open the following path in the extracted folder:
Audio\DriversWin10\wdm
- Now select wdma_emu.inf and click on the OK button.
- Then click on the Next button to complete the driver installation and reboot your PC. Upon reboot, check if the driver issue is resolved.
- If that did not do trick for you, then you can repeat the above process with an unofficial Daniel, or PAX driver.
Solution 2: Revert to An Older Version of Windows 10
AS the official support of drivers has ended, the soundcard may not work with the newer version of Windows. In this case, downgrading to an older version of Windows may solve the problem.
- Press the Windows key and open Settings.
- Then open Update & Security and select Recovery (in the left pane of the window).
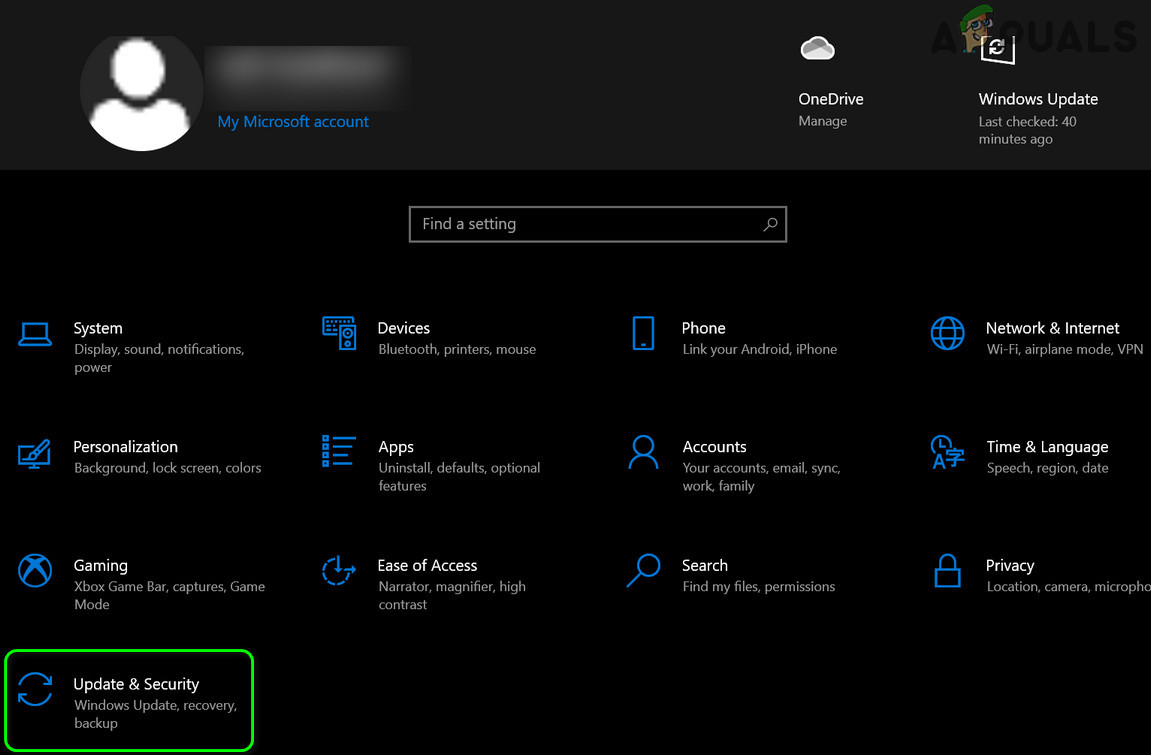
Open Update & Security - Now, under Go Back to the Previous Version of Windows 10, click on the Get Started button.
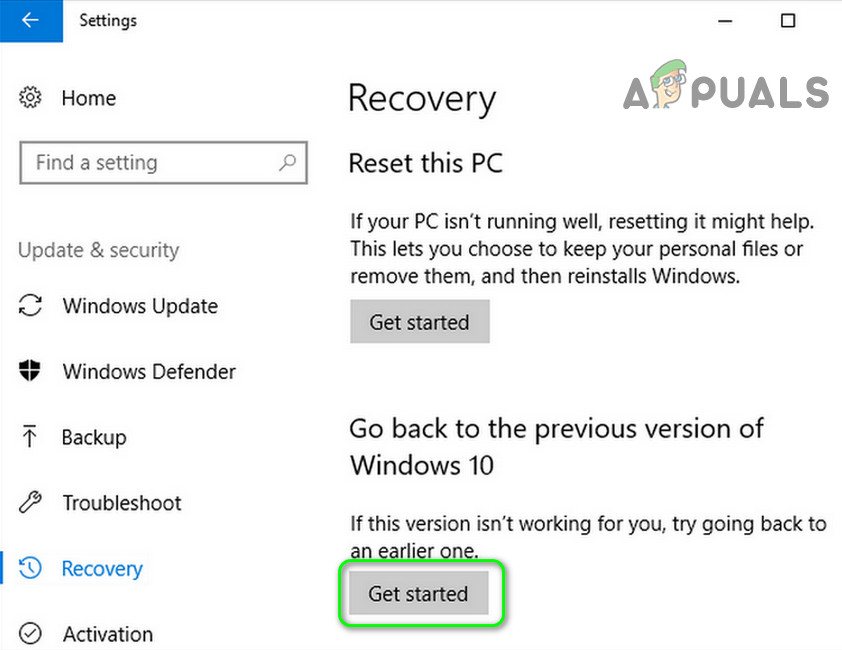
Go Back to the Previous Version of Windows 10 - Then follow the prompts to revert to an older version of Windows 10.
- After reverting to the older version of Windows 10, check if the sound card issue is resolved.
If the sound card is working fine in the older version of Windows 10, then use solution 1 to reinstall the soundcard driver and then update Windows to check if the issue is resolved.
Solution 3: Change the SPDIF Settings
You may fail to use the Audigy soundcard if the SPDIF settings of your system are not properly configured. In this case, editing the relevant SPDIF settings may solve the problem.
- Right-click on the Speaker icon (usually, to the right of the system’s clock) and choose Open Sounds.
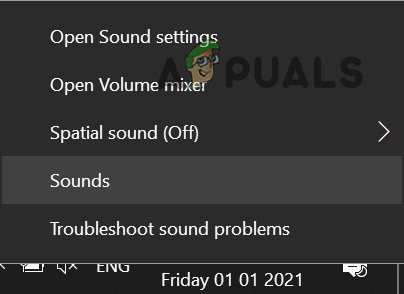
Right-click on the Speaker Icon and Open Sounds - Then navigate to the Playback tabs and make sure no SPDIF related device is disabled or muted.
- After enabling/unmuting the SPDIF-related devices, reboot your system and check if the sound card issue is resolved.
If that did not solve the issue for you, then you can use the older version of the driver to solve the issue.
- Then download the old driver from the Creative Labs website as discussed in solution 1.
- Then right-click on the downloaded file and select Run as Administrator.
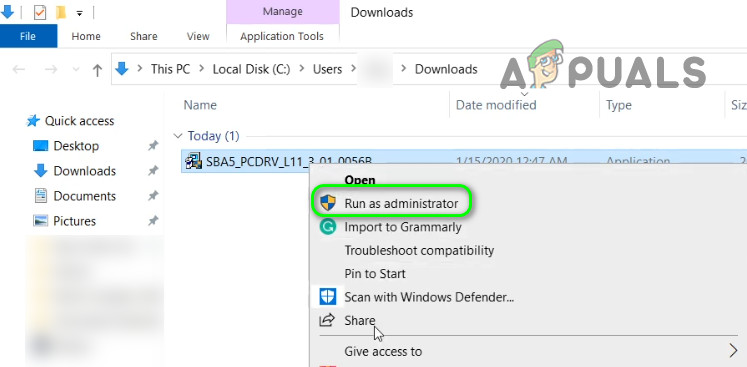
Run SBA5_PCDRV as Administrator - Then check if the setup successfully installs and resolves the issue.
- If the setup fails to install or resolve the issue, then right-click on the Windows button and select Run.
- Then navigate to the Temp folder.
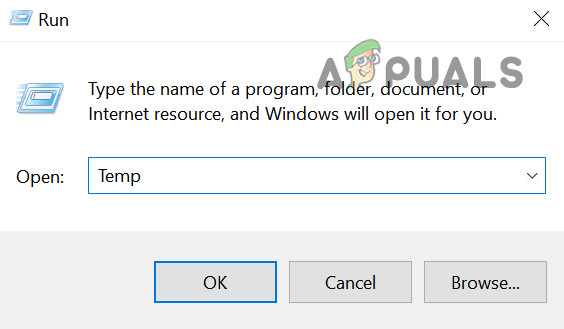
Open the Temp Folder - Now open a folder with the CRF at the start of the name (e.g., CRF003) and right-click on Setup.exe.
- Then choose Run as Administrator and then follow the prompts on your screen to complete the installation setup (but make sure to check-mark the option of “Overwrite Existing Shared Creative Audio Files”).

Overwrite Existing Shared Creative Audio Files - Now reboot your PC and upon reboot, make sure that your speakers are plugged into the jack.
- Then right-click on the Speaker icon and select Sound Settings.
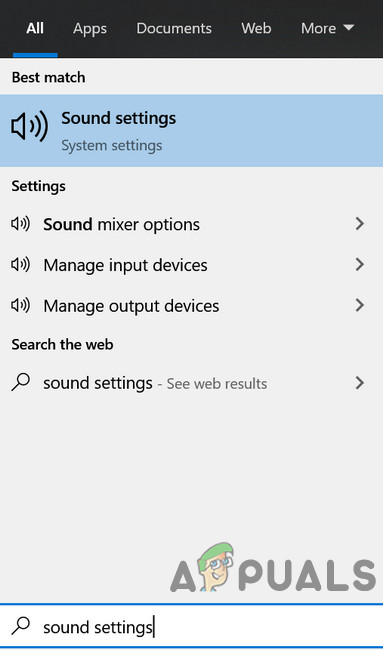
Open Sound Settings - Now set SPDIF (Creative SB Audigy) as the default device and check if the issue is resolved. If so, but the sound quality is not good, then edit the Sound Mixer Options to toggle different applications and devices to adjust the sound properties.
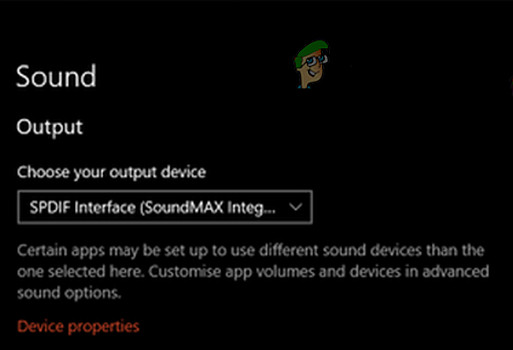
Set SPDIF as Your Default Output


it worked for me, thank you, now my audigy 2 zs LIVES AGAIN. much better sound than those generic onboard solutions