Cooler Master MASTERBOX MB511 RGB Case Review
If you have been in the PC gaming family for some time now, it is safe to say that you are familiar with Cooler Master as they are among the pioneers who pushed the industry to where it stands today. It is because of the company’s wide variety of great budget cases and global market influence, CM is far ahead of many other brands. Nevertheless, nothing is perfect and in today’s era Cooler Master has been producing a few bland budget cases since a while now, for instance, the Cooler Master MasterBox Lite 5.
PRODUCT INFO Cooler Master MasterBox MB511 ATX Mid-Tower Manufacture Cooler Master Available at View at Amazon
The Lite 5 was great in terms of aesthetics and pricing but had terrible airflow. The tiny front-top and bottom vents failed to provide adequate airflow even for a basic set of hardware. But surprisingly, it seems like Cooler Master has taken a note of that issue and came back with a slightly modified but perfected variant of the Lite 5, The Master Box MB511. Luckily we have the RGB variant of the MB511 with us today for review purposes. We’ll be checking the airflow and thermal performance of the MB511 RGB with some additional testing topped off with a great red and black themed PC build.
On paper, the MB511 RGB looks like the perfect case for any type of PC build. It can be the best case for the people who spent too much on the main components and forgot to set funds aside for the case. The MB511 RGB looks like a case that can fit in any type of PC build, be it high-end or budget-orientated because of its versatile features and great price tag.
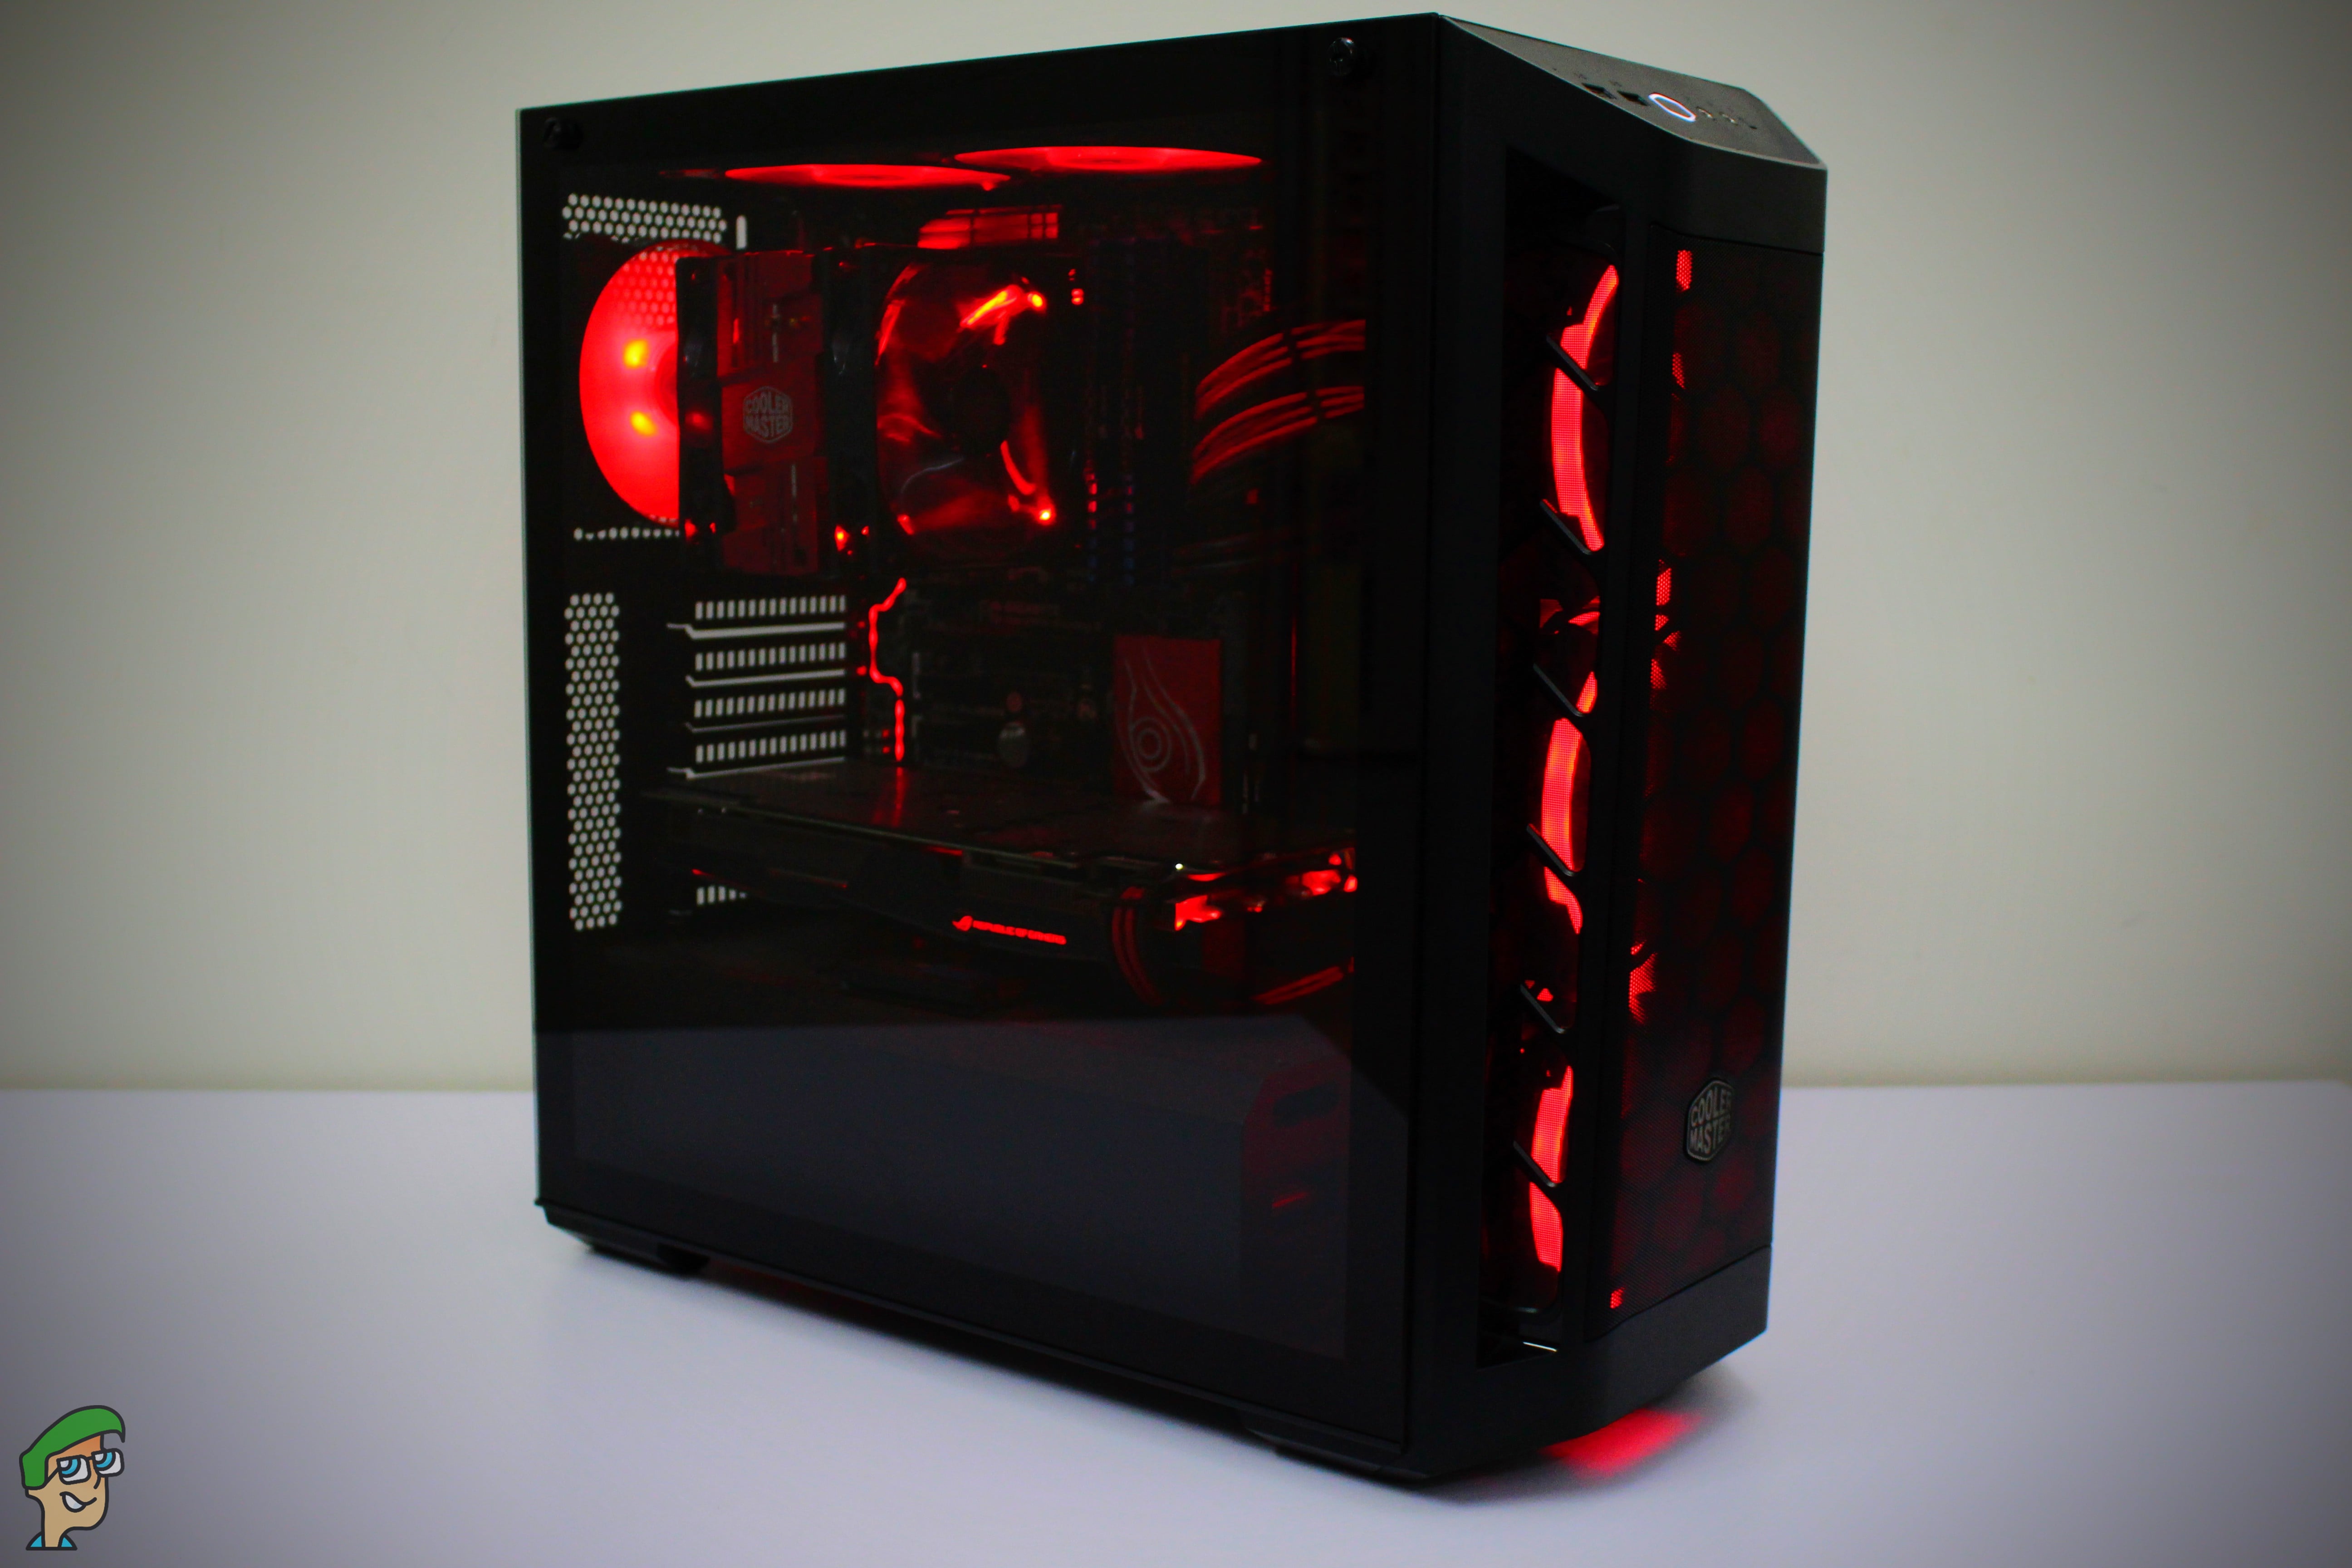
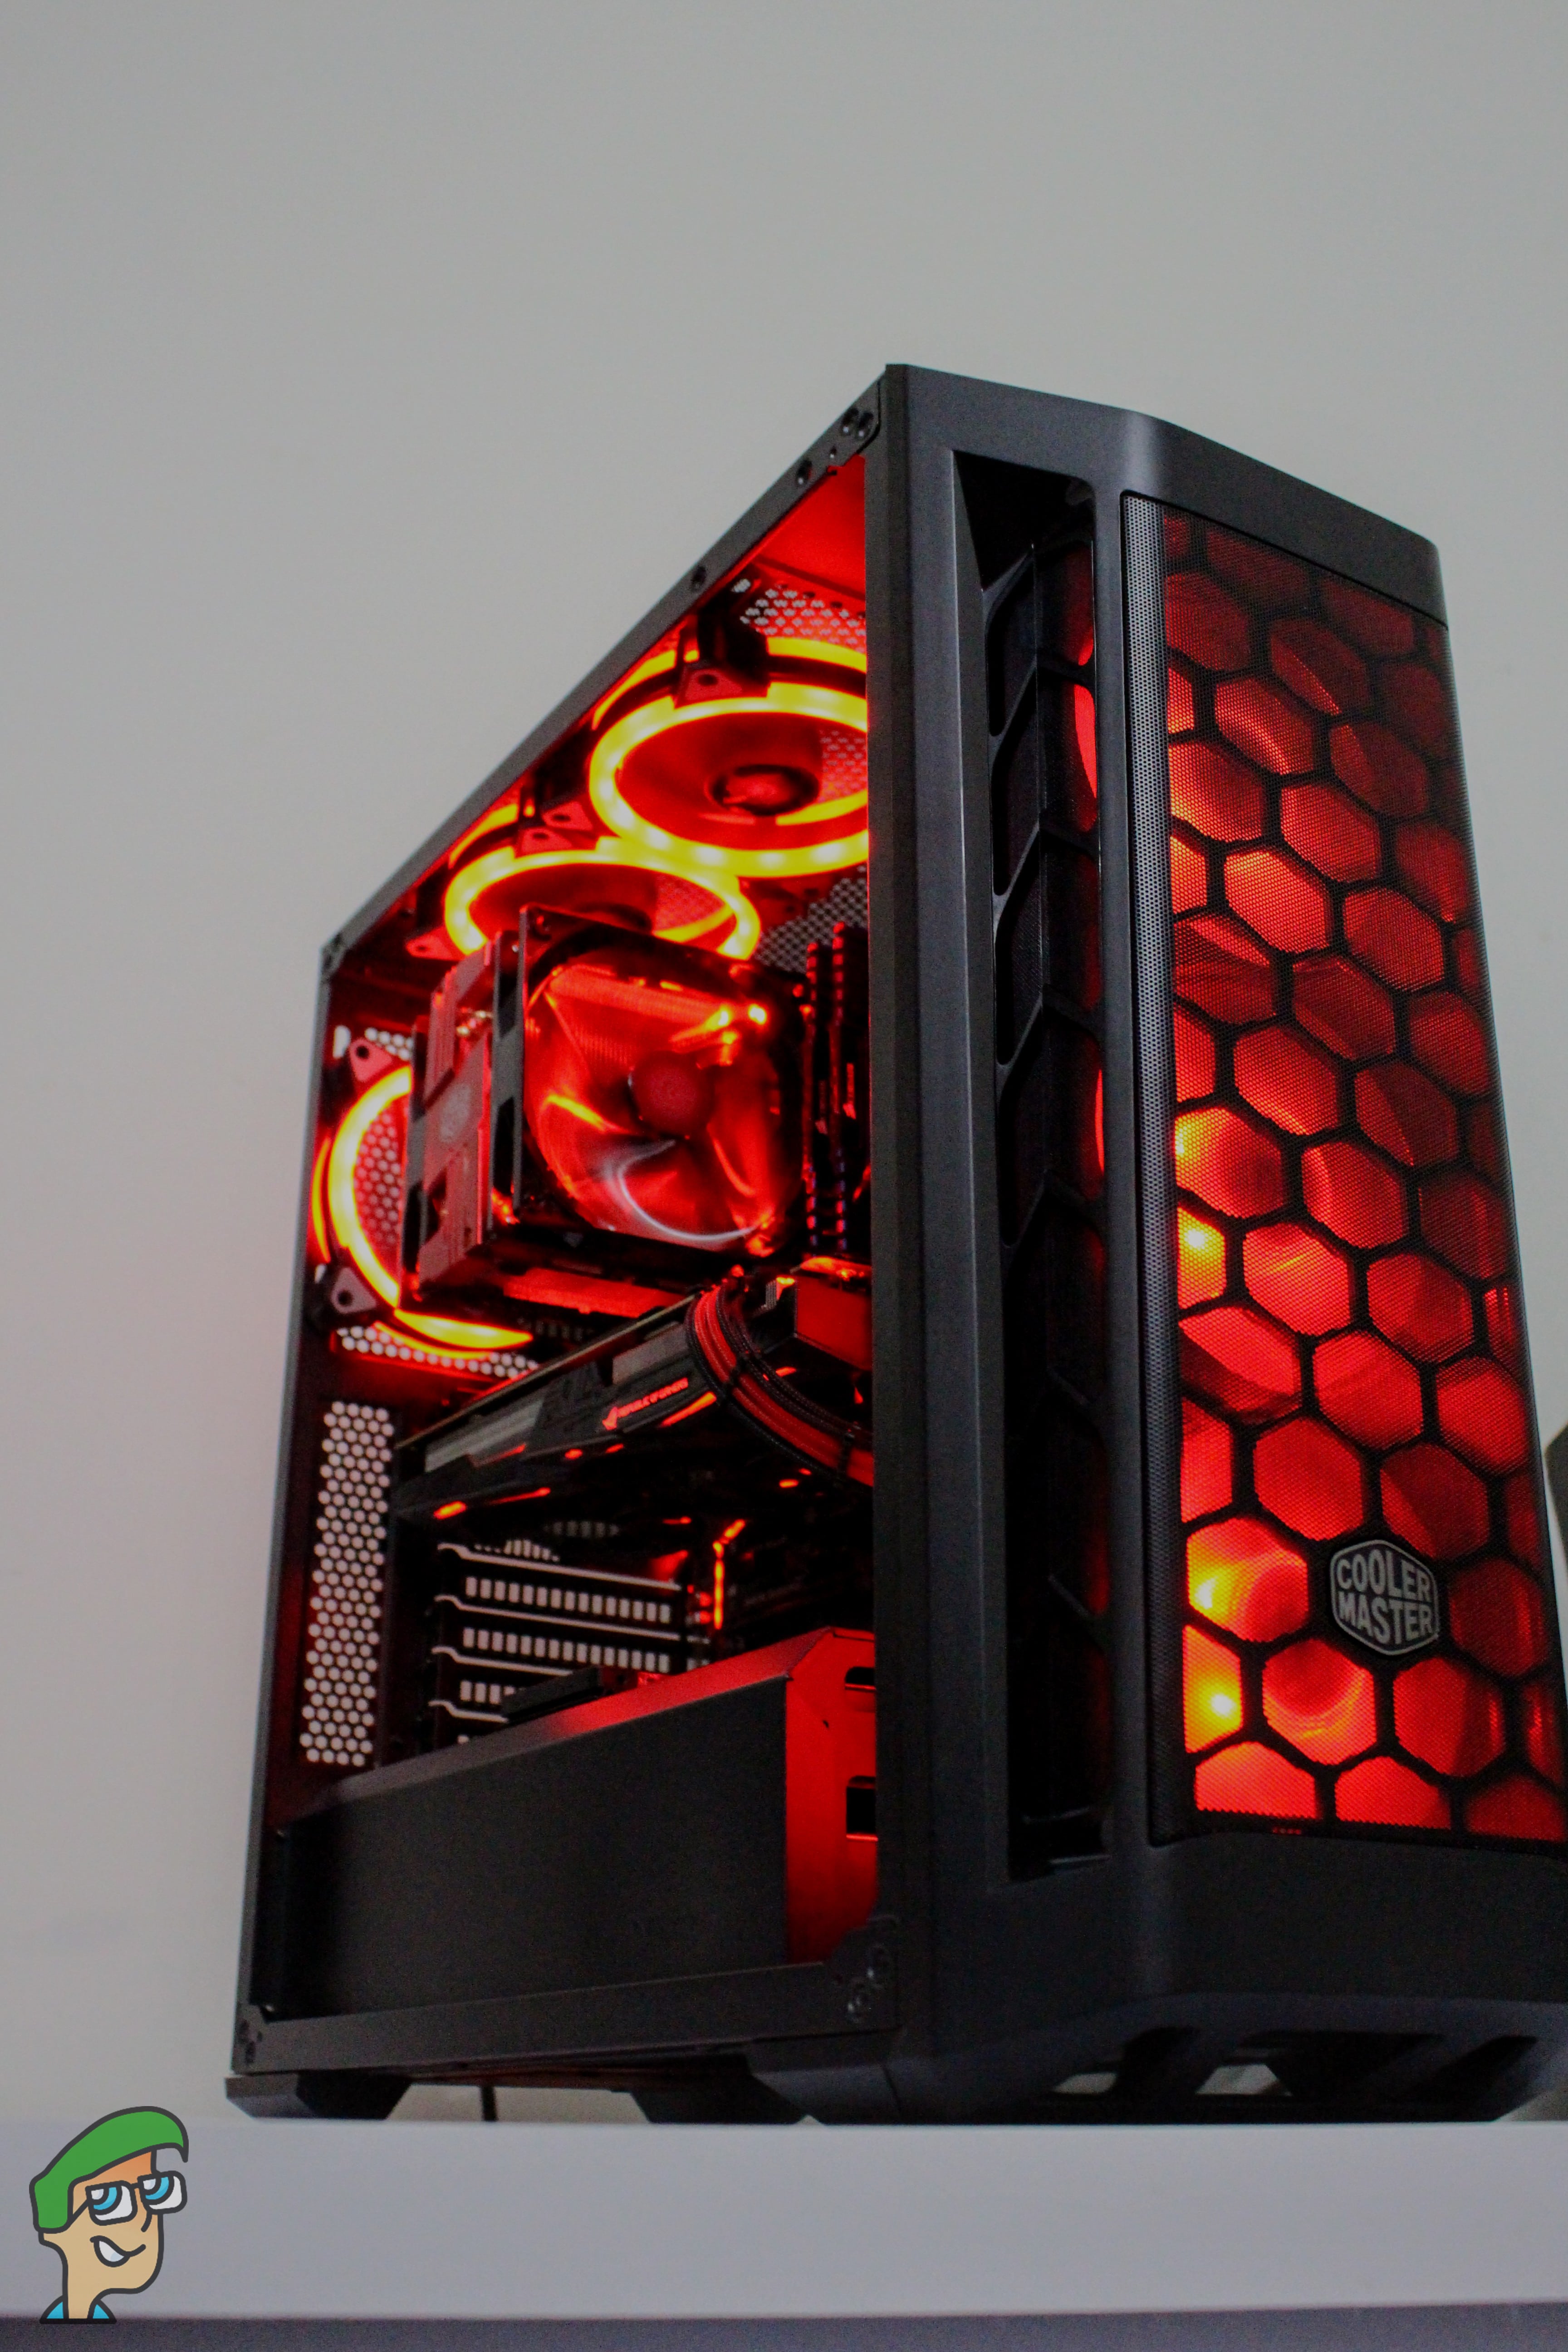
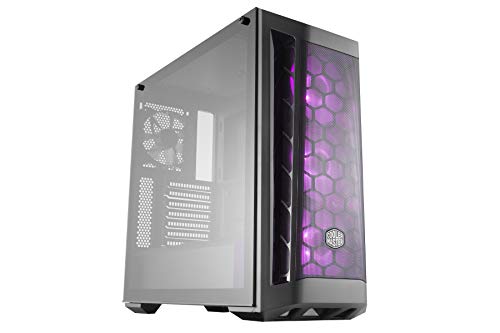
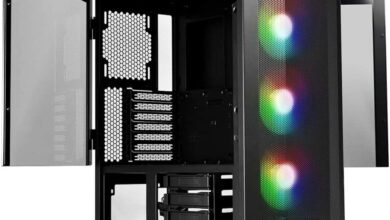
At first glance, we can see a massive Mesh Front Panel, shrouded PSU bay, aggressive right/left Intakes, edge-to-edge tempered glass side panel, 3x RGB fans (Included in box) and great radiator support for AIO water coolers along with a bang for the buck price tag of $90 which is impressive, to be honest.
All in all, this case looks very promising. Let’s take the MB511 RGB through our usual reviewing routine and verify if these on-paper bells and whistles are too good to be true or not?
Unboxing
The unboxing experience of the MB511 is pretty simple and straightforward. Right off the bat, you’ll notice the different logos of RGB sync at the bottom right on the front side of the box.
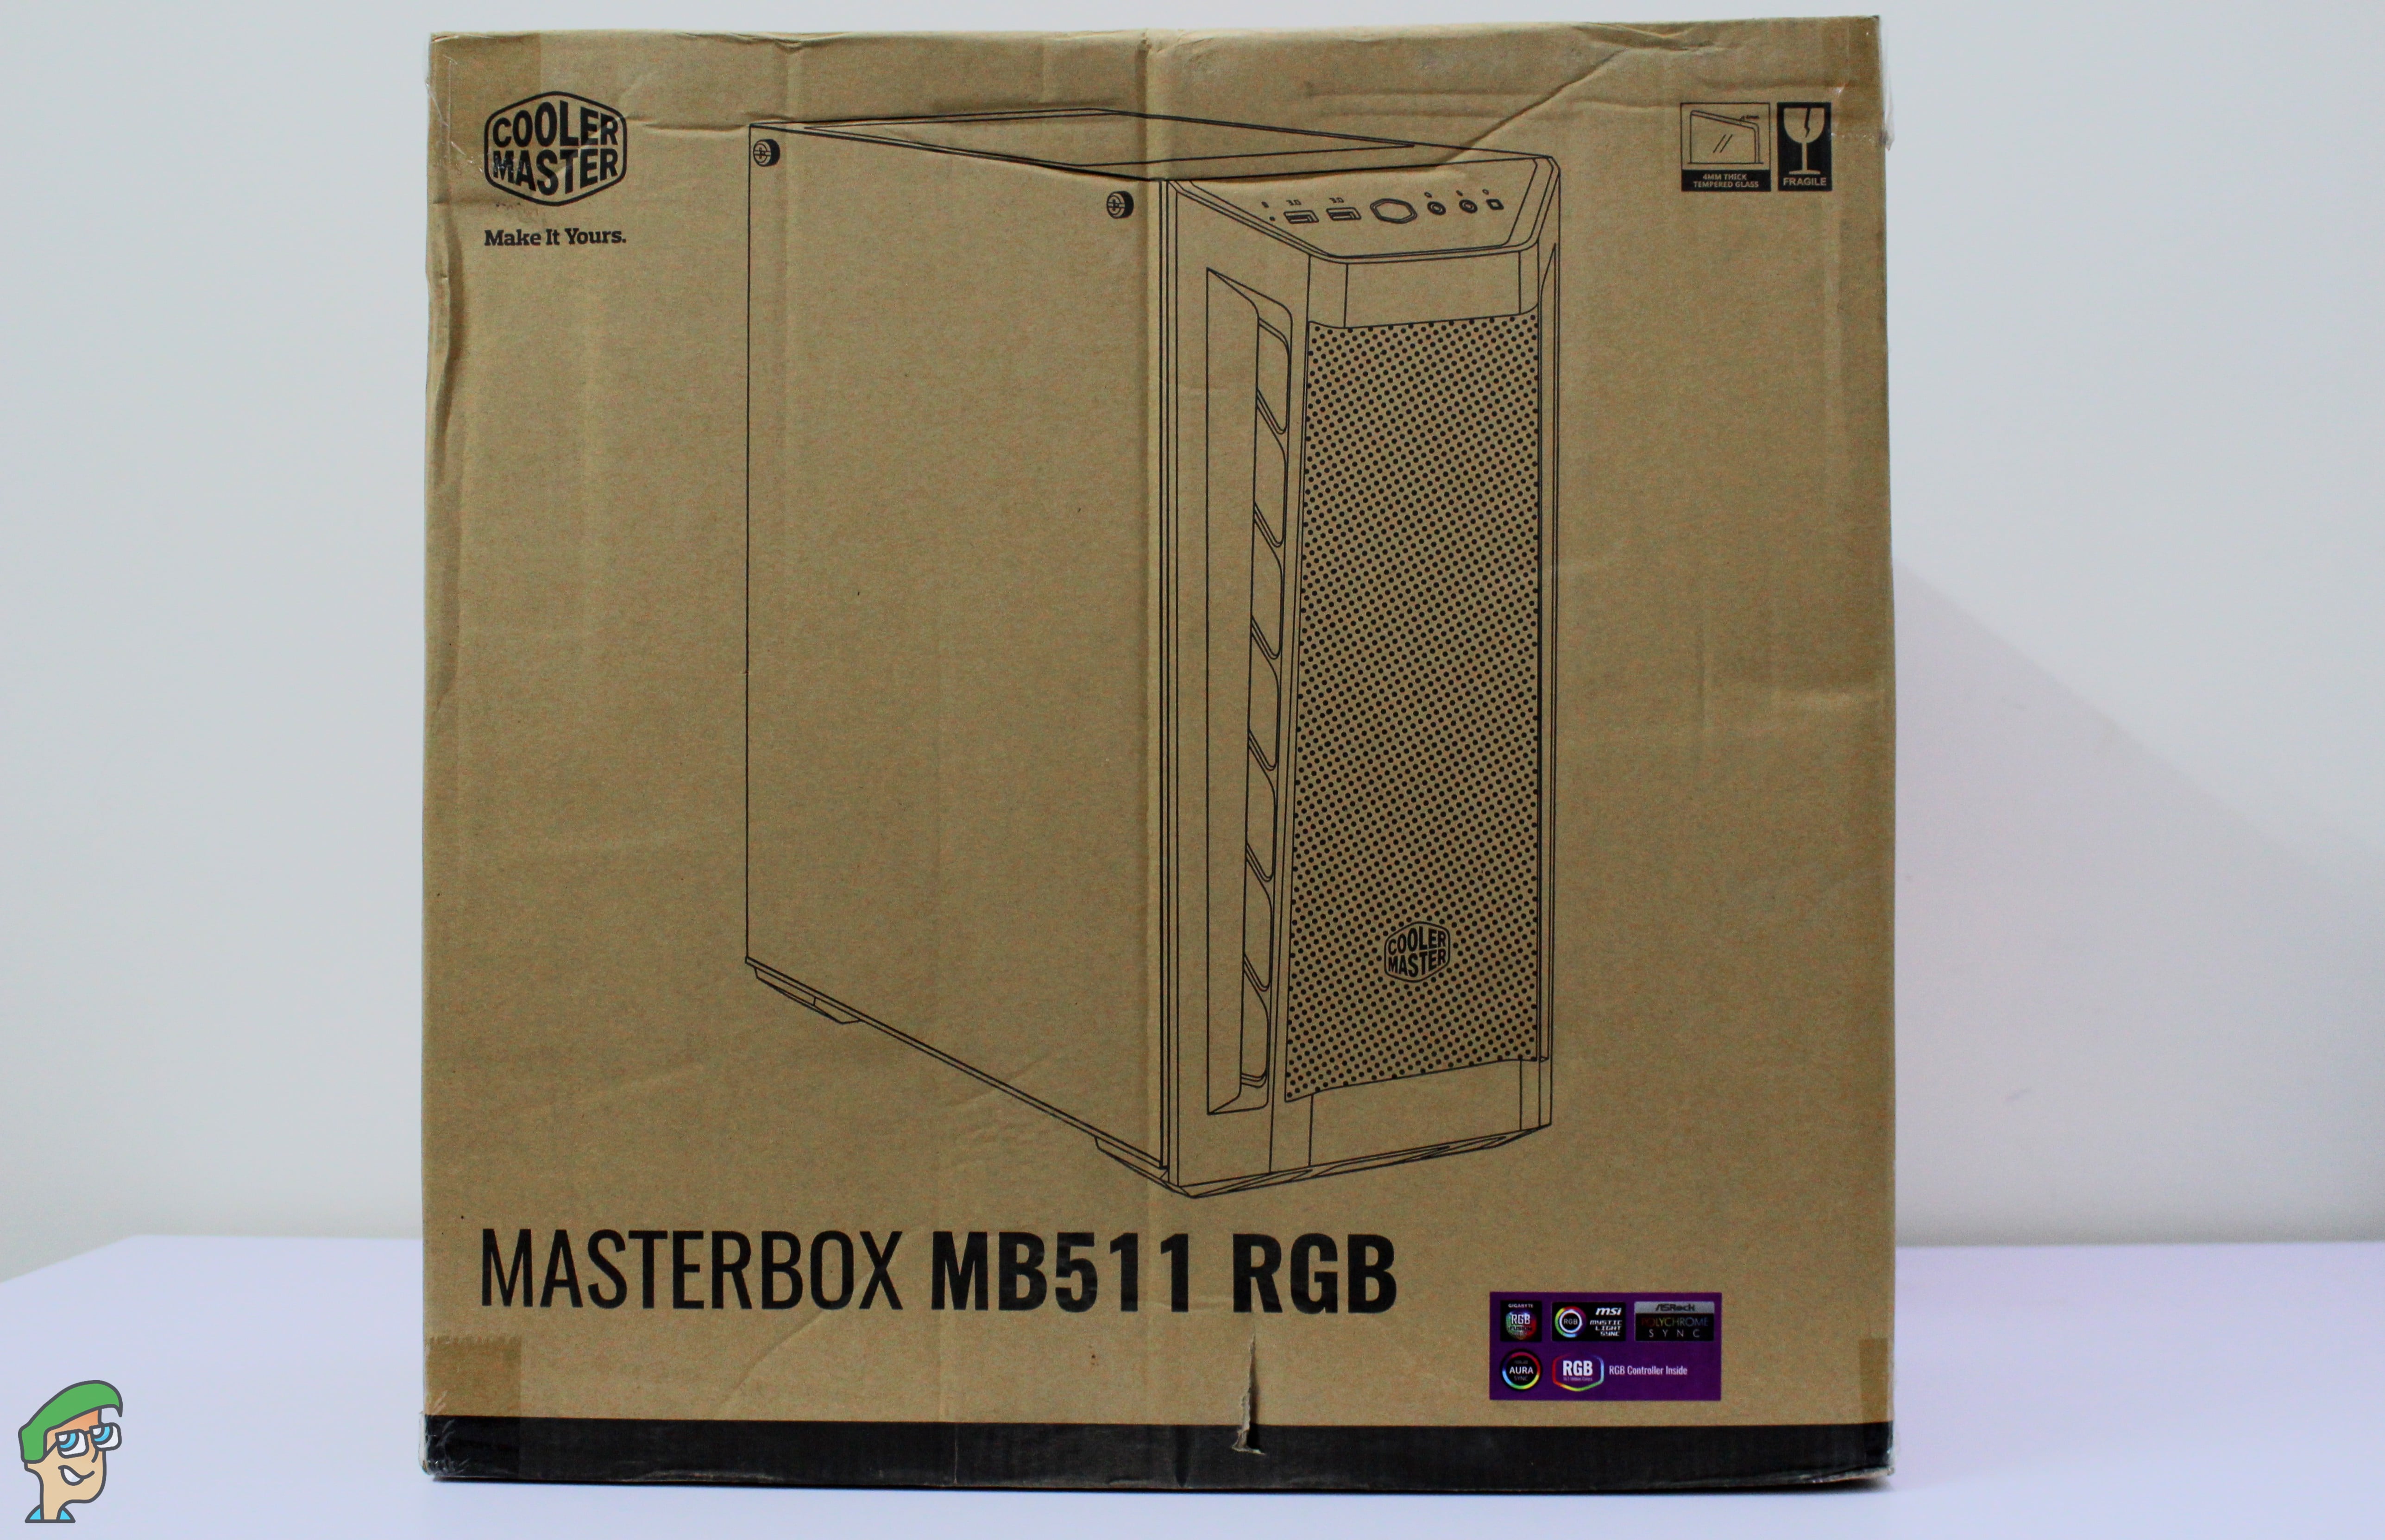
The pre-included RGB fans support a lot of motherboards through the included RGB Controller, such as:
- Gigabyte RGB Fusion
- Asus AURA Sync
- MSI Mystic Light Sync
- ASRock Polychrome Sync
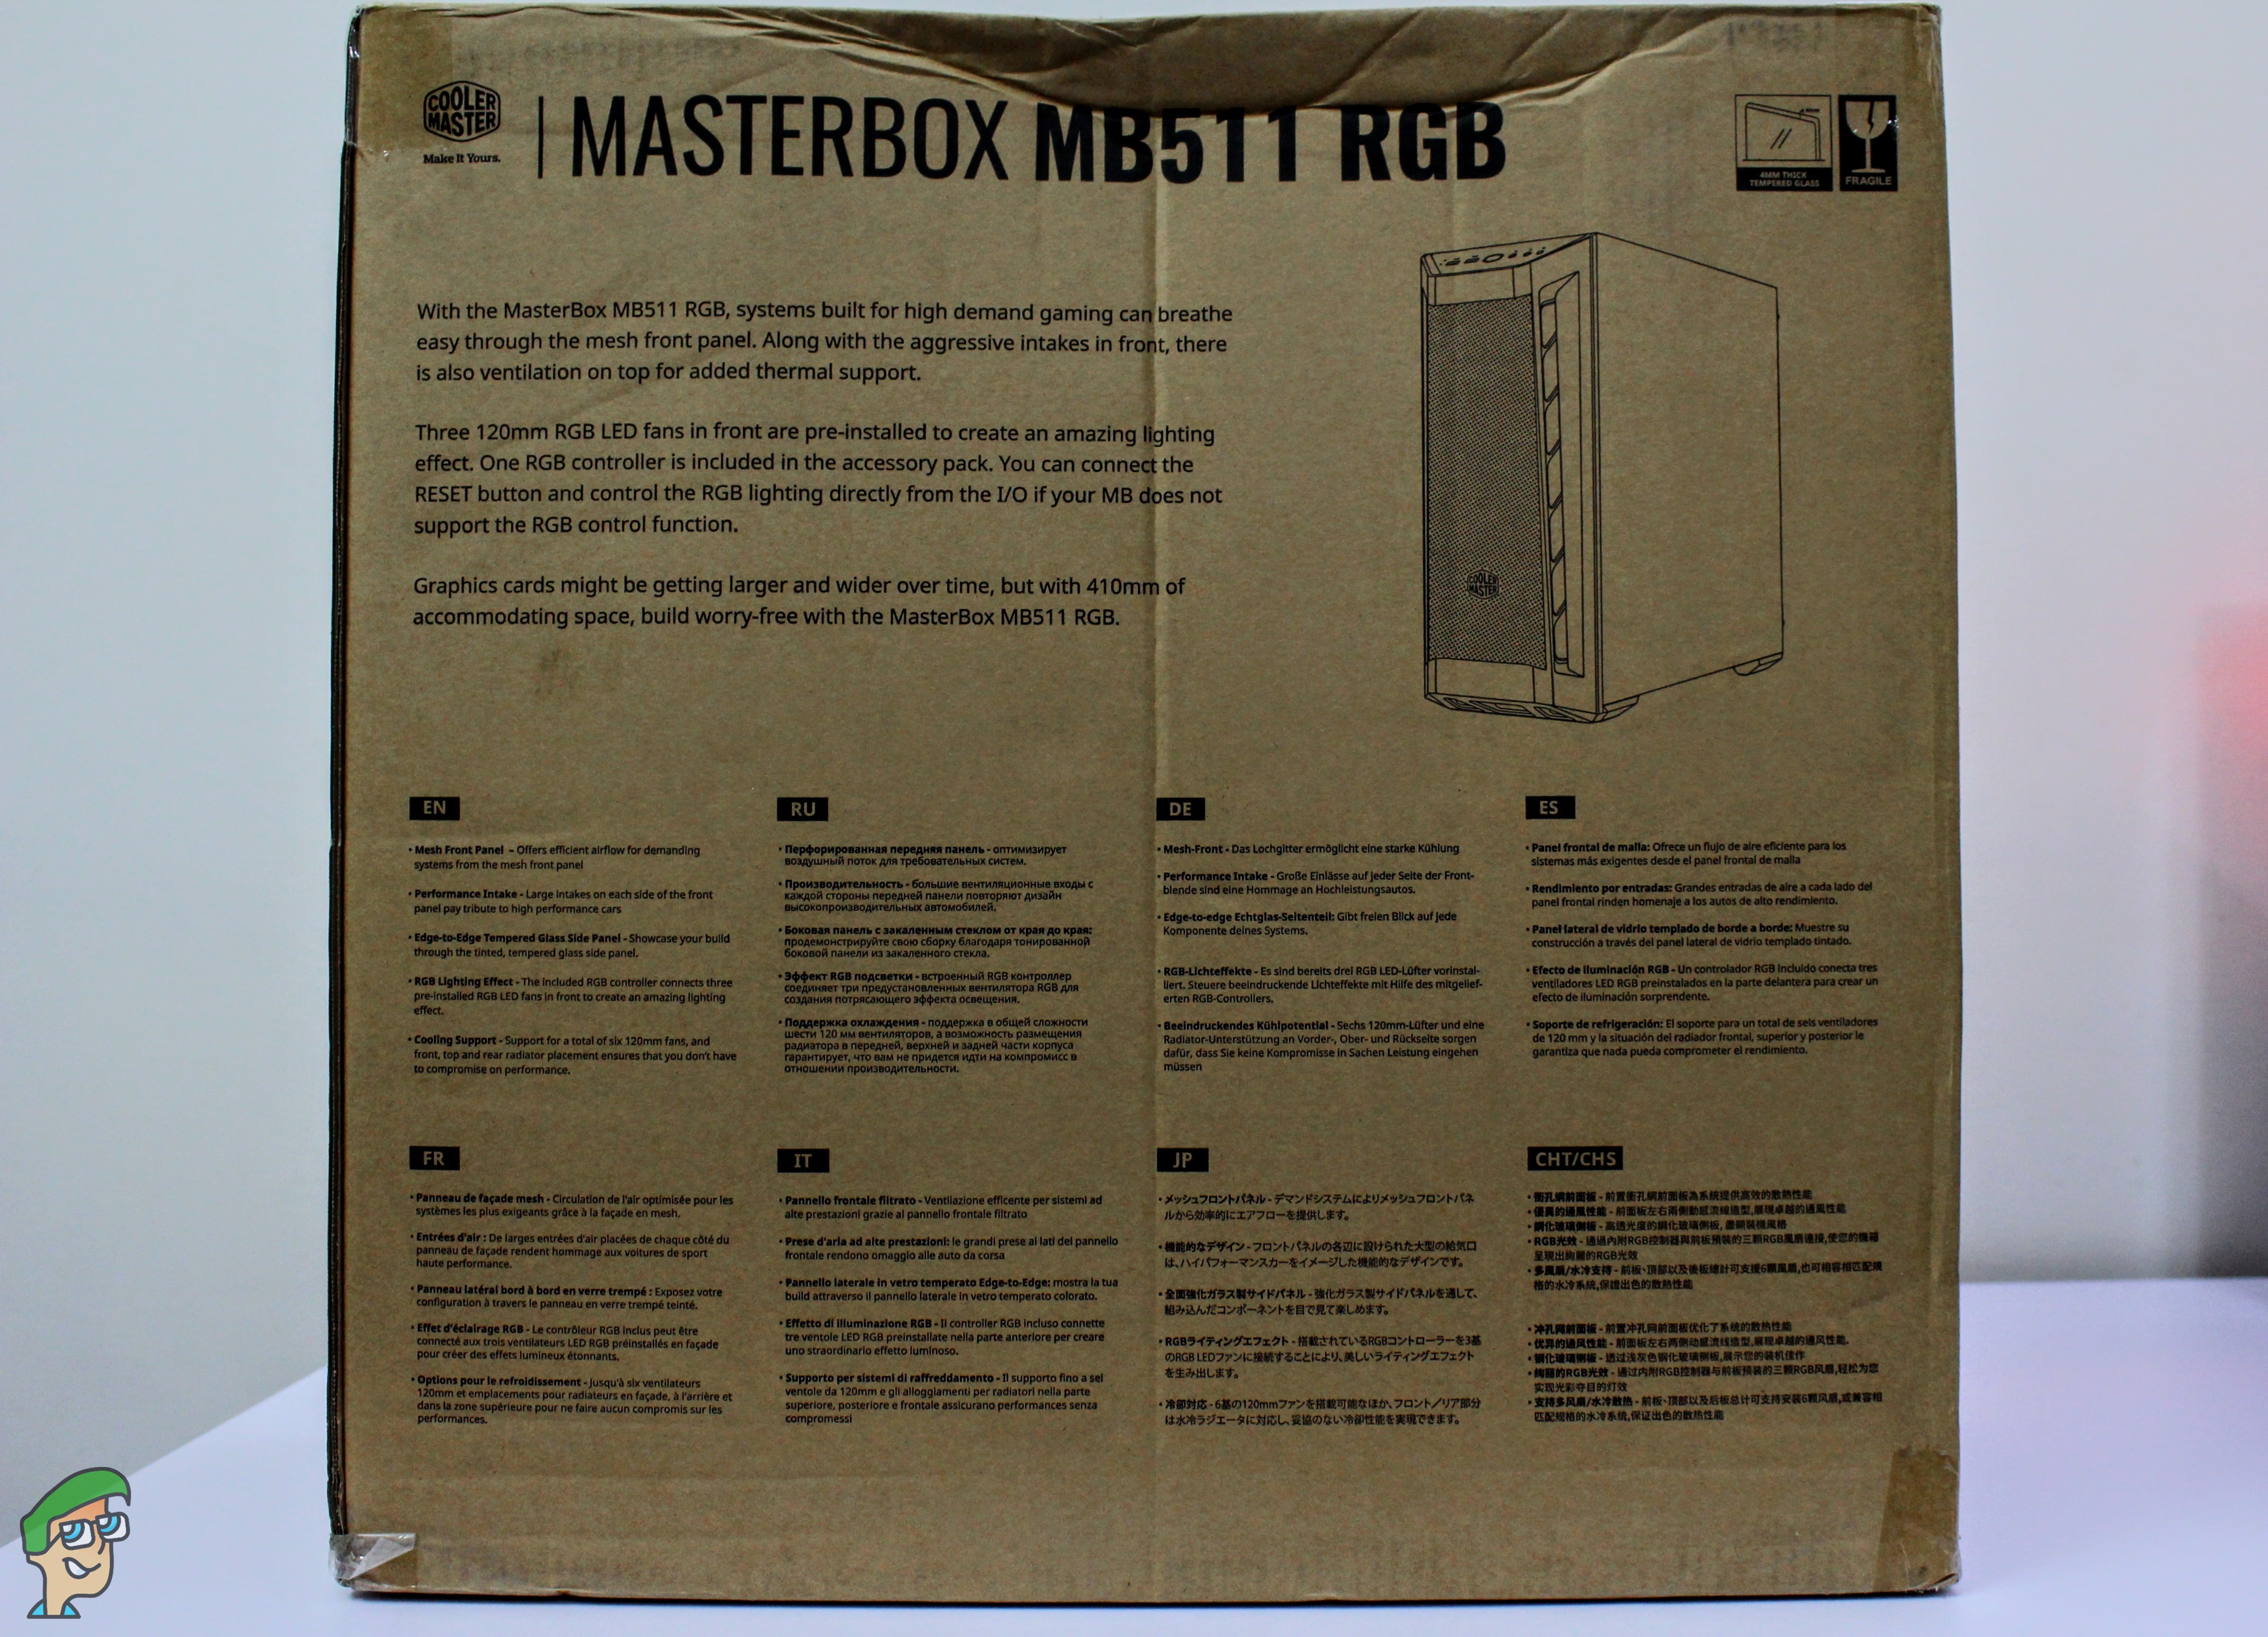
The backside of the box contains brief information about the case’s exclusive features, airflow, intakes, RGB Fans, Controller and 410MM support for GPUs.
Inside the box, the case sits firmly in the styrofoam packing. The tempered glass is less likely to be damaged during shipping or transit.
Overall, case unboxings are boring and simple and the MB511’s unboxing experience is no exception.
Closer Look – External
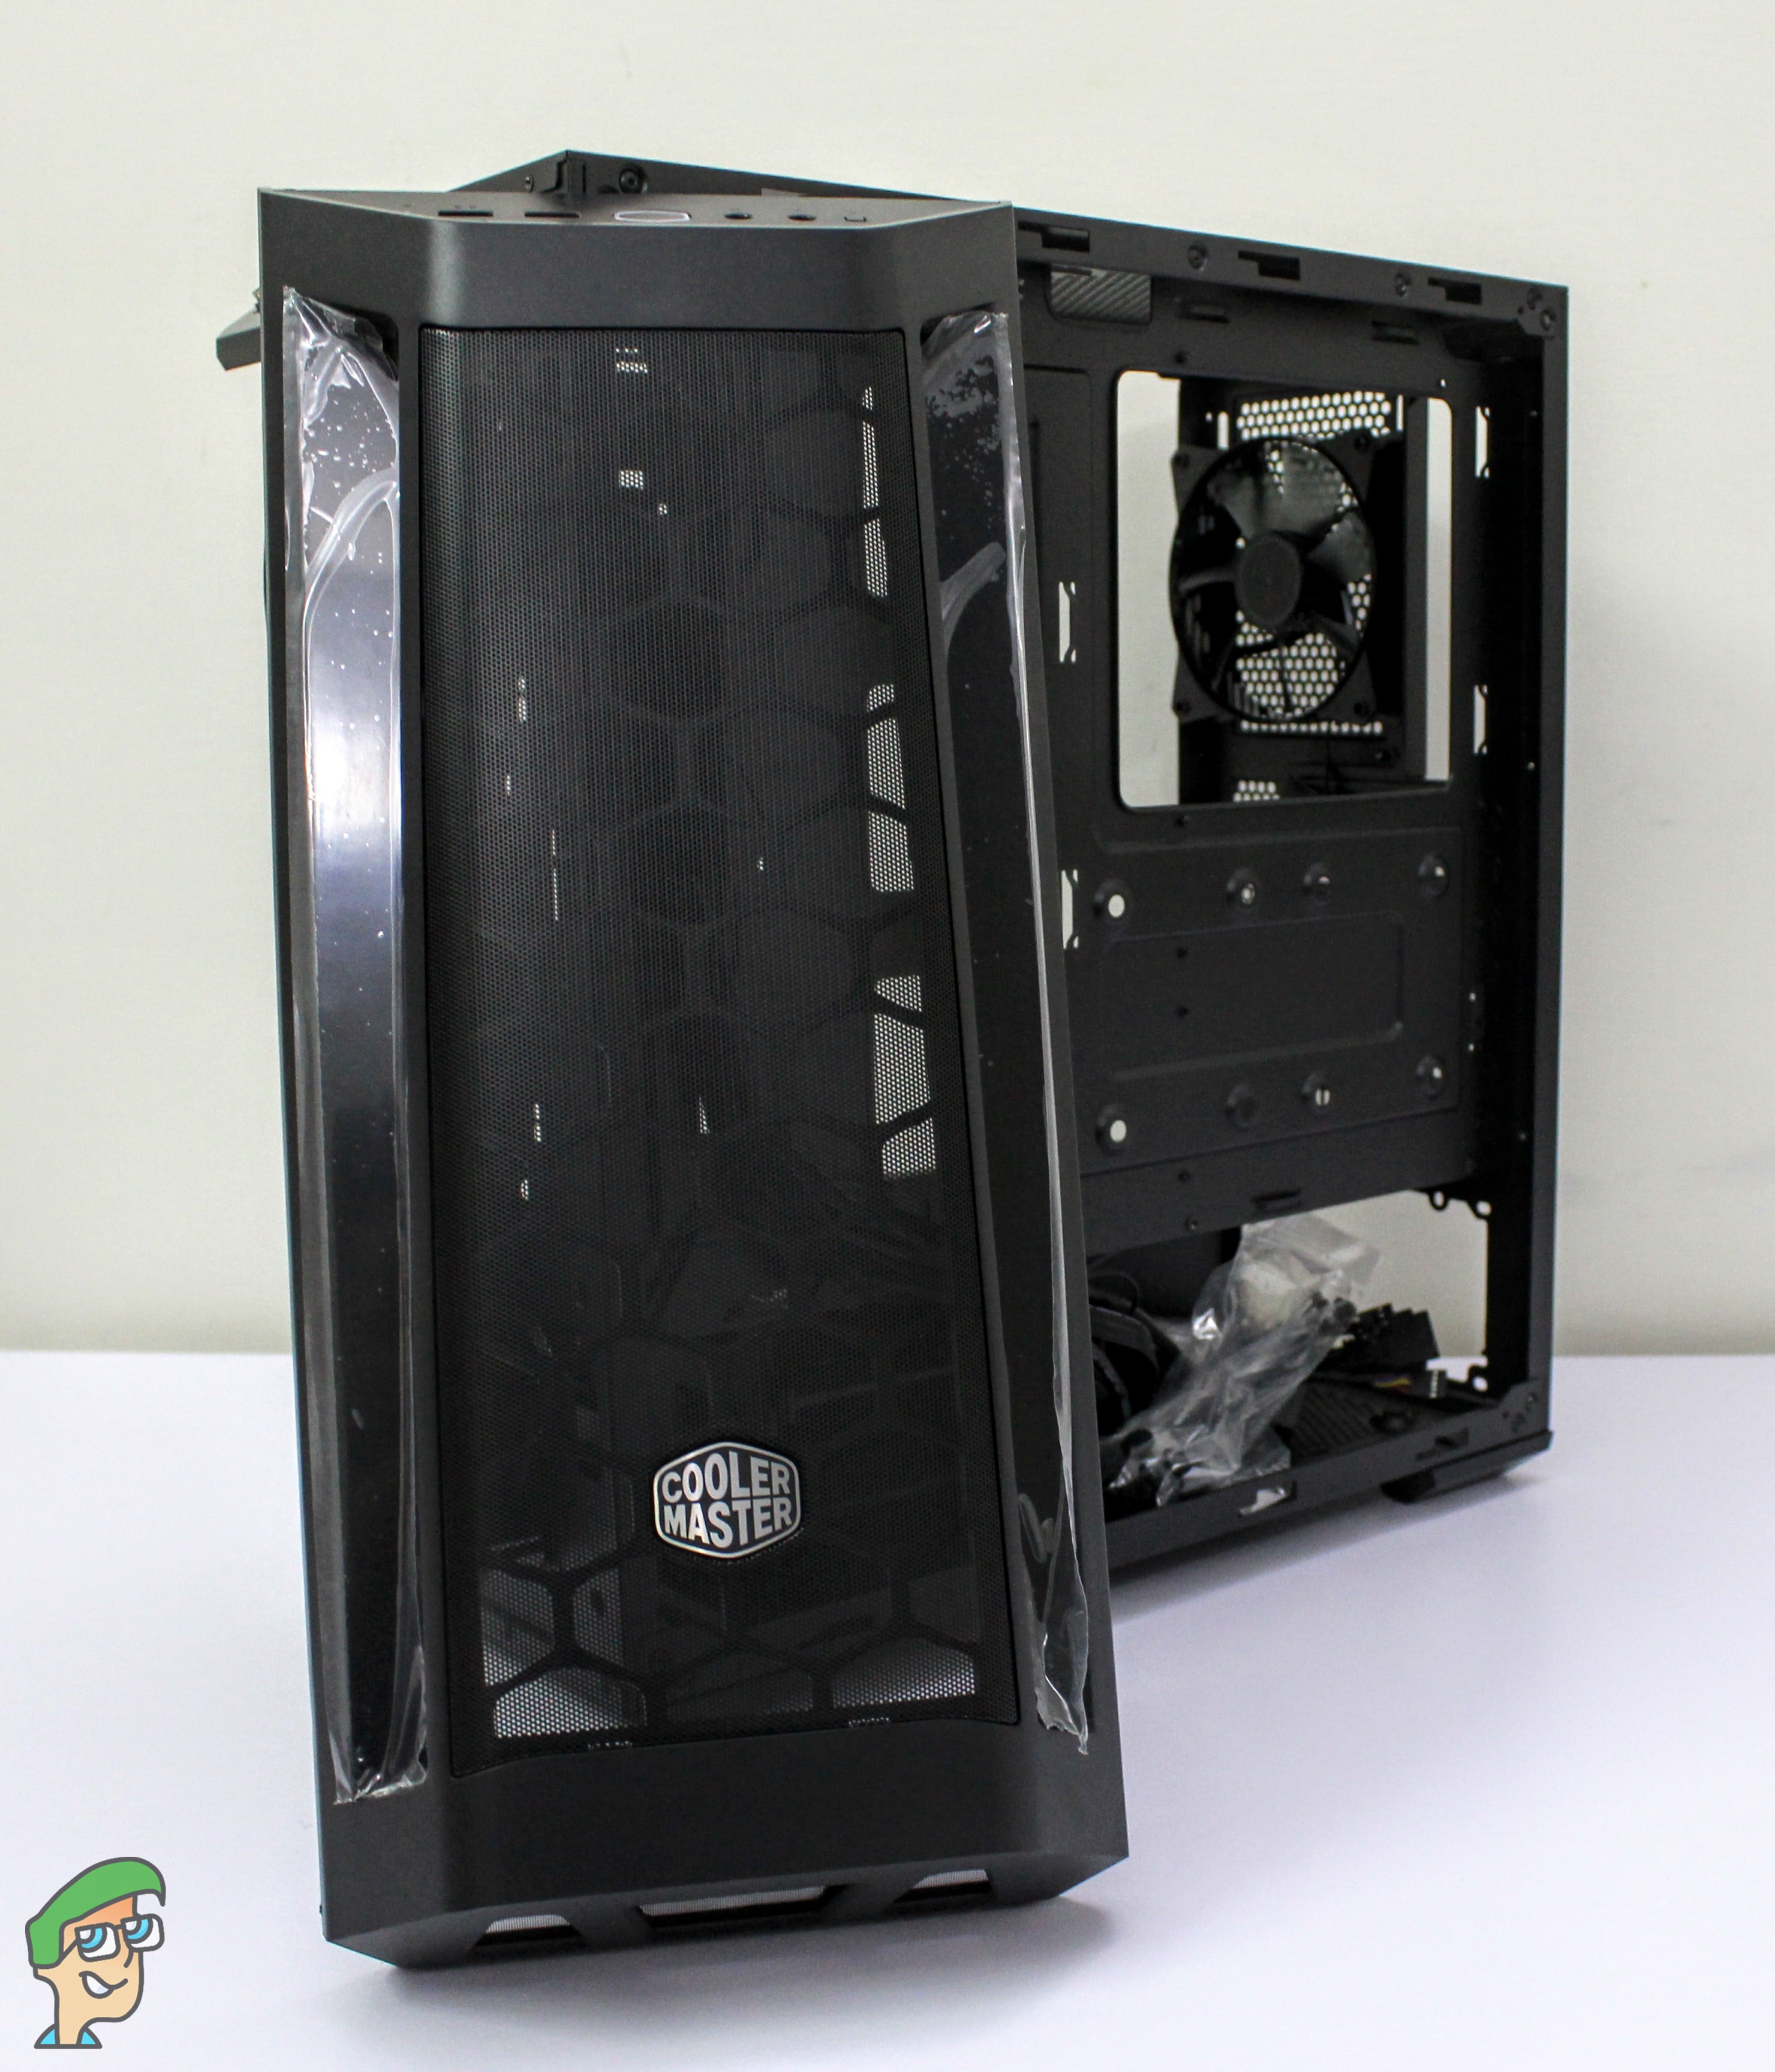
Taking the case out of the box, the first thing I noticed was the weight of the case. Even though, it comes with tempered glass the case is pretty light. Now, this triggered my sixth-sense and I instantly started checking the construction and material quality of the MB511. To my surprise, the build quality feels solid and robust. I didn’t find any sharp edges, flimsy metal supports whatsoever.
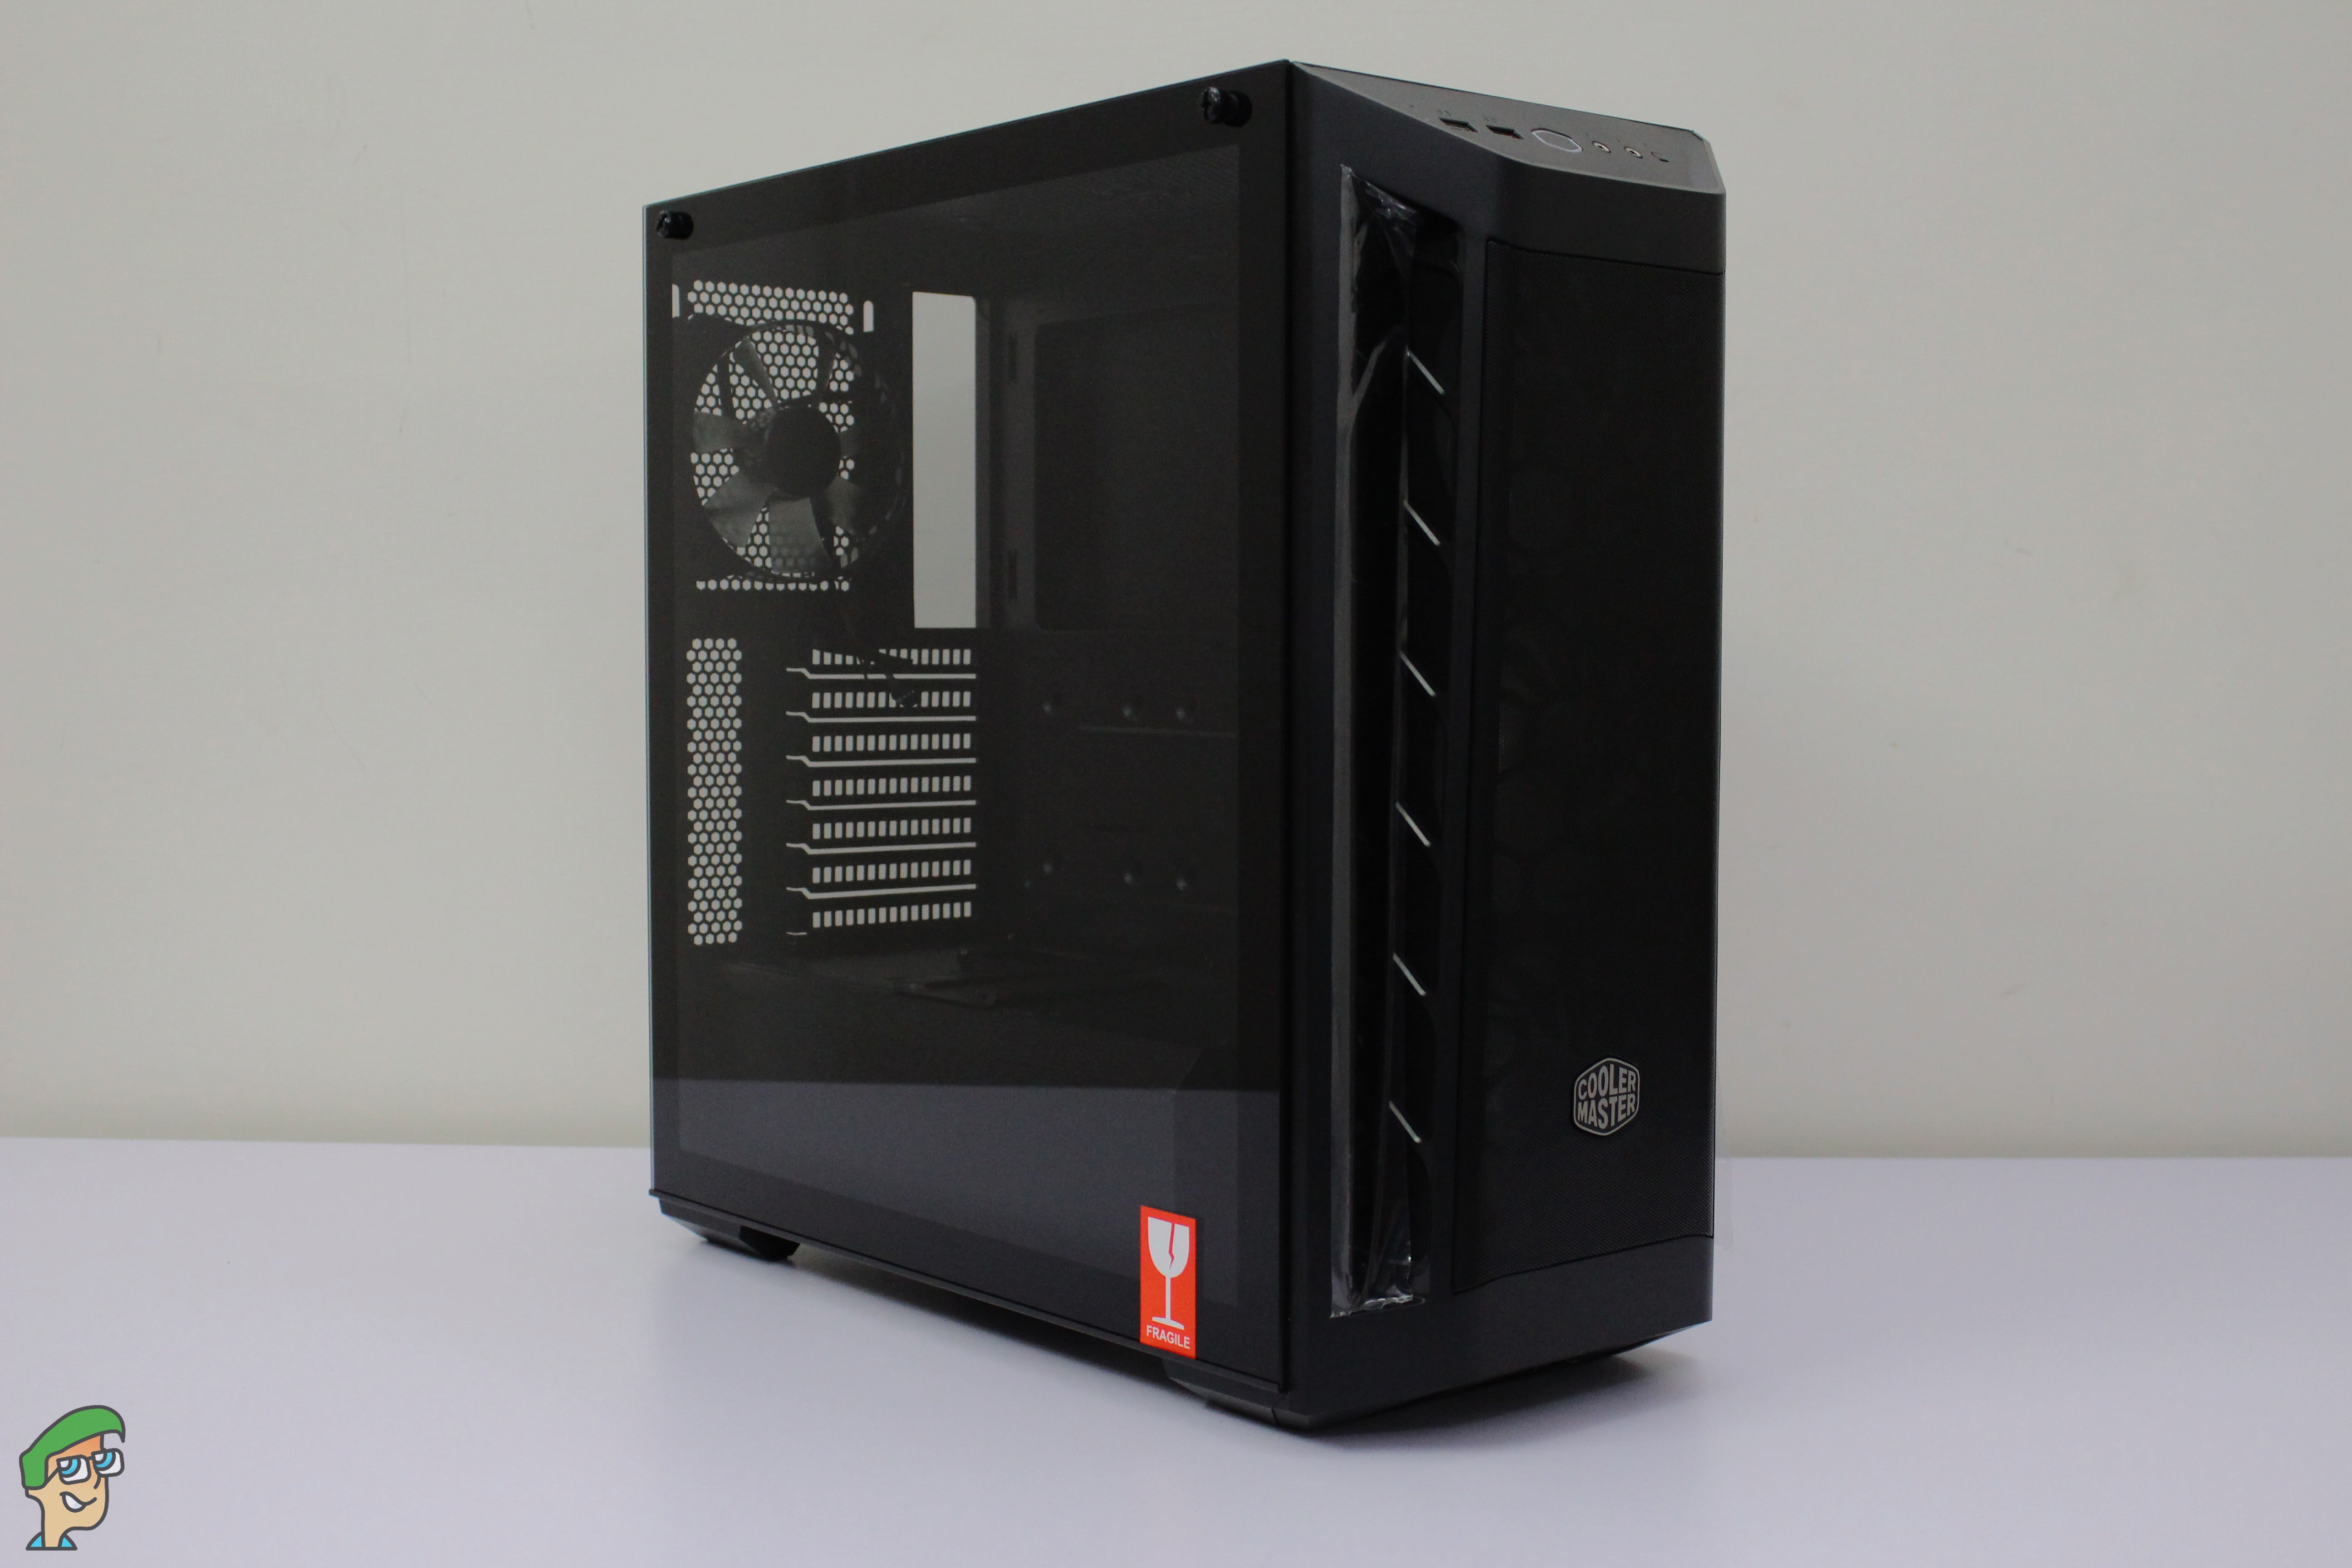
The second prominent thing you are going to notice is the massive honeycomb front mesh panel which is made out of a strong metal-mesh while the side intakes are made out of soft metal net-type material that gets pretty dusty quite frequently.
I had to clean the side intakes every 3 to 4 days to remove the dust. But people who live in a humid climate aren’t going to face this issue. Dusty weather conditions are bad for almost any type of case and unfortunately where I live, the dust never goes away.
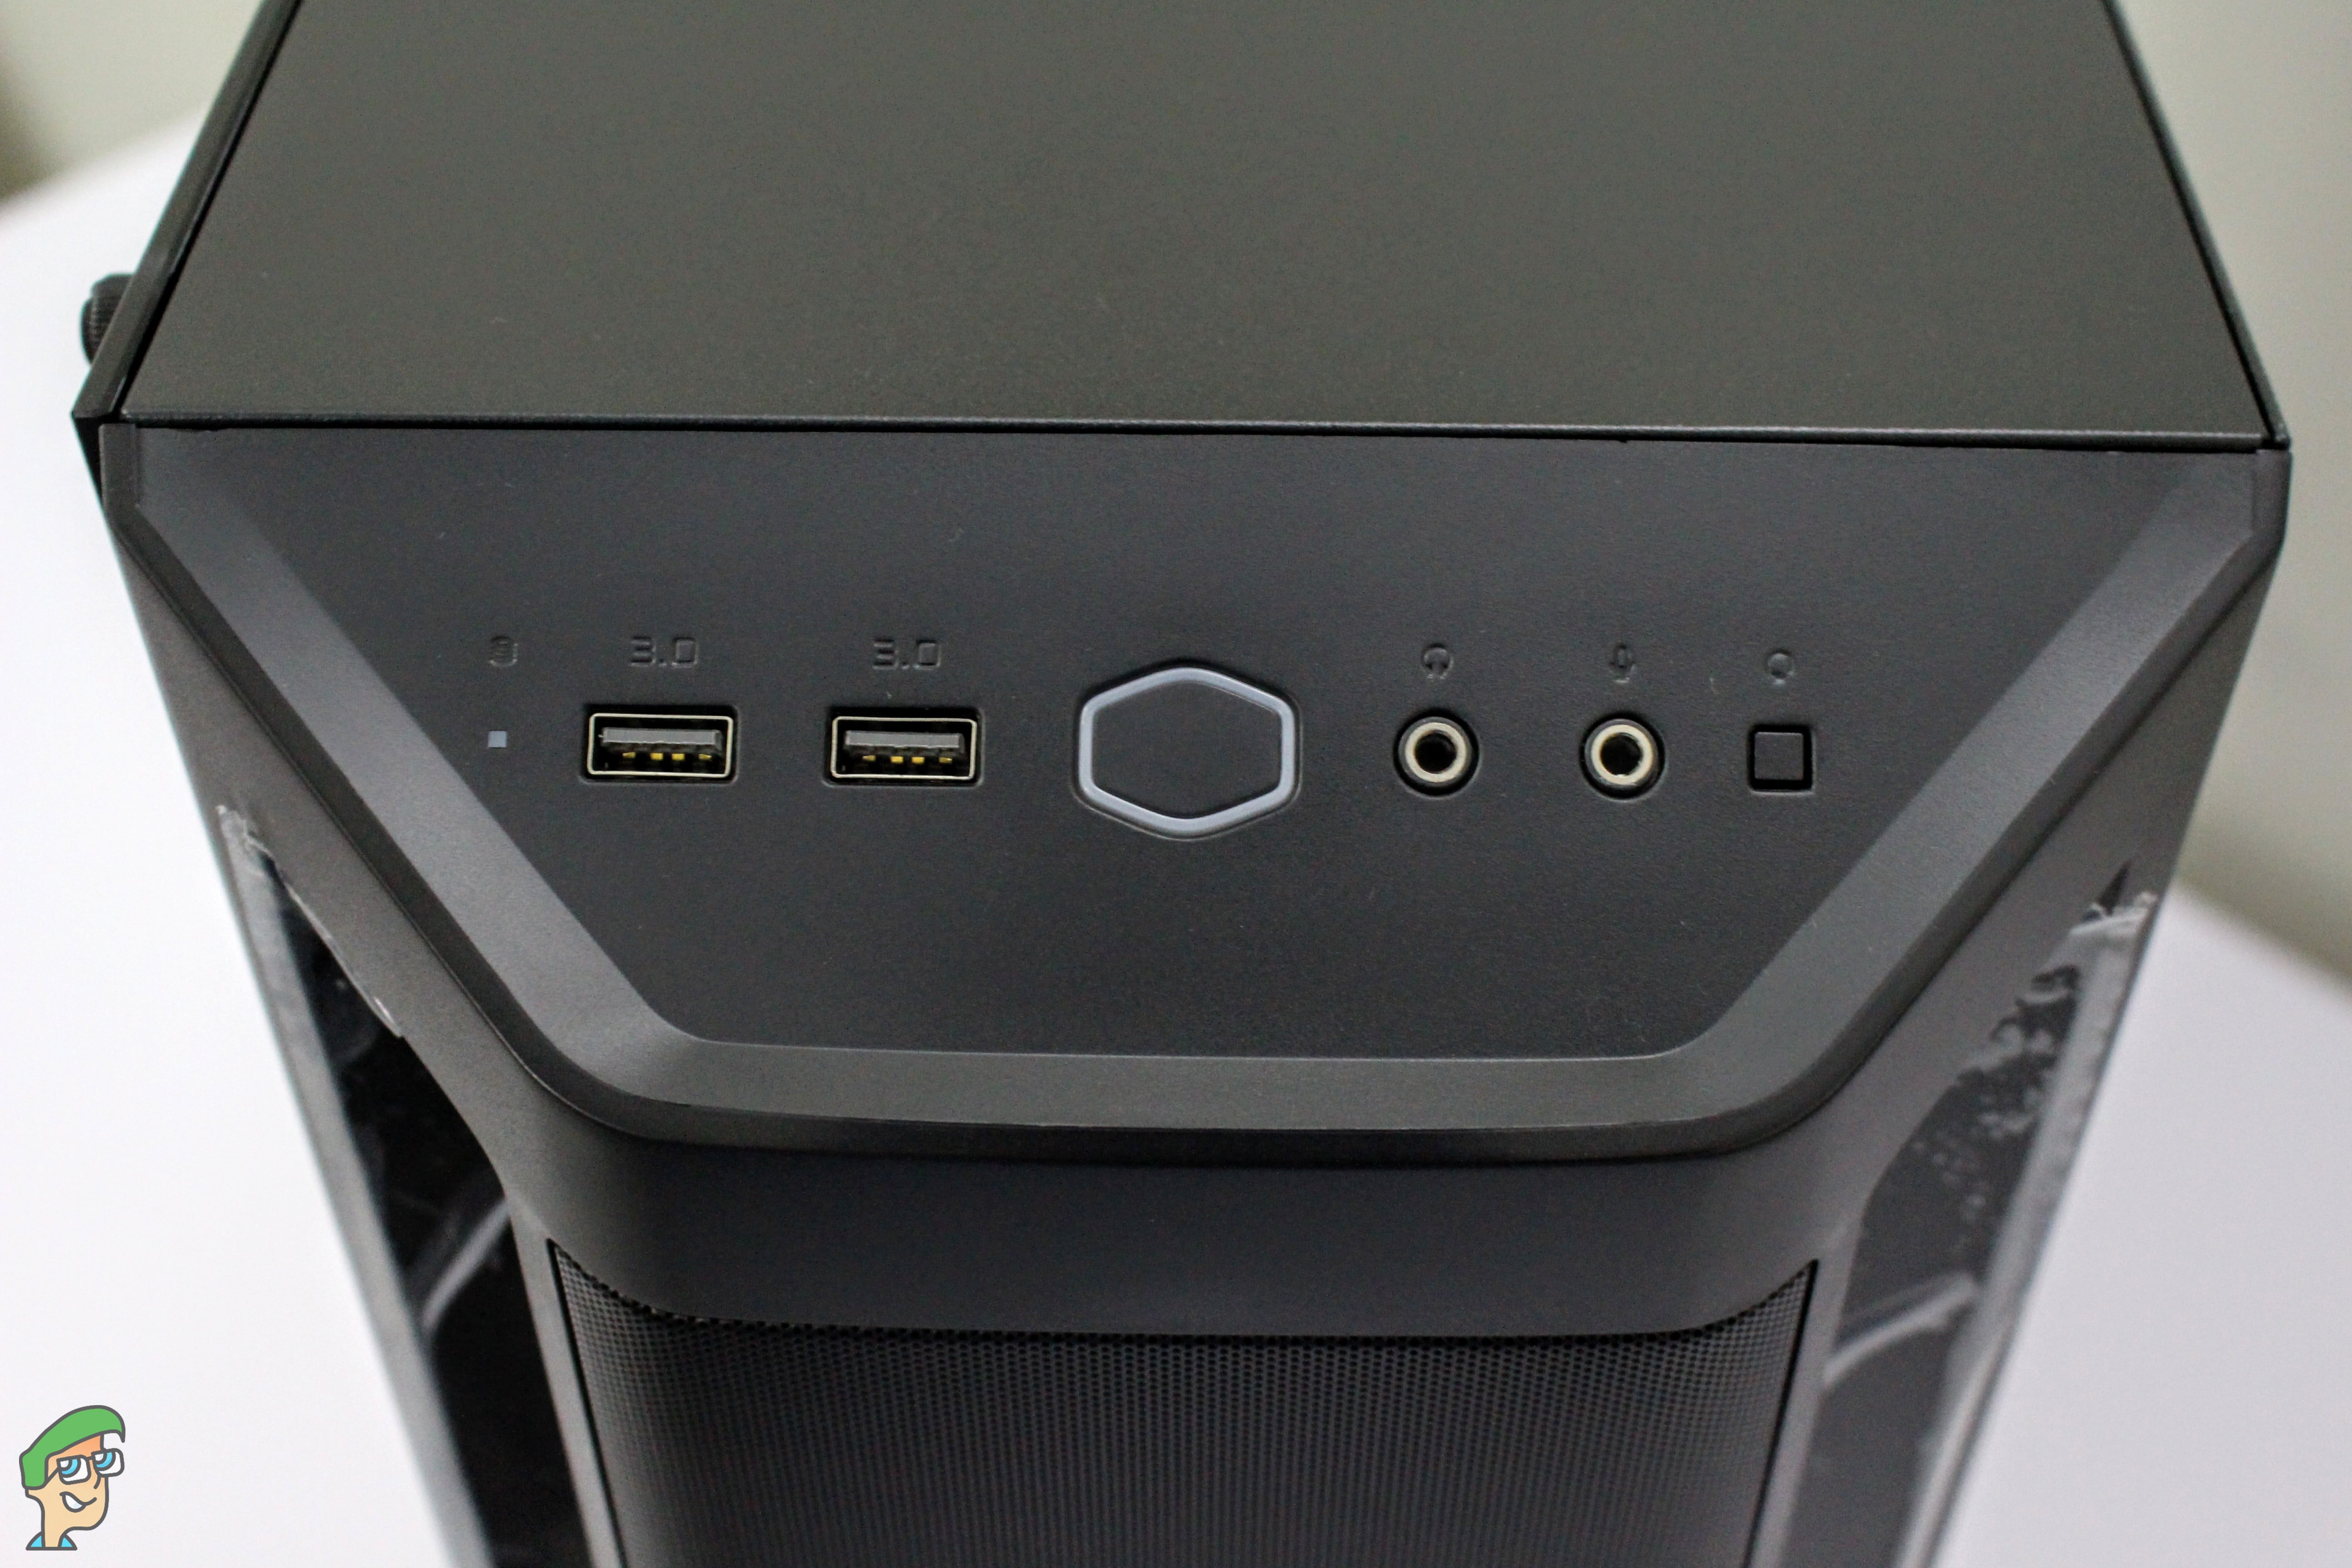
Moving on to the upper side of the case, there’s a magnetic dust filter for the top-mounted fans/radiators. At the front side, the I/O sports the following connectors/inputs.
- 2x USB 3.0 Ports
- A Back-Lit Power Button
- Headphone Jack
- Microphone Jack
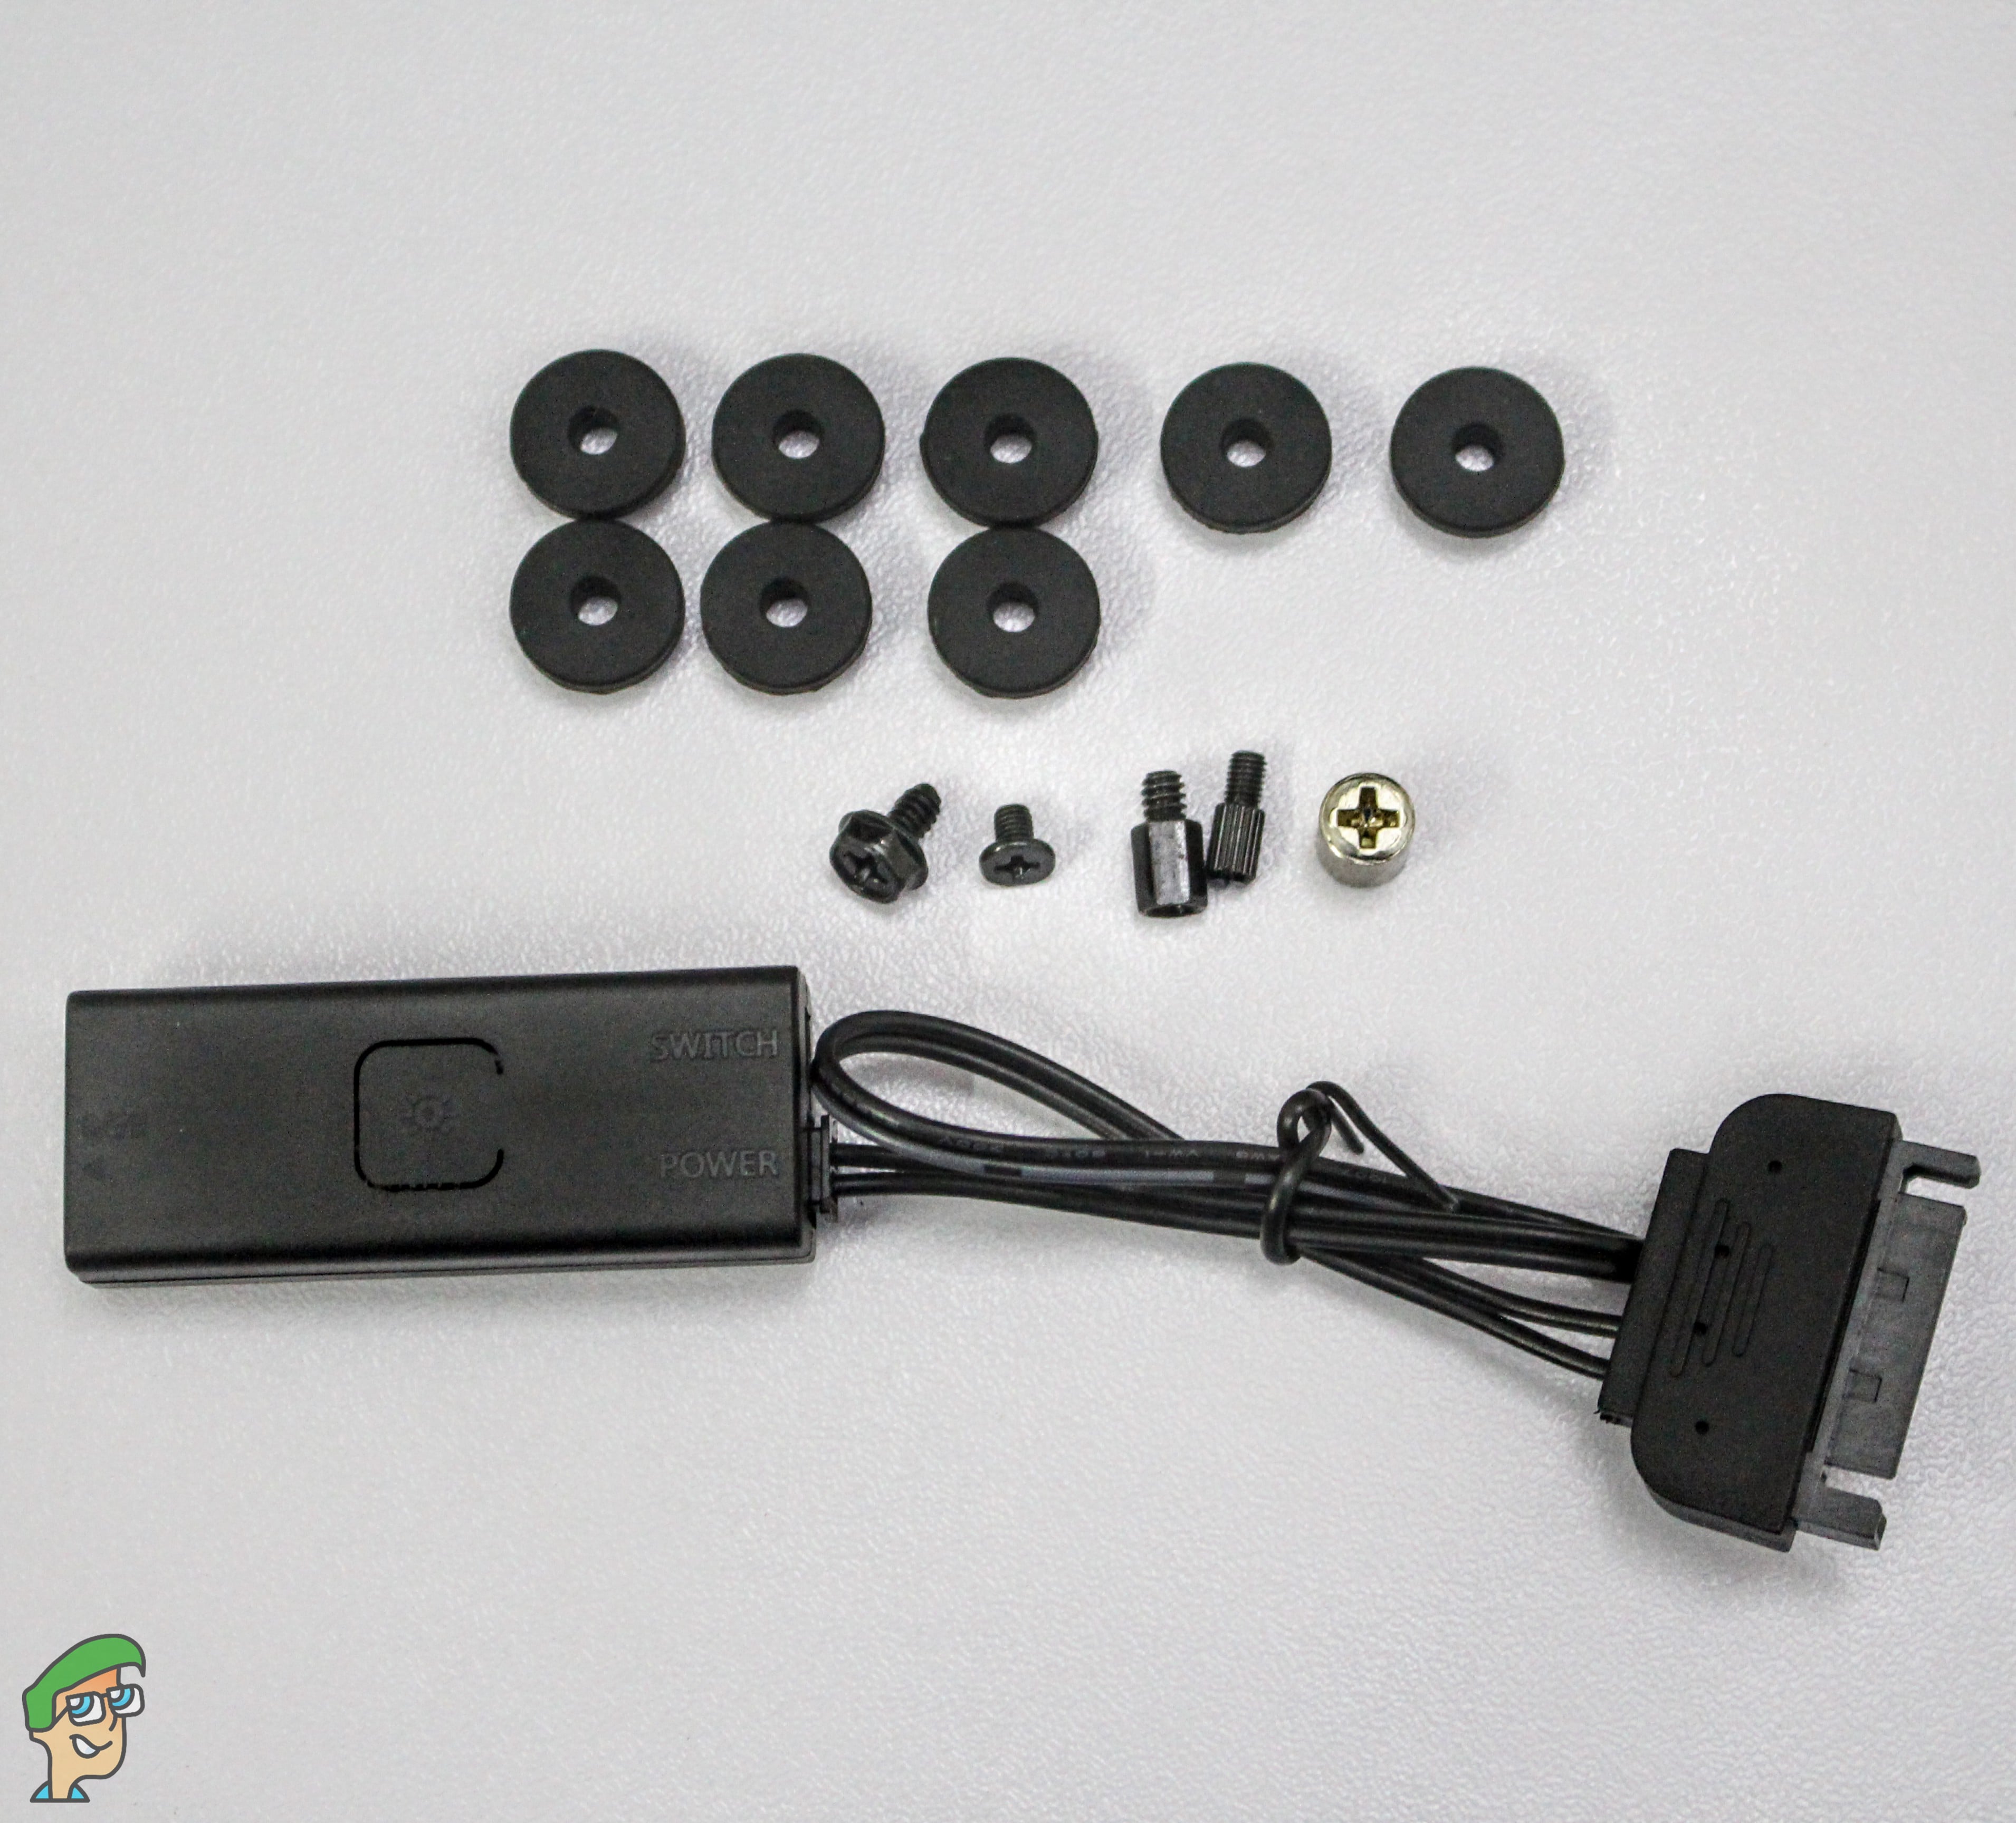
- A reset button. (Can work as RGB switch as if you don’t have an RGB connector on your motherboard)
At this point, looking at the price tag of the case, I wouldn’t complain about the missing USB Type-C or any other fancy input in the I/O. The I/O has adequate options and is on par with all of its direct competitors.
Lastly, at first glance, I noticed the implementation of the Tempered Glass CM went with. The glass is held with a proper metal base from the bottom and secured with two thumbscrews at the top. Unlike many other tempered glass cases, This is actually a great approach because securing the glass with 4 thumbscrews is a hassle, sometimes when you’re trying to align the glass with the four holes there’s risk of breaking it, but with Cooler Master’s implementation of the metal bar support in the bottom of the glass, you are surely going to take the glass on and off with utmost confidence.
Internals
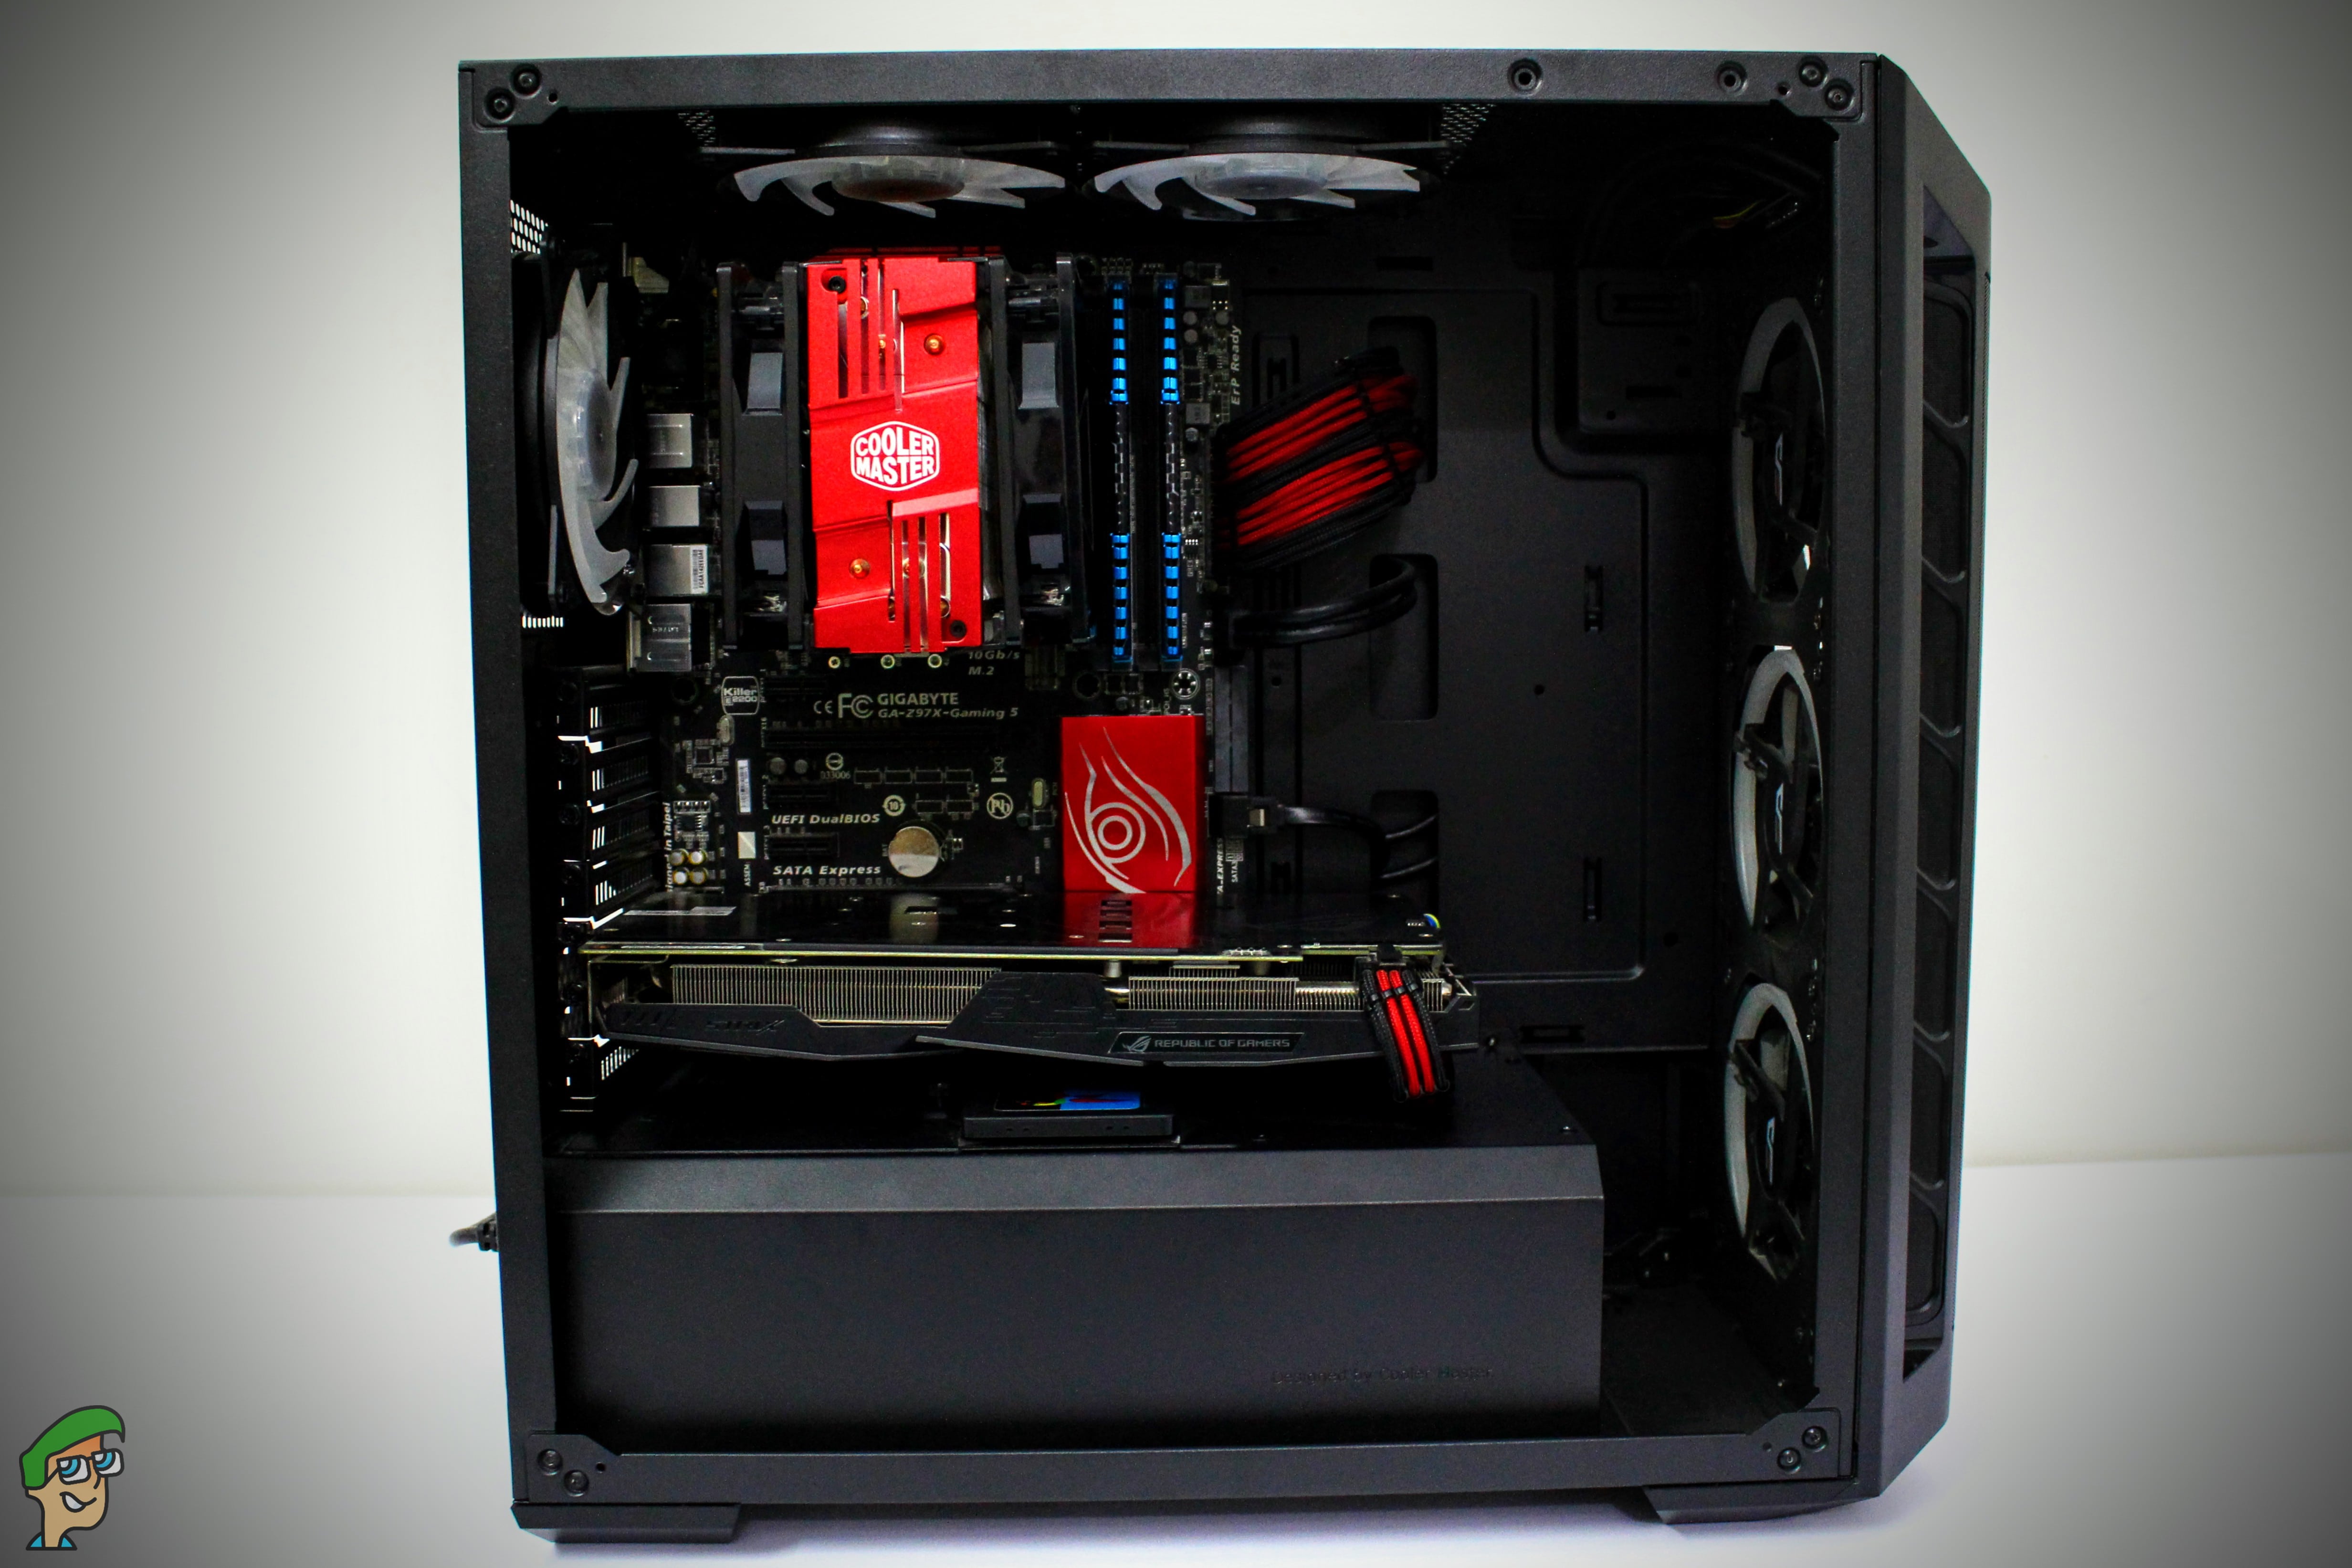
Stripping off the MB511 to take a look at its naked form is a blissful experience. I was pleased by the nice and firm build quality of the chassis throughout the whole stripping procedure. The all matte-black interior looks nice.
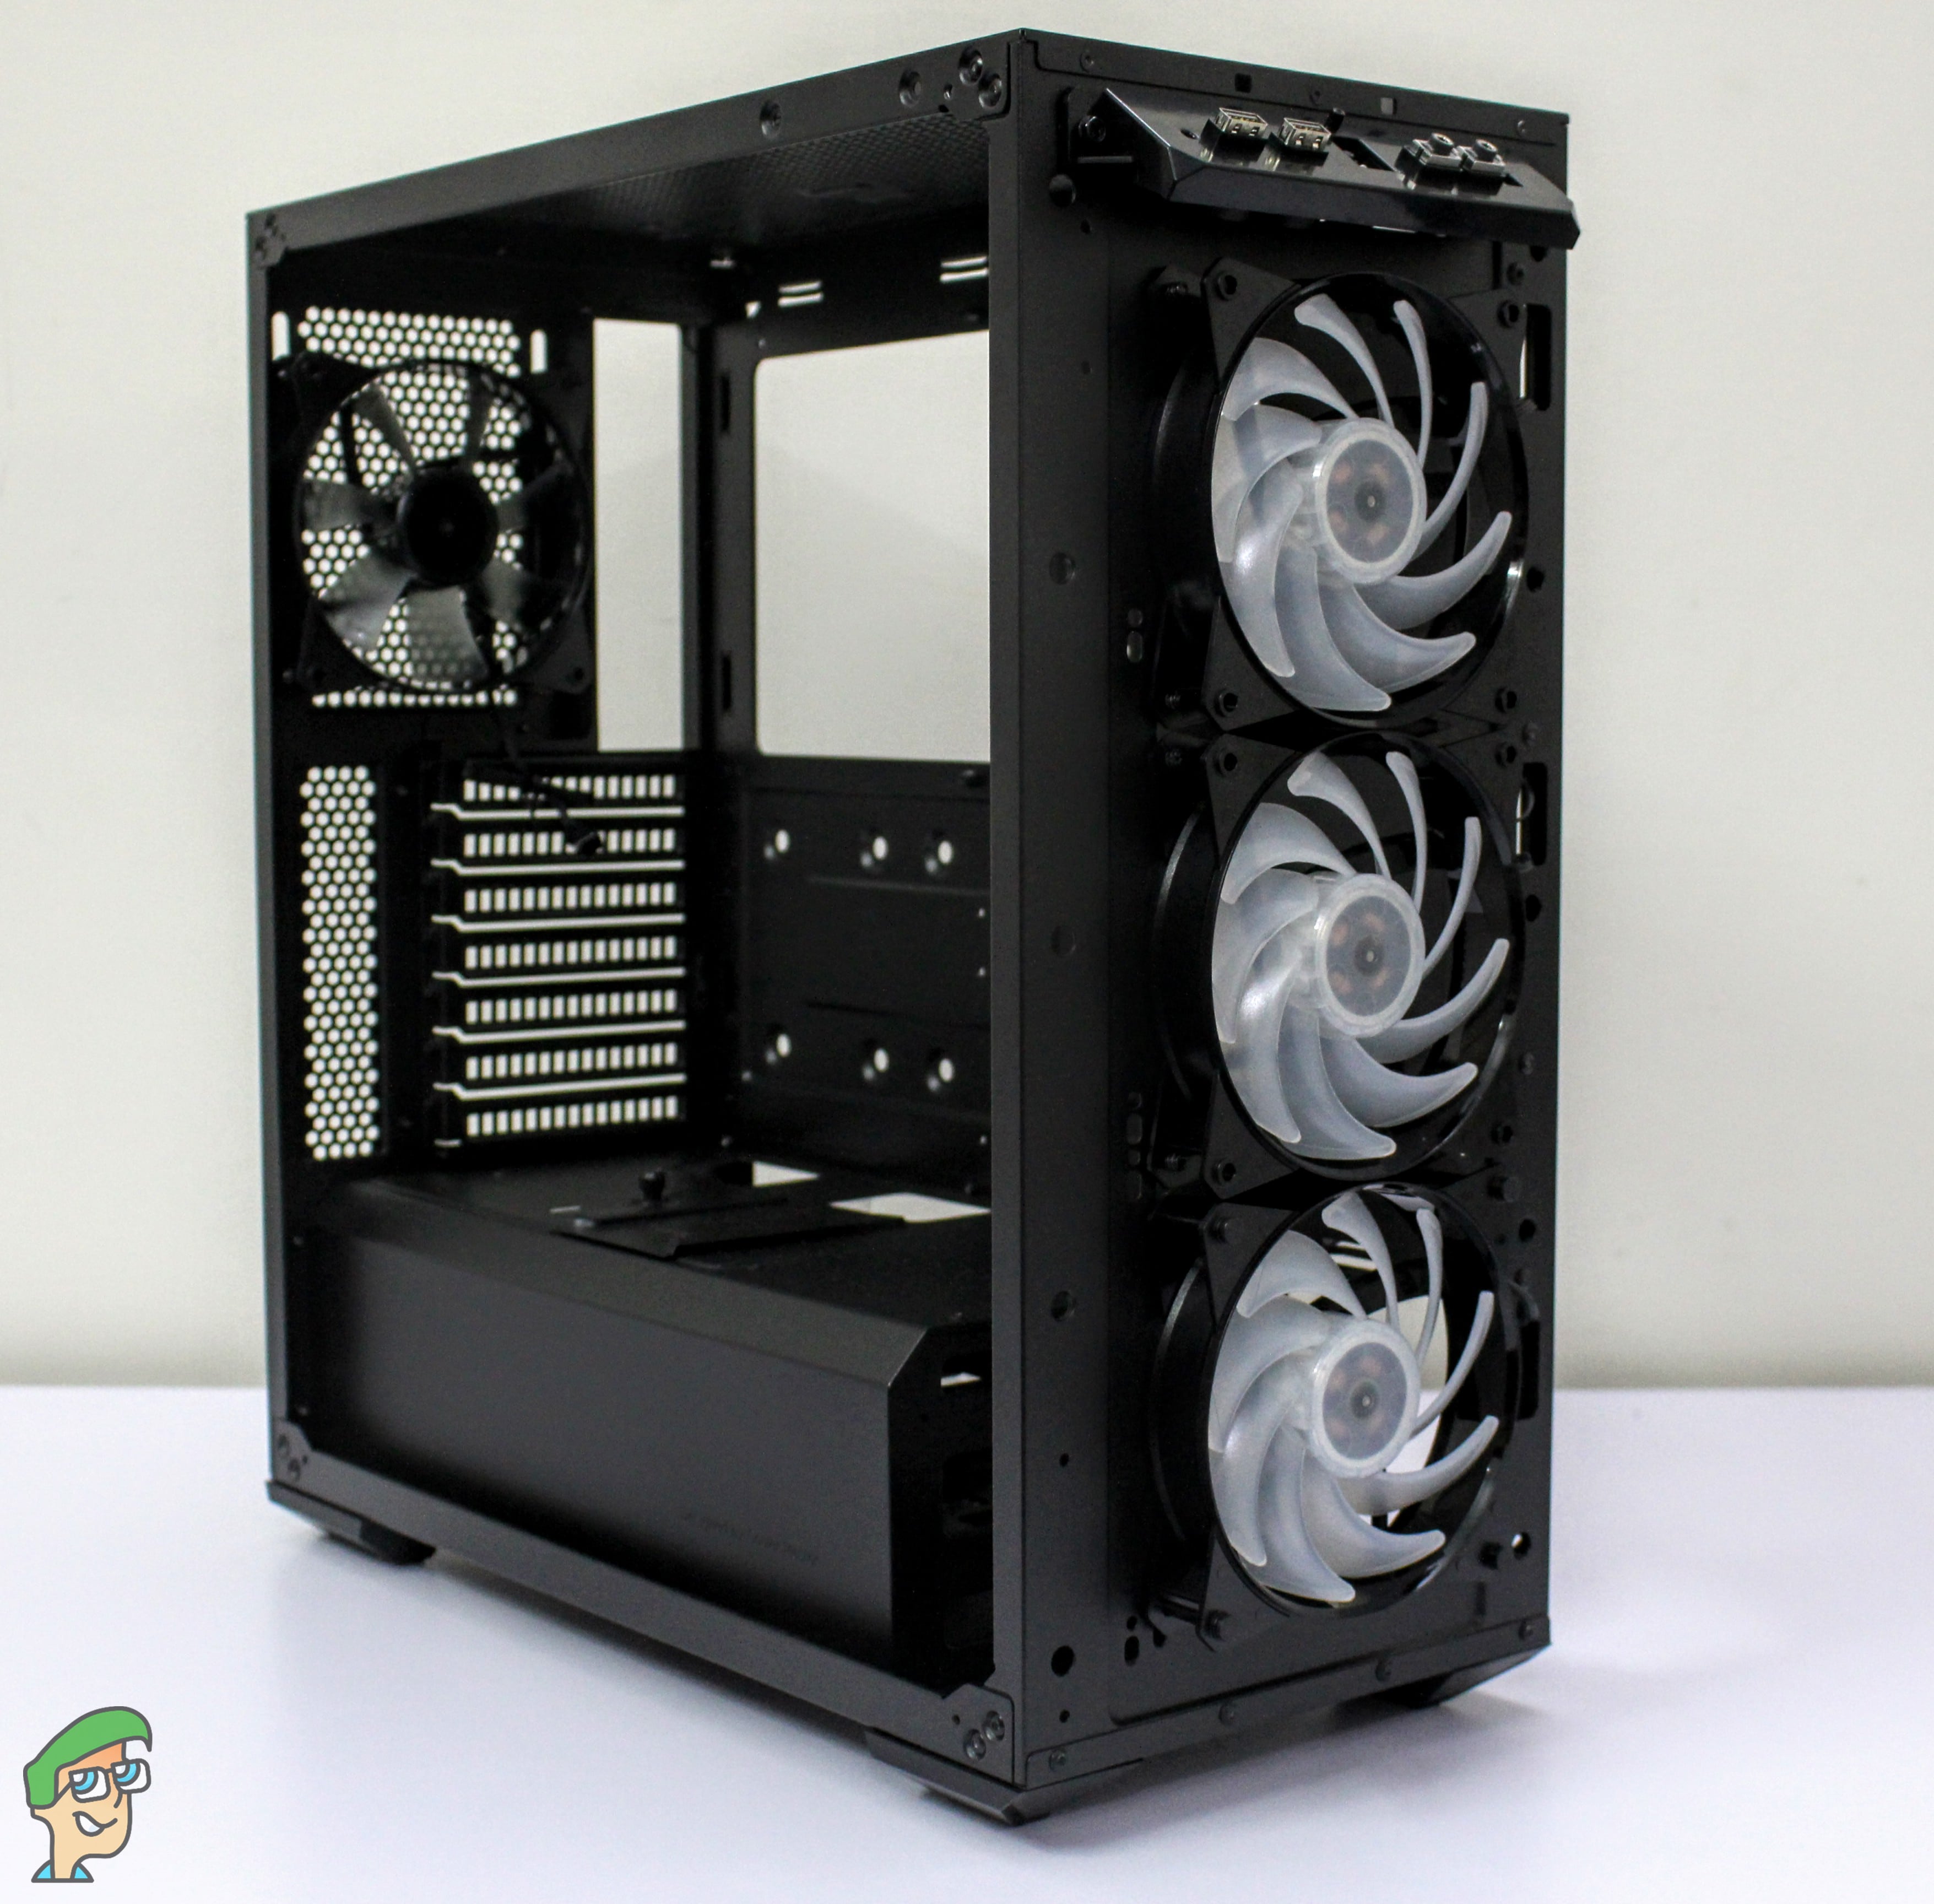
The case supports ATX, Micro ATX, and Mini ITX motherboards. In terms of support and compatibility, we have seven expansion slots and the radiator support for AIO or custom water cooling is as follows:
- Front: Three 120mm or two 140mm fans and up to a 360mm radiator with a maximum thickness of 50mm without fans.
- Top: Two 120mm or two 140mm fans and supports a 120mm or a 240mm radiator.
- Rear: One 120mm fan or radiator.
Included Fans:
3x Intake RGB LED Fans
1x Exhaust Fan (Non-RGB)
There’s plenty of space available at the front side even if you plan to do a dual-fan setup with your AIO. However, dual fan setup is not possible if you plan to mount your radiator on the top vent, so keep this in mind.
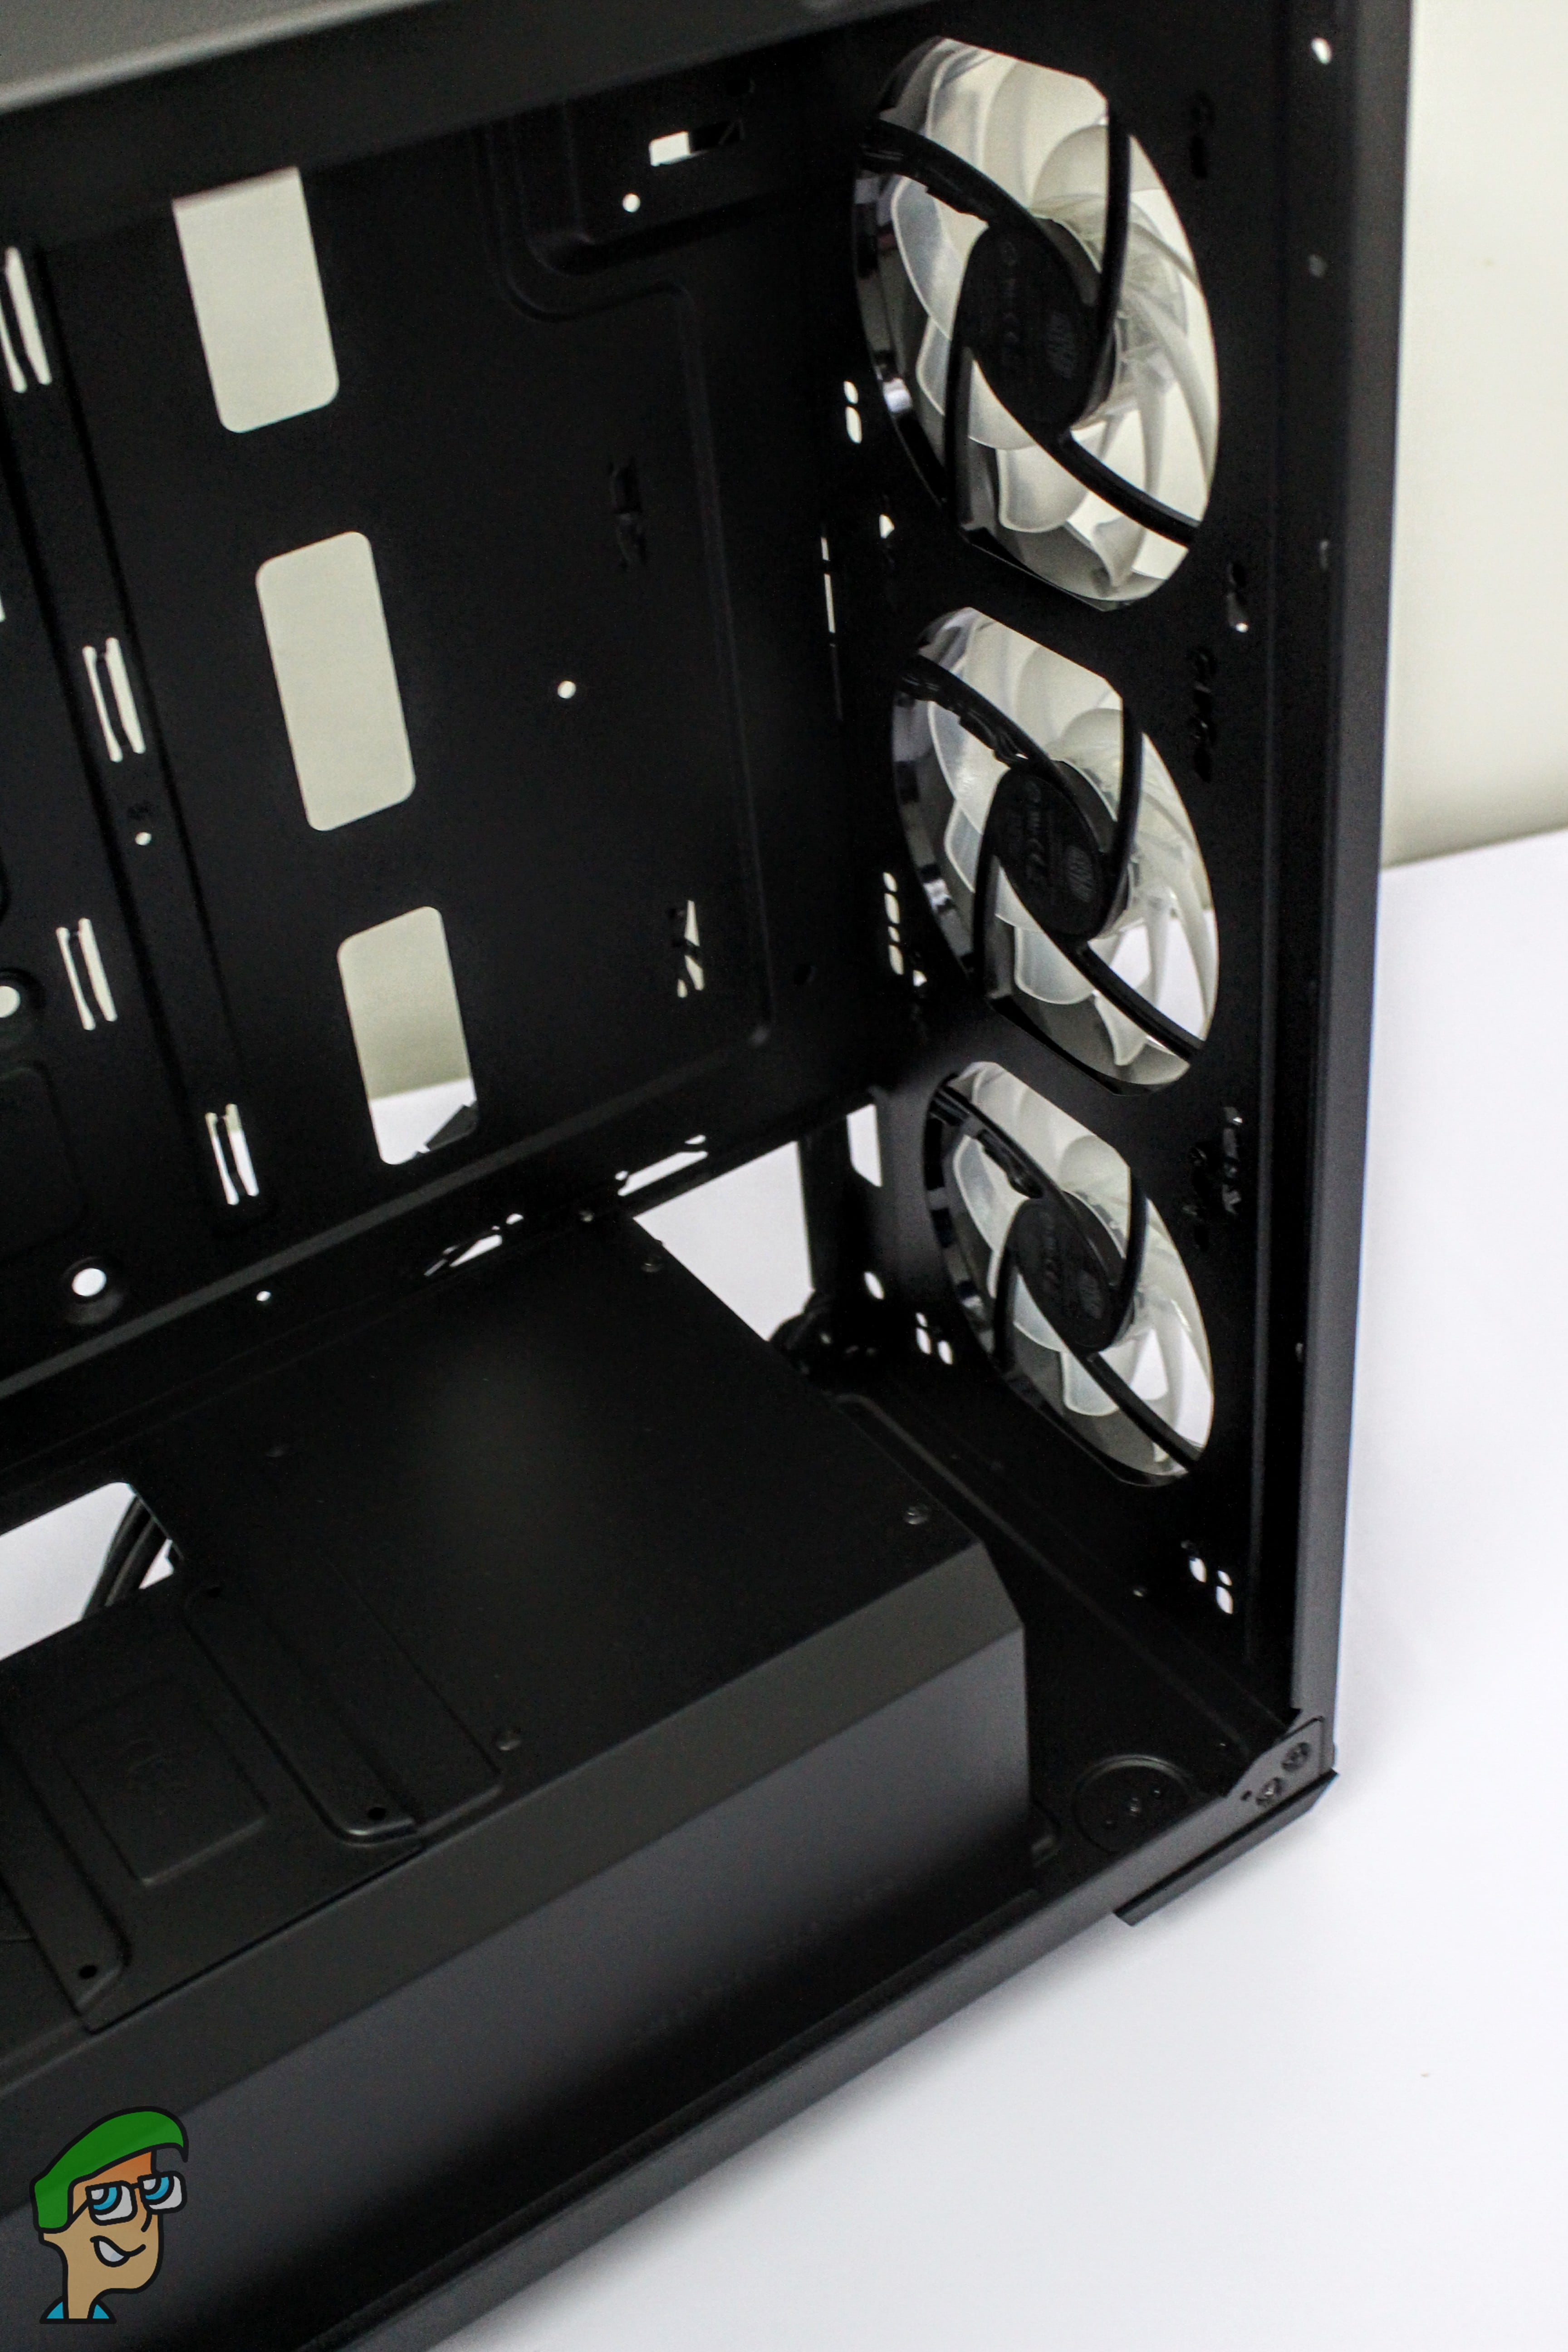
Looking at the right side of the interior, there are additional mounting options for 2.5” drives, unfortunately, these are sold separately and aren’t included in the box. But fret not, as we have three storage options right out of the box and to be honest in the era of M.2 drives three options are already enough. However, rubber grommets are missing from the cable routing holes, this will hinder the overall neatness in terms of cable management, this is a thing that could be added easily and I declare this thing as a con of this case, ultimately.
Available storage options include
- 1x 2.5” SSD tray on the PSU Shroud.
- 2x SSD mounts integrated on back the of the motherboard metal tray.
- 2x 2.5”/3.5” HDD Trays located inside of the PSU shroud (accessible from the left side of the case).
Talking about the HDD tray, I loved the latch mechanism of the HDD trays, the process is tool-less and hassle-free, unlike many other cases.
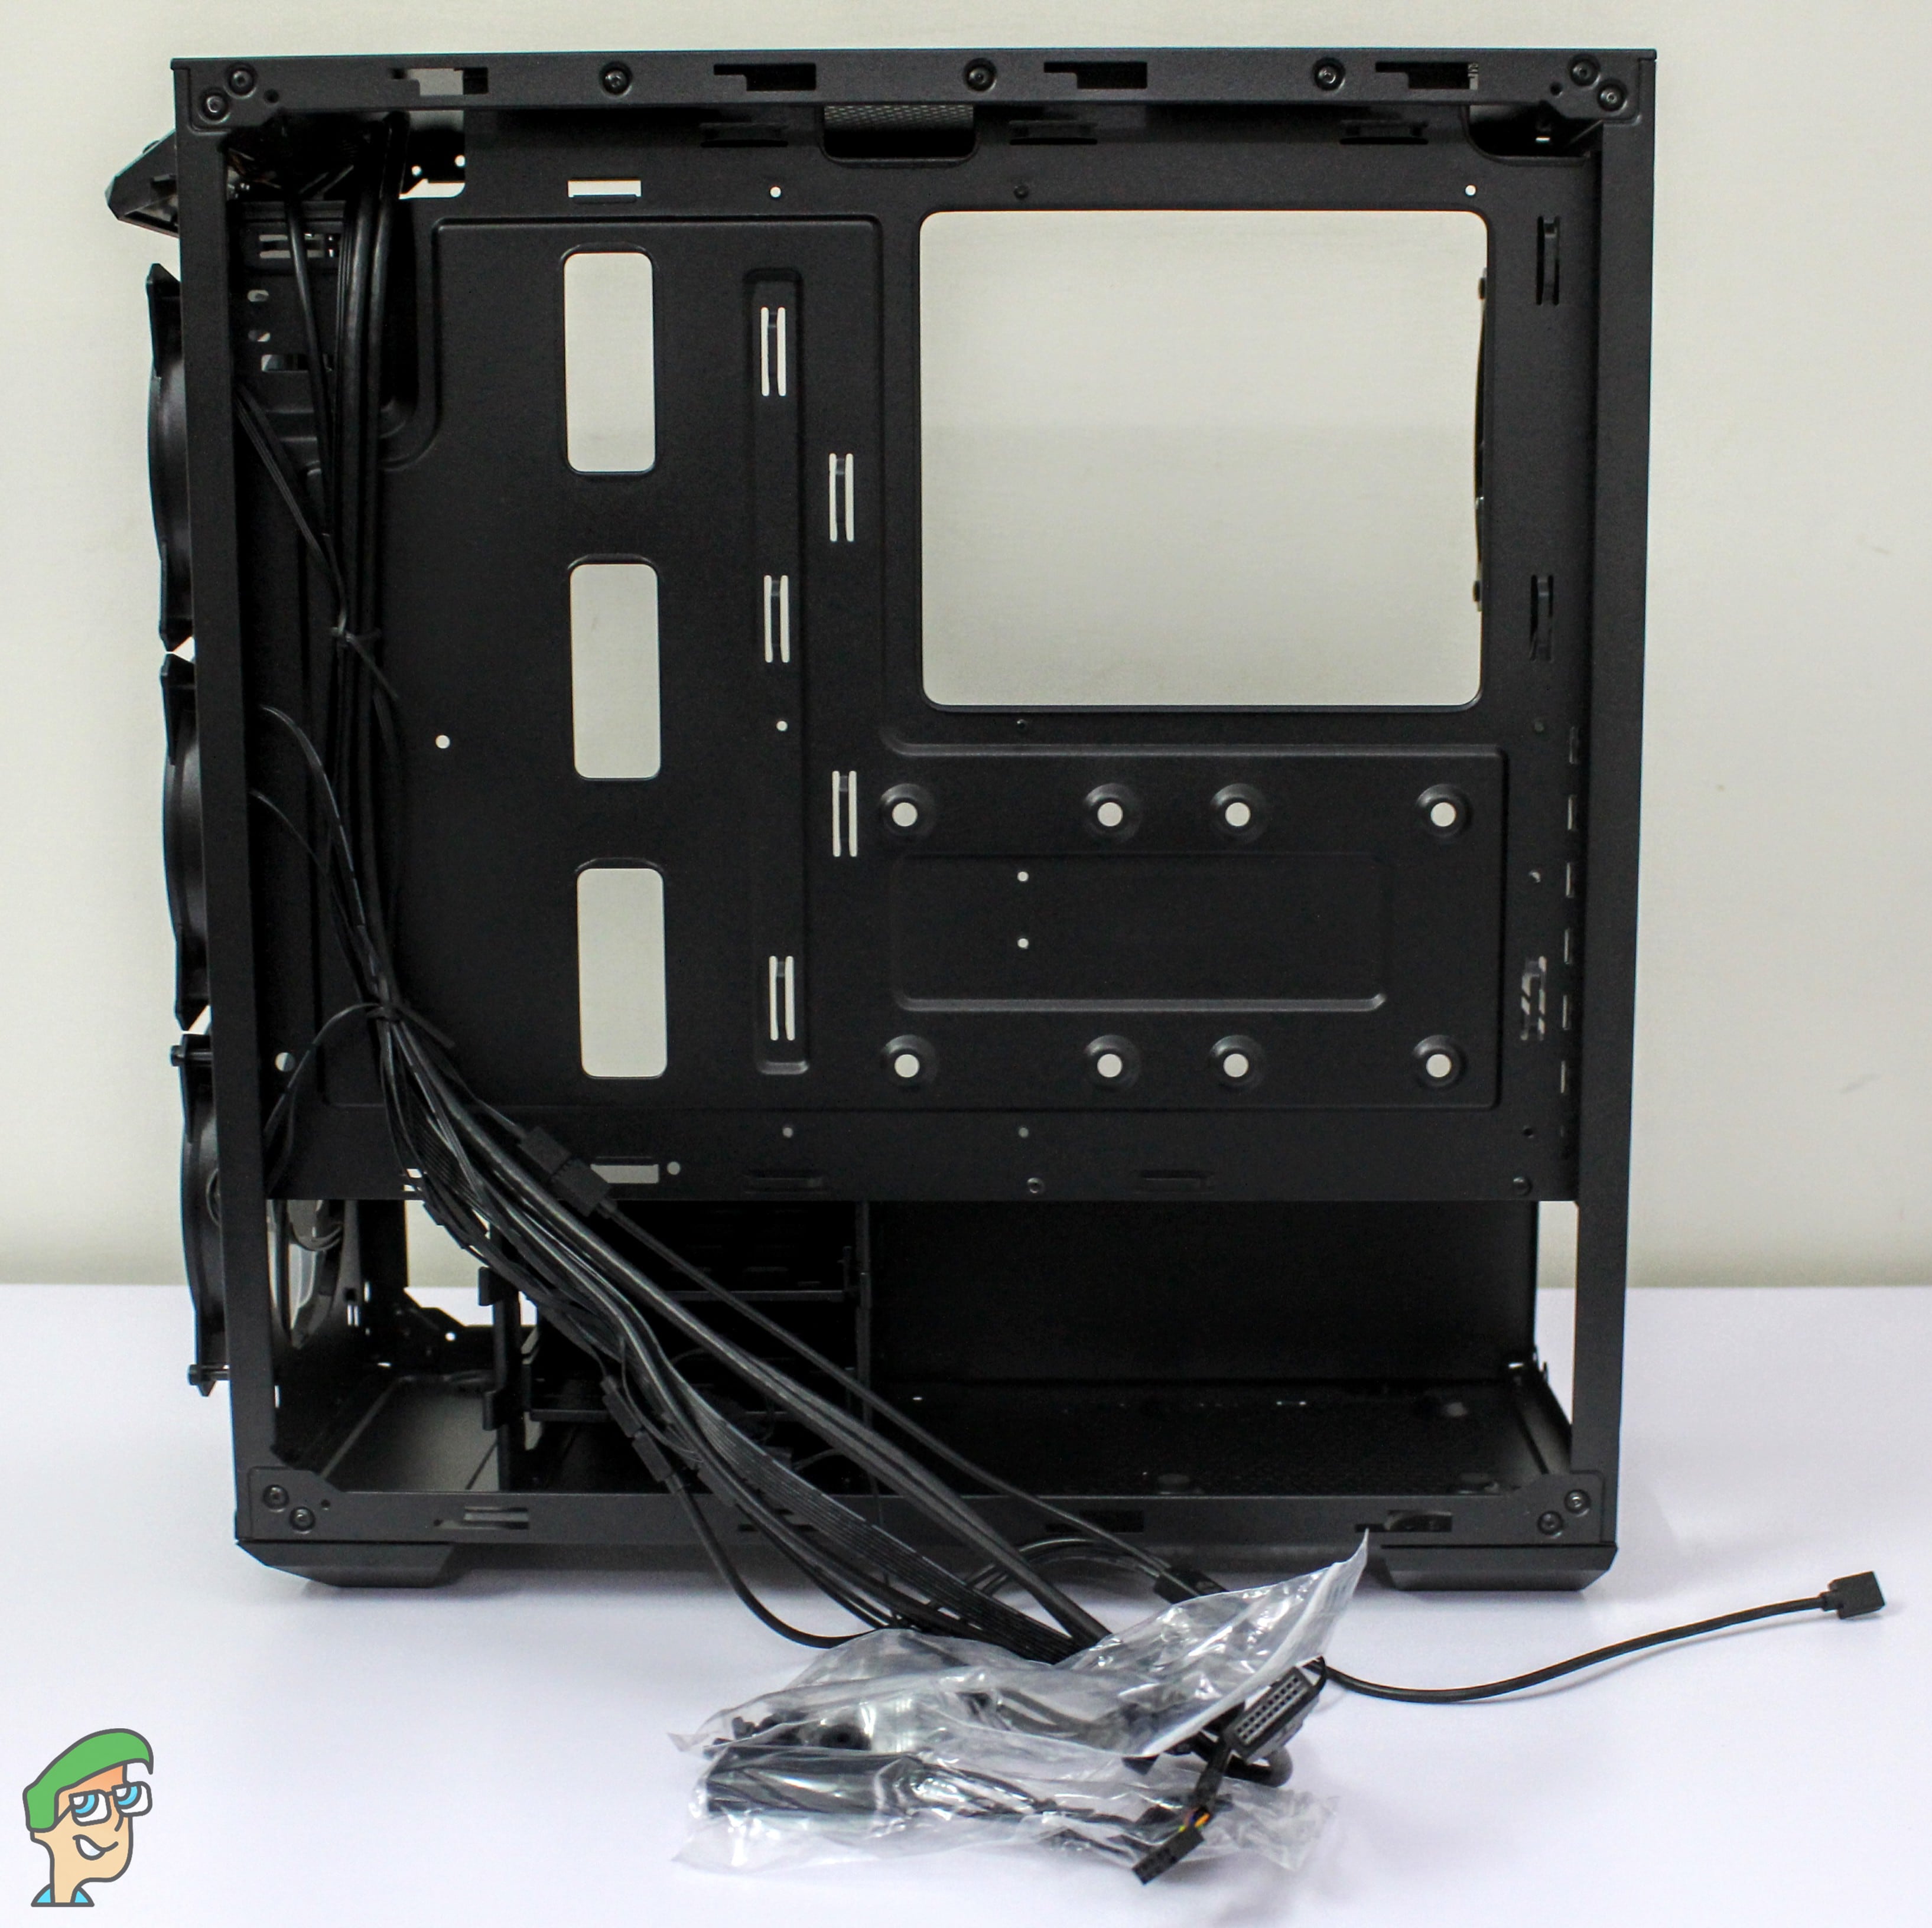
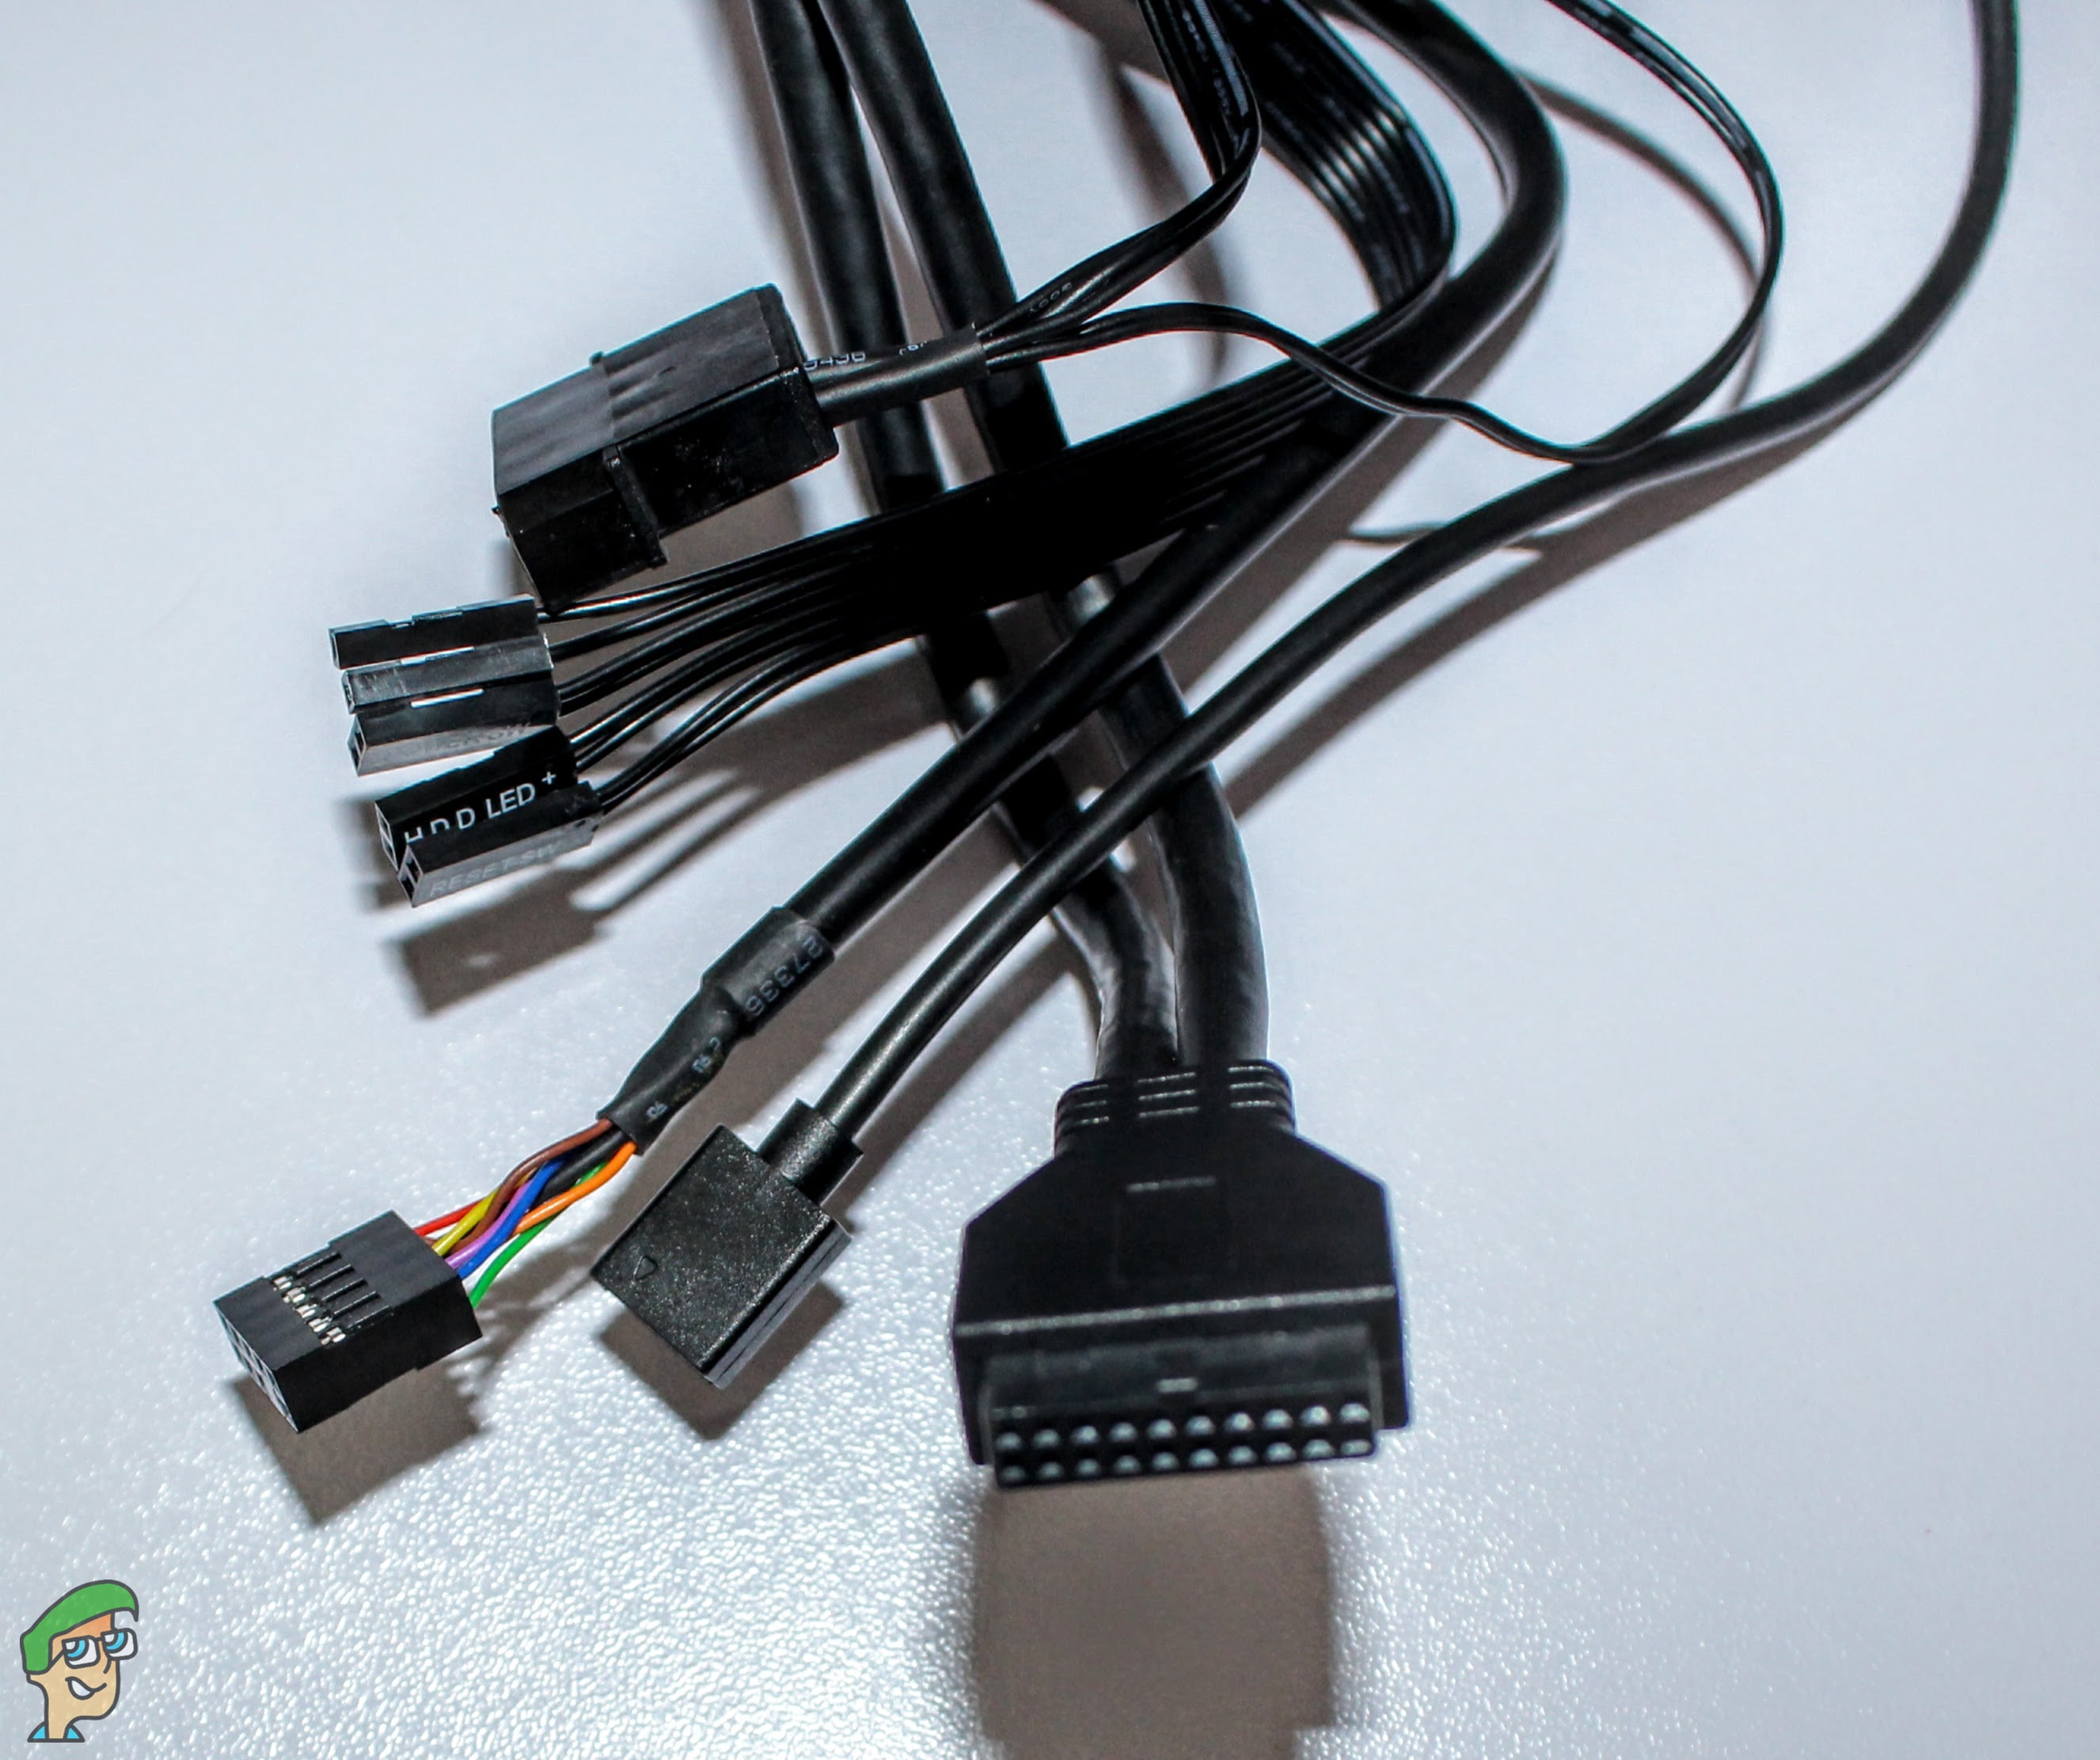
On the left side, all of the case’s wiring is wrapped up in a plastic bag. Here are all of the connectors/wiring you are going to find upon unwrapping the plastic bag.
- Front I/O USB 3.0 Connector
- HD Audio
- Panel Connectors: Power, HDD Led, Power LED and Reset.
- RGB header
- Molex connectors (for included RGB fans).
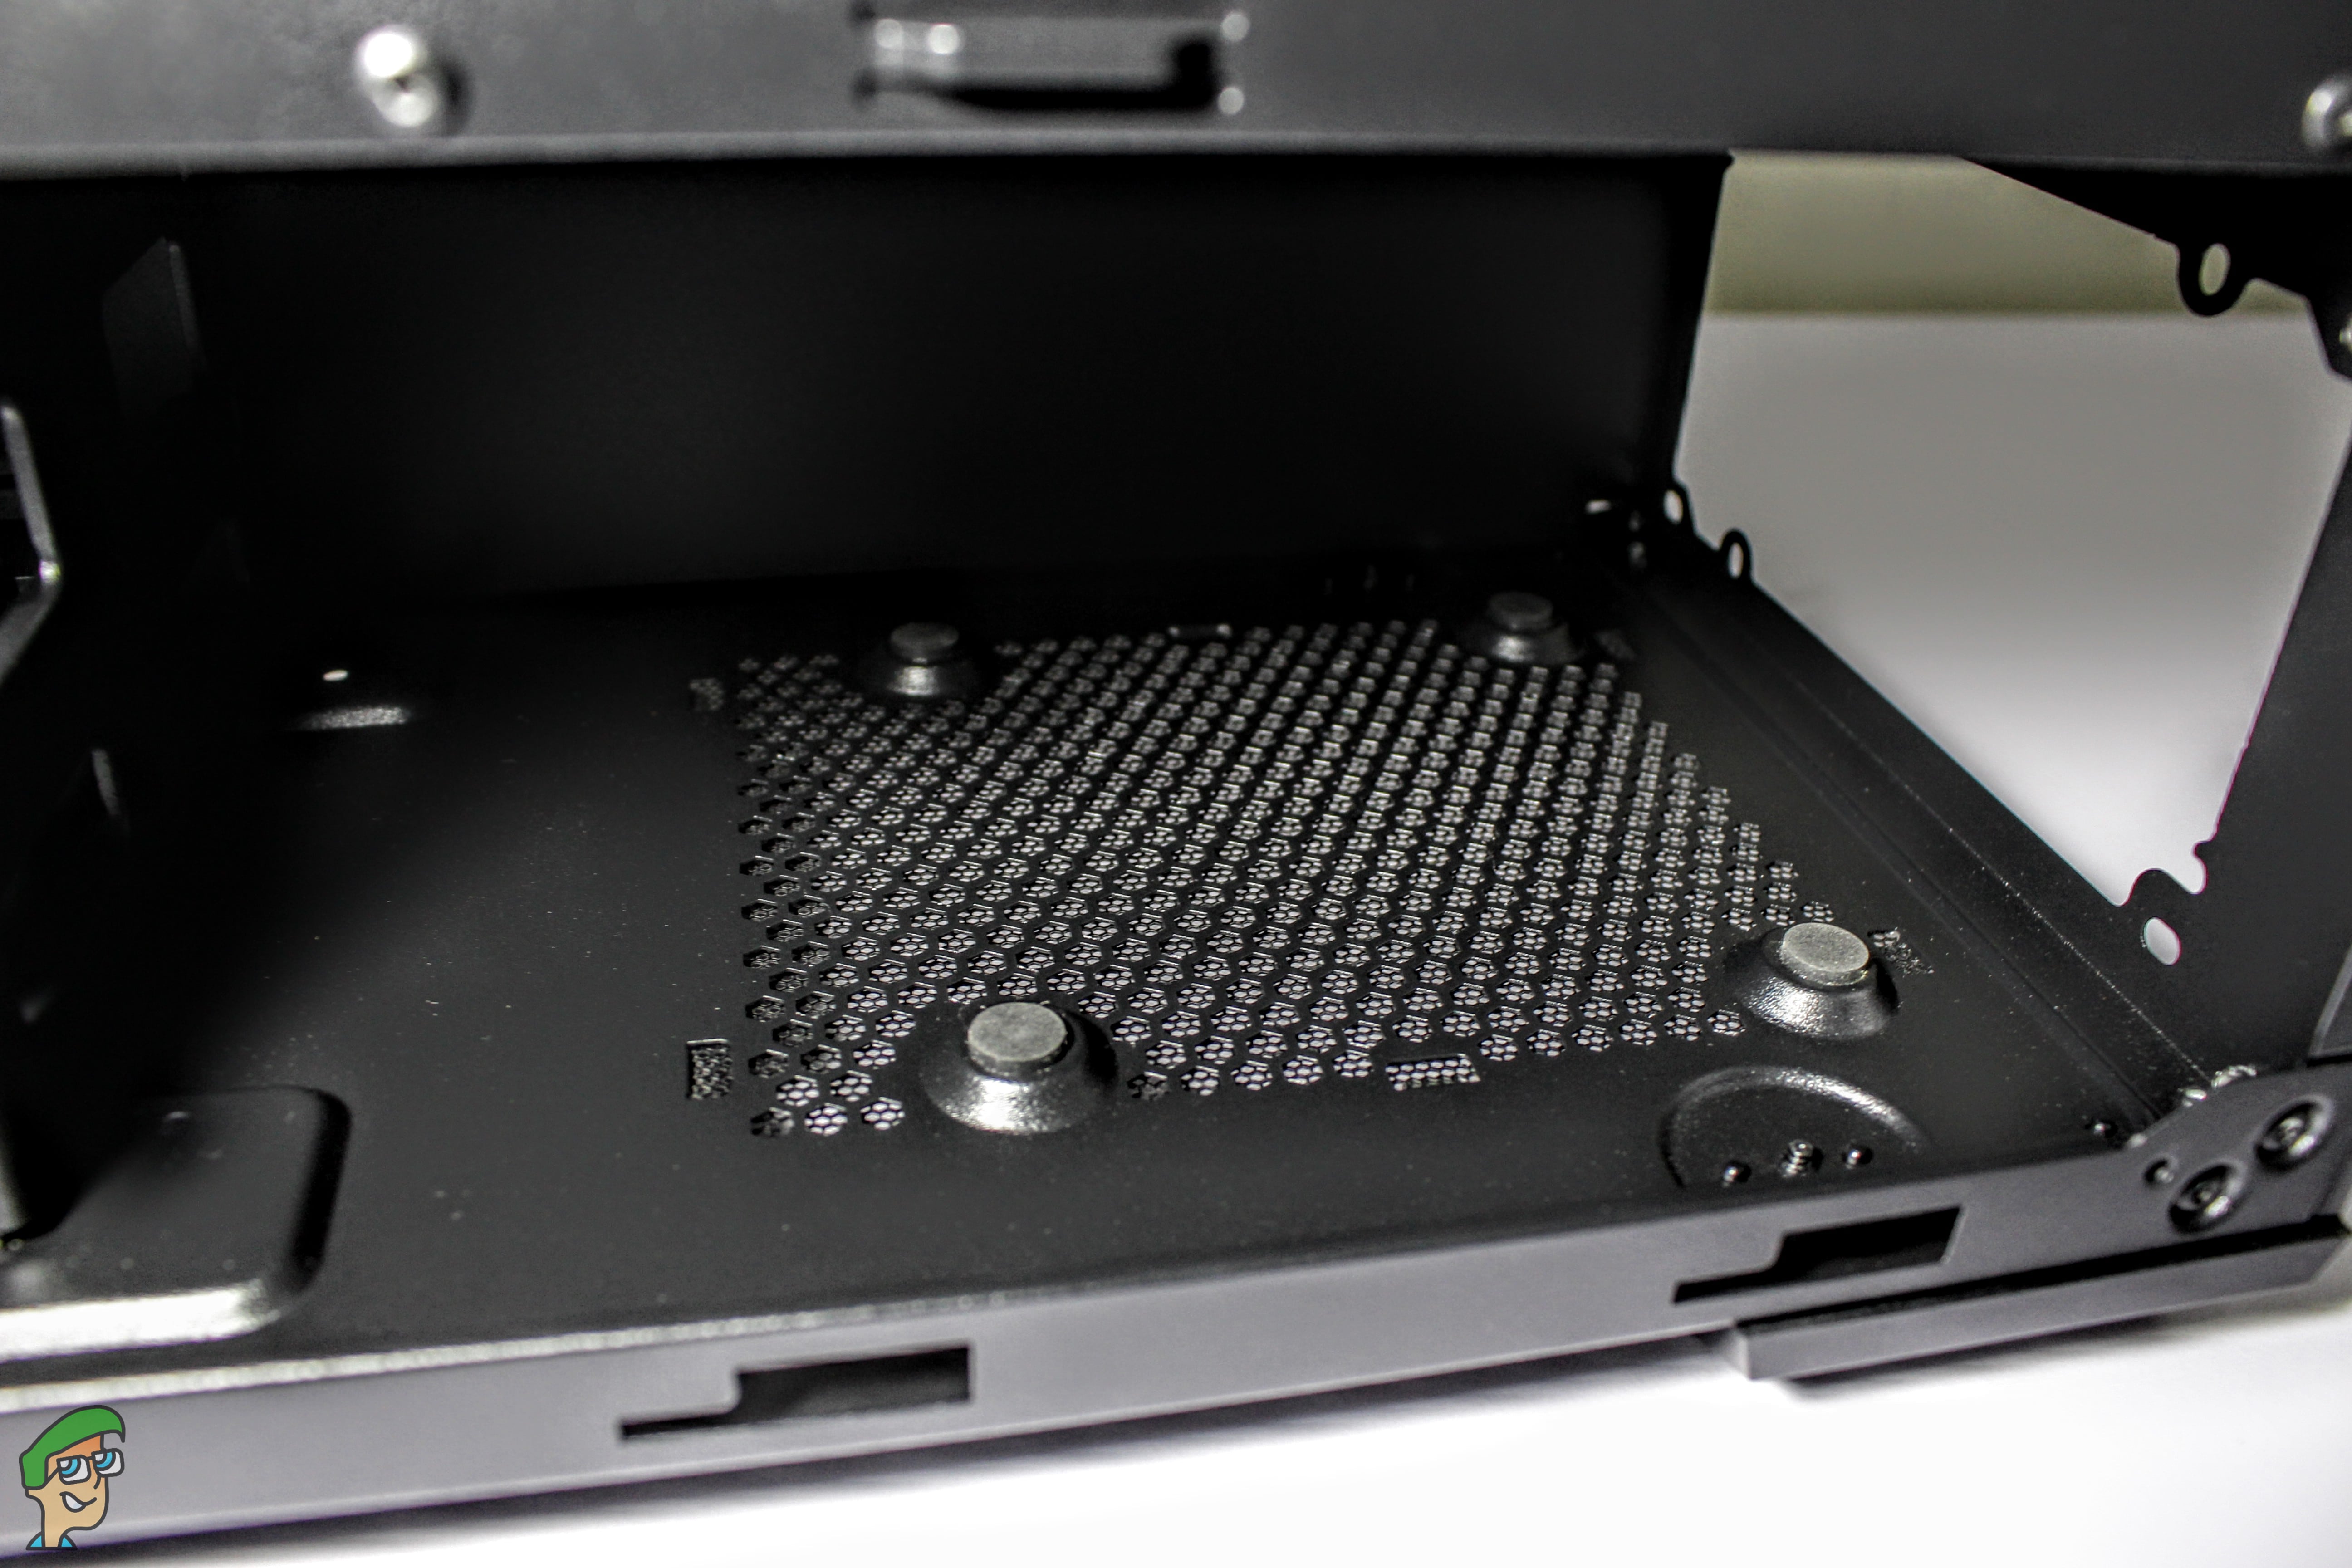
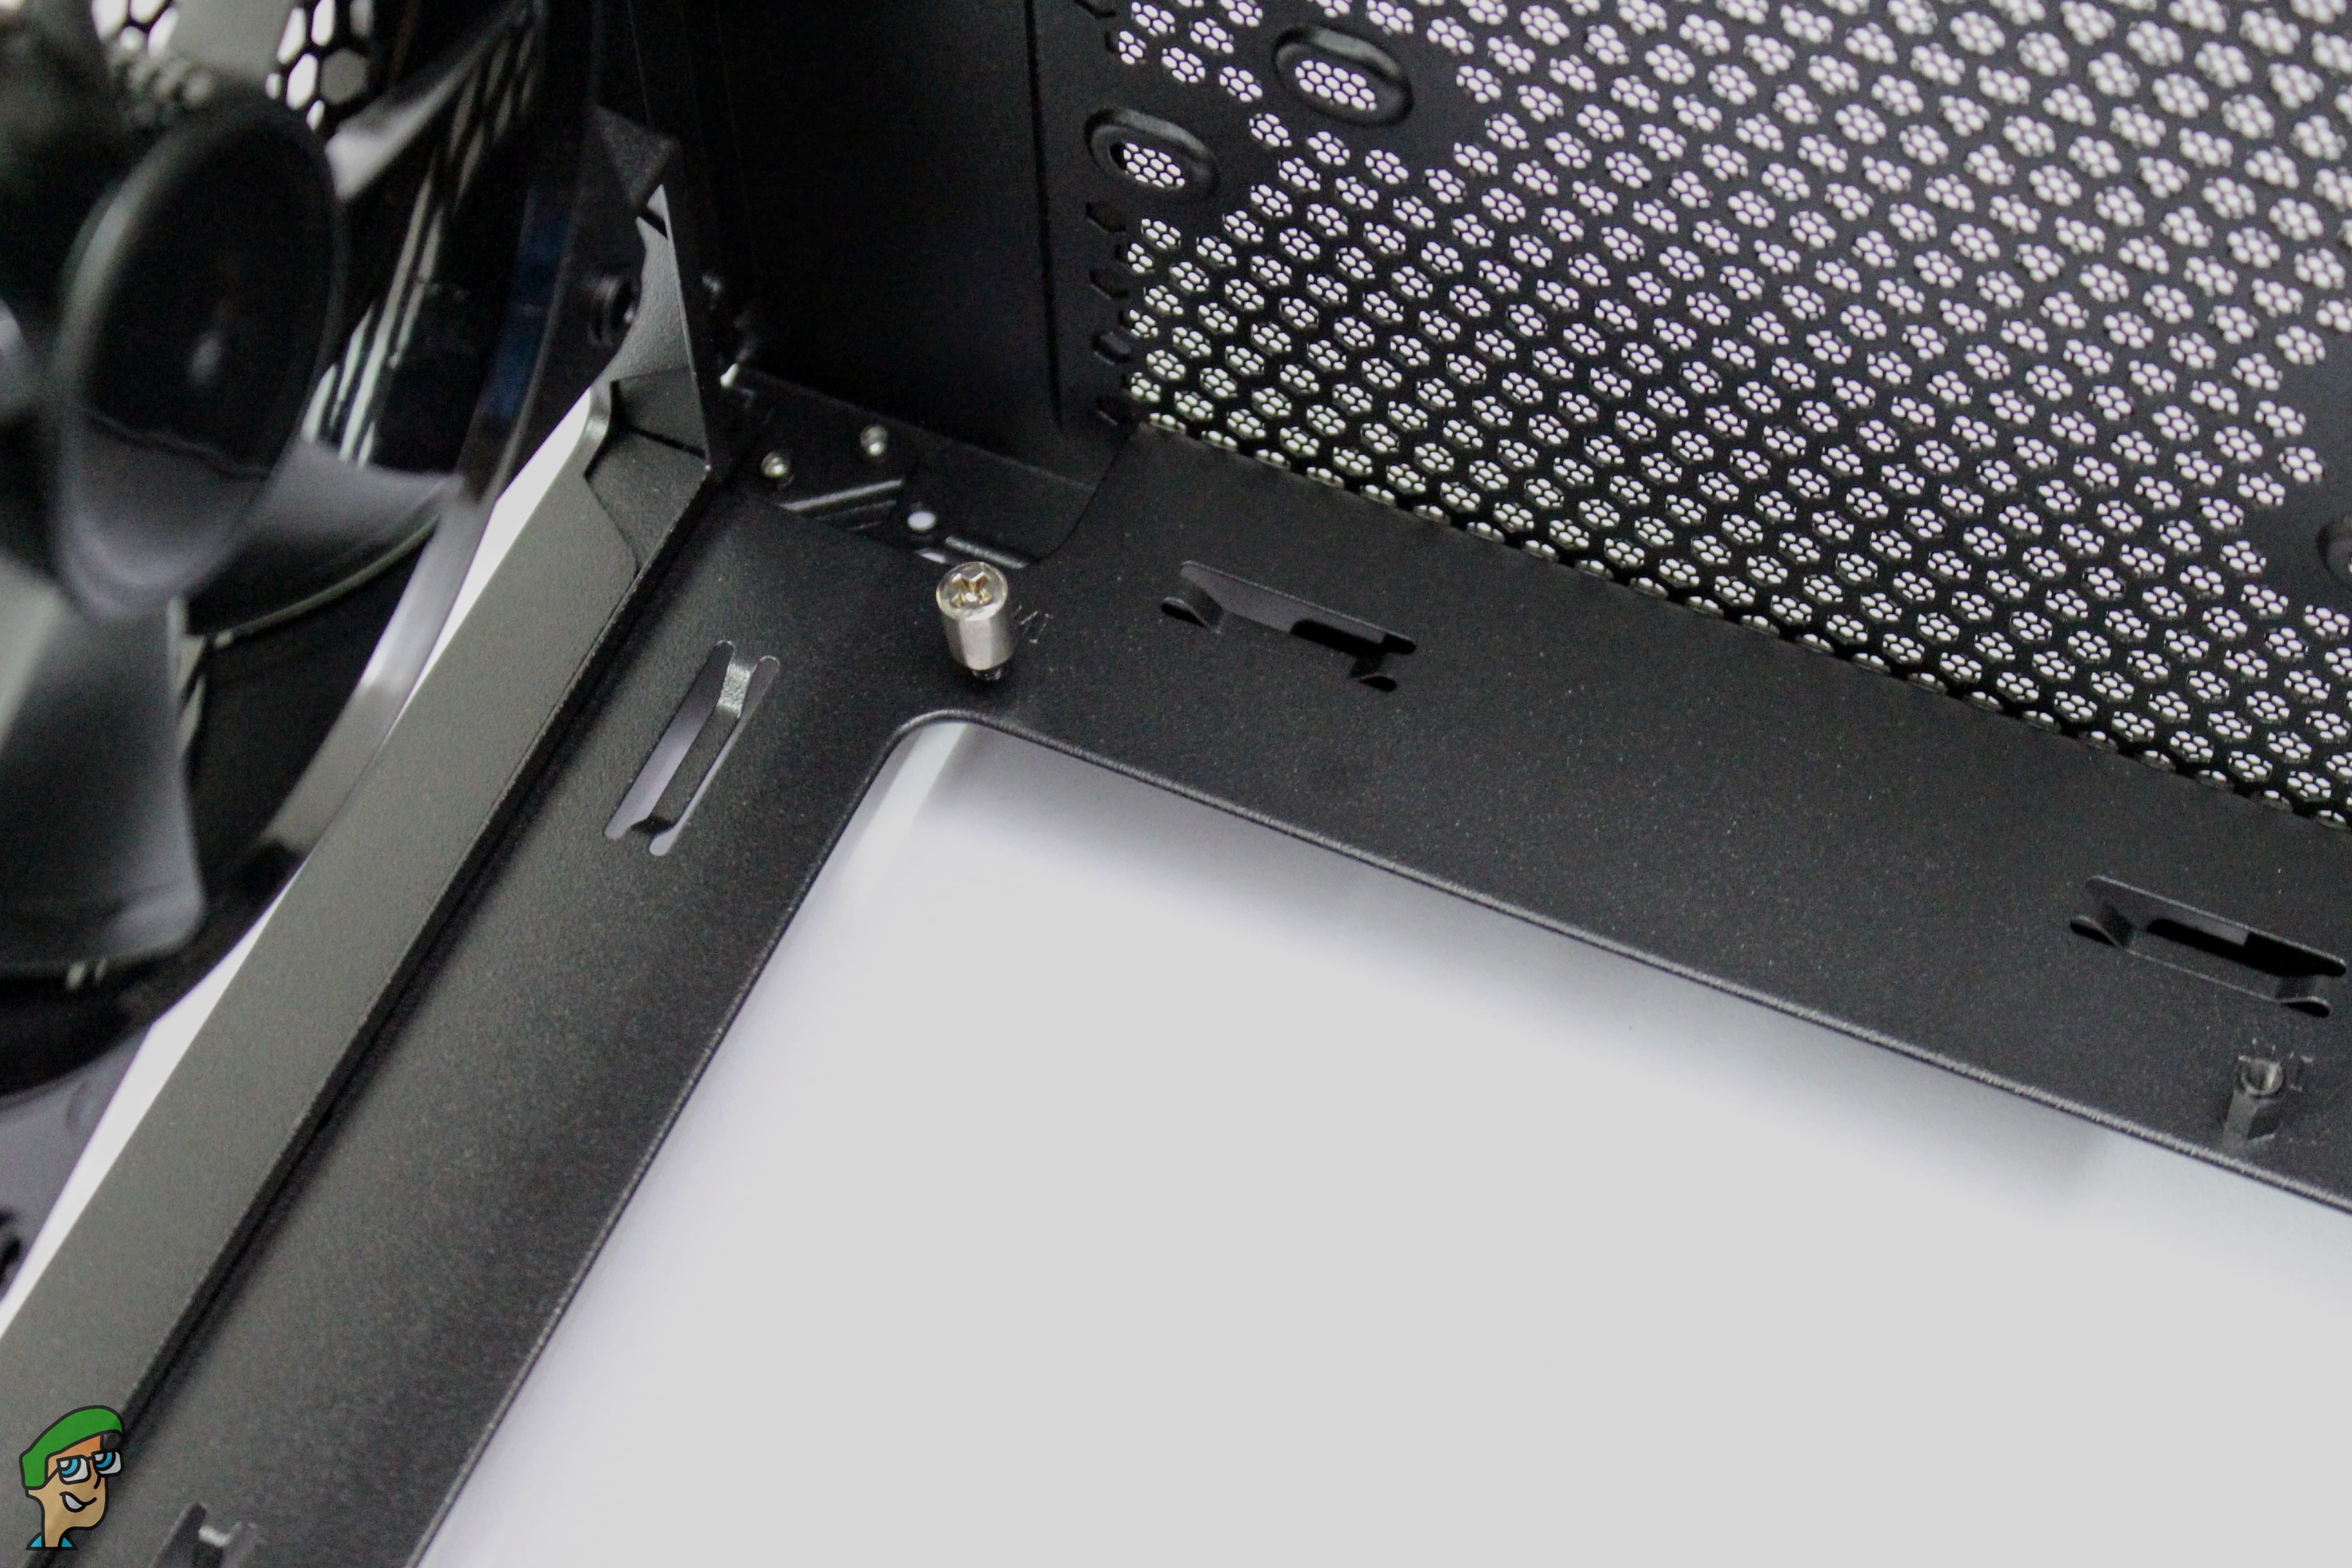
Beneath the PSU mount, there’s a thin dust filter and Cooler Master was kind enough to install rubber-grips to minimize the friction or vibration caused by any PSU’s fan, which is a nice touch.
There are several screws, stand-offs and accessories included already in the box. It looks like the build is going to be mostly hassle-free. So, without any further ado, let’s get the PC build started.
PC Building Experience
Building a PC in a case manufactured by Cooler Master has always been a pleasant experience for me. And the same goes for the MB511 RGB.
The build procedure was fairly simple and hassle-free. However, I did run into an issue where any type of pre-included screw wasn’t threading in the stand-offs. I had to switch different screws to test if any of them will go through, but surprisingly some were too tight and some were too loose. Ultimately, I found out that the stand-offs needed an initial forced threading process to take in the tight screws. So if you’re currently in the process of building a PC in this chassis, just go ahead and use the “Round Head 0.6mm” screws on all of the standoffs with a little bit of extra force. It is also possible that the included stand-offs in my case were a bit faulty. Nevertheless, I solved the problem pretty quickly.
The second and the last issue I had with the case was the cable management of the back panel. There’s not much there, to be honest, and because of my build’s nature, I had a massive clutter of wires that were meant to be managed. Because I had a really short amount of time, I did horrible cable management, just close enough so that the panel could be closed easily. I could do better with more time on my hands.
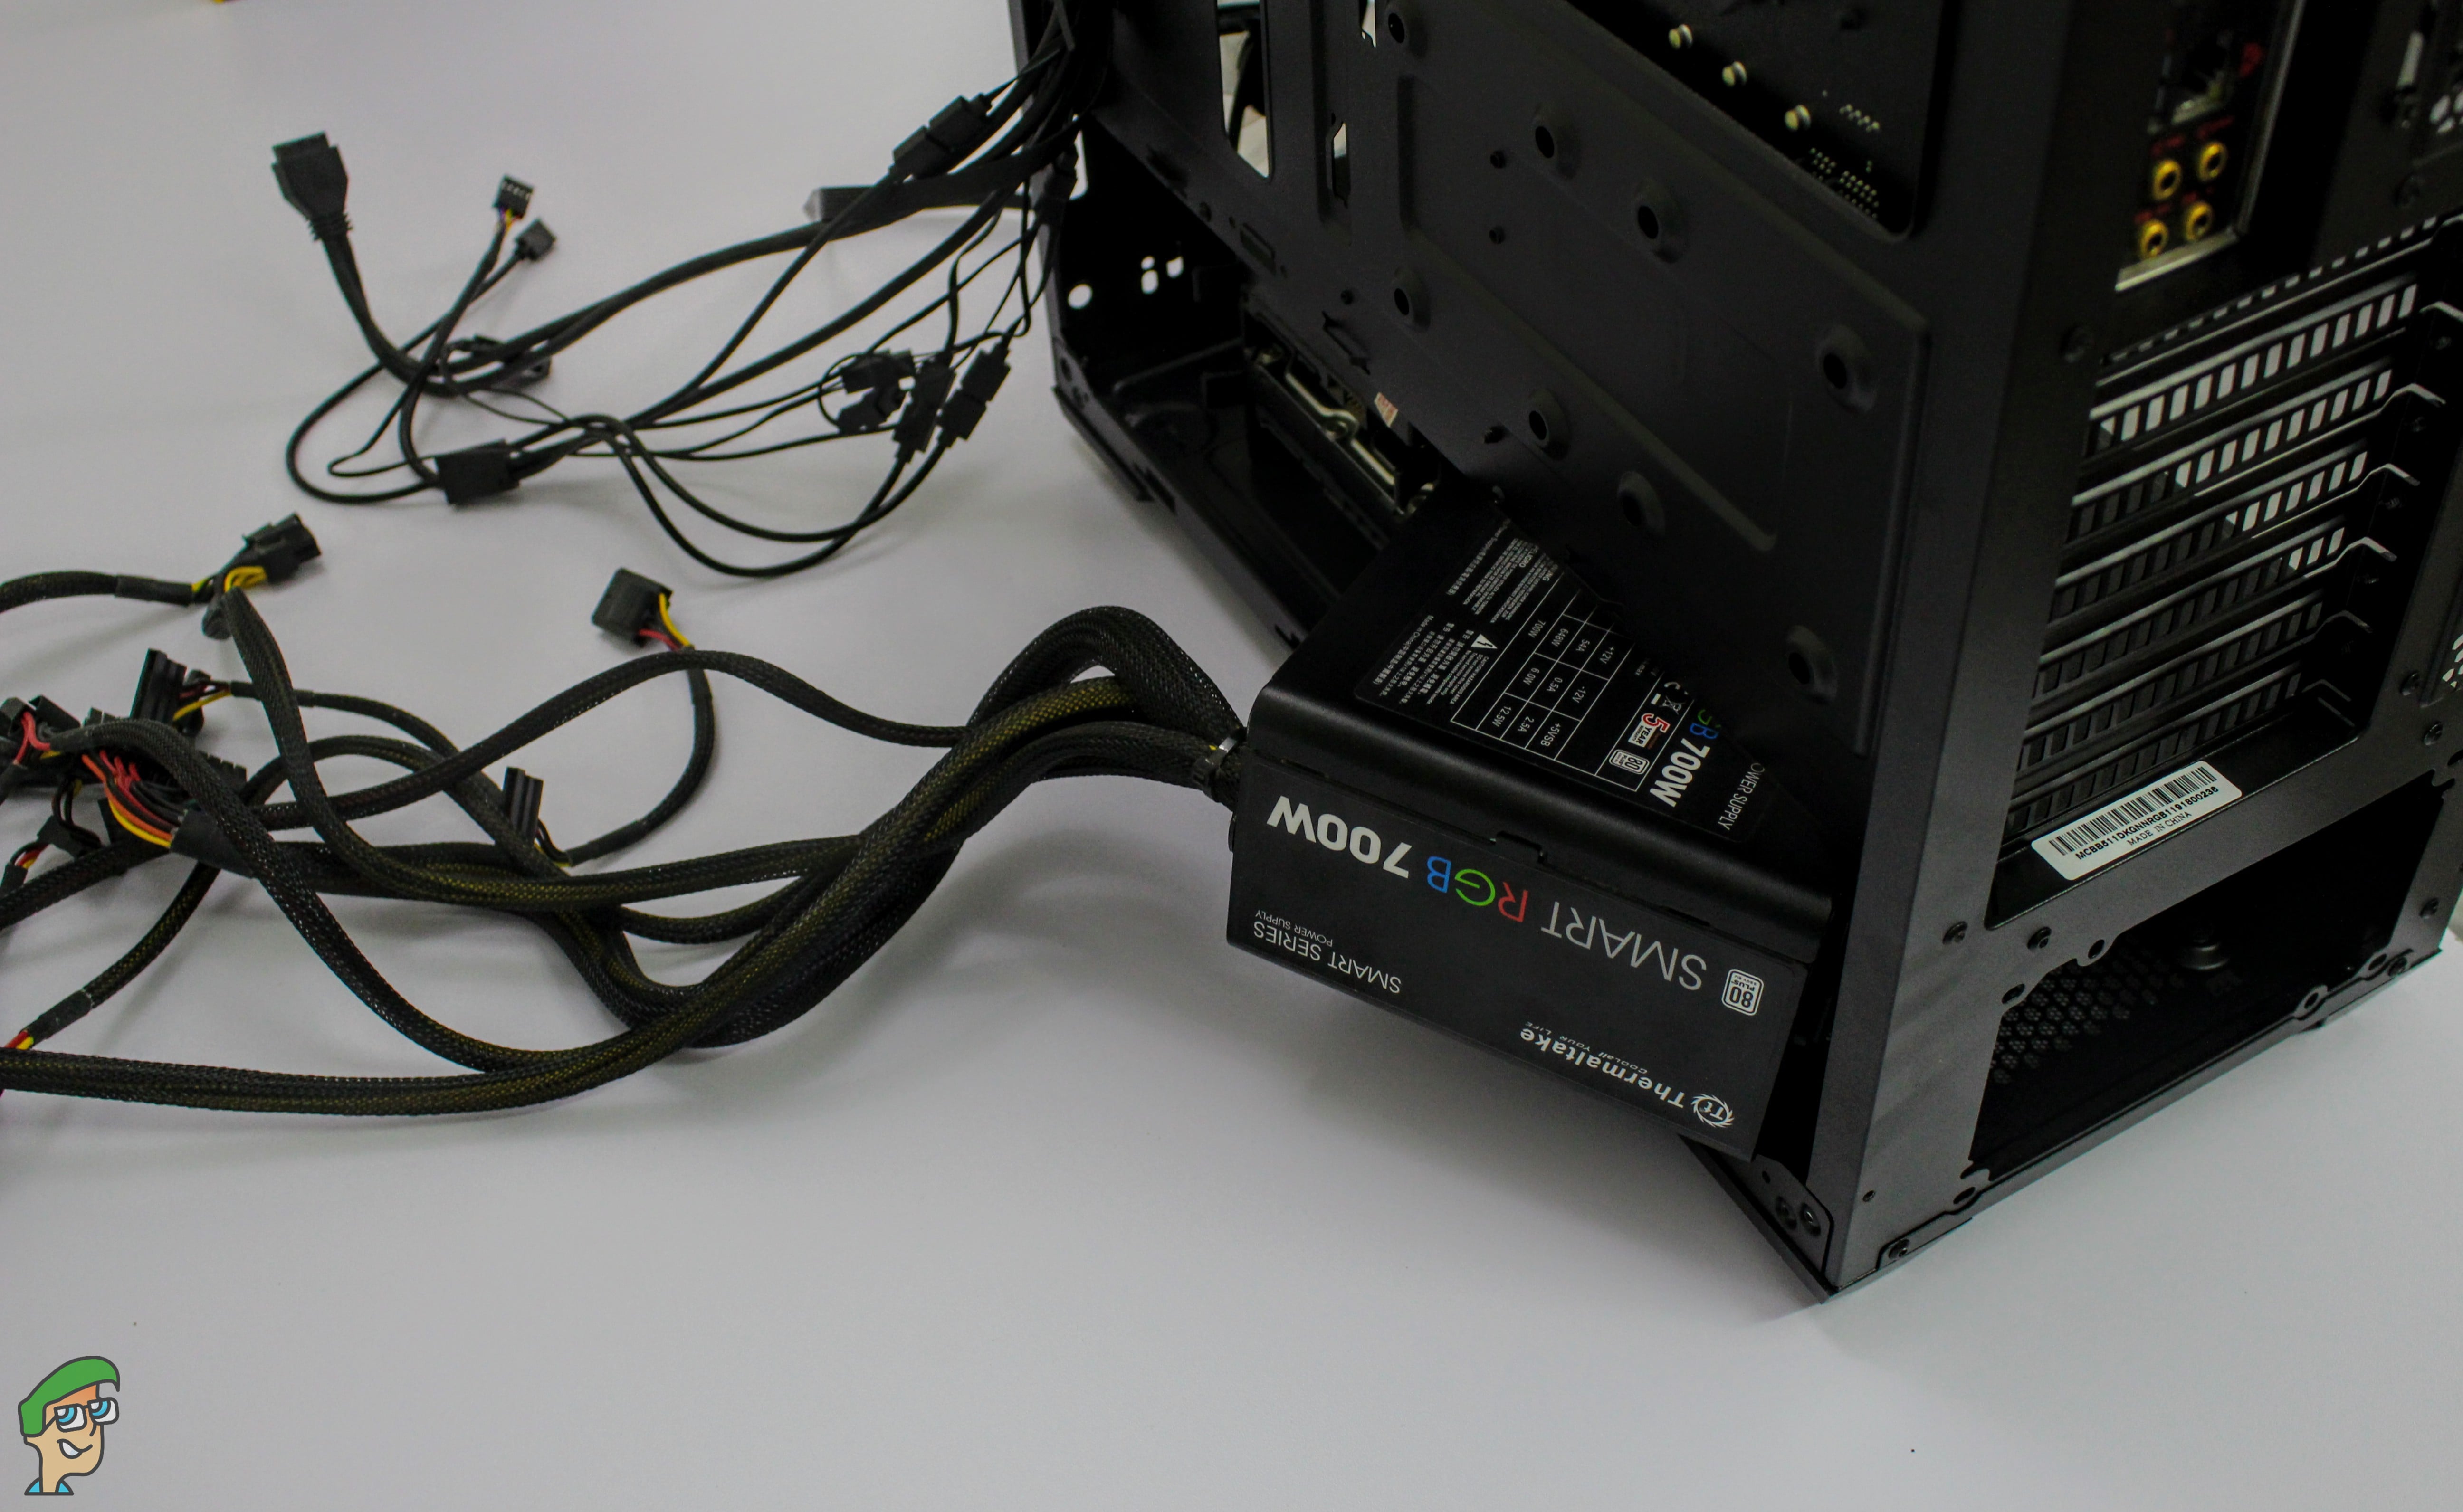
Overall the PC building procedure was great, I’ve had worst experiences with some chassis when I had cut my finger because of the sharp edges. Looking back at that time, the MB511 RGB surely provides a pleasant experience. Let’s get to the part you’ve all been waiting for, shall we?
Testing Methodology
Our current testing hardware is as follows:
- Processor: Intel Xeon E3-1230 V3
- Cooler: Cooler Master Hyper 212 LED Turbo
- RAM: Corsair Vengeance 2x4GB DDR3 1600Mhz
- GPU: Asus GTX 1060 6GB Strix
- PSU: Thermaltake SmartSE RGB 730 Watt
- Additional Fans: AIGO DR12 Pro 3x.
Our system stress test includes a blend of, AIDA64 CPU/Memory benchmarks, Sony Vegas Pro/ Adobe Premiere (CPU) 4K rendering, and Cinebench R15. We gather idle/load temperatures from all of these benchmarks and the results you will find below in the graphs are average monitored idle/load temperatures gathered from all of the software to get the final idea of realtime workloads.
We stress our GPU with 3D Mark Timespy and Unigine Heaven. We disregarded FurMark tests as the level of pressure FurMark puts on the GPU is never bound to happen in realtime situations during any sort of gameplay.
We tested the system noise with UNI-T UT 351 Sound level Meter to get accurate noise results, during the testing all of the Fans, Air-Conditioning is turned off to get the most accurate results.
All of the tests were made indoor, with an ambient room temperature of 28 degrees Celcius.
Both cases were tested using the same and identical hardware, with the same orientation of Fans as well.
Comparison
Since the MB511 RGB is a mesh front panel case and is targeted towards maximum airflow rather aesthetics, we’ll be comparing it with the FSP CMT 510 RGB, a case that comes with limited airflow attributes but with better aesthetics. In the end, looking at the performance benchmarks, you’ll be able to decide if you want to opt for aesthetics or performance.
Performance
As we expected from our initial inspection, the MB511 RGB is almost perfect in terms of thermal performance.
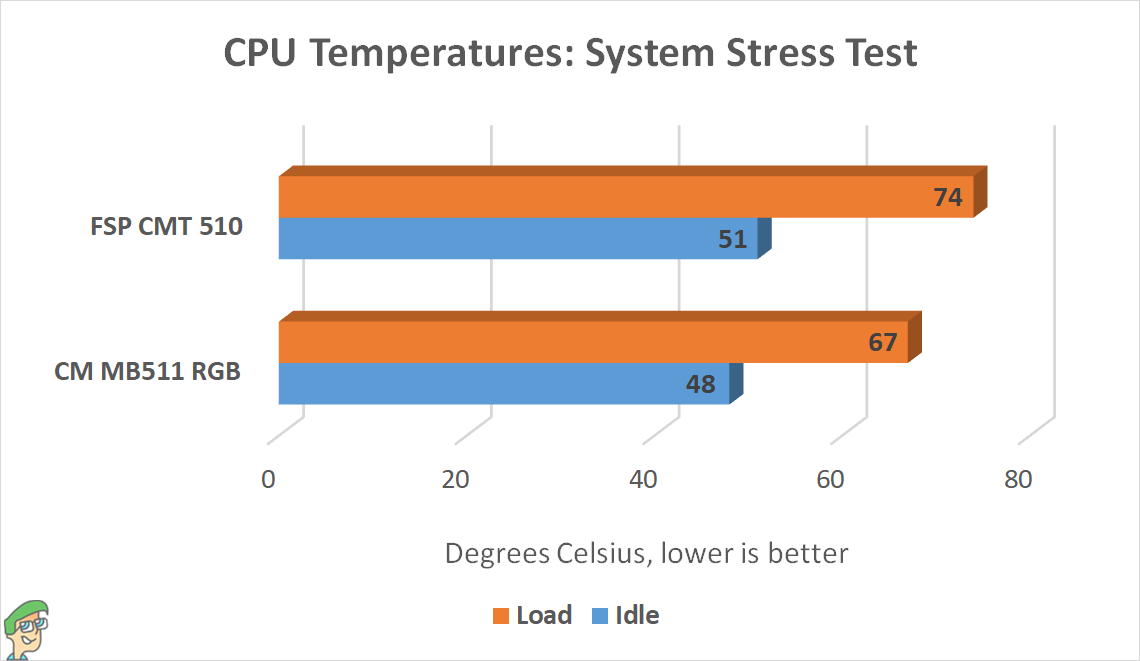 Starting off with the system stress test, the MB511 is keeping things on the cooler side while the CMT510 is struggling to control the temperatures. I could only imagine if I threw in a higher TDP CPU and GPU, what would happen. The MB511 is clearly ahead of the CMT 510 here, but the lead is not much impressive.
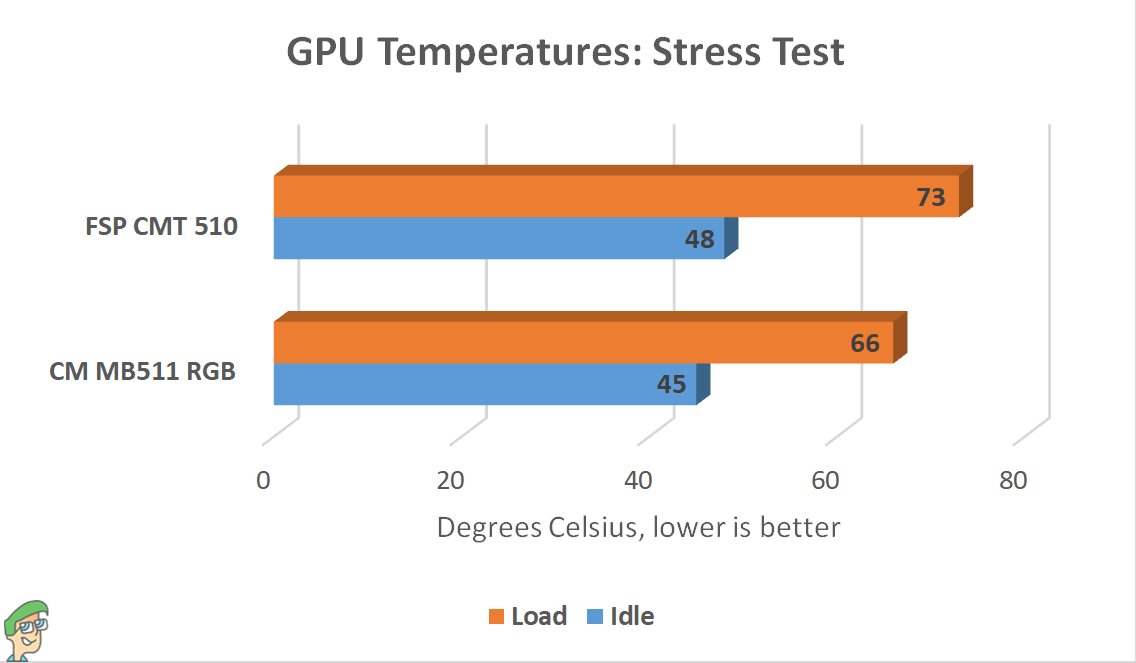 Our GPU temperatures show similar results in line with our system stress test, the MB511 is ahead of the CMT 510 substantially.
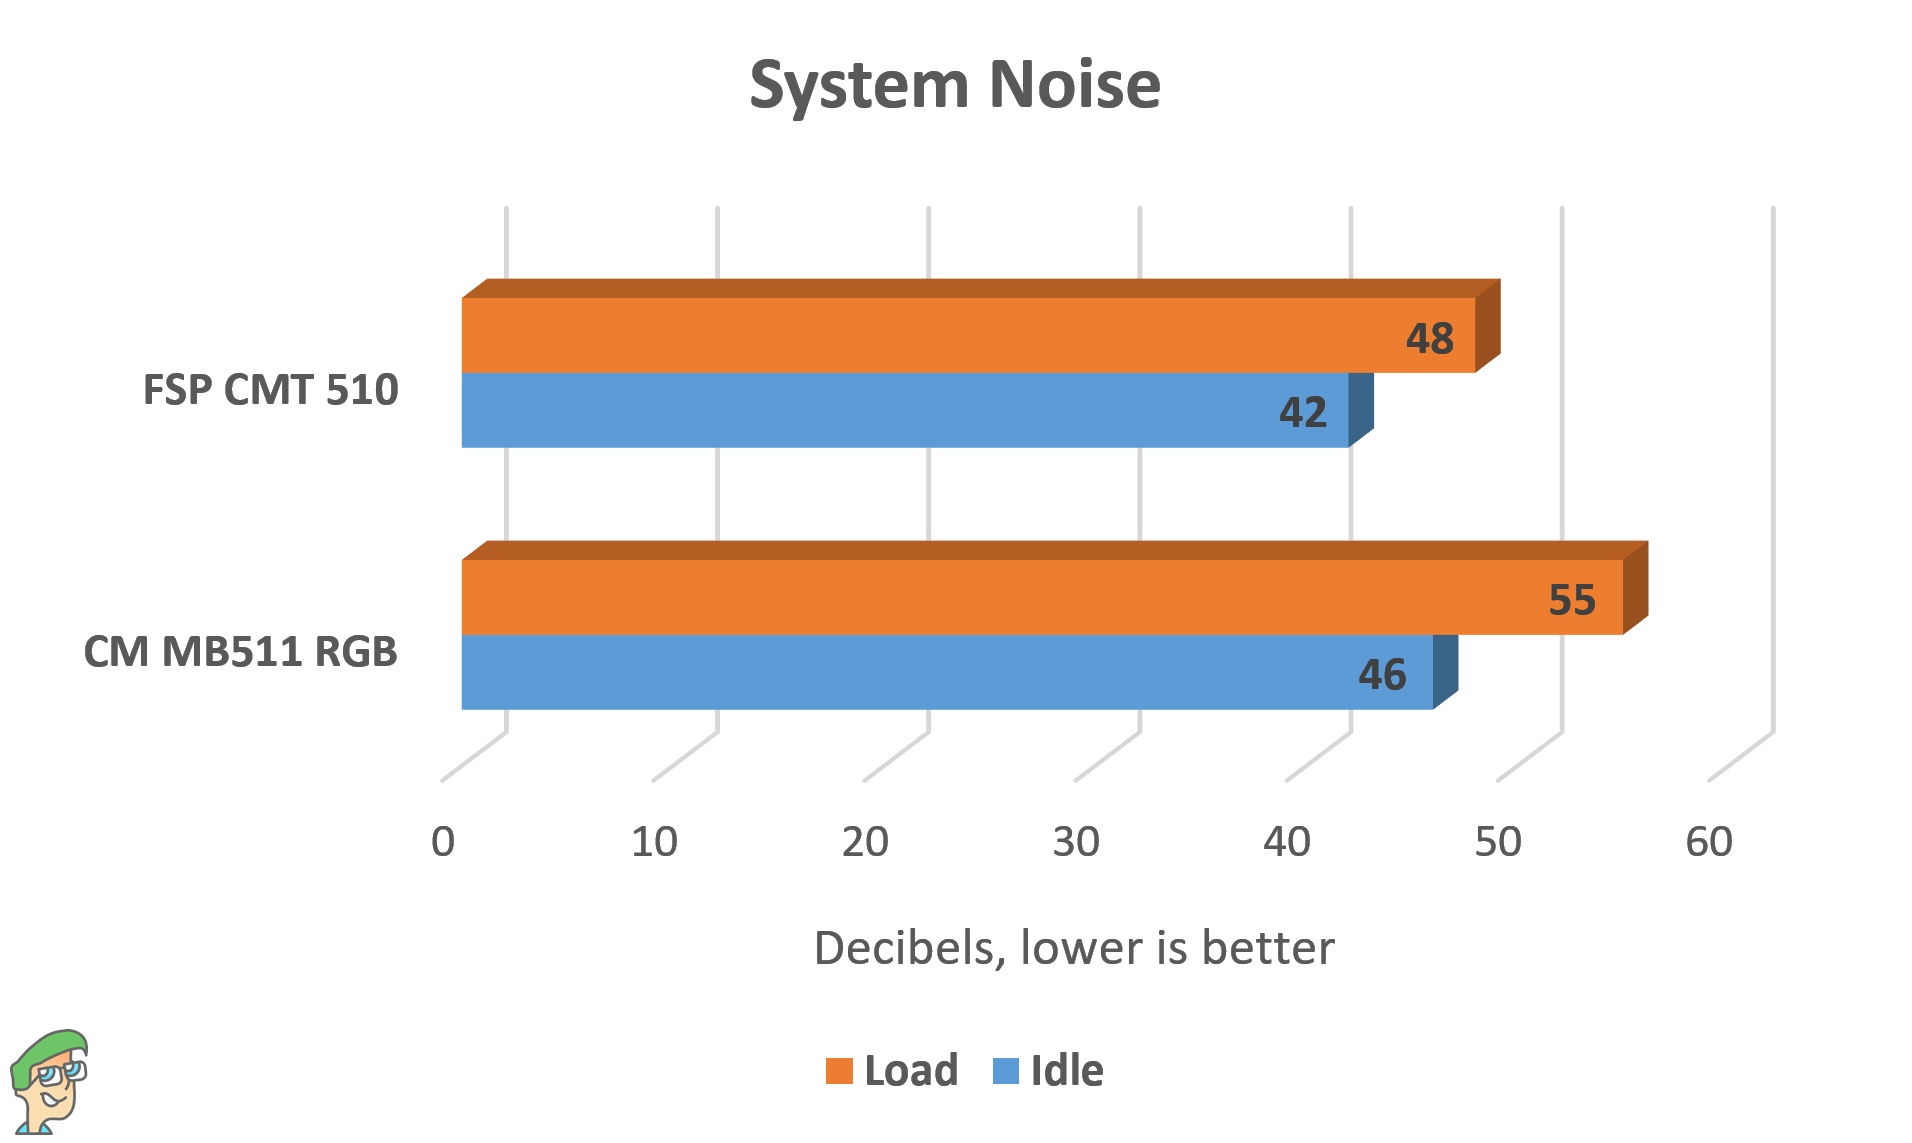
The CMT 510 RGB is ahead of the MB511 RGB here. The results aren’t inevitable. Due to the isolated design of the CMT 510, all three sides covered with glass, this actually helped in reducing a bit of noise when compared with the open mesh design of the MB511 RGB the noise was leaking especially from the front panel.
Overall, the performance of the MB511 is perfect and it does what it was supposed to do at the end of the day. Regardless of the specs you are going for, the case will serve you perfectly.
Conclusion
The Cooler Master MasterBox MB511 RGB case is nothing but an example of a great comeback from an already established hardware giant. It fixes all of the issues and troubles that were present in the MasterBox Lite 5. With amazing airflow potential and great hardware support, the MB511 RGB can be your next fancy budget case even if you own a demanding set of hardware, this case won’t break a sweat and will control the thermals of anything you throw at it.

Surely with some of the cost-cutting measures, like the missing rubber grommets of the cable routing openings can be a setback but all in all this case doesn’t fail to impress in almost any type of aspect. So if you’re in the market for a new PC case and you just ran out of cash, you want something that has amazing airflow, acceptable aesthetics, and a subtle blend of RGB, the Cooler Master MasterBox MB511 is a no-brainer decision for you.
Cooler Master MASTERBOX MB511 RGB PC Case
Best Airflow
Pros
- Robust Build Quality
- Mesh front panel for better airflow
- PSU Shroud
- 360mm Radiator Compatability with dual fan-setup clearance
- Addressable RGB Fans
Cons
- Bland Design
- Side vents can get dusty quickly
Motherboard Support: ATX, Micro ATX, Mini ITX | Side Panel: Tempered Glass | Pre Included Fans: 3x RGB 1x Non-RGB | Dimensions: 496(L) x 217(W) x 469(H) mm | Dust Filters: Front, TOP, Bottom

VERDICT:This Masterbox MB511 RGB from Cooler Master turned out to be the best budget case for us. With great airflow, PSU shroud, pre-included addressable RGB fans, and adequate dust filters, the MB511 is a great choice under budget. I recommend this case to anyone, literally anyone.
 Check Price

Thanks for the review