How to convert CDA files to MP3 Format
Some users have been reaching us with questions about converting an audio file from CDA to MP3. Some have reported that after they upgraded to Windows 10 some audio files have been automatically converted from .mp3 to .cda.
What are CDA and MP3?
CDA is a file extension of shortcut type format that stands for CD Audio shortcut. As the type format implies, a CDA file does not actually contain any audio but it’s simply a shortcut to the tracks on an audio disk. CDA files are created by the computer’s CD driver with the purpose of keeping a permanent record of the location of the track.
MP3 is a type of file type that uses efficient compression to save a lot of disk space. Unlike a CDA file, an MP3 file is much smaller in size and does not serve as a shortcut (it actually contains audio data).
How to convert a CDA file to MP3
If you’re currently struggling to convert a CDA file to MP3, you’re in luck. Whether you discovered this issue after you upgraded to Windows 10 or you simply want to convert some audio files into MP3, we have a few potential solutions. Please follow each of the methods below in order until you manage to convert your audio file from CDA to MP3.
Method 1: Change extension name to .mp3
If this is the result of a Windows 10 upgrade bug, you might be in for the easiest fix out of the bunch. Some users have managed to fix the issue by simply changing the extension from “.cda” to “.mp3“. This method is effective if you get the “no files found” error when double-clicking the CDA file.
Note: Keep in mind that this method will only work if you discovered that some mp3 files were automatically transformed into CDA files after you upgraded from Windows 7 or Windows 8.1 to Windows 10. If the file in question was always of CDA file type, proceed directly to Method 2.
Here’s a quick guide to changing the extension from CDA to MP3:
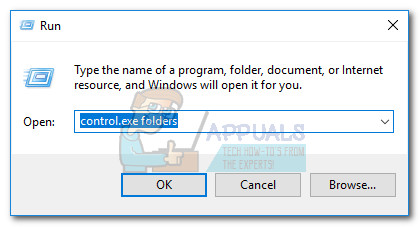
- Press Windows key + R to open up a Run window. Type “control.exe folders” and hit Enter to open File Explorer Options.
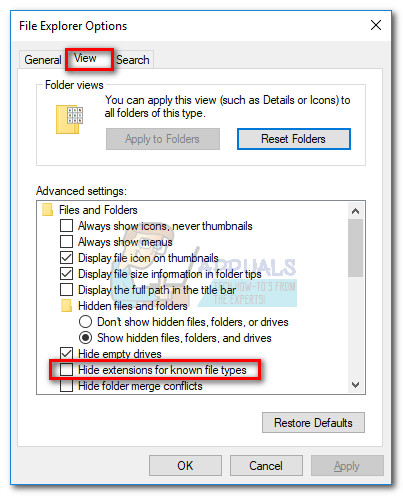
- Select the View tab and scroll in the Advanced settings list to uncheck Hide extensions for known file types. Then, hit Apply to save your changes.
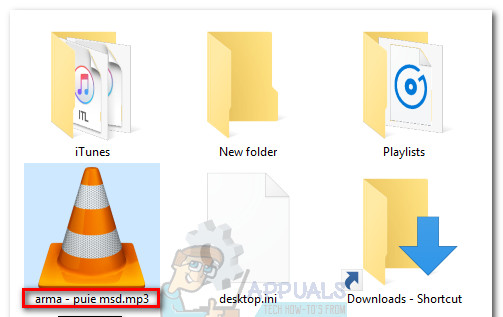
- Use File Explorer to navigate to the location of the CDA file. Right-click on the CDA file and choose Rename. Then, simply modify the extension after “.” from cda to mp3 and hit Enter to save.
- Next, double-click the file whose extension you’ve just modified and see if the audio file is playing. If the converted mp3 file is playing normally, you’ve managed to resolve your issue. In this case, feel free to repeat the procedure with every audio file that got modified during the Windows upgrade process.
In the event that you get an error when opening the file, change the extension back to “.cda” and move down to Method 2.
Method 2: Ripping the CDA files with Windows Media Player
Windows Media Player makes up for a good tool if you want to convert CDA files to MP3 files. However, it will require you to do some tweaking inside the options menu in order to set it up.
In this case, the therm rip is another variation of the term copy. To be more specific, Windows Media Player will make a copy of the audio tracks present in the CDA file and then convert them into ripped tracks using a format that was previously specified. Here’s a quick guide on how to do this:
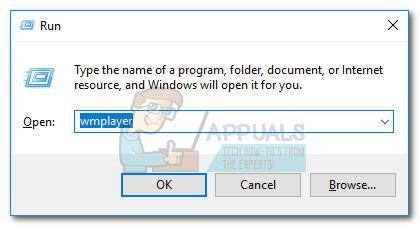
- Press Windows key + R to open up a Run window. Type “wmplayer” and hit Enter to open Windows Media Player.
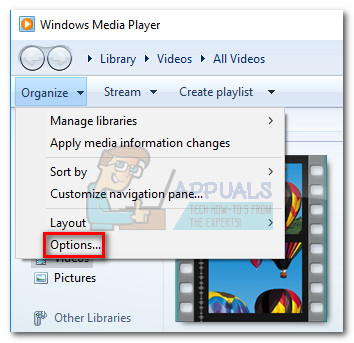
- In Windows Media Player, click on Organize to bring down the drop-down menu, then click on Options.
- In the Options menu of Windows Media Player, select the Rip Music tab. Firstly, use the Change button under Rip music to this location to set the location in which the converted MP3 files will be delivered. Once the location is set, click the Format drop-down menu (under Rip Settings) and set it to MP3. Finally, hit the Apply button to save your changes.
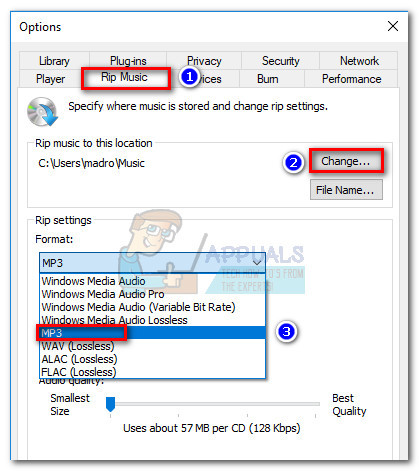 Note: At this point, you can use the Audio quality slider to adjust the audio quality in relation to the size.
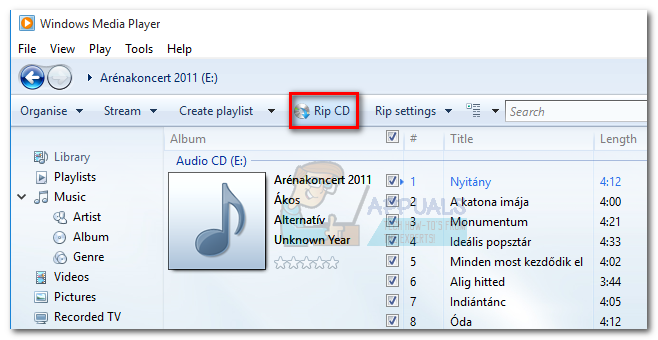
 - Open the CDA file with Windows Media Player (either by double-clicking or by right-clicking > Open With Windows Media Player) and click on Rip CD (in the ribbon bar).
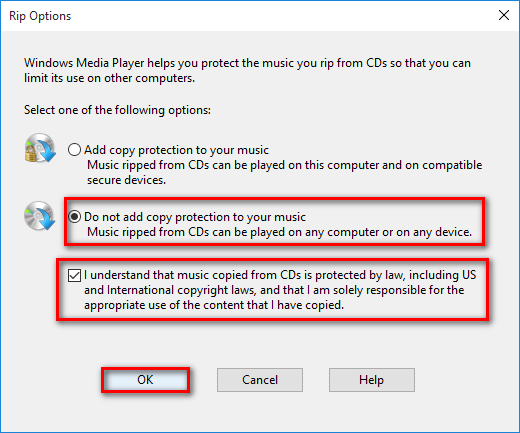
- You’ll then see a Rip Options prompt. If you want to make your converted MP3 files playable across multiple computers, select Do not add copy protection to your music and then check the checkbox down below. Hit Ok to kickstart the conversion process.
- Once the process is complete, you’ll find the converted Mp3 files in the folder previously specified at step 3 (via the Change button).
If for some reason the MP3 files are not playable or if you’re unable to use Windows Media Player to convert your CMA files to MP3, proceed down to Method 3.
Method 3: Convert a CDA file to Mp3 using iTunes
Apple’s iTunes is also capable of converting CDA files to MP3. But keep in mind that Apple has hidden this Mp3 conversion feature in iTunes by default on the latest iTunes versions. If you have the latest iTunes version available, you might need to go through additional steps before you’re able to convert a CDA file to an Mp3 file with this software.
Here’s a quick guide to using iTunes to convert a CMA file to MP3:
- Insert the CD that ultimately contains the audio files contained in the CMA file.
- Open iTunes, click the File tab and choose Convert > Create MP3 Version.
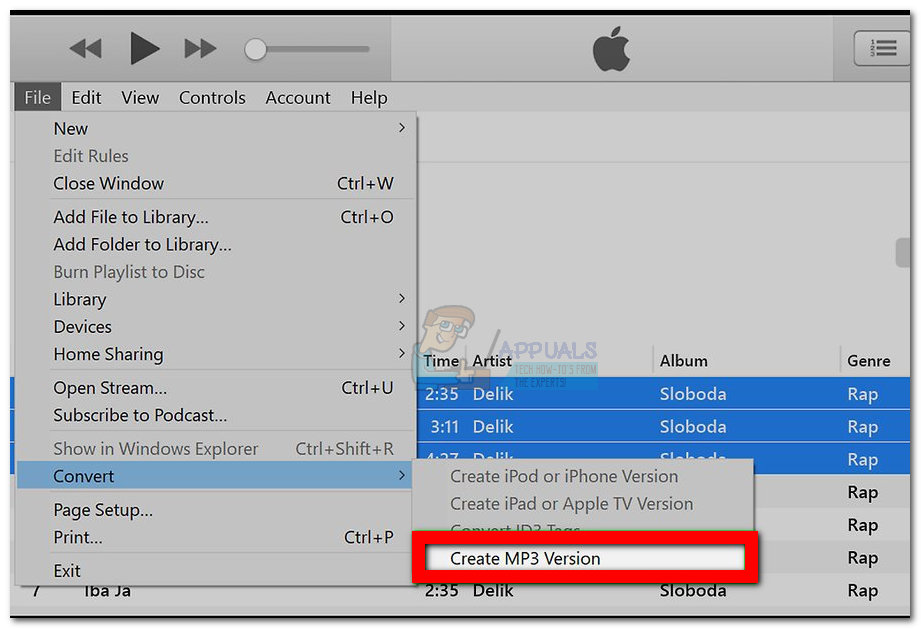 Note: If create MP3 Version is visible by default, skip straight to step 5. In the event that the Create MP3 Version is not visible by default, proceed with the following steps normally.
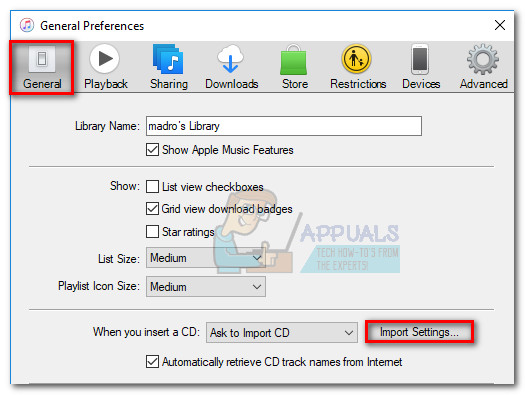
 - Use the ribbon to access the Edit tab and choose Preferences. Next, go to the General tab and click on Import Settings.
- In the Import Settings window, set the drop-down menu associated with Import Using to MP3 Encoder. Then, hit OK to save your changes.
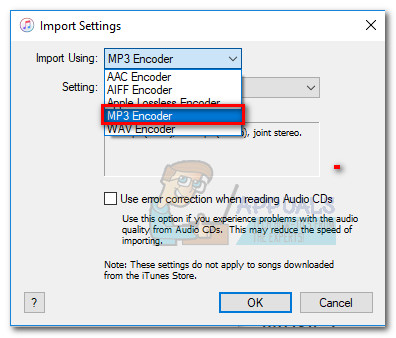 Note: Now the Create MP3 Version option under Conversion should become visible. Once this step is done, you should be able to follow step 2.
 - Wait for the CMA files to be converted. You will be able to see the newly converted MP3 files in the Recently Added tab. You can then right-click on any of them and choose Show in File Explorer (Show in Finder on Mac) in order to view their location.
If you don’t have iTunes or this method was not applicable, move to the final method.
Method 4: Using another external 3rd party converter
If for some reasons the methods above were not applicable to your situation, you can also convert the CDA file to MP3 via an external converter. There are a lot of popular options that you can use, but we found that Any Audio Converter is the easiest method out of the bunch.
Here’s a quick guide to using Any Audio Converter to convert a CDA file to MP3:
- Visit this web page (here) and download the Any Audio Converted installer associated with your operating system (Windows or Mac).

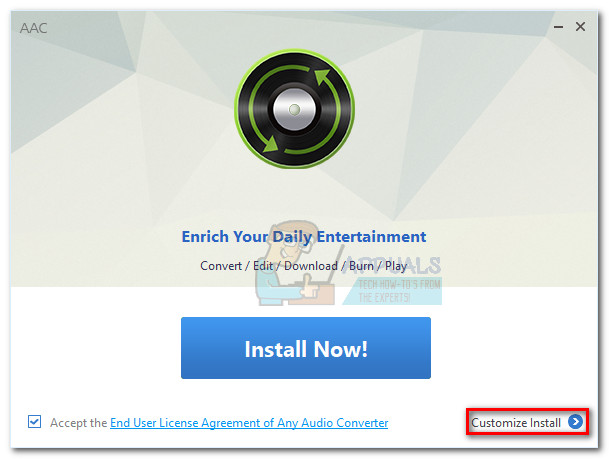
- Open the installer and follow the on-screen prompts to install the software on your system. If you want to avoid the bundled software choose Customize Install and uncheck the aditional software to prevent them from installing.
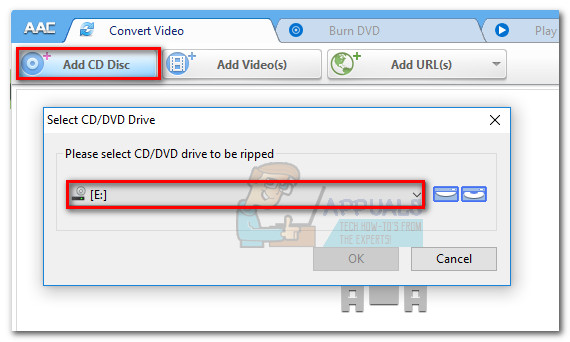
- Once the installation is complete, open the software and insert the CD associated with the CDA file. Then, use the top ribbon to select Add CD Disk. Then, select the DVD / CD drive in which you inserted the audio media. Finally, click OK to populate the list.
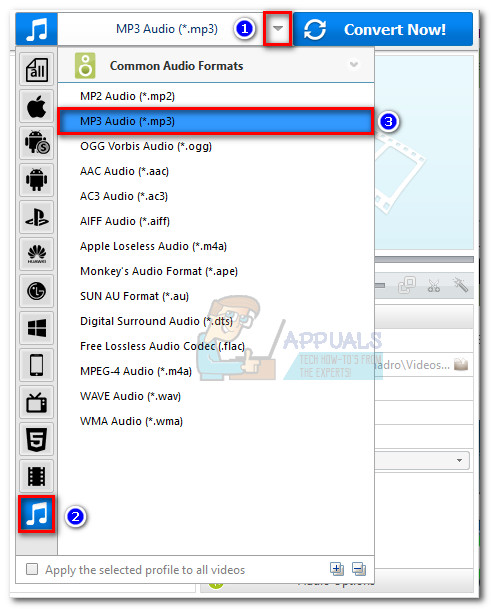
- Next, use the drop-down menu near the Convert Now! button, click on Common Audio Formats and select MP3 Audio (*.mp3) from the list.
- Once you’re ready, simply hit the Convert Now button and wait for the process to complete. Once the software finished the conversion, you should automatically see a File Explorer popping up with the location of the converted files.