How to Convert a Basic Disk to a Dynamic Disk on Windows?
Depending on how you plan on using your Windows computer, it might make a lot of sense to convert your basic disk into a dynamic disk since it gives you access to a whole plethora of features that are not available if you stick to the traditional hard disk type.

Before we dive into the actual methods, it’s important to understand the differences between a basic and dynamic disk. This will help you decide if converting is the best option for you.
Basic Disk vs Dynamic Disk
Although there are instances where it makes a lot of sense to change your disk type to dynamic, there are also situations where you’re better of sticking with a Basic Disk.
To put it simply, basic disks are more suitable for ordinary computer users that do, well, ordinary things. Unless you’re an IT administrator or an advanced Windows user passionate about fine-tuning your computer performance by using more than one hard disk, using a dynamic disk should be your choice.
Here are the 3 main advantages of using a dynamic disk over a basic disk:
- Dynamic disks are capable of creating volumes that span multiple disks. By using this technique, you’ll get better use of your available disk space since you’ll be able to combine areas of unallocated space in volumes that are shared across multiple disks.
- You can only create fault-tolerant volumes (either RAID-5 or mirrored) if you’re using dynamic disks.
- Using a dynamic drive, you have the ability to save data to different hard disks and form so-called ‘stiped volumes. These will improve the disk performance by letting in more than one disk drive to drive read and write data.
How to Convert a Basic Disk to Dynamic disk
Now that you are familiar with the advantage of creating a dynamic disk, let’s go over all the ways that will allow you to make the transition from a Basic Disk to a Dynamic disk under Windows.
There are three conversion ways that will allow you to upgrade to a dynamic disk without causing data loss, but this is not a given fact. Things that are entirely beyond your control can go wrong during the conversion process, so our recommendation is to take the time and back up your hard drive data before taking any additional steps.
Now that you have the safety measure in place, let’s go over all the available solutions that will allow you to convert to a dynamic disk without data loss:
- Using Disk Management
- Using Diskpart from an elevated Command Prompt
- Using a 3rd party tool
Below we’ll give you the steps for each of these methods. Feel free to follow whichever method you feel most comfortable with.
PRO TIP: Generally speaking, using a 3rd party tool is considered safer since most solutions currently on the market have a few additional safety mechanisms that will protect you against an eventual data loss. But depending on the tool you choose, you might need to invest in a software license.
1. Convert to a Dynamic Disk using Disk Management
If you prefer the built-in tool that’s backed up by Microsoft, using Disk Management is probably the option to go in your case.
Using Disk Management, you can easily convert a basic disk to a dynamic disk without downloading any type of third-party software. The drawback is that in some cases, the operation will fail due to a computation error and you run the risk of data loss.
If you are prepared to go this route, follow the instructions below to convert a basic disk to a dynamic disk using Disk Management:
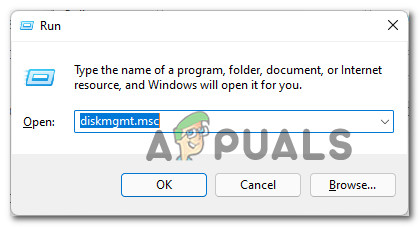
- Press Windows key + R to open up a Run dialog box. Next, inside the text box, type ‘diskmgmt.msc’ and press Enter to open up Disk Management.
Opening up a Disk Management window - When you’re prompted by the User Account Control (UAC) prompt, click Yes to grant admin access.
- Once you’re inside the Disk Management interface, select the basic disk that you want to convert to dynamic from the bottom-side menu, right-click on it and choose to Convert to Dynamic disk from the context menu that just appeared.
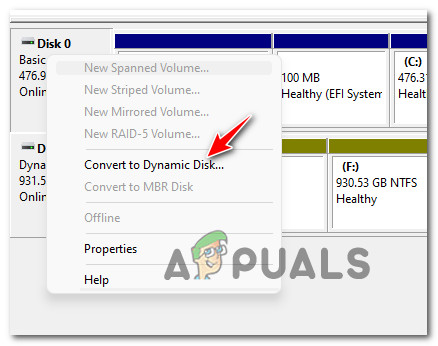
Convert to a dynamic disk Note: Double-check to make sure that you are converting the right disk to dynamic before proceeding any further.
- Once you are certain that you are trying to convert the correct disk, click Ok to finish the process and complete the transition to a dynamic disk.
If you’re looking for a different way of converting your basic drive to a dynamic equivalent, move down to the next method below.
2. Use a CMD Command to Convert a Basic Disk to Dynamic
If you don’t shy away from using terminal commands to get things done under Windows, you’ll be happy to know you can also use Diskpart inside Command Prompt to convert to a dynamic disk from a basic equivalent.
This method is also without data loss and will arguably give you more control over the transition process.
Follow the instructions below to make the conversion to a Dynamic Disk from a Basic equivalent:
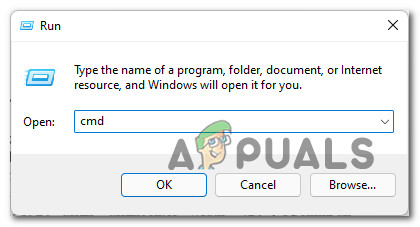
- Press Windows key + R to open up a Run dialog box. When you’re prompted by the Run text box, type ‘cmd’ and press Ctrl + Shift + Enter to open an elevated Command Prompt.
Open up an elevated CMD prompt - When you’re prompted by the User Account Control prompt, click on Yes to grant admin access to the CMD prompt.
- Once you’re inside the elevated Command Prompt window, run the following commands in the same order as below and press Enter after each one to convert your basic disk to dynamic:
diskpart

list disk

select disk X

convert dynamic
Note: Keep in mind that X is simply a placeholder for the disk that you want to convert. Make sure to adjust the select disk X command in order to select the correct drive E.G. ‘select disk0‘. You can ensure that fetch the disk number from the return you get after you run the ‘list disk‘ command.
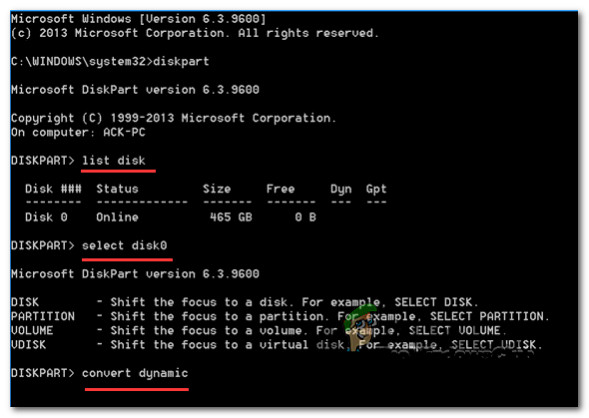
Convert the disk from Basic to Dynamic using CMD - Once every command is successfully imputed, type ‘exit’ and press Enter to end the disk conversion process.
- Close the elevated Command prompt.
If you want the conversion process to be handled by a 3rd party tool, move down to the next method below.
3. Use a 3rd party tool to Convert a Basic Disk to Dynamic
If you feel comfortable with using a 3rd party tool to facilitate the conversion process from basic to dynamic, there are a few reliable utilities that you can use to get the job done:
All of these tools will get the job done, but with some of these, you might need to get the PRO versions in order to be able to use the conversion feature.
Fortunately, EaseUS offers this feature with the free version of the app. Follow the guide below for step by step instructions on converting a basic disk to dynamic:
- Open up your browser and download the latest version of EaseUS from the official download page.
- Once you arrive on the correct page, click on Free Download and follow the instructions to download the installer locally.
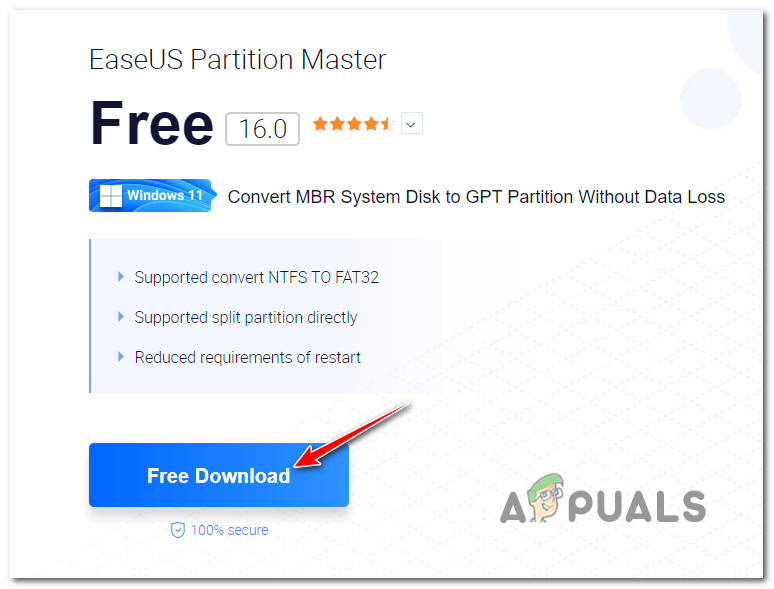
Downloading the Ease.US installer Note: When you’re prompted about the package you want to go for, make sure to download the free version. EASE.US allows you to convert a basic disk to dynamic with the free version, but you’ll need the PRO version to convert a dynamic disk back to basic.
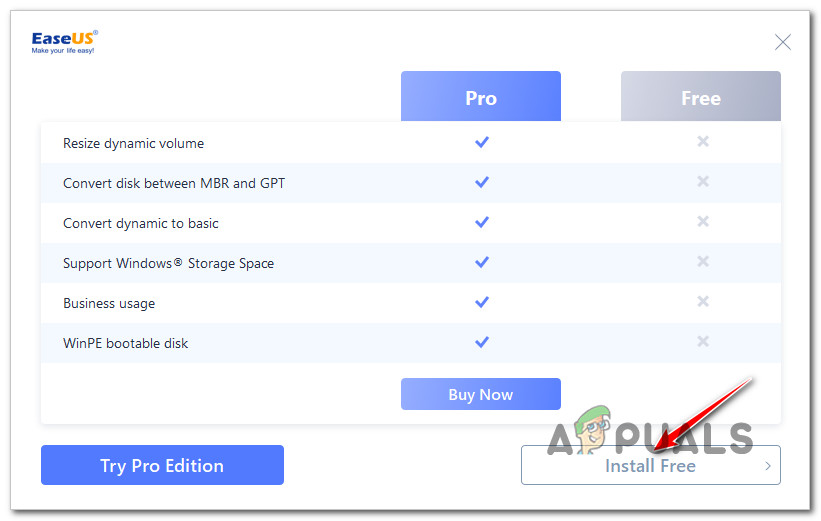
- Once the installer is downloaded locally, open the installer, give it admin access at the UAC (User Account Control) and click on Install Free at the second prompt to install the free version.
Installing the free version of Ease.US - Wait until the installer downloads the install files locally and finishes the installation on your computer.
- Once the installation is complete, click on Start Now to open the tool.
- Inside EaseUs Partition Master, simply right-click on the basic disk that you want to convert and choose Convert to Dynamic from the context menu that just appeared.
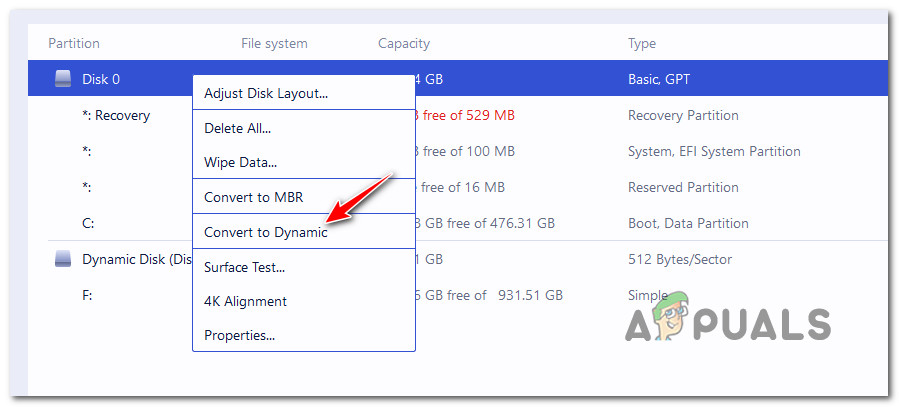
Convert to Dynamic disk using EaseUS Partition Master - Once the command is loaded, click on Execute Operation (from the ribbon bar at the top) to start the conversion process.
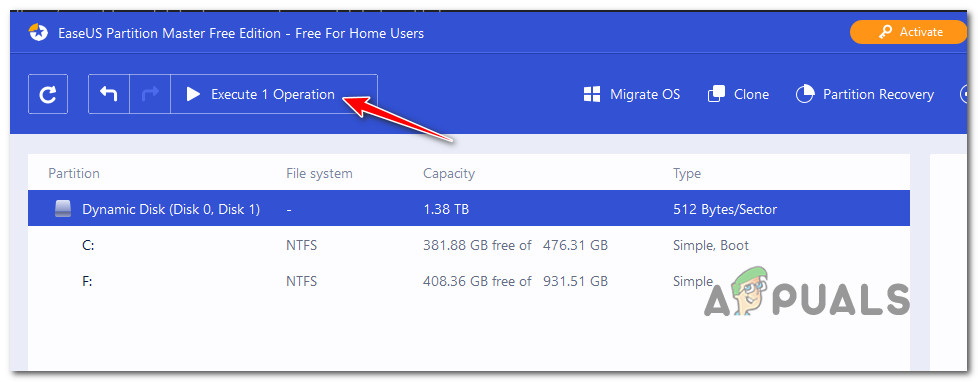
Execute the operation inside Partition Master - Wait until the operation is complete, then reboot your PC.


