How to Configure and Setup Any Linksys Router
Configuring a Linksys router is an essential step in establishing a home or office network. This guide will lead you through the process of connecting to the router, accessing its web interface, logging in, configuring its settings, and saving your changes. By following this guide, you will have a fully configured Linksys router ready for use.
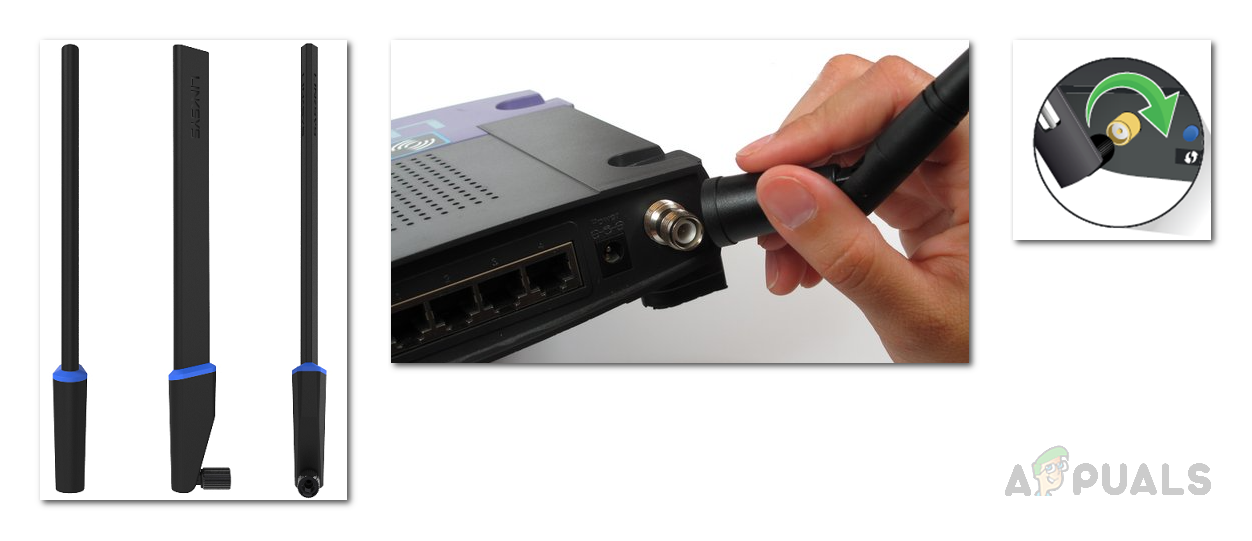
Before setting up your router, ensure that it is properly connected to a power source and that any external antennas are in place.
- Attach any external antennas to the router, if provided, before moving on to the next step.
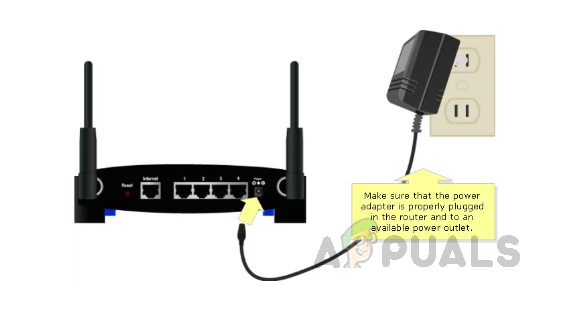
- Plug the router into a power outlet using the supplied power cable. If your router comes with a power switch, make sure to switch it to the ON position. Wait for the power light indicator to turn on after plugging in the router, which may take a moment.
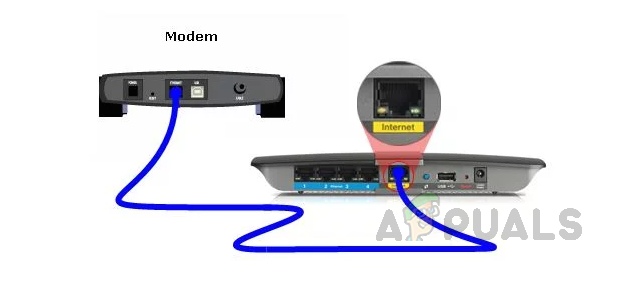
- Using the Ethernet cable provided by your Internet service provider, connect the modem to the Internet port on the Linksys router.
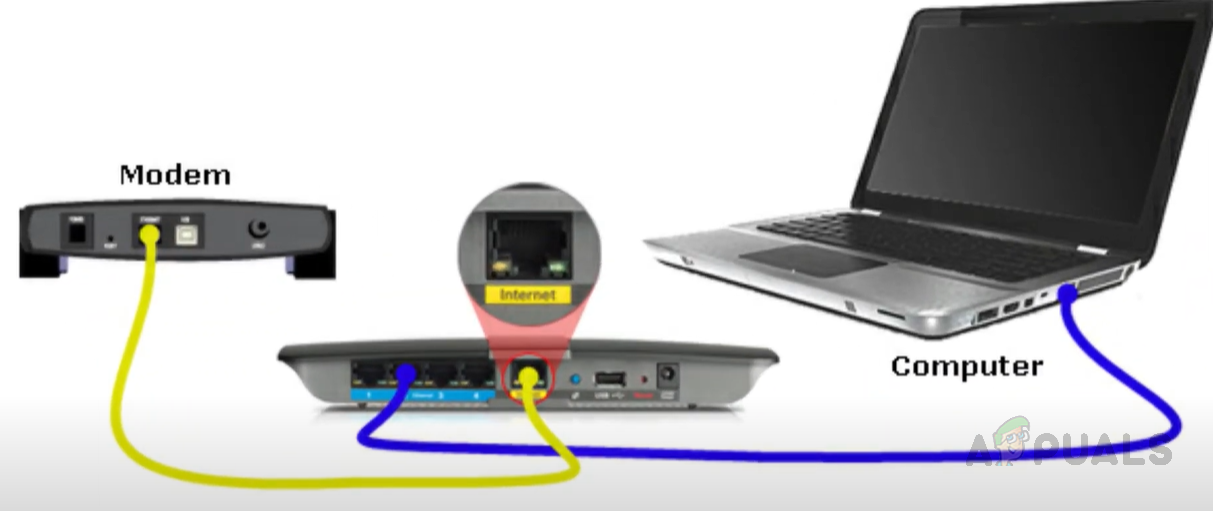
- Connect your computer to the router using an Ethernet cable, plugging it into any of the available Ethernet ports on the router.
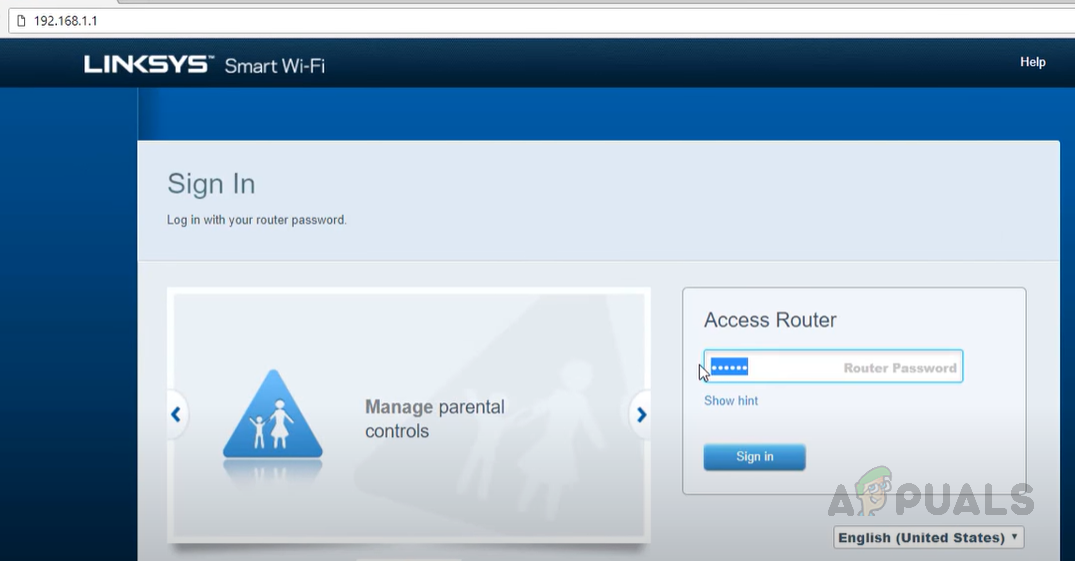
Note: If you own a recent Linksys router, you can also connect to the default secured Wi-Fi network. The Wi-Fi credentials can be found on the bottom of the router or in the Quick Start Guide included with it. - Open a web browser and enter the router’s default IP address, 192.168.1.1, into the address bar to access the web interface.

- Upon entering the router’s IP address into your browser, you will be prompted to input a username and password. The default credentials are usually “admin” for both.
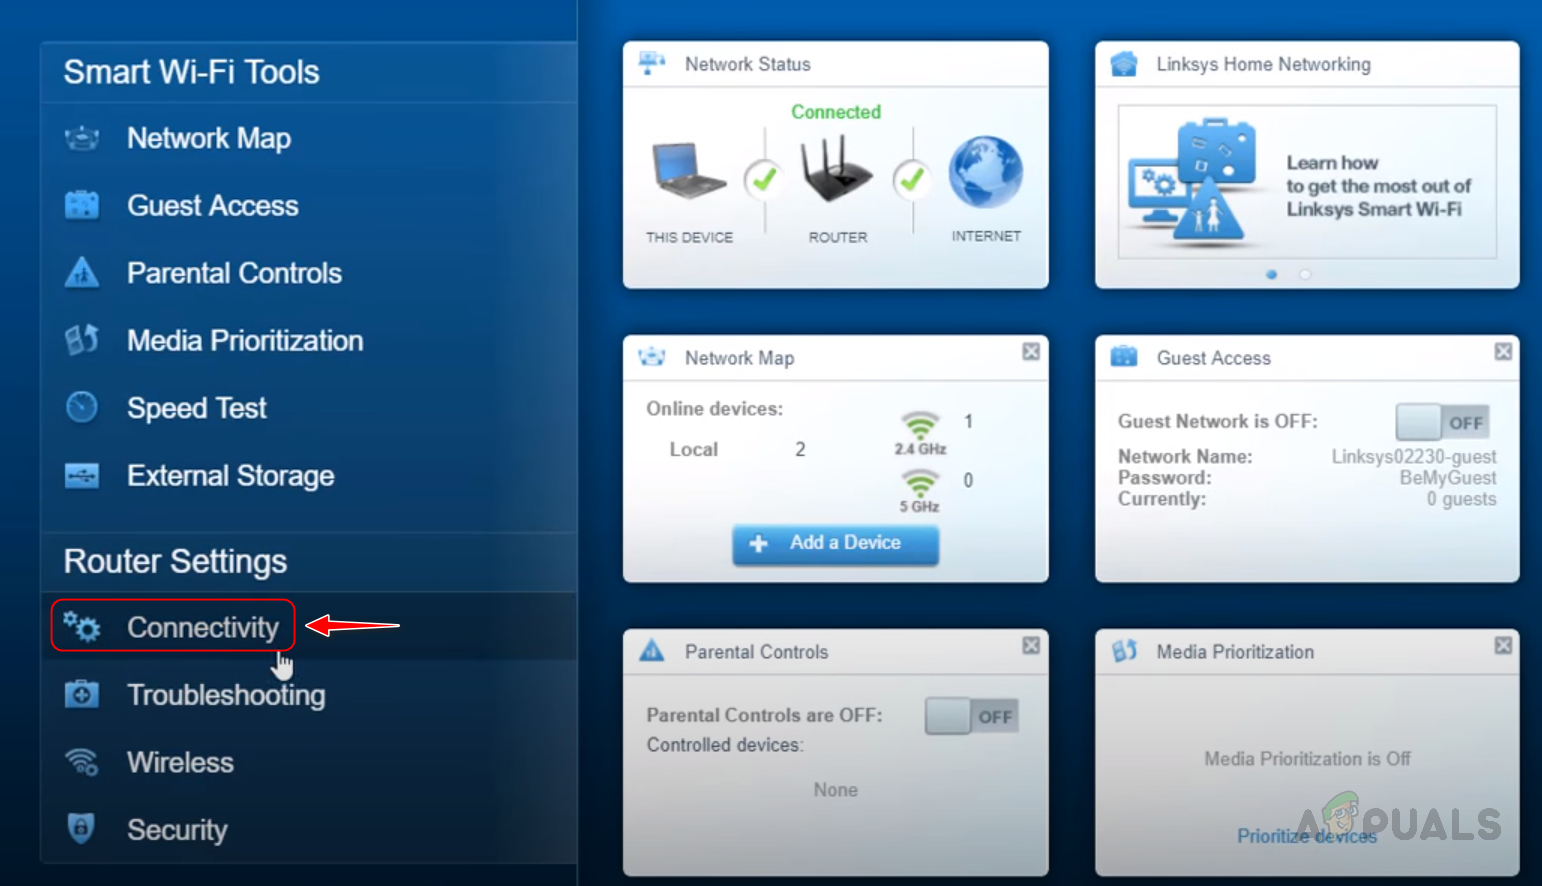
- Select “Connectivity” from the “Router Settings” menu.
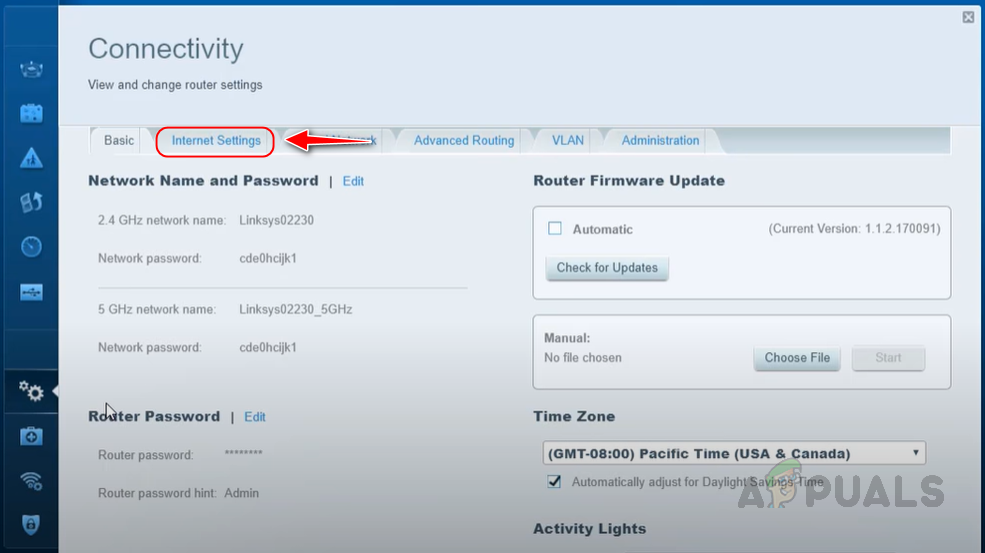
- Click on “Internet Settings.”
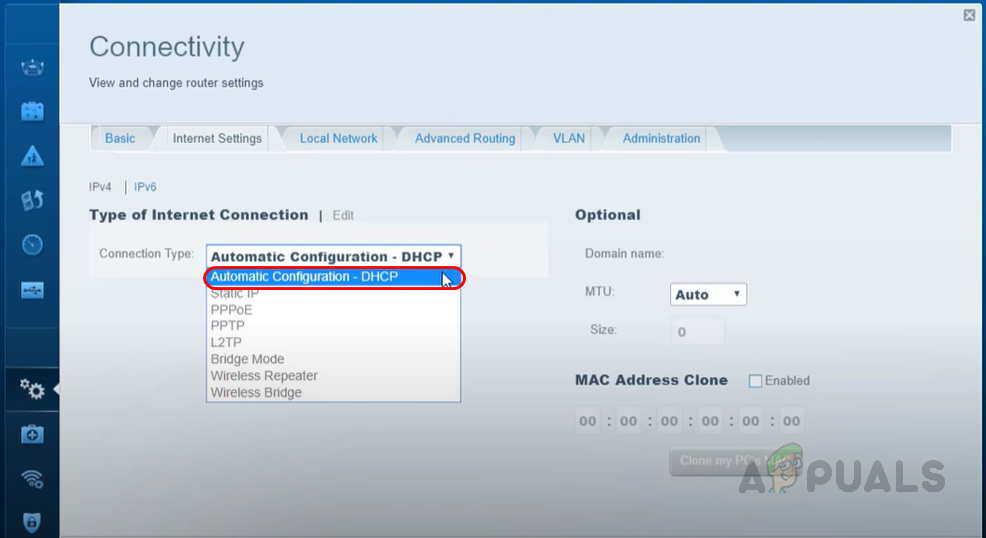
- Press the “Edit” button next to “Type of Internet Connection”.
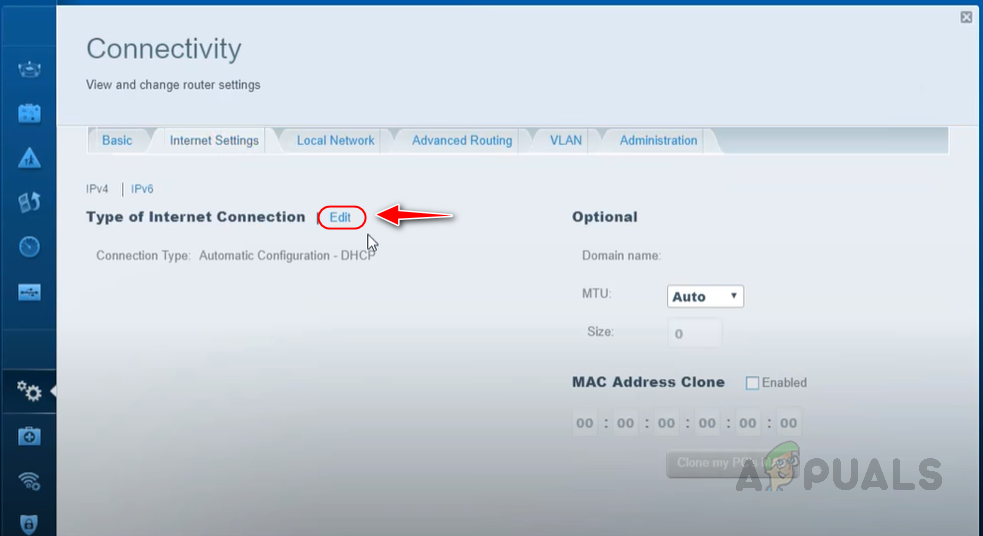
- Select “Automatic Configuration – DHCP” from the “Connection Type” dropdown menu.
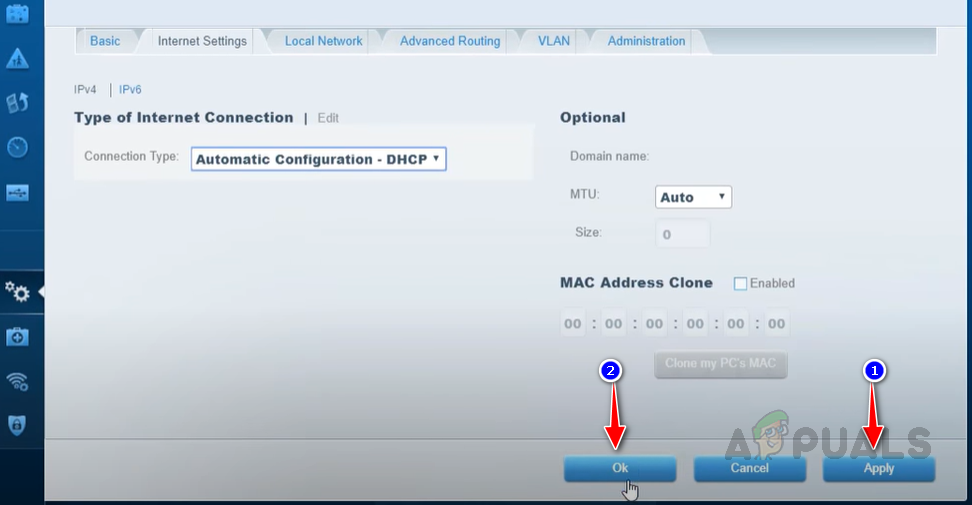
- Hit “Apply,” then “OK” to save the changes.
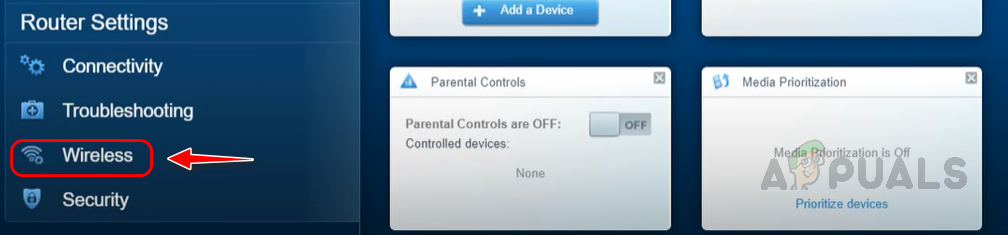
- To modify Wi-Fi settings, select “Wireless” under “Router Settings”.
- Enable both the 2.4GHz and 5GHz frequencies by setting the “Turn On” button to the “On” position. Customize your Wi-Fi network name and password by entering them into the relevant textboxes for enhanced security.
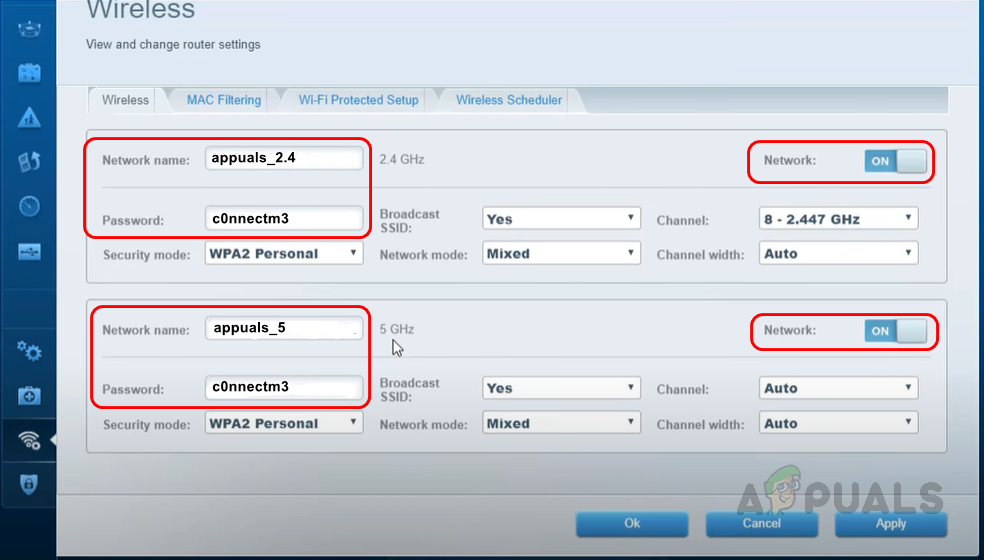
- Click “Apply,” followed by “OK” to confirm your Wi-Fi settings.
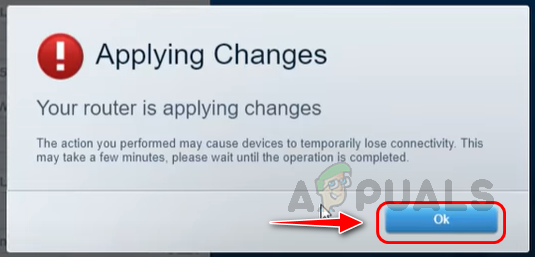
- After saving your Wi-Fi configuration by pressing “OK,” you may see a prompt to confirm the changes. Click “OK” to proceed.
 This guide has outlined the procedure for connecting to the router, utilizing its web interface, customizing its settings, and saving these configurations. Always verify the router’s power connection and proper attachment of any external antennas before beginning the setup process. By adhering to these straightforward instructions, you can have a Linksys router fully prepared and operational for your network needs.