How to Completely Wipe Windows 7 From Your Computer
Most Windows 7 users who want to go back to day zero decide to wipe Windows 7, in all of its entirety, from their computer. Unfortunately, getting rid of Windows 7, in its entirety, from a computer is not as easy as simply locating the folder all of the Windows system files are stored in and deleting it. In fact, even going as far as to format the partition of your hard drive that Windows 7 is installed on won’t get the job done – not completely, at least. Completely wiping all traces of Windows 7 from a computer is a tad harder than most people think it is.
However, that’s just it – wiping Windows 7 from a computer in all of its entirety is a tad complex, but definitely doable. Formatting a hard drive from within Windows is not enough to get rid of all the data on it – while the data is certainly deleted, formatting the drive does not get rid of all traces of the data and it still remains recoverable after the fact. Thankfully, though, there are ways that can be used to completely wipe everything off a hard drive or, at the very least, one of its partitions, and these are the ways anyone who wants to wipe Windows 7 from their computer needs to use. The following are the two most effective methods that can be used to completely wipe Windows 7 in all of its glory from a computer it is installed on:
Method 1: Wipe Windows 7 using a Windows 7 installation media
First and foremost, you can completely get rid of Windows 7 from a computer using the same media you used to install it in the first place. A Windows 7 installation CD/DVD or USB, which is usually used to install Windows 7 on computers, can also be used to wipe an already installed instance of Windows 7 from a computer. If you would like to wipe Windows 7 from a computer using this method, simply get your hands on a Windows 7 installation CD/DVD or USB, and then:
- Insert the Windows 7 installation CD/DVD or USB into the computer and restart it.
- On the very first screen you see while the computer boots up, press the respective key on your keyboard to get into your computer’s BIOS or Setup. The key you need to press will be clearly described on the first screen you see while your computer boots up.
- Navigate to the Boot tab of the BIOS.
- Configure the Boot order of your computer to first boot from the CD-ROM (if you’re using a Windows 7 installation CD/DVD) or from USB (if you’re using a Windows 7 installation USB).

- Save the changes you have made to the BIOS and exit it.
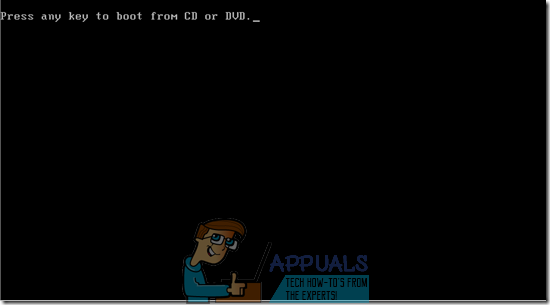
- When the computer boots up, it will try to boot from the installation CD/DVD or USB and ask you to press any key on your keyboard to boot from the media. When it does, simply press any key to proceed.
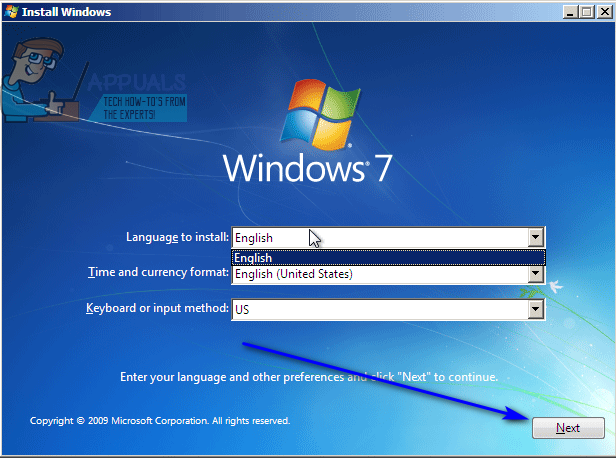
- Configure your language and other preferences on the Install Windows page and click on Next. Also follow any other onscreen instructions you see until you get to the Which type of installation do you want? page.
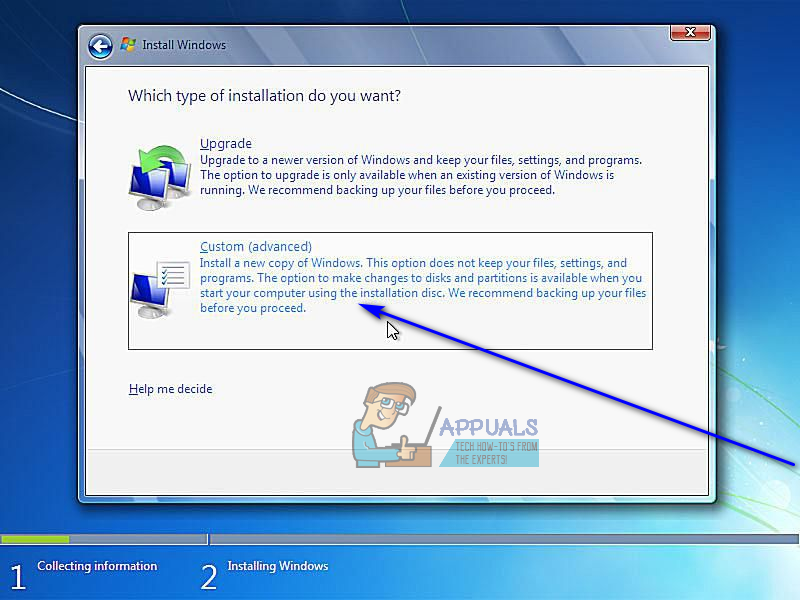
- On the Which type of installation do you want? page, click on Custom (advanced).
- On the Where do you want to install Windows? page, click on Drive options (advanced), click on the partition of your computer’s hard drive that Windows 7 is installed on to select it, and click on Format.

- Follow the onscreen instructions to format the drive, effectively wiping Windows 7 from your computer.
At this point, Windows 7 will have been successfully wiped from your computer. However, if you want to also delete the other partitions on your computer’s hard drive, click on them to select them one by one, click on Delete and confirm the action if required to do so. Once done, the storage space from all of the partitions you deleted will be displayed as one big chunk of Unallocated space, which you can then click on to select and click on Format to format in whatever way you like and later even divide into partitions. When you’re done, you can go ahead and reinstall Windows 7 from scratch or install whatever other Operating System you want without having to worry about your previous Windows 7 installation still sitting somewhere on your computer’s hard drive.
Method 2: Wipe Windows 7 using Darik’s Boot and Nuke
There are a significant amount of programs designed for computers that are capable of completely wiping entire partitions and entire hard drives, and some of these are bootable and work independent of any Operating System. When it comes to such programs, one of the absolute best ones is DBAN (Darik’s Boot and Nuke) – a bootable application that can be used to wipe Windows 7 (and everything else stored on the same partition as the Windows 7 installation) from a computer. To use this method to get rid of Windows 7 in its entirety, you need to first acquire a bootable copy of DBAN (available here) and have it burned onto a CD/DVD or USB that you can boot from. Next, you need to:
- Insert the DBAN CD/DVD or USB into the computer and restart it.
- On the very first screen you see while the computer boots up, press the respective key on your keyboard to get into your computer’s BIOS or Setup. The key you need to press will be clearly described on the first screen you see while your computer boots up.
- Navigate to the Boot tab of the BIOS.
- Configure the Boot order of your computer to first boot from the CD-ROM (if you have DBAN on a CD/DVD) or from USB (if you have DBAN on a USB).
- Save the changes you have made to the BIOS and exit it.
- When the computer boots up, it will try to boot from the DBAN CD/DVD or USB, and it might ask you to press any key on your keyboard to boot from the media. If it does, simply press any key to proceed.
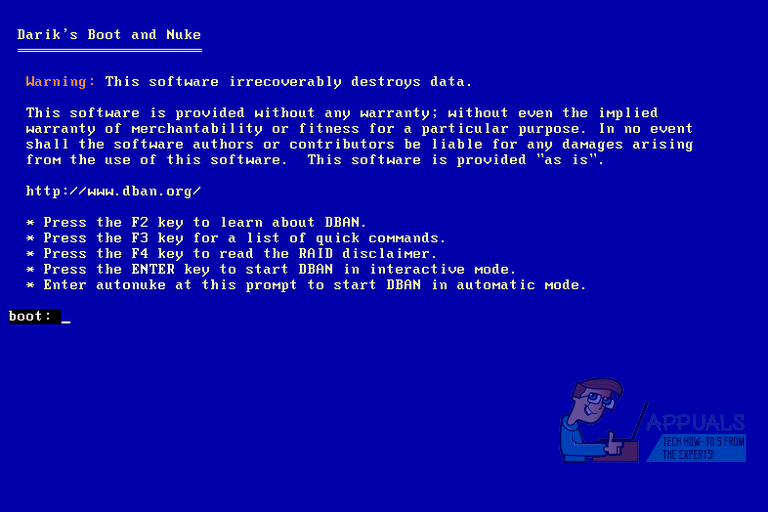
- Once you are in DBAN’s Main Menu, press Enter to start DBAN in Interactive Mode.
- Using the J and K keys to navigate through the list of drives and drive partitions detected by DBAN located at the bottom of the screen and Space to select/deselect individual partitions, select all the drive partitions you want wiped completely clean (one of these needs to be the partition housing your current installation of Windows 7). The word wipe will appear next to the drives that you select to be wiped clean.
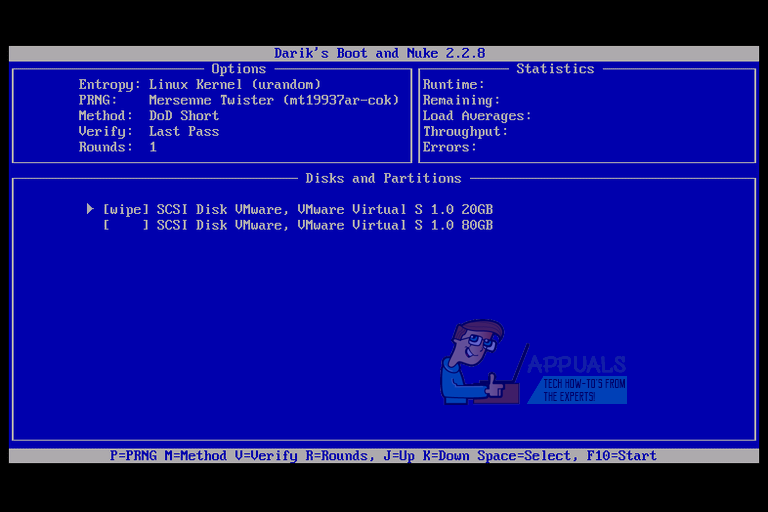
- Press F10 to begin the wipe.
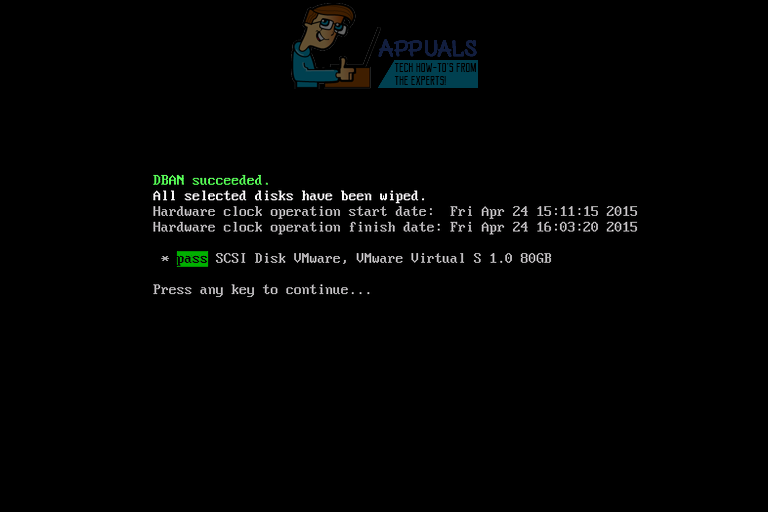
- DBAN will begin wiping the selected drive(s), and it will keep you up to date with its progress. All you need to do at this point is wait.
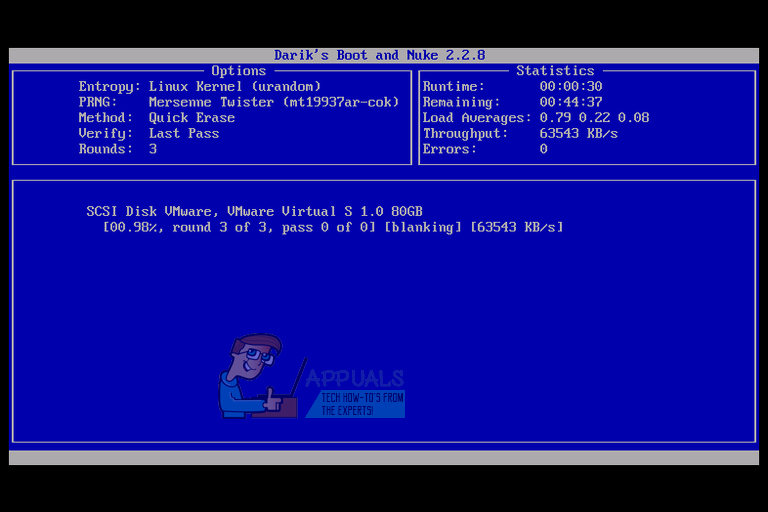
- When the process has been completed, DBAN will display a message stating DBAN succeeded.