How to change offline charging animation for Android devices
Here’s a nifty trick I’m going to show you – how to change the battery charging animation when your phone is turned off. However, this is a bit technical; it’s not as simple or customizable as your boot animation. In fact, this procedure is quite risky, as the battery charging animation is deeply embedded in the /system. While this is a universal guide, each Android manufacturer may treat the battery animation differently. Therefore, I will address different methods for different phones.
NOTE: It is virtually impossible to change Samsung charging animations, as they rely on deeply complex Kernel instructions, and proprietary .QMG file types that are converted into ShadowProtect .SPI files. Thanks as always, Samsung.

MT65xx / MT67xx phones (Mediatek chipset)
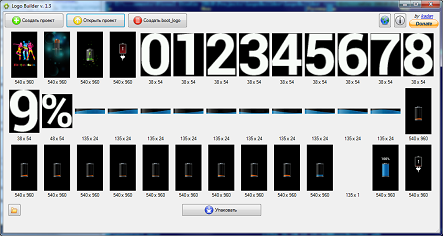
You’ll want to download the LogoBuilder software for MT65xx devices. This software will unpack/repack your logo.bin file which contains the first boot screen (not your boot animation, but the first boot screen which is typically the device manufacturer’s logo) and the battery charging images.
So, after you’ve downloaded the LogoBuilder software to your computer, you’ll need to get the logo.bin file from your phone. There are two ways to accomplish this. You can either download an original firmware file for your device onto your computer and grab the logo.bin file from within, or…”.
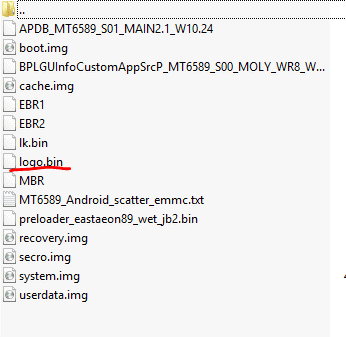
Alternatively, you can use the following ADB command (see: How to Install ADB on Windows) to pull logo.bin directly from your phone onto your computer, over USB connection:
dd if=/dev/logo of=/sdcard/logo.bin bs=3145728 count=1
Once you have obtained the logo.bin file for your phone, launch LogoBuilder. Click the ‘Create project’ button and select the logo.bin file.
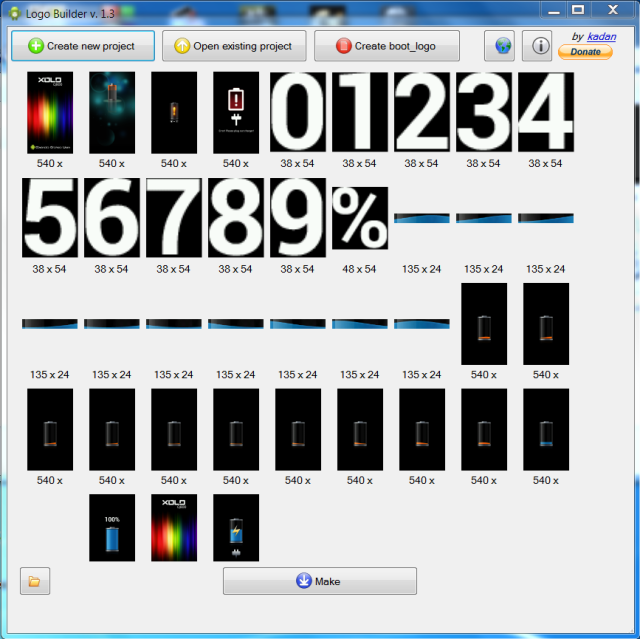
Now, you have the ability to edit the images to suit your preferences. To ensure maximum compatibility, it is important to maintain the same image file types and dimension sizes as the original images. In other words, you should avoid replacing a 540×960 .png image with an image of 1080×1920 resolution, for instance.
After you have finished editing the images, click on the “Make” button in LogoBuilder. This will generate a new logo.bin and update.zip files. You have the option to flash the logo.bin with a flashing tool, such as SP Flash Tool, or you can flash the update.zip via custom recovery like TWRP. Please refrain from doing both. You should select one method or the other.
Change the battery animation in CM12 Lollipop and CM13 Marshmallow ROMs.
If your phone is running the CyanogenMod custom ROM, here’s a way to change the battery animation via script. First you will need to download all of the default battery .pngs HERE and edit them to your liking.
It’s very important to take the following notes:
- The battery_?.png and battery_charge files are deprecated in 6.0 and are replaced by png (multi-surface image) with a mandatory 6 frames, which are hardcoded in Android. To make the Battery-Images-Replacer compatible with previous Android versions, the deprecated files are retained.
- The block device in the .sh file needs to be generalized to work in the i9300 (in my case) and potentially in others. Therefore, it was replaced in line 9 with: block=`find /dev/block/platform -name BOOT`;
However, the challenge lies in creating the new battery_scale.png file. In this instance, we possess six single surface images (battery_?.png files), and aim to generate a ‘Multi Surface Image’ file that complies with Android 6.0.
There is a script to do most of the dirty work, but it has requirements. You will need:
ImageMagick is a software suite. exiftool
pngcrush
Now, I am providing the .sh script here. This script must either be run from a Linux terminal, or in Windows with Cygwin installed.
Once the battery_scale.png is created, it needs to be copied to the Battery-Images-Replacer-ak-opo-anykernel/charger/ directory if the script was not run there. Then, proceed to the base directory, Battery-Images-Replacer-ak-opo-anykernel, and run ‘zip -r ../Battery-Images-Replacer.zip .’. This should result in a flashable zip file in the parent directory.
Transfer the zip file to your phone now (using adb push, USB file transfer, etc.), and ensure that the file is available to TWRP or CWM. Boot into recovery and flash the zip file. Then, turn off the phone and start charging. Enjoy your new battery animation.
Sony Xperia devices are high-quality.
Extremely easy. Just look inside /system/semc/chargemon/data for the battery charging .PNG files. You can then edit or replace them with your own .PNG files, just be sure to use the same image dimensions as the originals.
HTC Devices
Very easy, but you’ll need software that can either edit .RLE files, like latest Photoshop CC 2017, or software that can convert .RLE to .PNG and back again.
But basically, just copy all of the .RLE files from /system/media/zchgd and edit them using the software I mentioned above, then replace the old files.
hey Kevin..could you help me?
I just install Lineageos 14.1 on my zenfone max
but i found that this rom doesn’t have any offline charging animation…when I flash stock boot.img it have the charging animation but it’s boot loop…could you help me?..I need your answer as soon as possible…TY