How to Change a Keyboard on Android?
Customization is the backbone of the emergence of the Android OS and once such feature is changing the default or stock keyboard on an Android phone. This change can be made regardless of the phone’s brand like Samsung, Google, Huawei, Xiaomi, etc.

Most of the stock keyboards are good, but for certain user requirements, a user may need another keyboard e.g., to use the keyboard in another language or input math symbols in an equation, but the required feature is not supported by the user’s default phone keyboard. The process to change the Android keyboard is generally the same for Android phones but might differ in some cases depending on the make, model, and Android version (Android 12, Android 11, etc.) of the phone.
Types of Android Keyboards
Nearly, every Android phone or device (like a TV) is equipped with two types of keyboards:
- Virtual or On-Screen Keyboard: An Android user can input certain characters on his phone without the use of any physical keyboard attached to his phone. Interacting with a virtual Android keyboard usually occurs through the touchscreen interface but on an Android TV, a remote may be used to interact with the virtual keyboard.
- Physical Keyboard: Any USB-based (connected through an OTG connector), Bluetooth, or wireless keyboard attached to an Android phone or device will be called a physical or external keyboard.
Change Between Physical and Virtual Keyboard
When a physical keyboard is attached to an Android phone or device, then many of the latest phones will automatically start taking the input from the physical keyboard but some users might have to configure the phone to take the input from the physical keyboard. To do so:
- Launch the Android phone Settings and open Language & Input. In some phone models, a user may have to open or expand the System section.
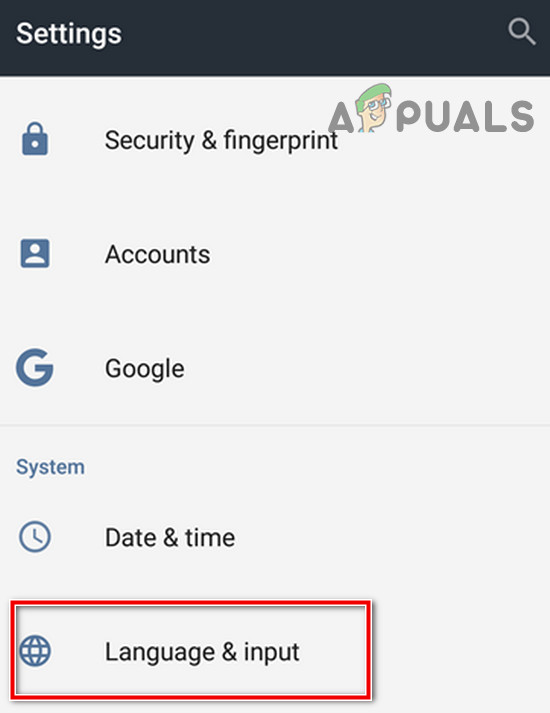
Open Language & Input in the Android Phone Settings - Now tap on Physical Keyboard and if required, enable it. If the virtual keyboard appears when inputting through the external keyboard, then you may disable the virtual keyboard in the phone’s settings or if no such setting is available, then you may use any empty virtual keyboard (like a Null keyboard) to not cover the phone’s screen.
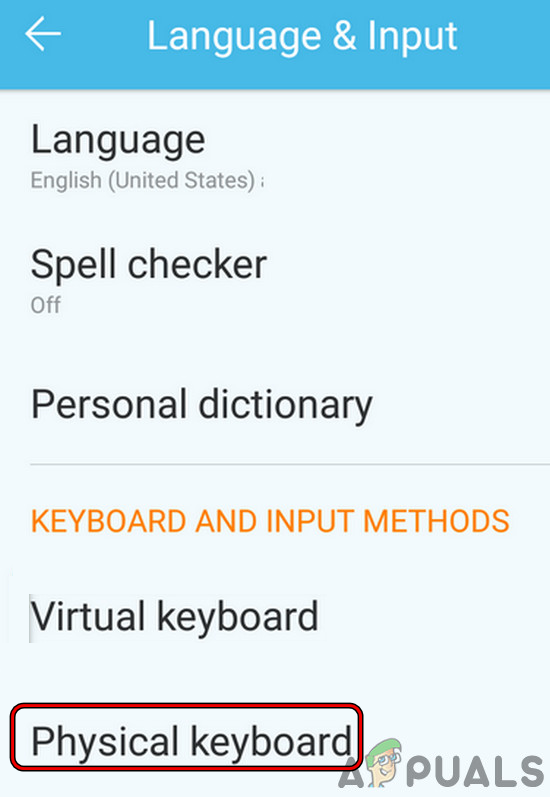
Open Physical Keyboard in the Android Phone Settings
Install Another Virtual Keyboard App
To change a virtual keyboard on an Android phone, a user must have another virtual keyboard present on his phone. To install another virtual keyboard on an Android phone:
- Launch the Google Play Store and search for Keyboard.
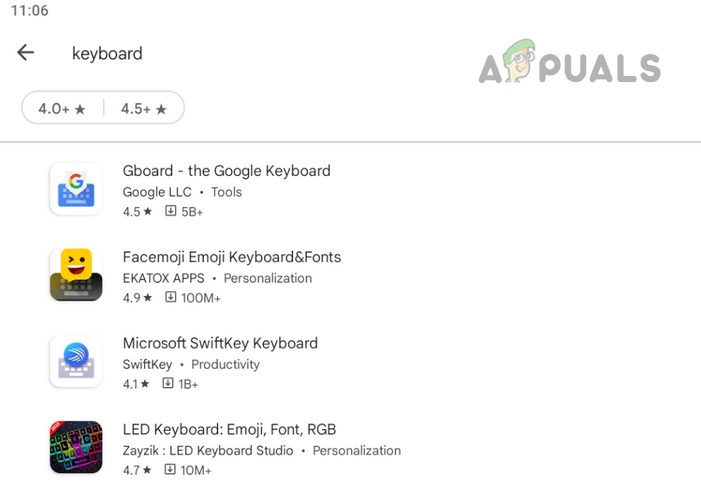
Search for Keyboard in the Google Play Store - Now download and install a keyboard app of your choice.
Here is a small list of some of the famous Android keyboard apps:
- Gboard
- Swiftkey
- Chrooma
- Fleksy
- Grammarly Keyboard
- Simple Keyboard
Once a keyboard app is installed, the app may guide a user to change the keyboard to that app. If so, then you may follow the instructions on the screen to complete the process. If not or you are not comfortable with the app’s process, then you may follow the instructions discussed below.
Change the Virtual Android Keyboard
A keyboard changes on an Android phone can be divided into two phases:
- Enabling the Keyboard in the Phone’s Settings.
- Switching to the required Keyboard.
Enable the Second Keyboard in the Phone’s Settings
Before switching to a virtual keyboard, a user is required to enable that keyboard in the phone’s Settings. You can do the same by following the steps below:
- Launch the phone’s Settings and open System (or General Management).
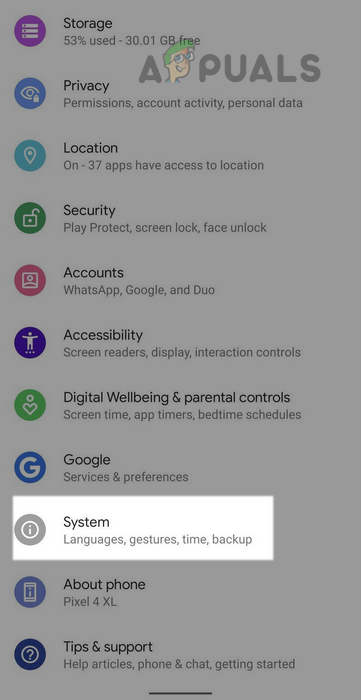
Open System in the Android Phone’s Settings - Now tap on Language & Input.
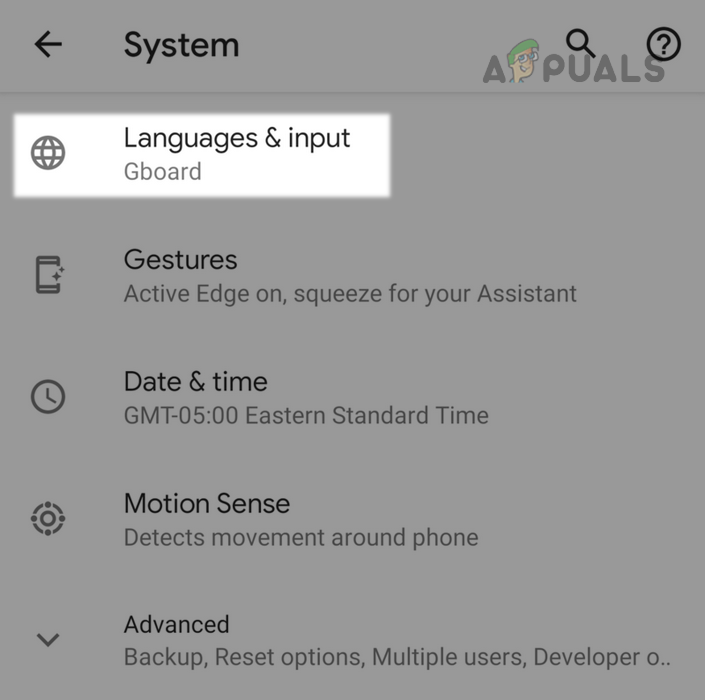
Open Language and Input in System Settings of Android - Then open Virtual or On-Screen Keyboard and select Manage Keyboard.
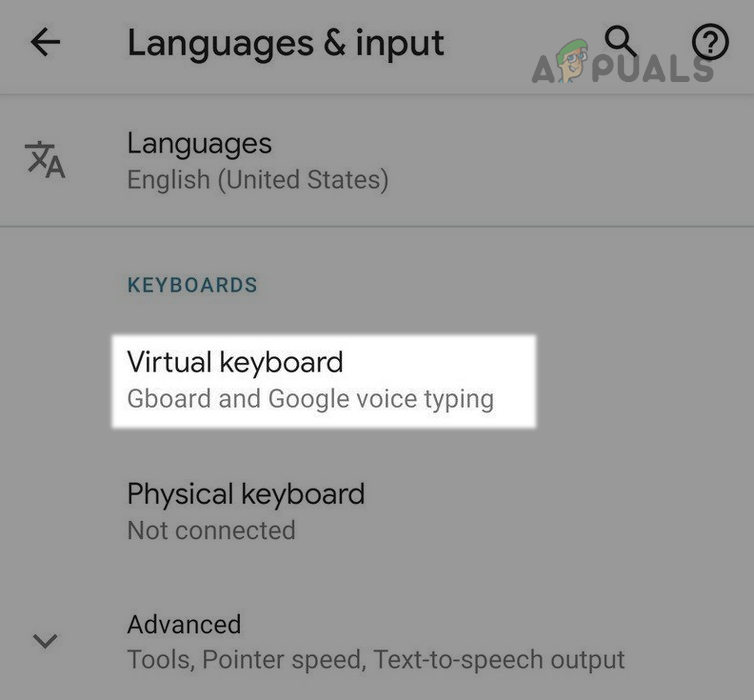
Open Virtual Keyboard in Language and Input Settings of Android - Now enable the Keyboard you want to use (like Gboard) and afterward, confirm (if you are satisfied with the keyboard reputation and required permissions) to enable the keyboard. Some users may have to select Configure Input Method menu to enable the keyboard.
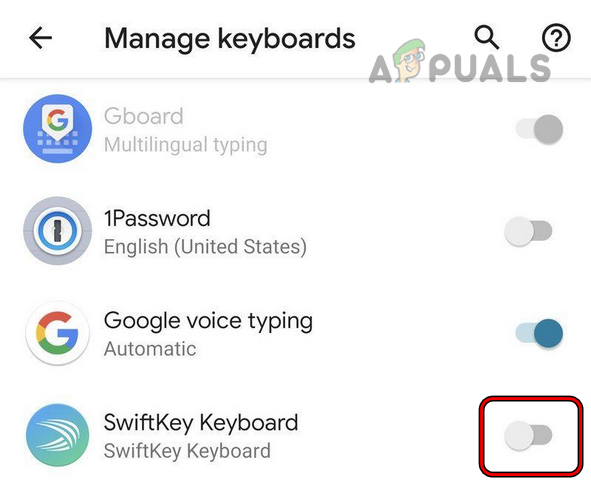
Enable the Keyboard in the Manage Keyboard of Android
Keep in mind that a user may only use reputable keyboards on his phones as non-reputed keyboards may steal your data, financial information (like credit card details), etc., and can be very harmful. A privacy enthusiastic user may go through the permissions required by the keyboard.
Switch the Android Keyboard
Once a keyboard is enabled in the phone’s settings, then the keyboard on an Android phone can be switched by two methods: one from the phone’s Settings and the other from the already in use keyboard.
Switch the Keyboard from the Phone’s Settings
If a user likes the newly downloaded keyboard very much and wants to use it all over his Android phone, then setting the new keyboard as the default keyboard is the best option. To do so:
- Steer to the Manage Keyboard section in the phone’s Settings (as discussed earlier) and tap on the Default Keyboard option.
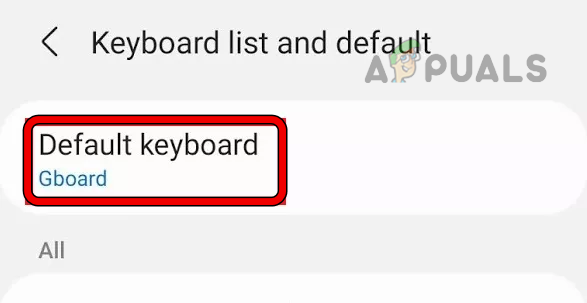
Open Default Keyboard of the Android Phone - Now select the keyboard you want to use and that keyboard will be now working as the default keyboard on your phone.
Switch the Keyboard from Within Already Used Keyboard
There are many cases, where a user may require a particular keyboard in a particular scenario e.g. when a user may want to send a text in a language not supported by his default keyboard or may want to type in a math equation. In that case, switching the keyboard from within the already used keyboard may do the trick.
- Launch an app where a keyboard is required (like a text message or WhatsApp chat).
- Once the virtual keyboard is shown in the app, tap on the keyboard (or globe) icon. In some keyboard apps (like Gboard), a user may have to long-press the space bar to open the keyboard selection menu.
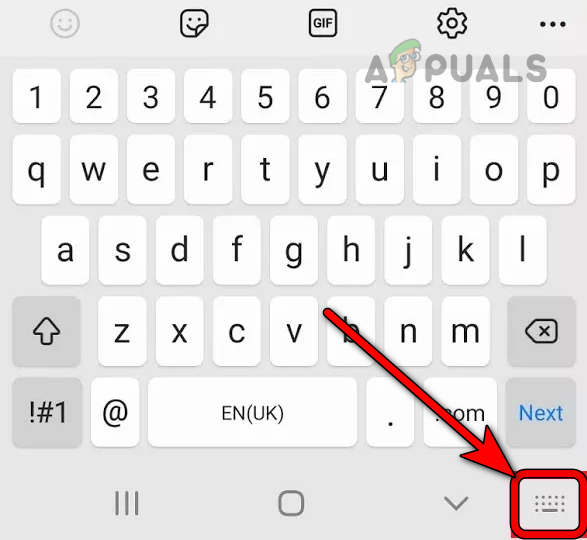
Tap on the Keyboard Icon to Open the Keyboard Switcher on Android - Now, in the keyboard menu, select your desired keyboard, and ta-da, you are done. Make sure to go through the keyboard permissions (Settings >> Apps & Notifications >> See All >> Apps >> the keyboard app) to check the keyboard permissions. Once the keyboard is no more required, you may switch back the keyboard.
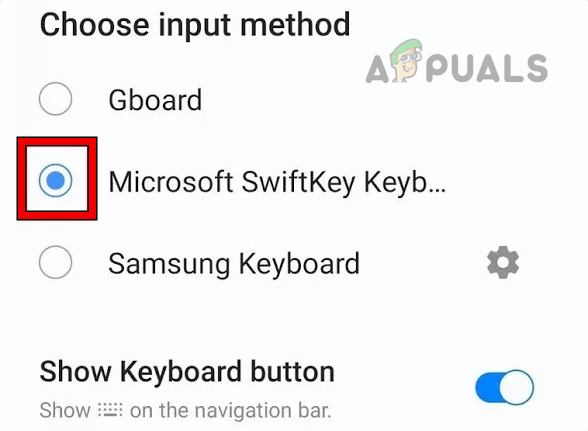
Change the Android Keyboard in the Keyboard Switcher
If the keyboard switcher is not shown or enabled in the keyboard switching menu, then make sure the Live Transcribe feature is disabled in the phone’s Accessibility Settings and retry the keyboard switcher.
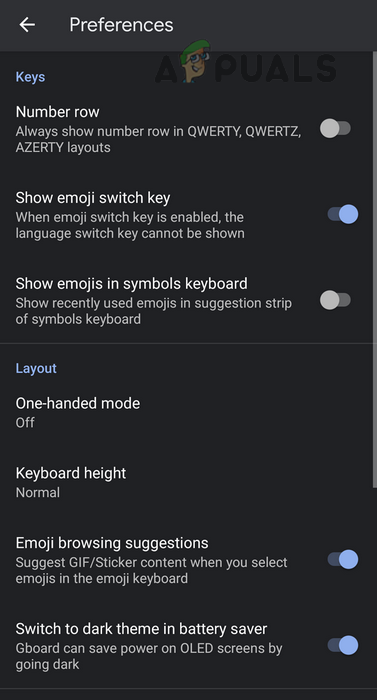
After switching to a new Android keyboard, a user may want to customize the keyboard preferences like adding a keyboard language. To do so, steer to the Manage Keyboard section of your phone’s Settings and tap on the Keyboard.
Revert to the Android Phone’s Stock Keyboard
To revert to the phone’s stock keyboard, a user may switch the phone’s default keyboard back to the phone’s stock keyboard (by following the procedure discussed above) and uninstall the particular keyboard app.


