How to Change iPhone Name in 5 Easy Steps
 Reviewed by Huzaifa Haroon
When it comes to personalizing your iPhone experience, renaming your device is one of the simplest changes you can make. This isn’t just for aesthetics; it’s practical too. Imagine being able to easily spot your phone among others during AirDrop use or on a shared Wi-Fi network.
Renaming your iPhone is quick and useful for everyday tech situations. You can easily change it back anytime. This guide shows you how to rename your iPhone in settings, use iTunes, and see where the new name appears.
1. Change your iPhone name from Settings
To change your iPhone’s name, just follow these easy steps:
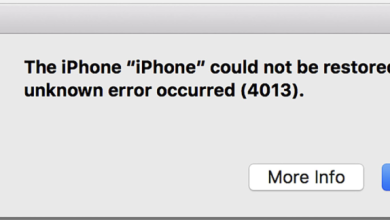
- Open your iPhone’s “Settings.”
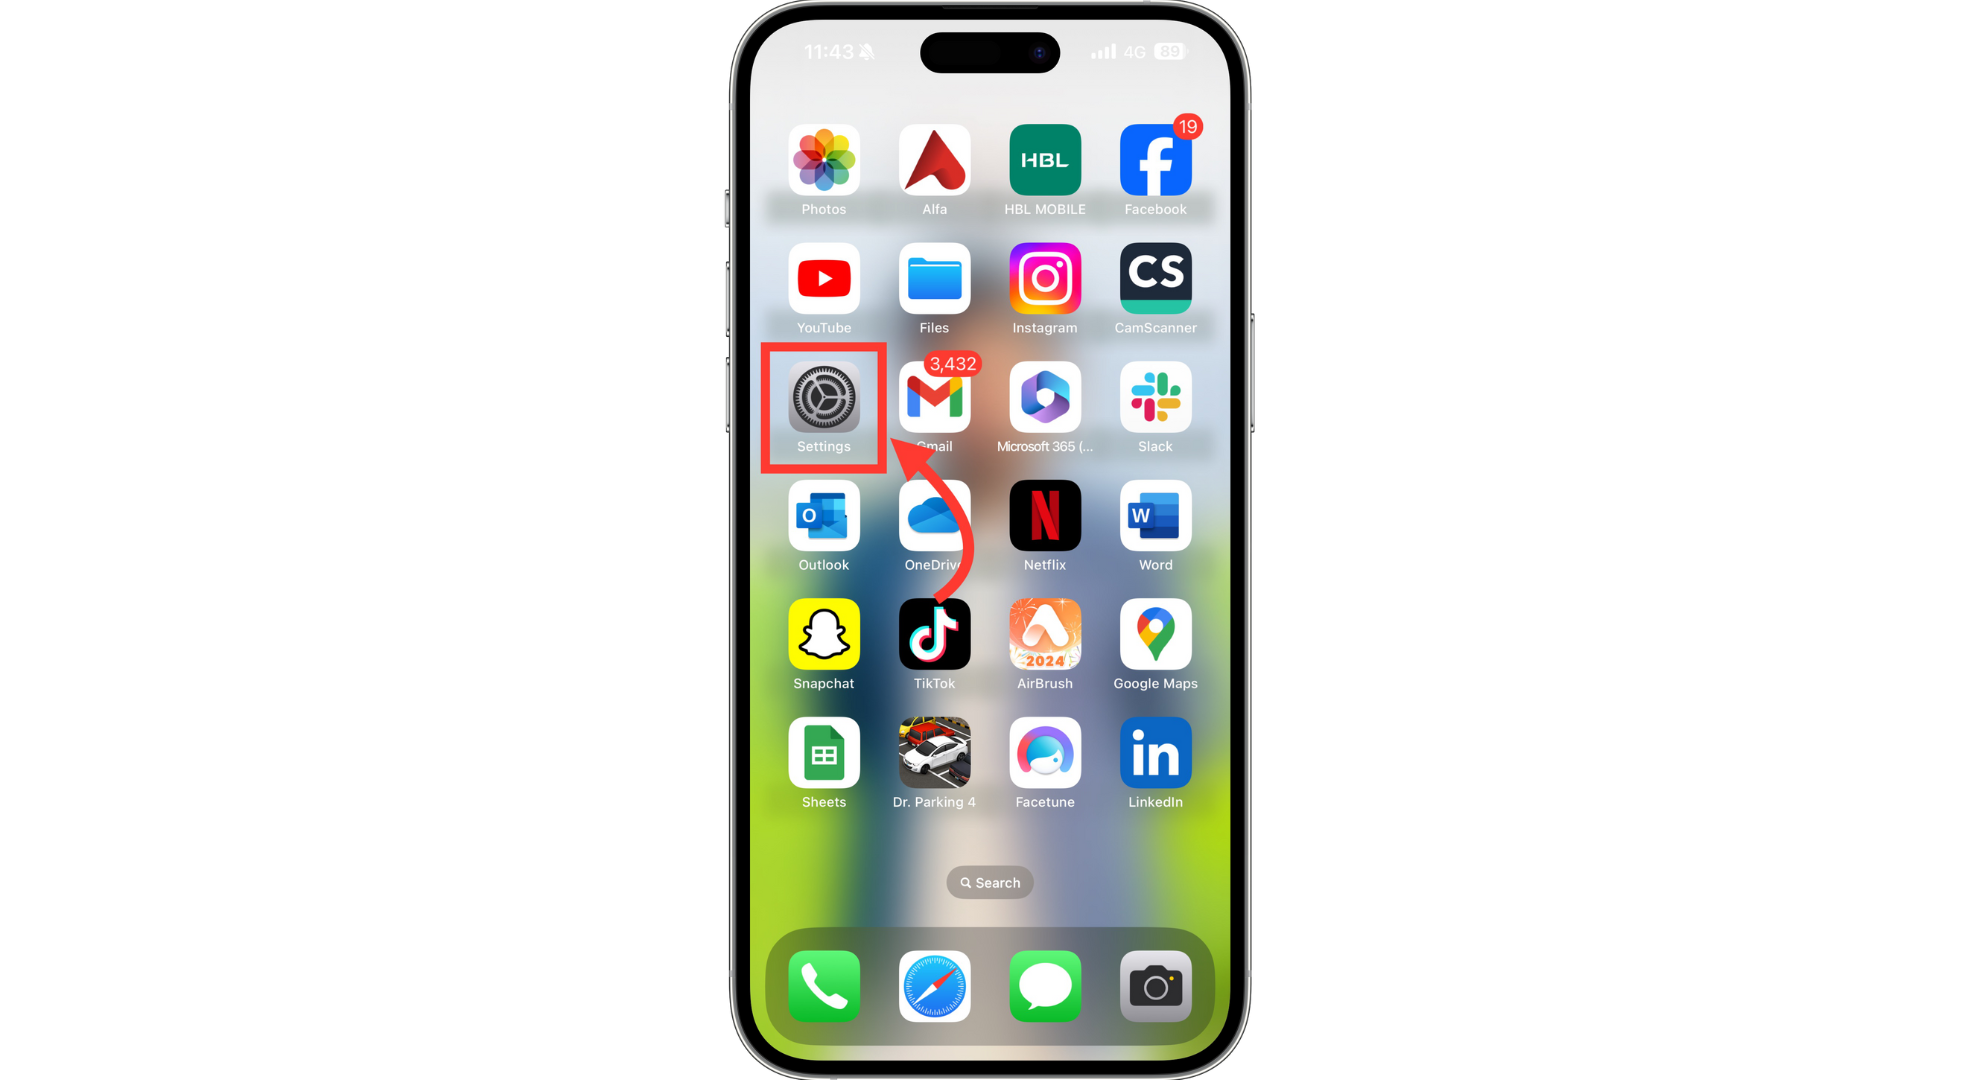
Open your iPhones Settings - Scroll down and tap on “General.”
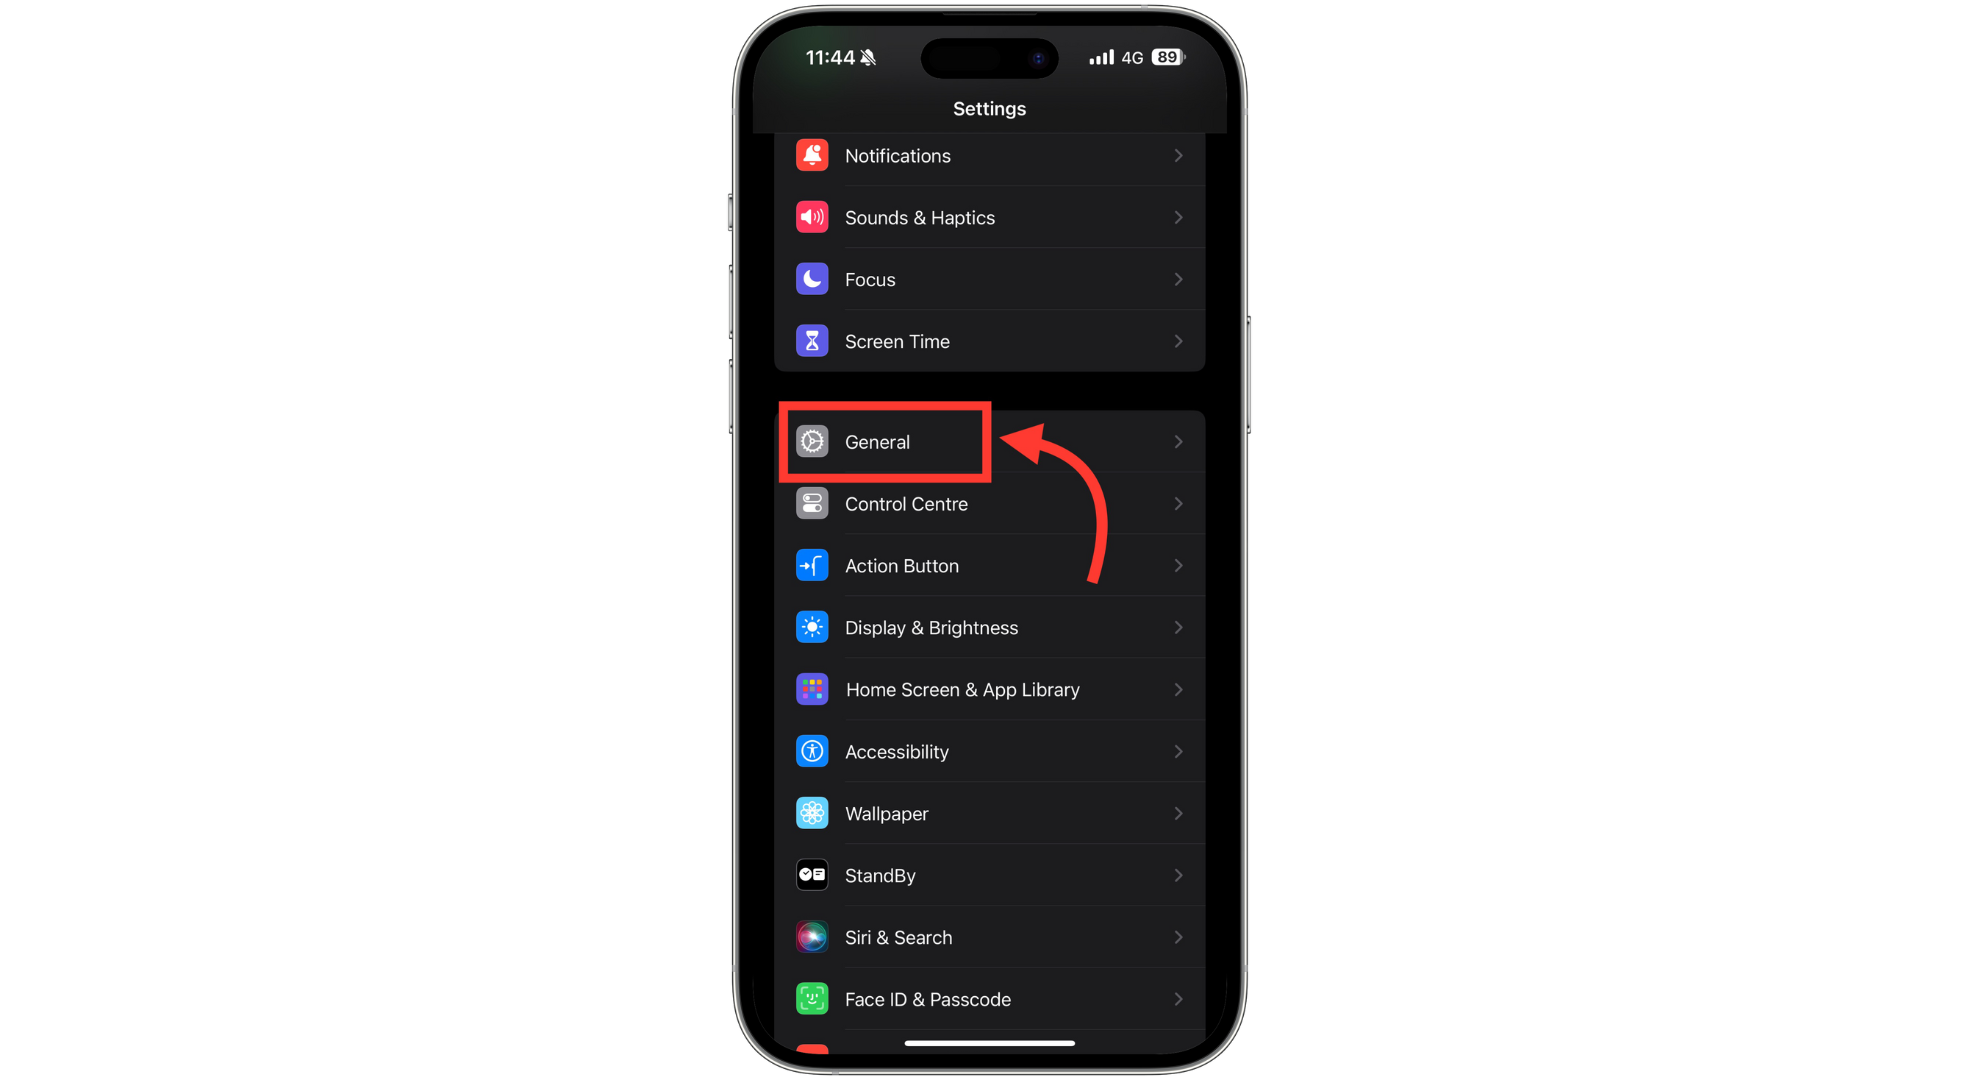
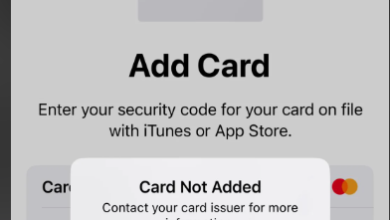
Tap on General - Then, select “About.”
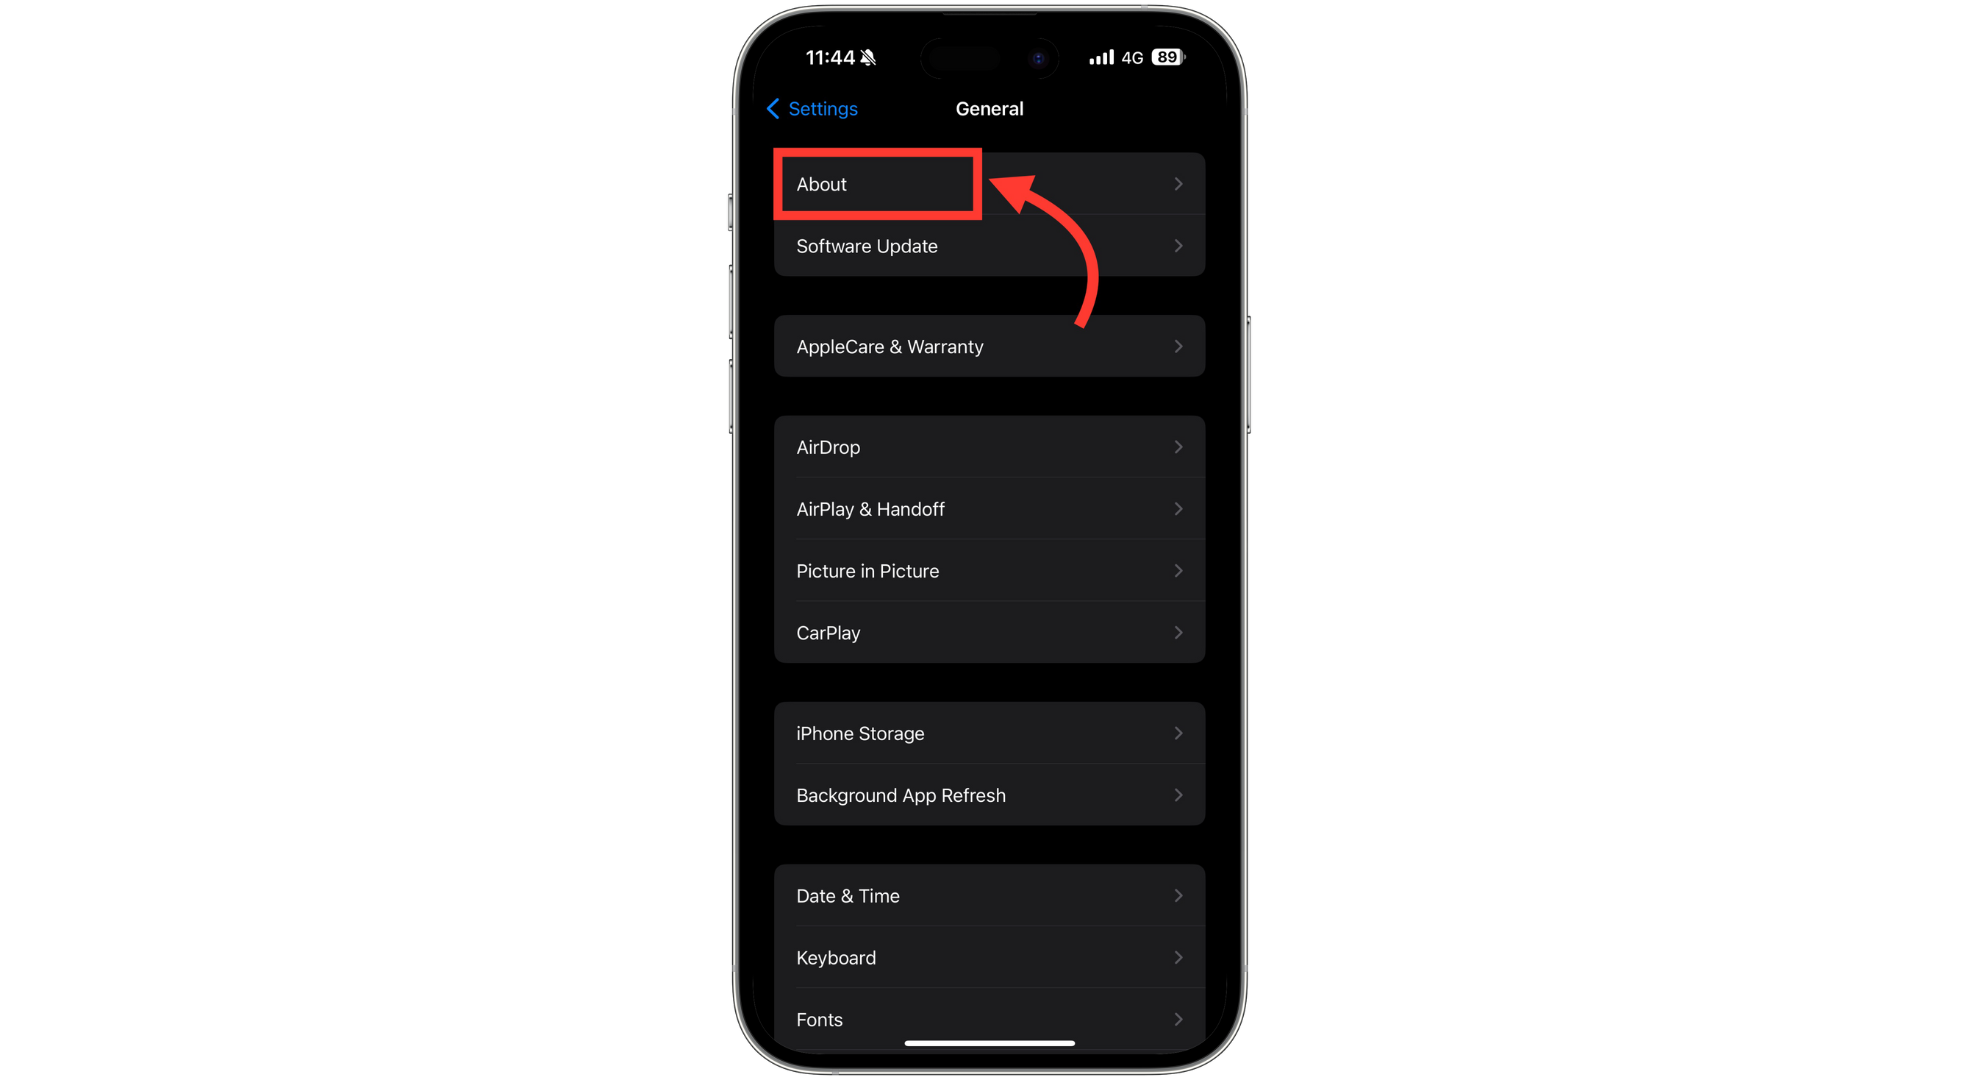
Select About - Tap on “Name.”

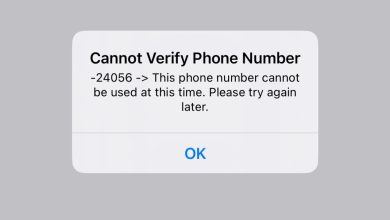
Tap on Name - Now, change the name. Erase the old name and type the new one you want. Tap “Back” to save the new name.
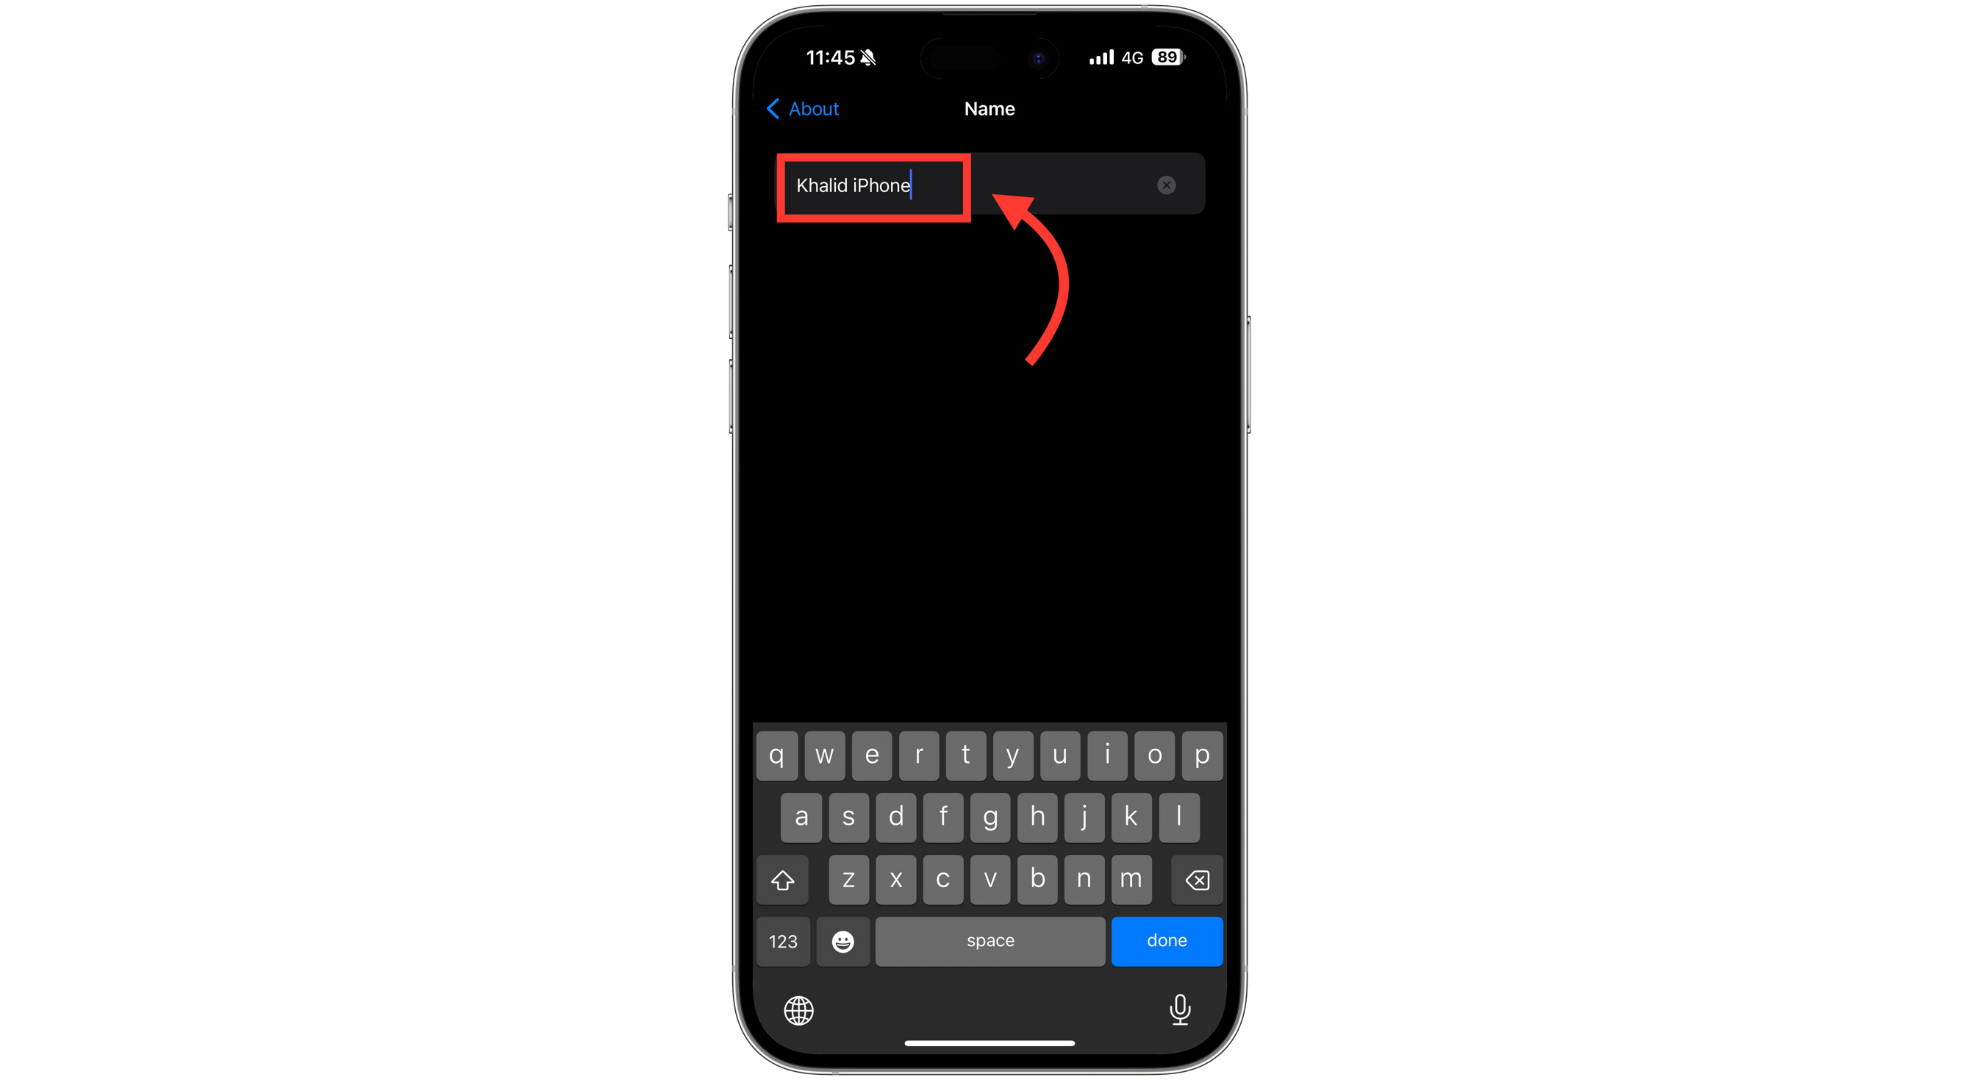
Change the name and tap Back
To check if your iPhone’s name has changed, repeat these steps to see the new name. Another way to see the change is by turning on your phone’s hotspot or AirDrop. Then, look at how your iPhone’s name appears on other devices.
2. Change your iPhone Name using iTunes
You might not know this, but you can also change your iPhone or iPad’s name using iTunes, and it’s easy to do. Here’s how:
- First, connect your iPhone or iPad to your computer and open iTunes. Click on the iPhone/iPad icon, which you’ll find in the top left corner of the window.
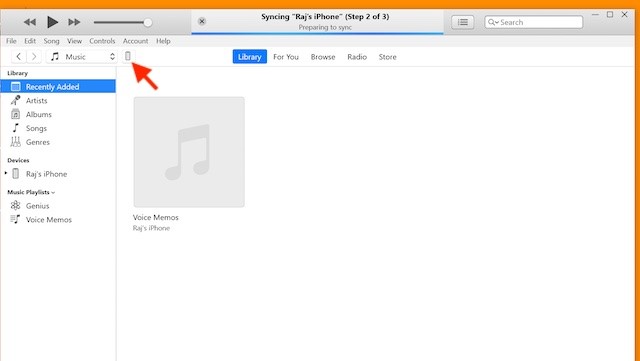
Click on the iPhone iPad icon - Next, click on your device’s name in the sidebar. Then type in the new name you want and press “Enter.” That’s it, you’re all set!
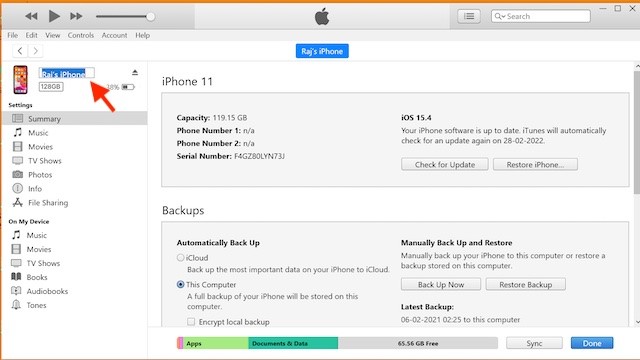
Click on your devices name in the sidebar
How to change your name associated with Apple ID on your iPhone?
Follow these easy steps to change the name linked to your iPhone’s Apple ID. This is helpful if you need to update your personal details. Changing your name here means it will show correctly in all Apple services and apps that use your Apple ID. Here’s how to do it:
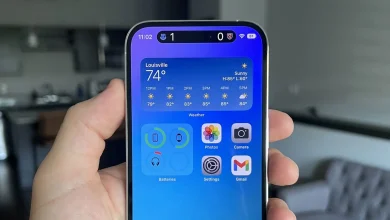
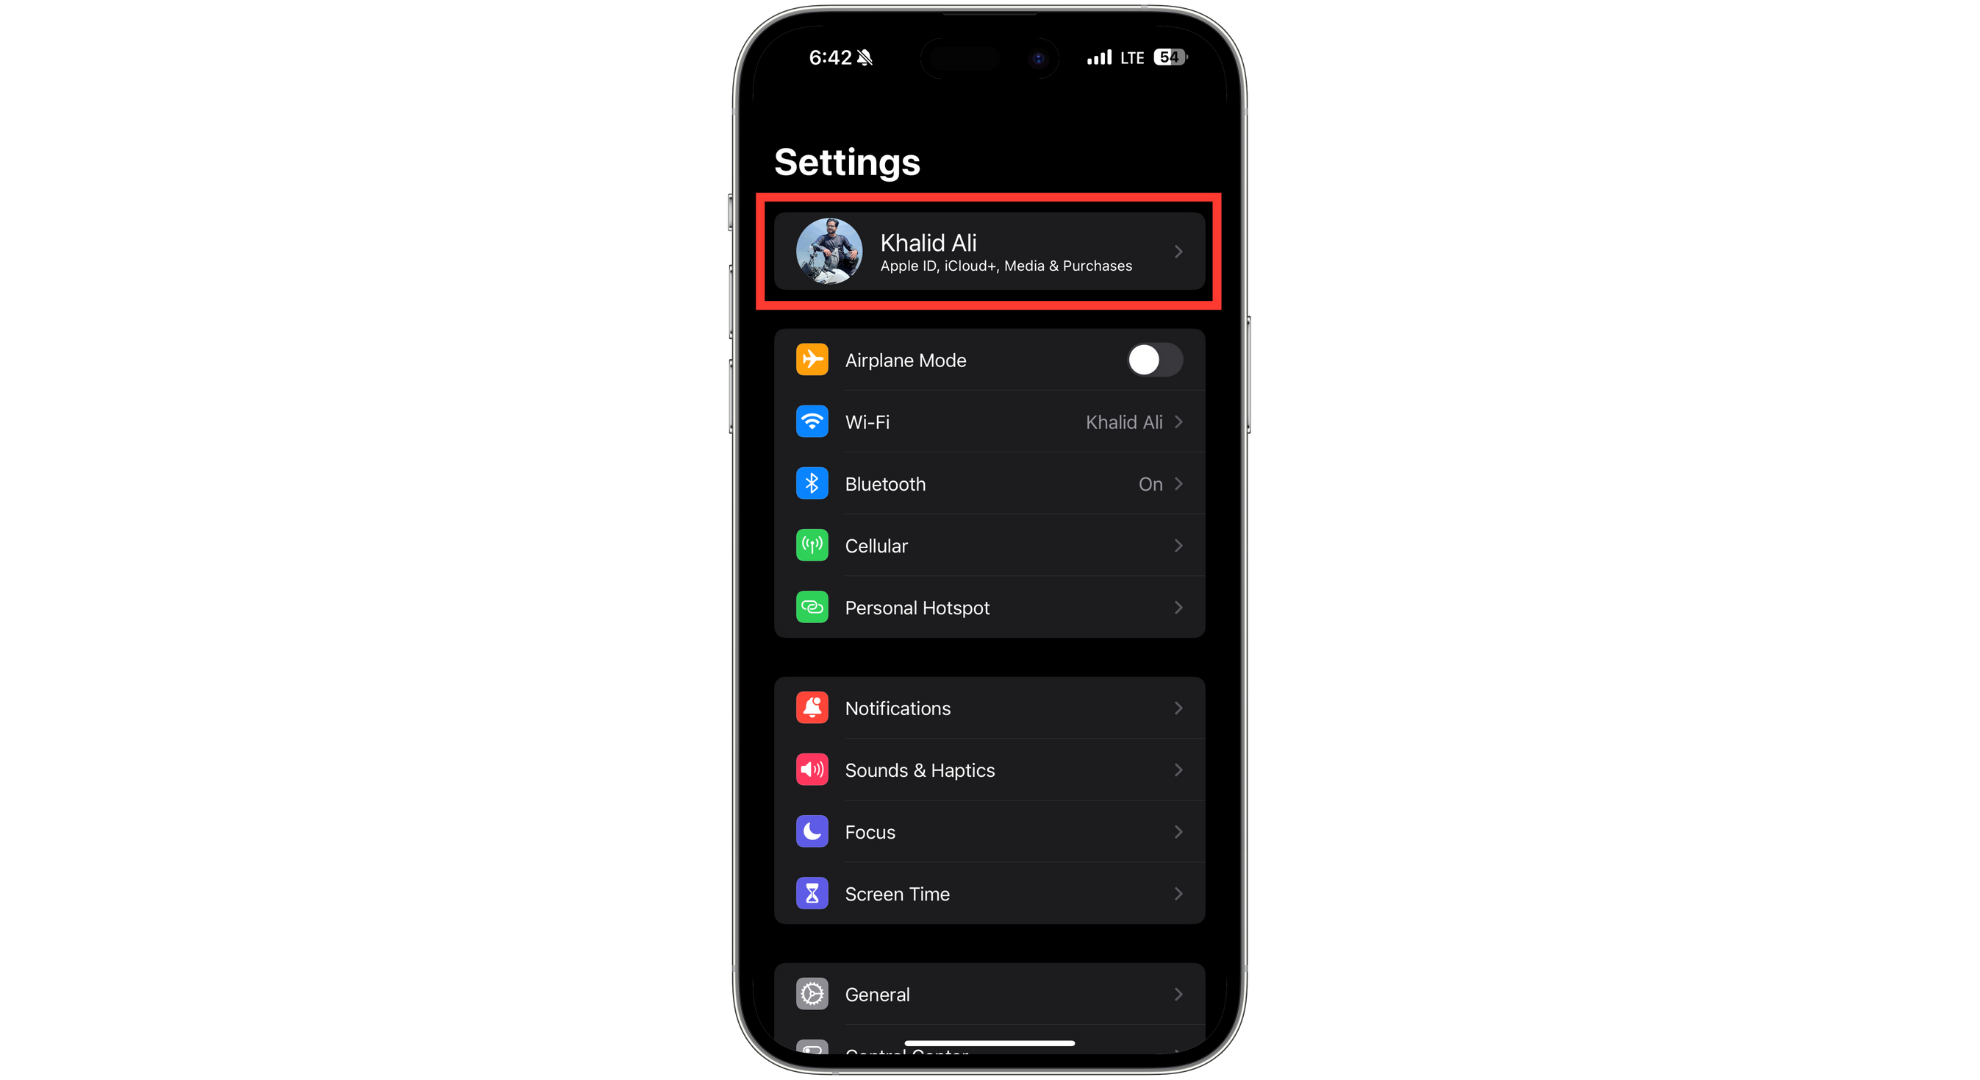
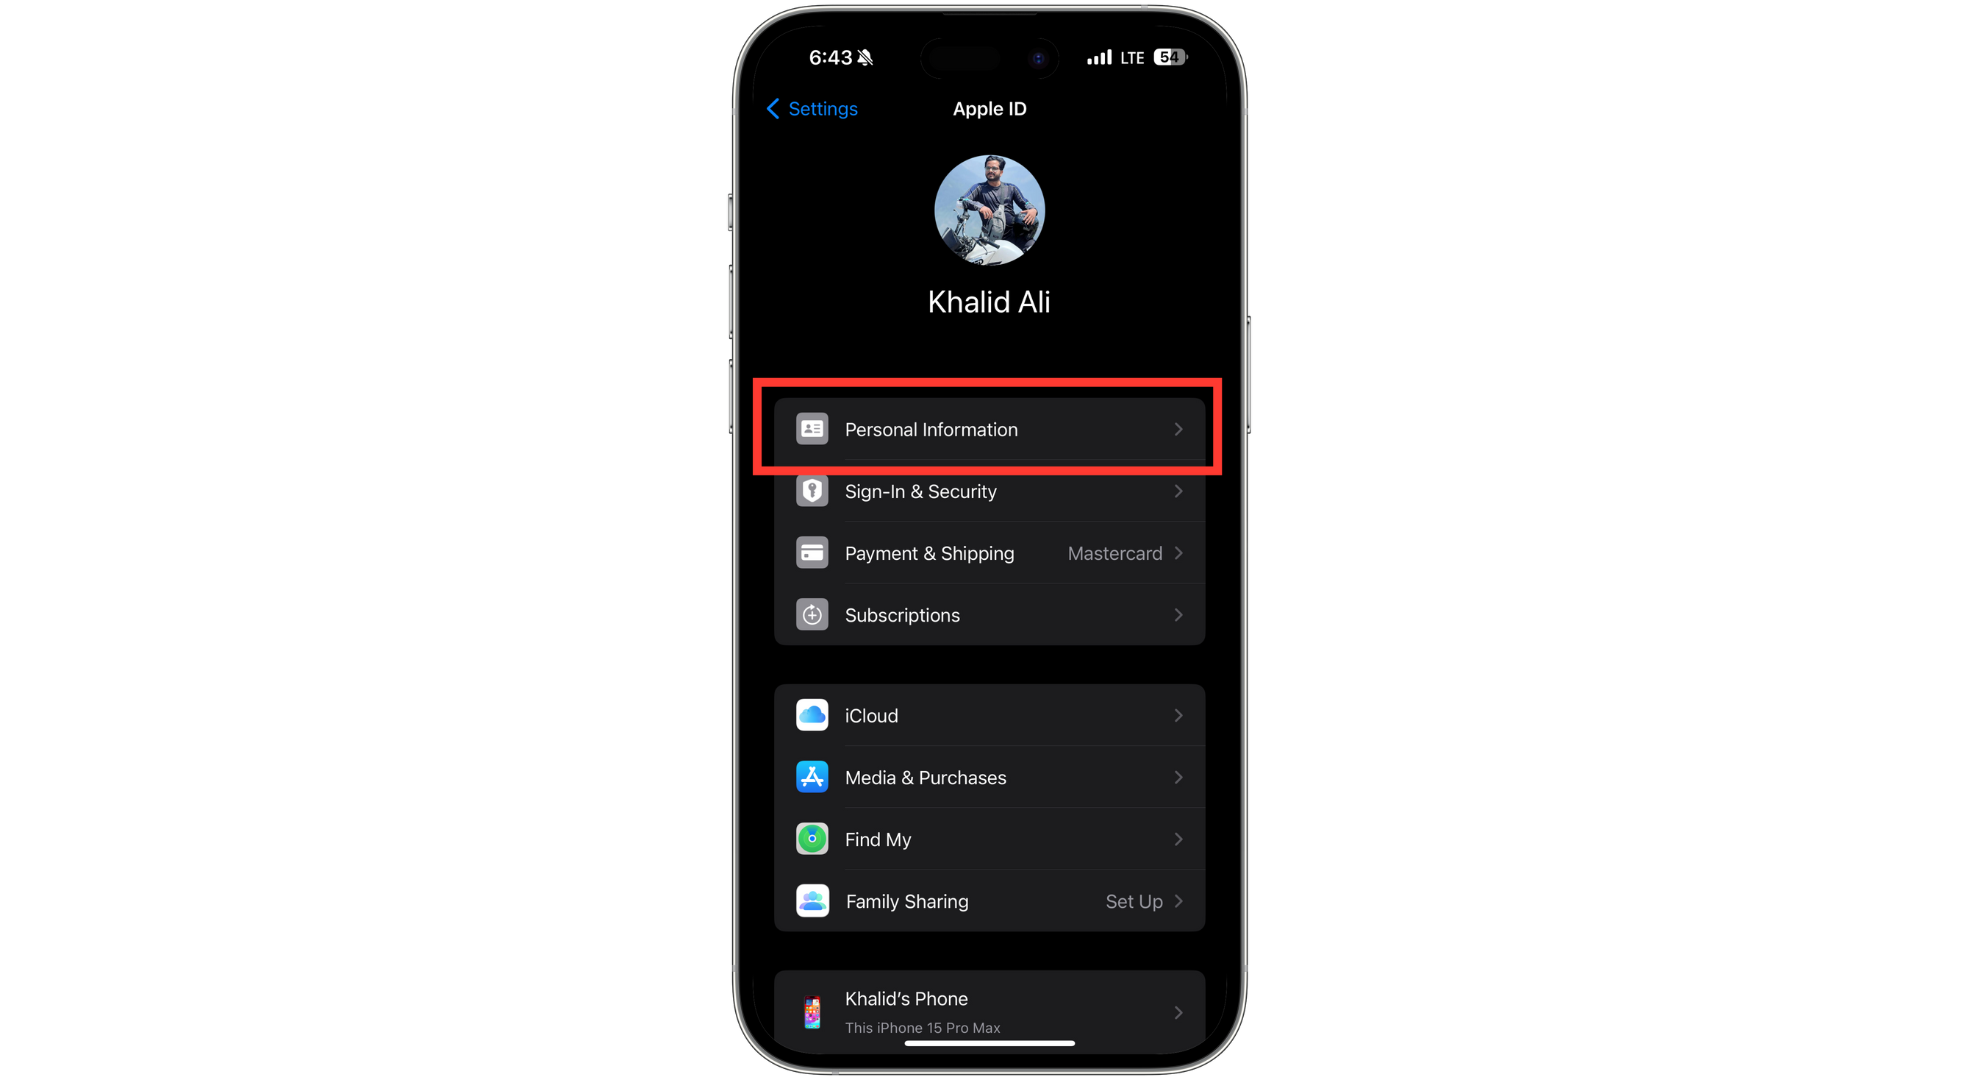
- Open your iPhone’s “Settings” app and tap on your name at the top. This takes you to your Apple ID profile.
Tap on your name at the top - Next, tap on “Personal Information.”
Tap on Personal Information - Here, you’ll find an option labeled “Name.” Tap on that.
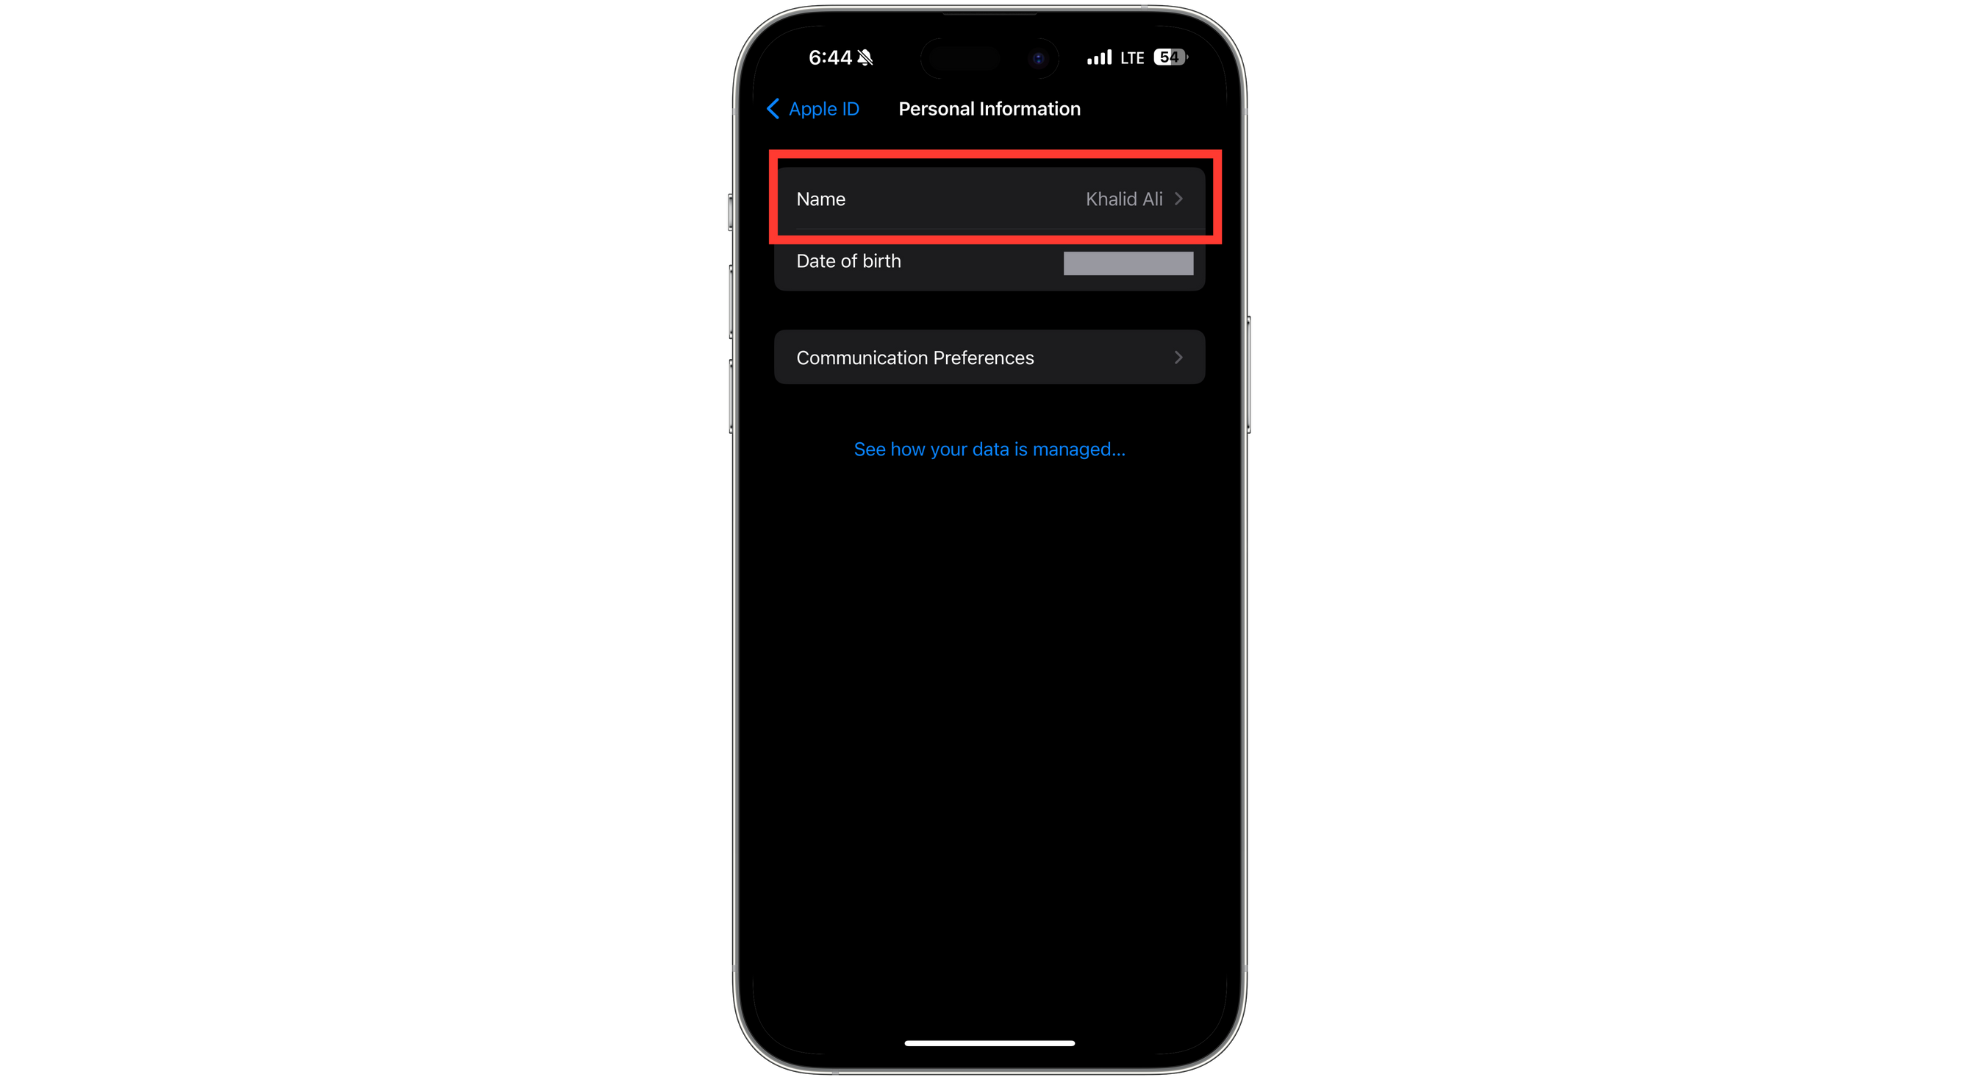
Tap on Name - Enter your first, middle, and last name as you want them to appear. Tap the “Done” button to save the changes.
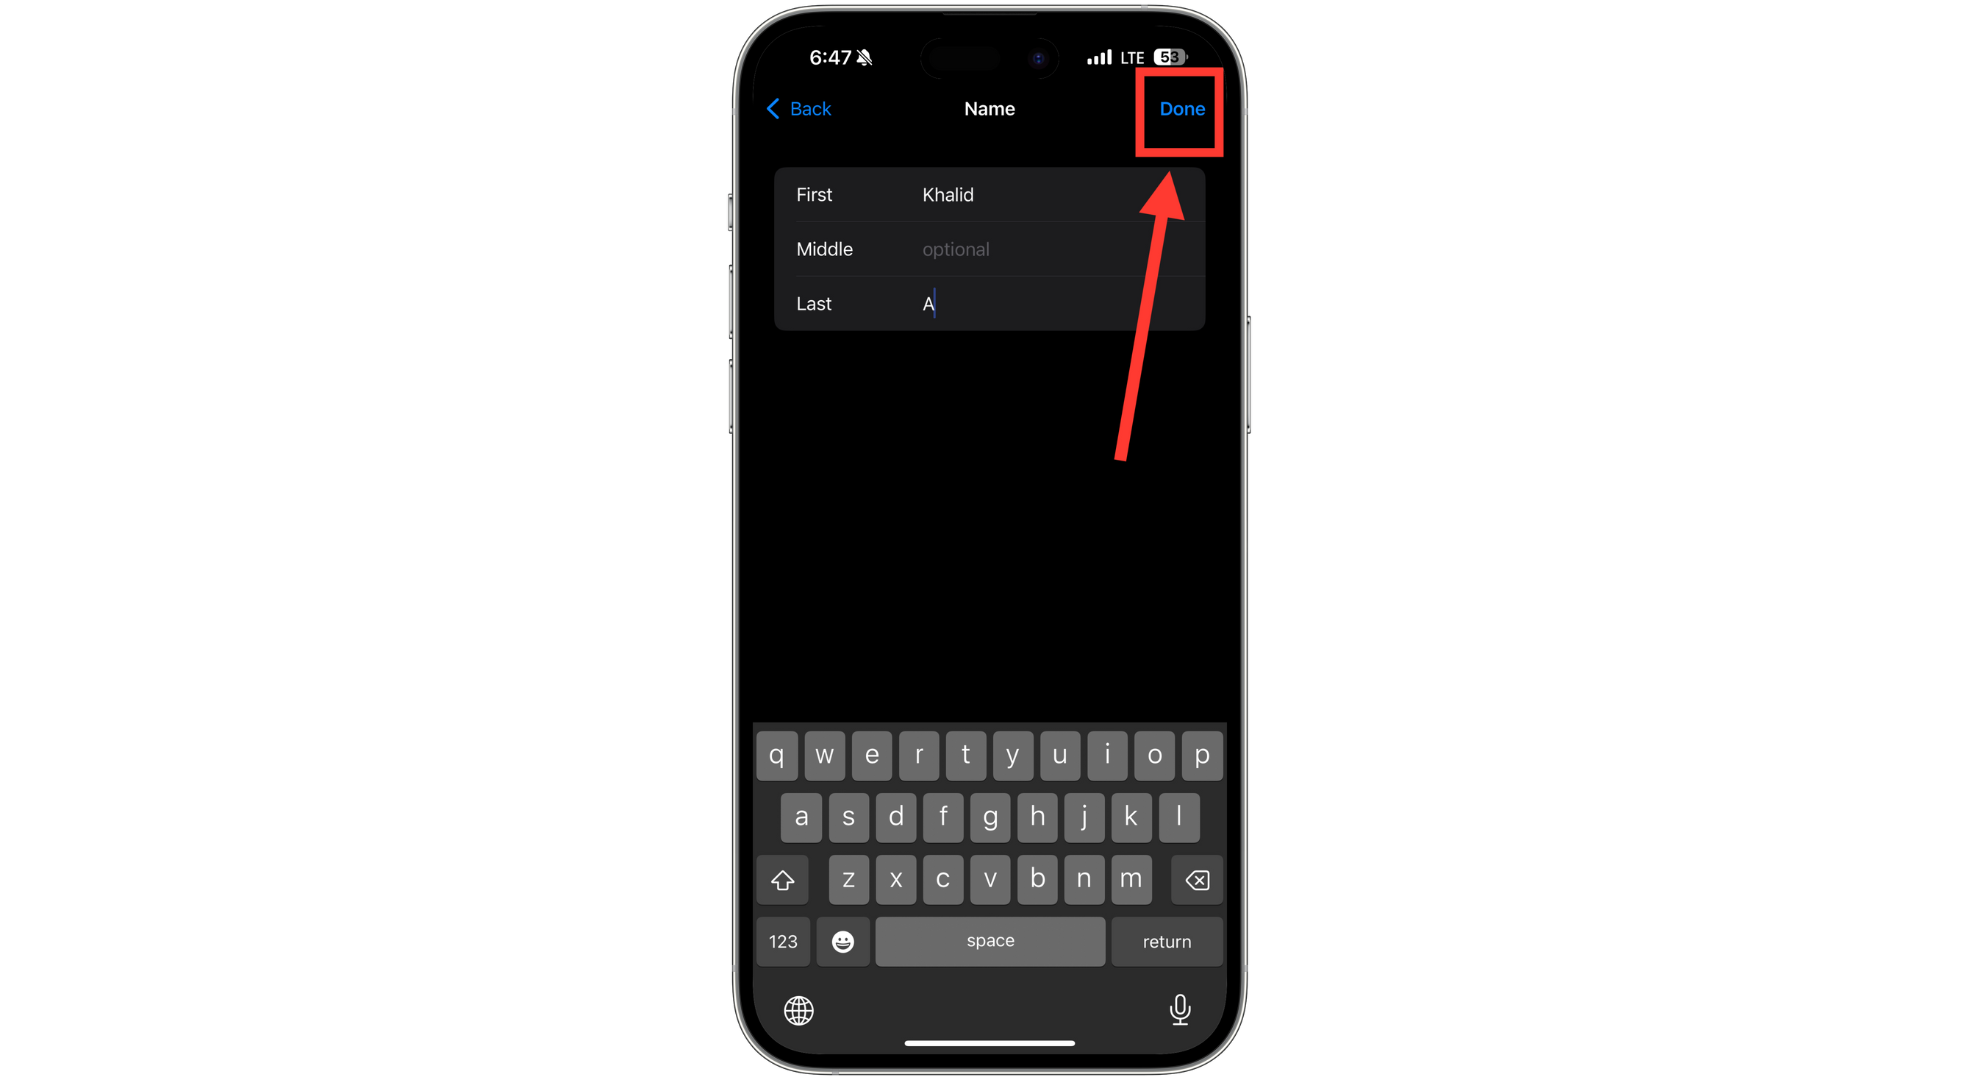
Tap the Done button
Reviewed by Huzaifa Haroon