Fix: ‘Can’t Connect to Your Service’ Zoom Error Code 104101
Zoom Error Code 104101 shows a connection failure message and immediately drops the meeting due to an unstable connection. This code means the Zoom client or SDK can’t make a connection with Zoom’s servers.
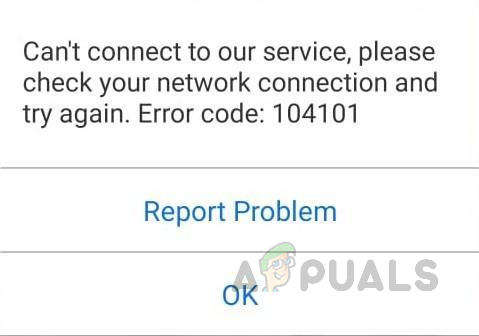
The main cause is an unstable or weak internet connection, with other causes including firewall blocks, proxy issues, or antivirus blocking the connection.
Pre-Requisites:
Before moving to the full solutions, try the quick workarounds below. These helped many users. If the issue continues, proceed to the next section.
- Restart PC: Restarting clears the Random Access Memory (RAM) and gives your system a fresh start. This alone may fix the error.
- Restart the Network Device (Router): Restart your router and modem. Unplug them, wait 30 seconds, then plug them back in. This may fix the error if it’s due to an internet issue.
- Restart Zoom Application: Close Zoom completely from Task Manager, or close all browser windows if you use Zoom on the web. Wait 30 seconds, then open Zoom again.
- Clear Browser’s Cache and Cookies: If you use Zoom in a browser, clearing cache and cookies may help. You can clear them from your browser’s settings, or clear only the data for https://www.zoom.us to keep data for other sites.
- Update Zoom Application: Check your Zoom version and update to the latest release. Zoom 5.0 was a major update, but versions change often—make sure you’re on the newest version available.
- Run Malware Scan: Scan your device to ensure no malware is interfering with Zoom.
If none of the above workarounds helped, continue with Solution 1 to configure Windows Firewall settings.
1. Configure Firewall Settings
As mentioned, Windows Firewall can sometimes block an app’s internet access if it thinks the app is unsafe. To make Zoom work again, allow it through the Windows Firewall. This solution helped many users.
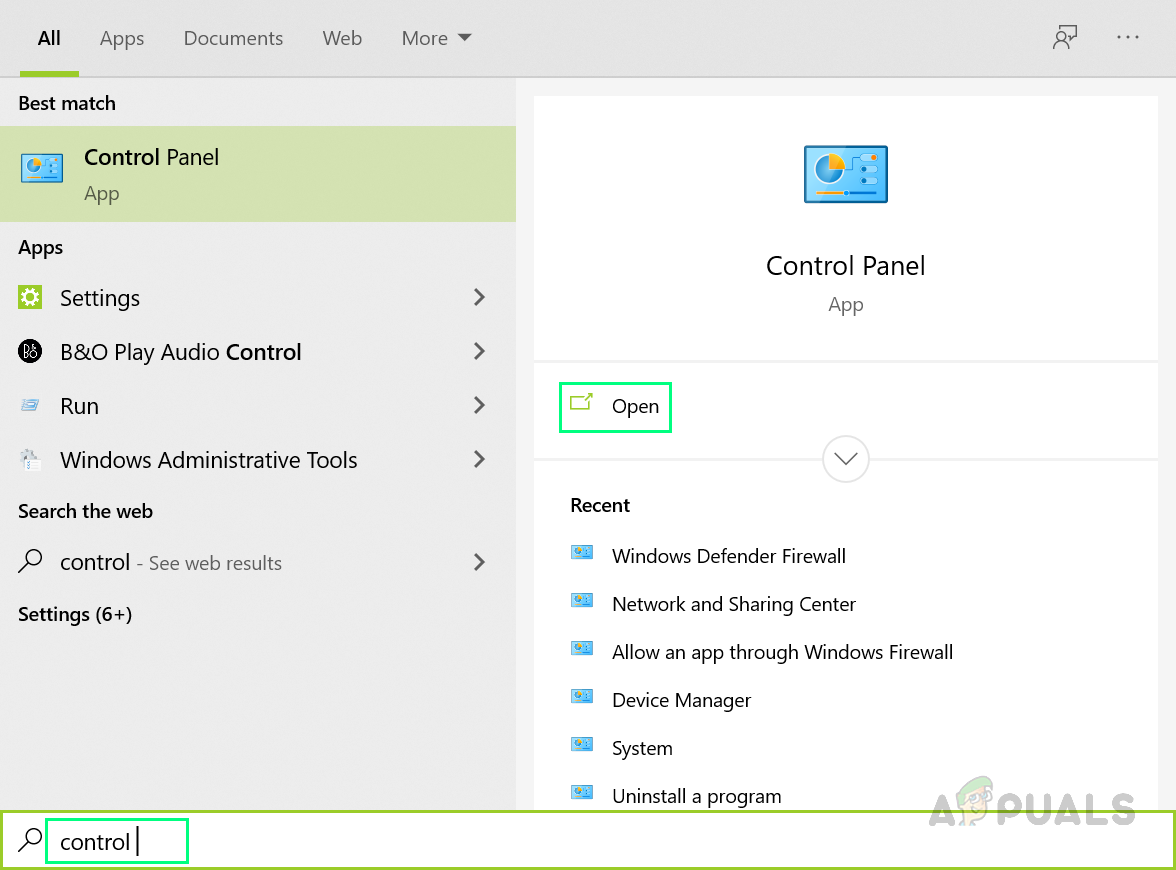
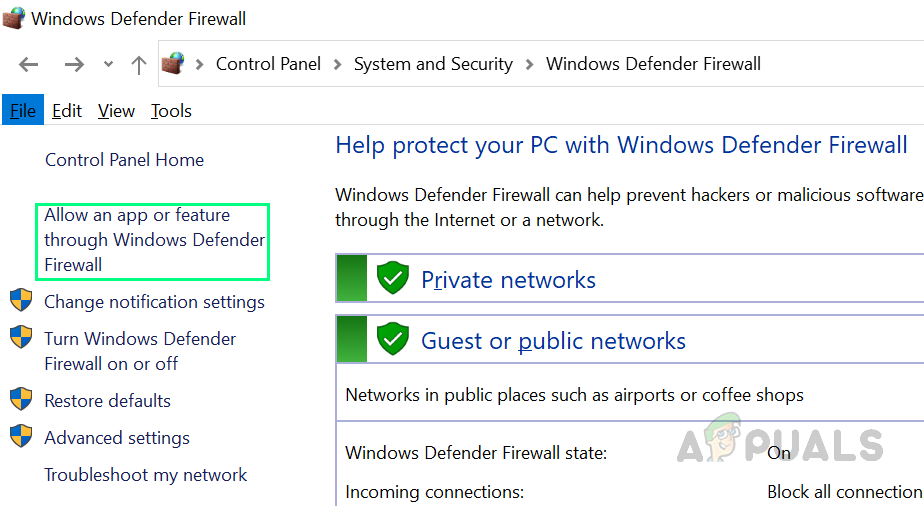
- Click Start, search Control Panel, and open it. This opens the Windows Control Panel for system settings.
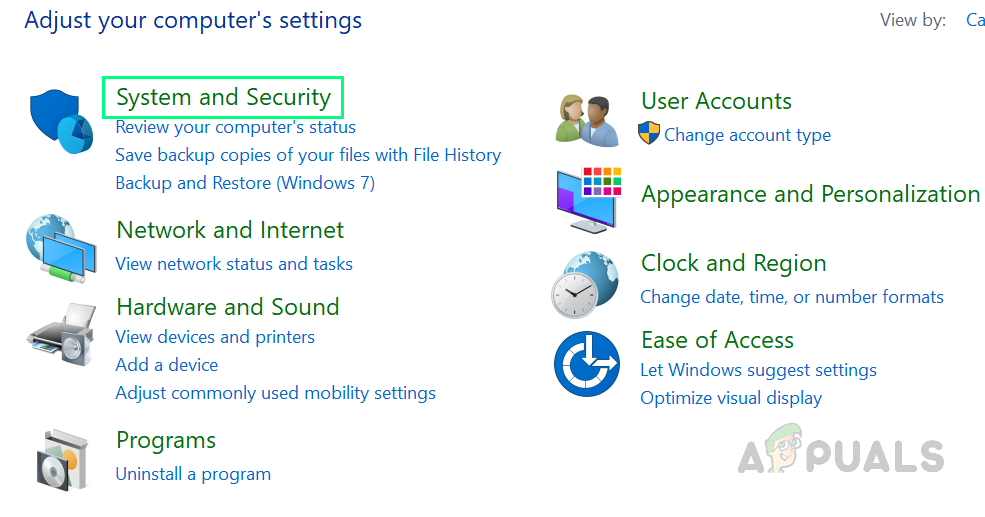
Opening Control Panel - Click System and Security. This includes options like Backup and Restore and Windows Defender Firewall.
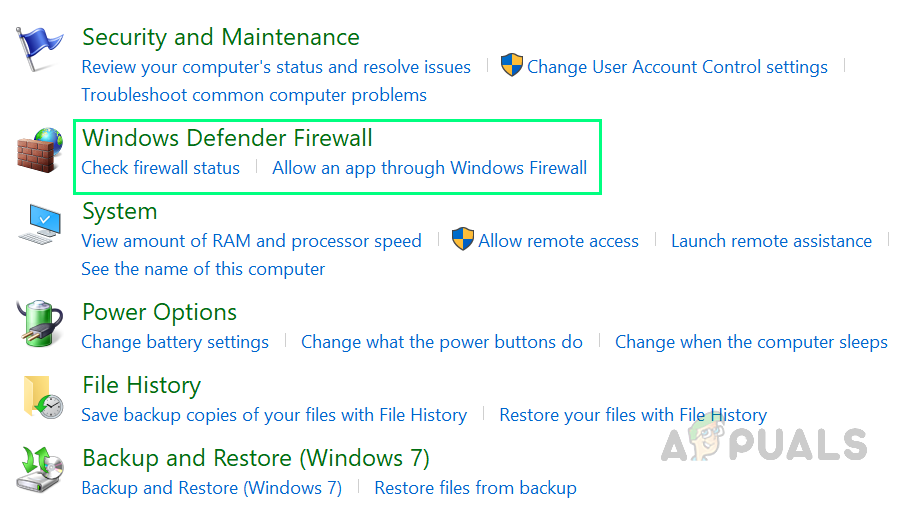
Opening System and Security - Click Windows Defender Firewall. A window opens with options to keep your network and data secure.
Opening Windows Defender Firewall - On the left panel, click Allow an app or feature through Windows Defender Firewall. You’ll see a list of installed programs you can allow or block.
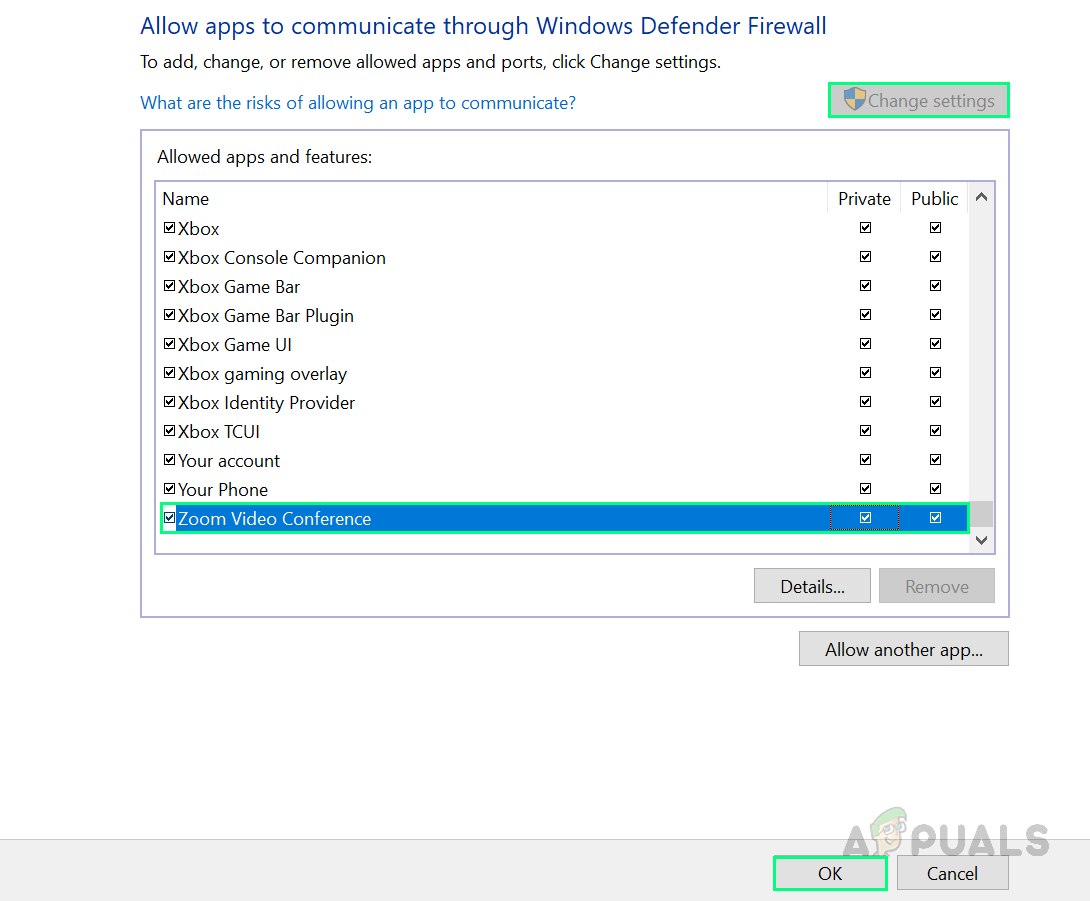
Opening Firewall Allowed Apps and Features List - Click Change Settings, scroll down, check Zoom Video Conference, and select both Private and Public. Click OK. This allows Zoom through the firewall.
Allowing the Zoom App through Firewall - Go back to the main Windows Defender Firewall page and, on the left, click Advanced settings for more detailed options.

Opening Windows Defender Firewall Advanced Settings - Select Inbound Rules, scroll to Zoom Video Meeting, and select it. On the right, click Properties.
Note: Repeat these steps for any other Zoom-related entries you see.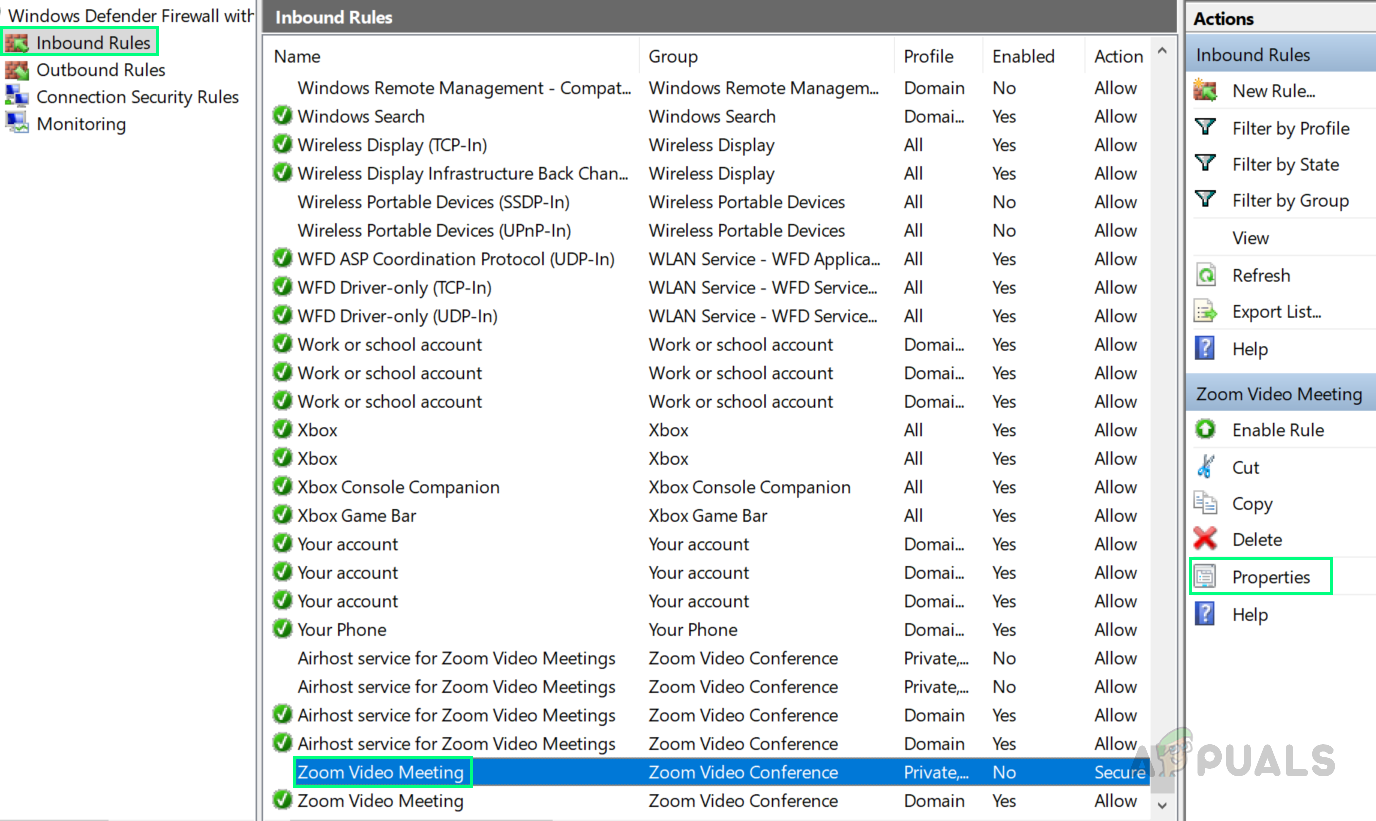
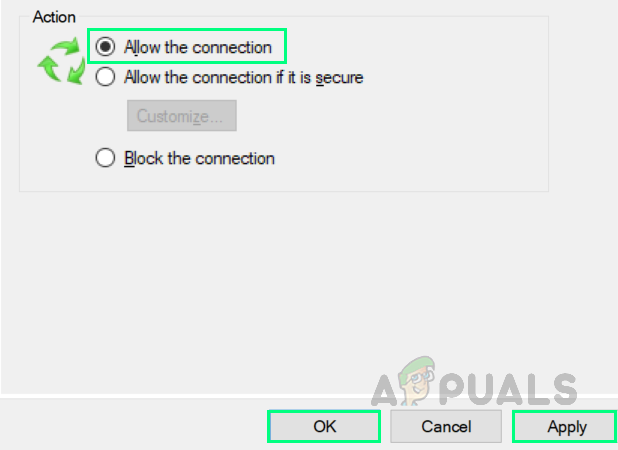
Opening Advanced Firewall Settings of the Zoom App - Choose Allow the connection, click Apply, then OK. This gives the Zoom application full internet access through the firewall.
Allowing the Zoom App through Firewall - Now open Zoom and sign in. If the error persists, move on to the next solution to temporarily disable your antivirus, which can also block Zoom.
2. Disable the Anti-virus Protection
Sometimes antivirus software blocks apps from running properly or from accessing the internet. Temporarily disabling it can let Zoom connect. Steps vary if you use a third‑party antivirus, but Windows includes built-in protection via Windows Security.
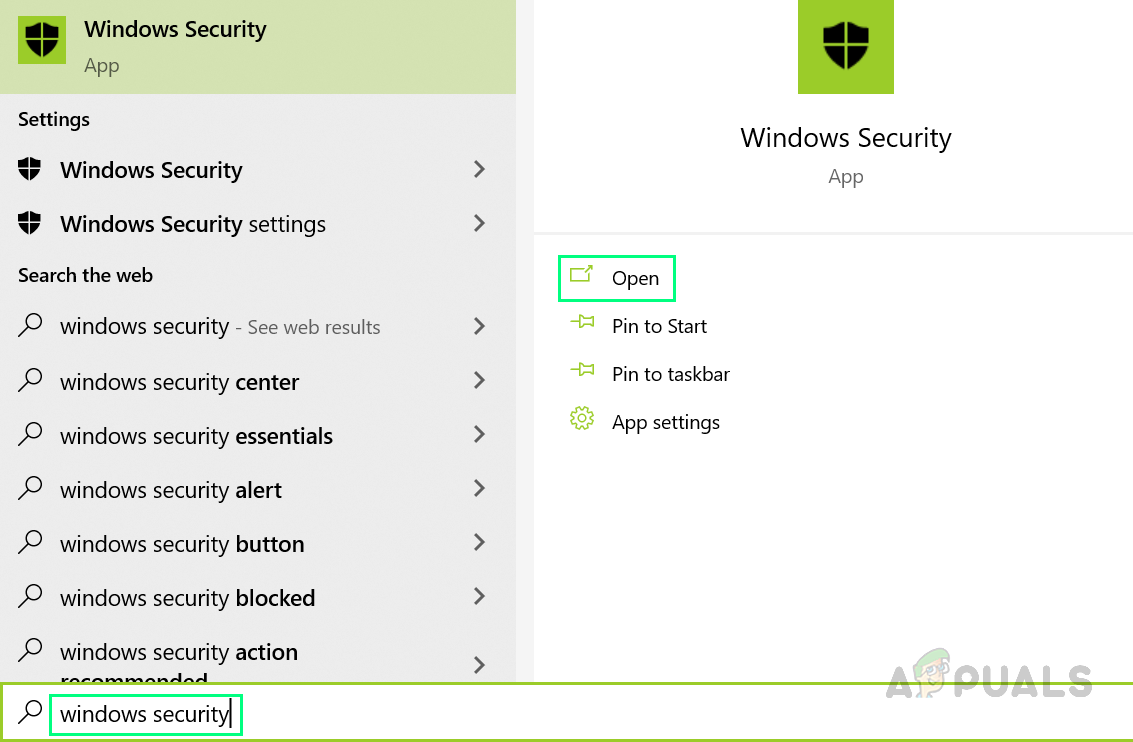
- Click Start, search Windows Security, and open it. You’ll see options like Device Security, Account Protection, and App & Browser Control.
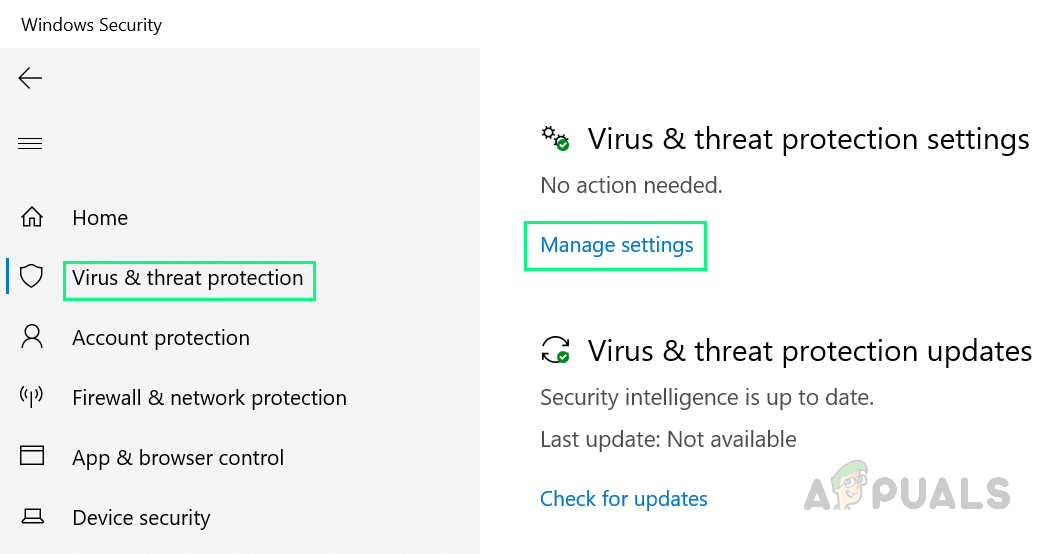
Opening Windows Security - Select Virus & threat protection, then click Manage settings under Virus & threat protection settings.
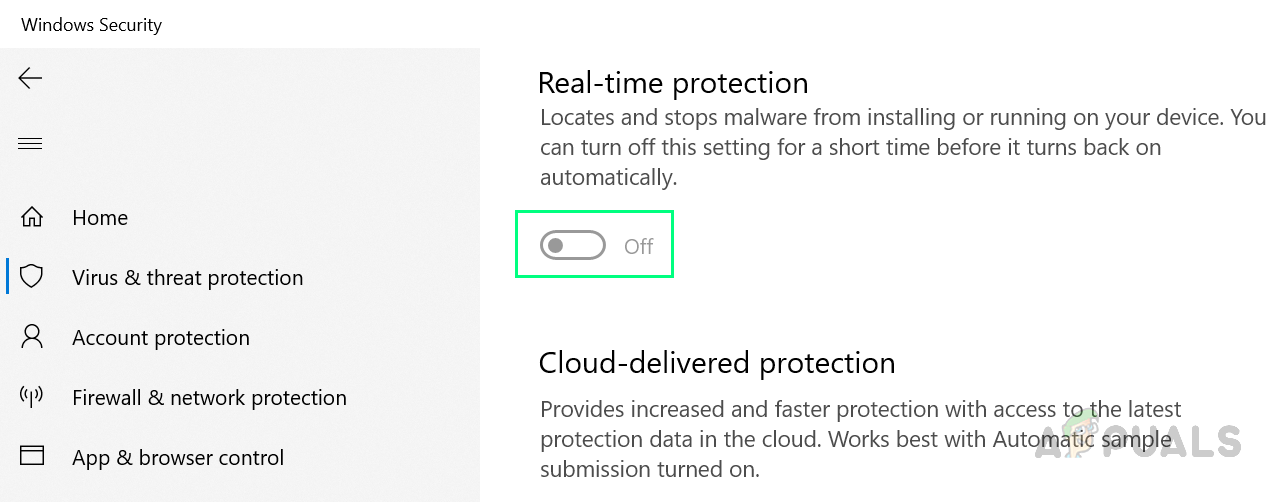
Opening Virus and Threat Protection Settings - Turn off Real-time protection. This temporarily disables Windows antivirus protection and lets Zoom access the internet without being blocked.
Disabling Windows Antivirus Protection - Open Zoom and try signing in. If it still doesn’t work, continue to the final solution to configure DNS settings.
Note: Windows will automatically turn protection back on after a while, but it’s good to double-check.
3. Configure DNS Server Settings
Connectivity issues with Zoom can also be caused by a corrupted DNS cache. Clearing the DNS cache resets stored entries so your device can fetch fresh information. We’ll also set reliable DNS servers, which often improves connectivity.
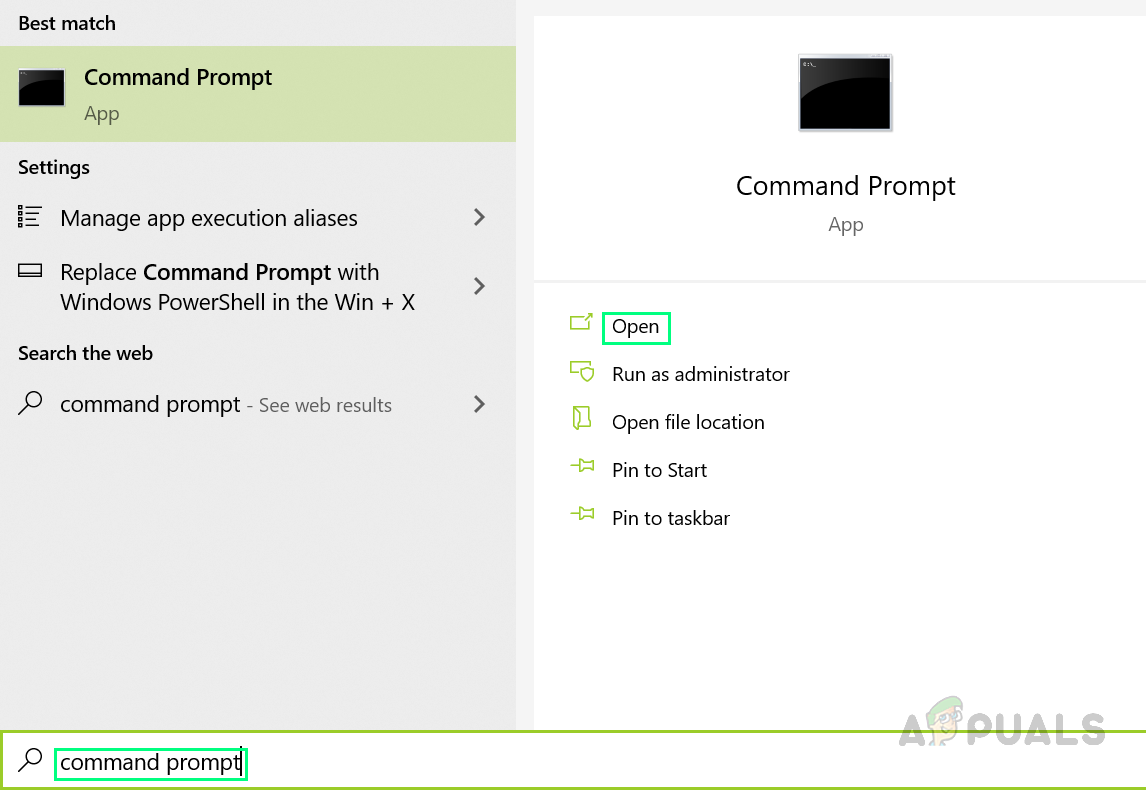
- Click Start, search Command Prompt, and open it (preferably Run as administrator). This opens the Command Prompt.
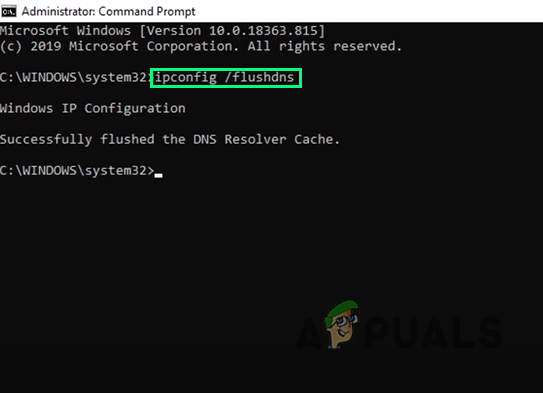
Opening Command Prompt - Copy and paste the command below, then press Enter to clear the DNS cache.
ipconfig /flushdns
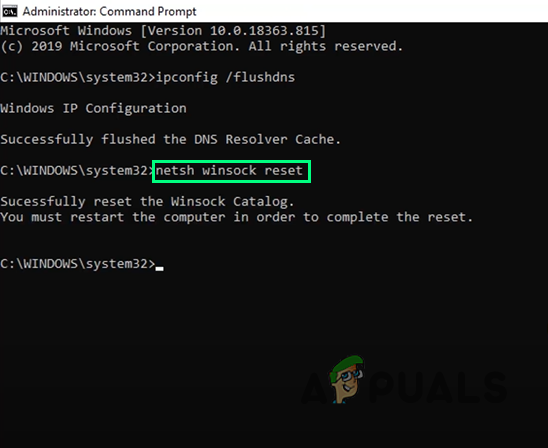
Resetting DNS Cache - Again, copy and paste the command below and press Enter. This resets network settings to default. Close Command Prompt afterward.
netsh winsock reset
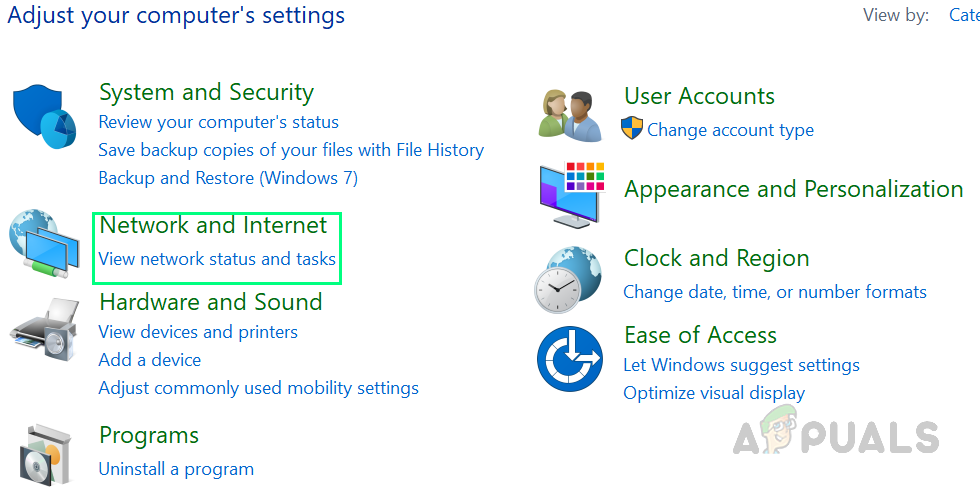
Resetting Windows Network Settings - Click Start, search Control Panel, and open it.
- Select Network and Internet to open network-related settings.
Opening Network and Internet Options - Click Network and Sharing Centre, then select Change adapter settings to manage your wired and wireless connections.

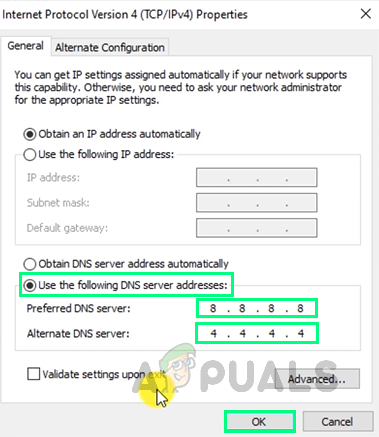
Opening Adapter Settings - For Ethernet, right‑click its adapter and select Properties. Select Internet Protocol Version 4 (TCP/IPv4), then click Properties. Choose Use the following DNS server addresses and enter the DNS server addresses shown in the image below. Click OK, then Close.
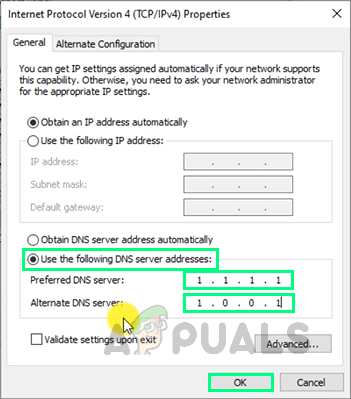
Configuring DNS Server Settings for Ethernet - Repeat the same steps for the Wi‑Fi adapter, using the DNS server addresses shown in the image below.
Configuring DNS Server Settings for Wi-Fi - Restart your PC and try signing in to Zoom. This should resolve the issue.


