How to Fix Cannot Delete System Queued Windows Error Reporting Files
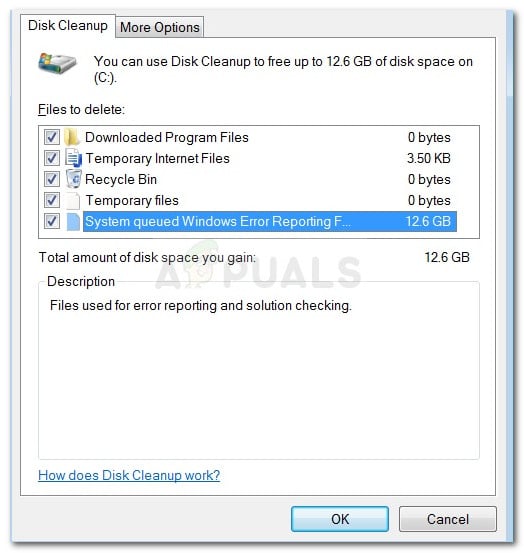
Disk Cleanup sometimes shows “System Queued Windows Error Reporting” taking up space. But even if you select it and delete it, you don’t actually get any free space back. This happens because Windows keeps these error reports in the folder “%ALLUSERSPROFILE%\Microsoft\Windows\WER\ReportQueue”
or in similar folders for each user. These are reports that haven’t been uploaded or processed yet.
The main reason for this problem is running Disk Cleanup without administrator rights. Other reasons include old error reports left after failed updates or broken entries in the registry at:
`HKLM\SOFTWARE\Microsoft\Windows\CurrentVersion\Explorer\VolumeCaches`.
1. Run Disk Cleanup as Administrator
In most cases, this issue is caused by not running Disk Cleanup with admin rights. Many users have fixed the problem simply by launching Disk Cleanup with administrative privileges. Without admin access, Disk Cleanup can’t remove some system files.
- Press Windows key + R to open the Run dialog box. Type “cleanmgr” and then press Ctrl + Shift + Enter to open Disk Cleanup with administrative rights.
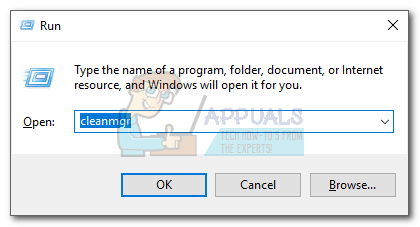
Run dialog: cleanmgr - If you see the UAC (User Account Control) prompt, click Yes to continue.
- Now, select the System Queued Windows Error Reporting Files and schedule them for cleanup. They should delete without any problems.
2. Manually Delete the Files
If running Disk Cleanup as an admin did not work, try deleting the System Queued Windows Error Reporting Files manually. Some users found that after manually deleting these files from their folders, they no longer appeared in Disk Cleanup.
- Press Windows key + R to open the Run dialog box. Paste “%ALLUSERSPROFILE%\Microsoft\Windows\WER\ReportQueue” and press Enter to open the ReportQueue folder.
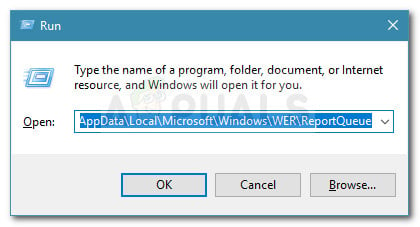
Run dialog: %ALLUSERSPROFILE%\Microsoft\Windows\WER\ReportQueue Note: If this command doesn’t work, try this one instead: “%USERPROFILE%\AppData\Local\Microsoft\Windows\WER\ReportQueue”
- If you see any subfolders or files in this folder, delete them and then empty your Recycle Bin.
- Restart your computer. After restarting, check Disk Cleanup again. The System Queued Windows Error Reporting Files should no longer appear for deletion.
3. Fix the Windows 7 and 8 Log File Bug
If you’re experiencing this problem on Windows 7 or Windows 8, it may be due to a well-known bug that Microsoft hasn’t fully fixed yet.
When this bug happens, certain log files can grow extremely large. Unfortunately, even if you delete them, Windows may create them all over again, sometimes even more quickly than before, until your drive is full.
There is, however, a manual fix that has helped many users stop this from happening. It involves stopping the Windows Modules Installer service and renaming the log files, so Windows doesn’t keep making them bigger.
- Press Windows key + R to open the Run dialog box. Type “services.msc” and press Enter to open the Services window. If prompted by User Account Control (UAC), click Yes.

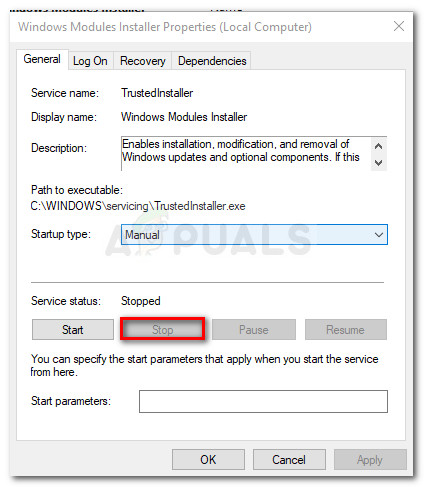
Run dialog: services.msc - In the Services window, scroll down to find the Windows Modules Installer service. Double-click it to open its Properties window.
- On the General tab, click Stop to stop the Windows Modules Installer service (under Service status).
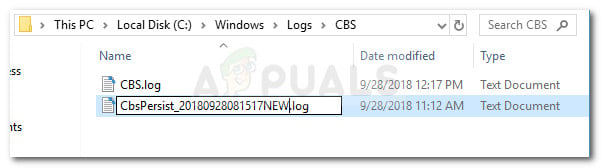
Stop Windows Modules Installer service - Open File Explorer and go to C:\Windows\Logs\CBS
Note: If Windows is installed on a different drive, change the location as needed. - In the CBS folder, move or rename all files. Make sure to keep the “.log” extension (for example, rename CBS.log to CBS_old.log).
Rename all logs - If prompted by User Account Control (UAC), click Yes.
- Go to C:\Windows\Temp and delete all “.cab” files in the Temp folder.
- Restart your computer. Once your PC is back up, check Disk Cleanup again. The large System Queued Windows Error Reporting entry should be gone.
4. Perform a Repair Install
If none of the previous methods worked, it may be because of underlying system file corruption.
There are several ways to repair system files, but we recommend a Repair Install, because it’s quick and often gets the job done.
A Repair Install will reinstall all Windows components with fresh copies, but will let you keep all your personal files, settings, and installed applications. If you decide to proceed, you can follow our step-by-step guide (here).


