How to Fix Camera not Working on MS Teams
On Microsoft Teams, the camera sometimes turns on and then off quickly, showing a black or white screen to others during meetings. This means Teams can’t use your camera properly, even if it works in other apps. This often happens after a recent Teams update, especially on Lenovo computers.
Other possible reasons are permission issues, problems with graphics settings, or conflicts with other video apps.
Pre-requisites:
Before moving on to the main solutions, we recommend trying these quick fixes that have worked for many people. If your camera still isn’t working with Teams, then continue to the detailed solutions below. Here are some initial steps to try:
- Restart Microsoft Teams: Completely close out Teams (including from the Task Manager), then relaunch it. Sometimes this simple step resolves the issue.
- Restart Your PC: Restarting your computer clears the memory and reinitializes devices, including the camera. This helps resolve any temporary issues.
- Unplug and Replug Your Camera: If you’re using an external camera, unplug it and then plug it back in. This can help Windows recognize the camera properly.
1. Check and Configure MS Teams Video Settings
In many cases, Teams simply hasn’t been set up to use the correct camera. By default, Teams might not select your webcam.
- Click Start and search for Microsoft Teams. Open the app.
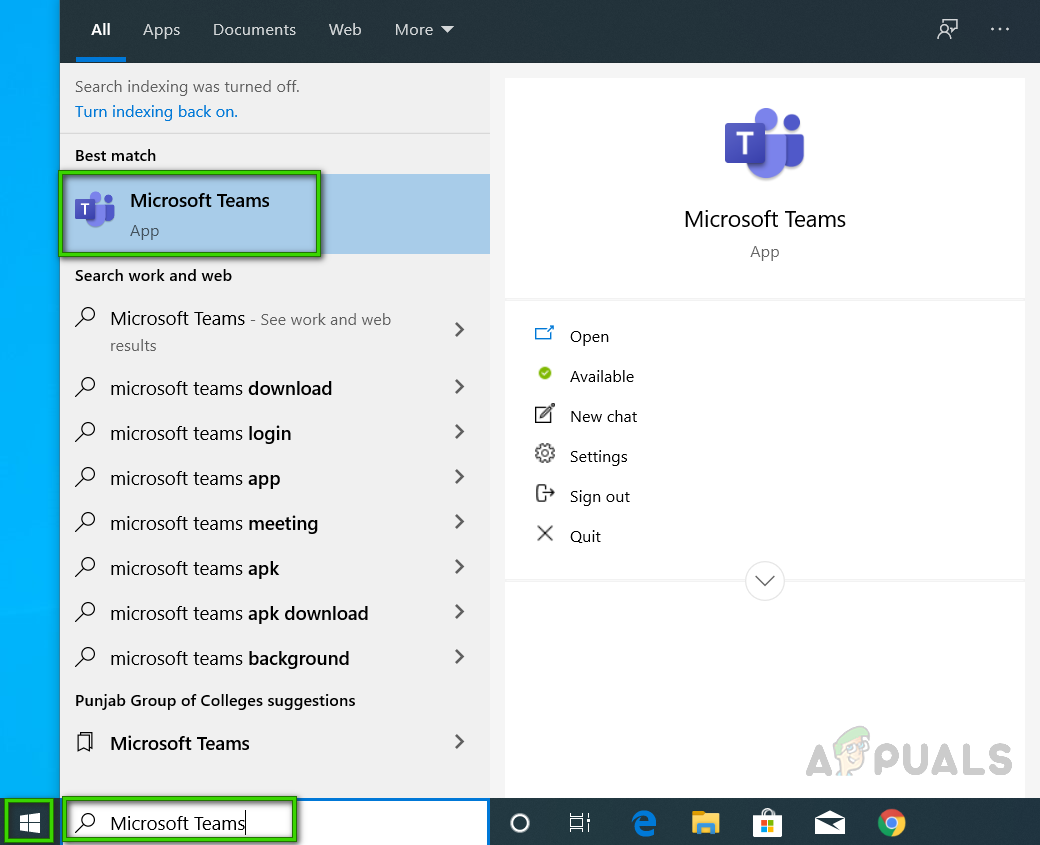
Opening Microsoft Teams - Click your profile picture (Avatar), then select Settings. This will bring up all of Teams’ options, including General, Privacy, and Notifications.
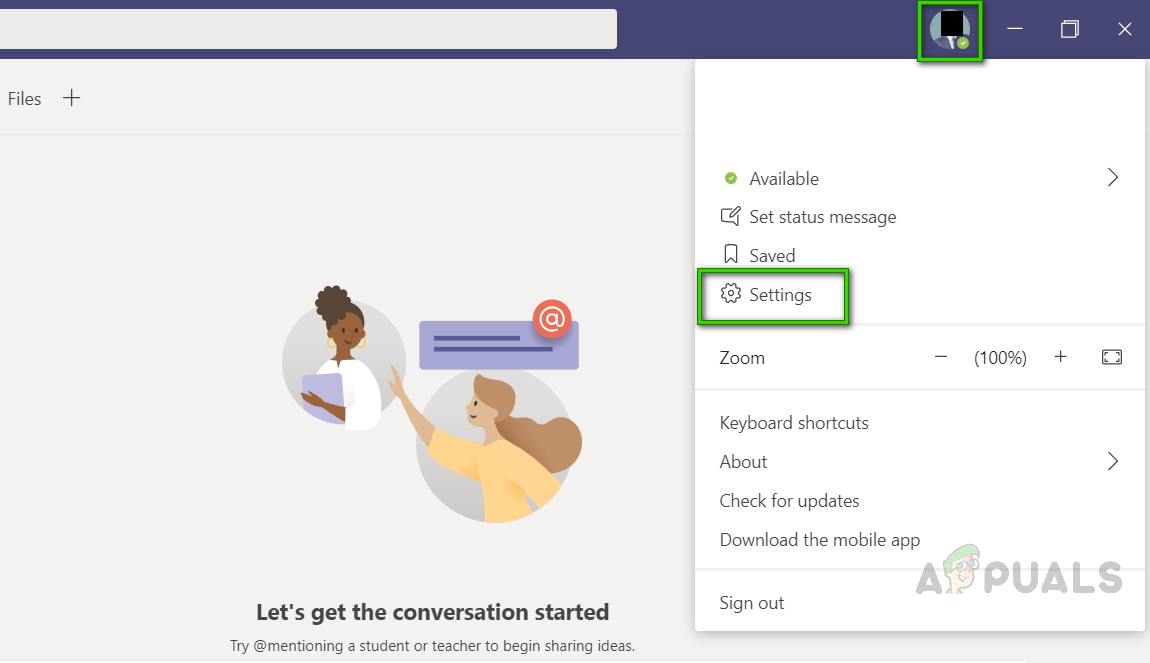
Opening MS Teams Settings - Click on Devices and under Camera, choose your connected webcam or camera device.
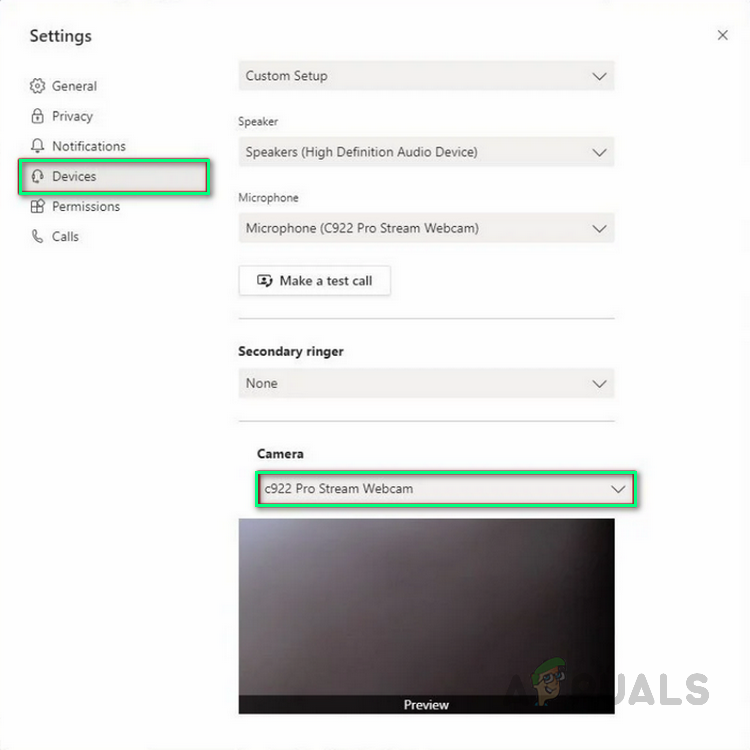
Selecting Connected Webcam Device - Use the preview window to confirm the camera is working. Try joining or starting a meeting to check if people can see your video.
2. Allow Camera Access for Windows Applications
Teams (and other Windows apps) need permission from your operating system to use the camera. If these permissions aren’t enabled, Teams won’t be able to access your camera.
- Click Start, type Settings, and open it. This will show the main Windows settings, including Privacy, Apps, and Accounts.
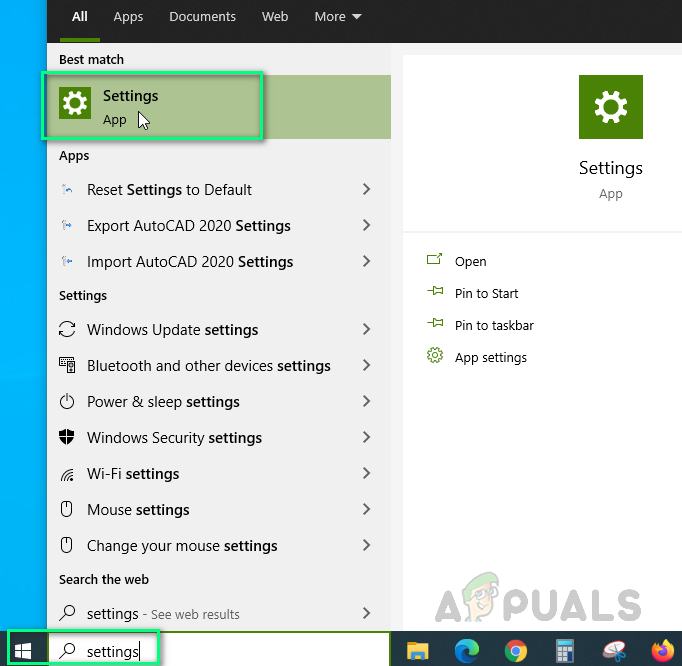
Opening Windows Settings - Select Privacy to open all privacy-related settings.
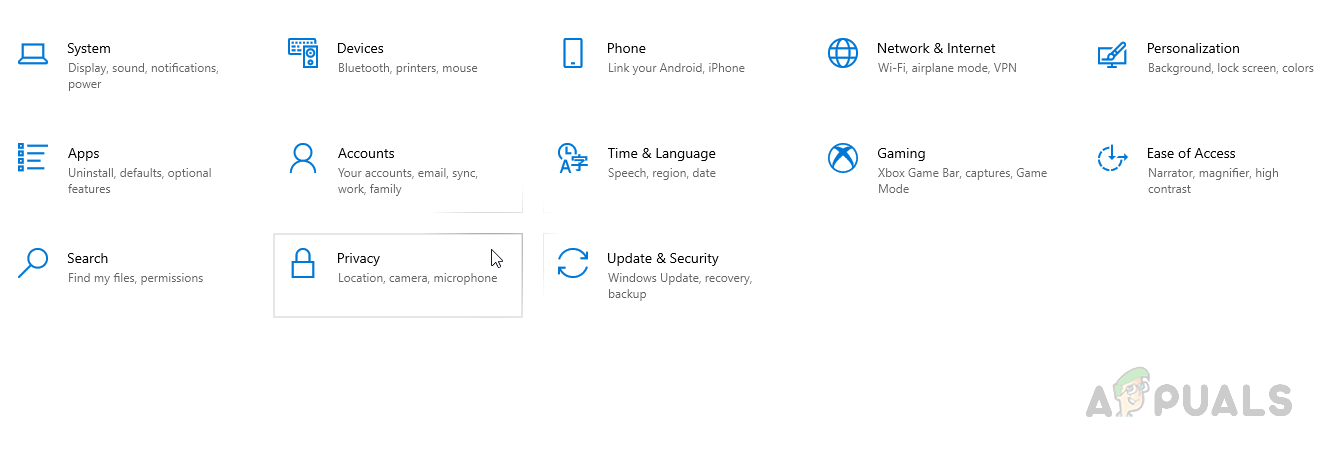
Opening Windows Privacy Settings - Click on Camera. Switch on Allow apps to access your camera. You can scroll down to manage which individual apps have permission.

Turning on the Allow Apps to Access Camera Option - Scroll down and make sure Allow desktop apps to access your camera is also turned on. This includes Teams and other desktop applications.
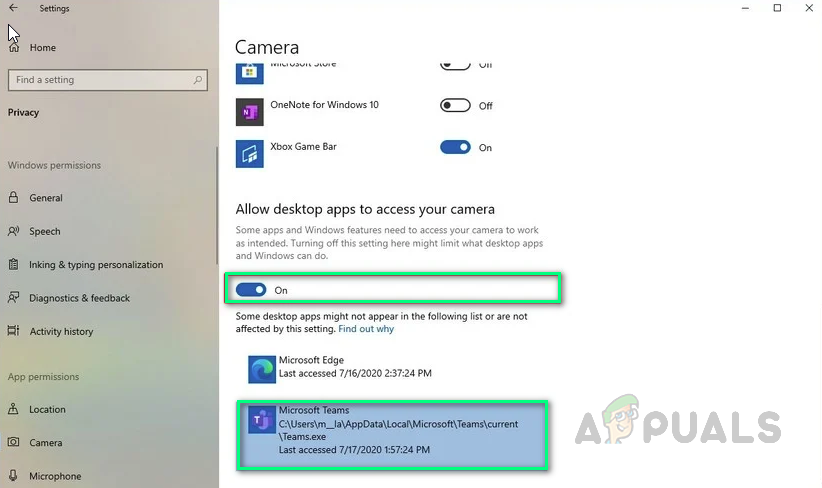
Turning on Allow Desktop Apps to Access Your Camera Option - Restart Teams and make a test call to check your camera.
3. Re-Register Your Camera Device Using Windows PowerShell
If Windows isn’t recognizing your camera correctly, re-registering it can help. This step uses PowerShell to fix potential registration issues.
- Press Windows + X and select Windows PowerShell (Admin) from the menu. This will open PowerShell with the required admin permissions.
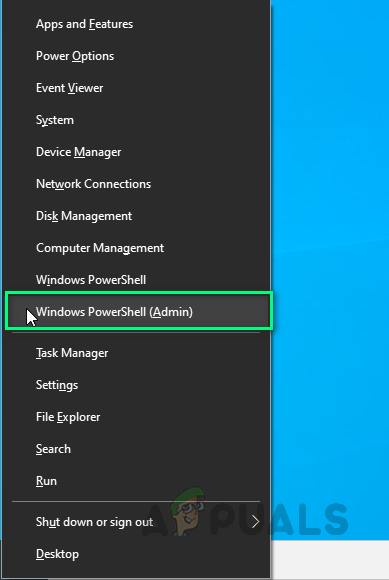
Opening Windows PowerShell with Admin Privileges - Copy and paste the following command into PowerShell, then press Enter:
Get-AppxPackage -allusers Microsoft.WindowsCamera | Foreach {Add-AppxPackage -DisableDevelopmentMode -Register "$($_.InstallLocation)\AppXManifest.xml"}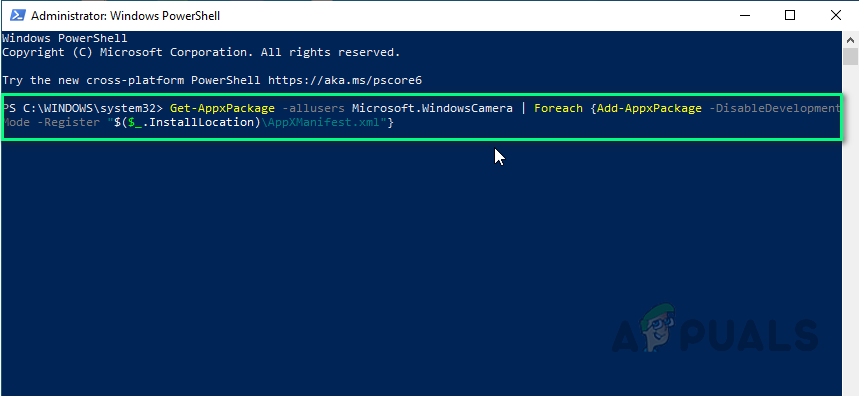
Running Command in Windows PowerShell - Wait for the process to finish, then close PowerShell. Open Teams and check the camera in a test call.
4. Reinstall Camera Drivers
If solutions above haven’t helped, the issue could be caused by broken or corrupted drivers. Reinstalling your drivers lets Windows automatically find and install the latest version for your camera.
- Press Windows + X and select Device Manager.

Opening Device Manager - Find your camera device under Imaging or Camera Devices. Right-click it and choose Uninstall device.
- In the prompt that appears, click Uninstall again and confirm. Wait for the process to finish.
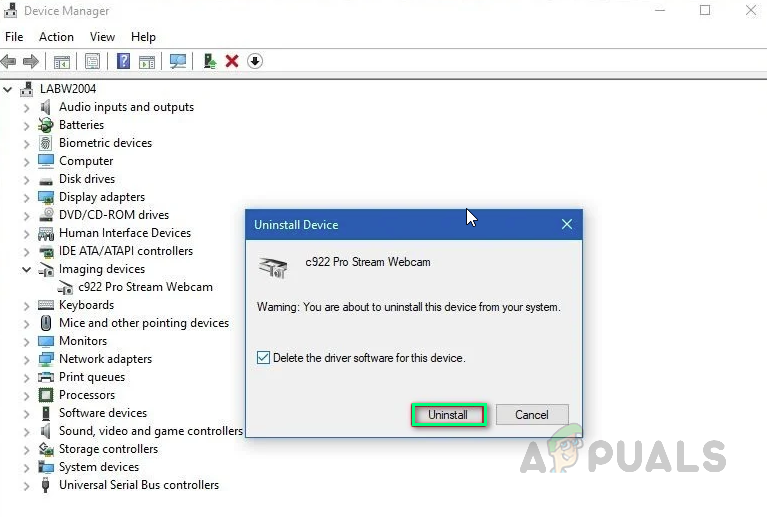
Uninstalling Camera Device - Once done, click Action at the top and then Scan for hardware changes. This will make Windows look for the camera and reinstall the driver automatically.
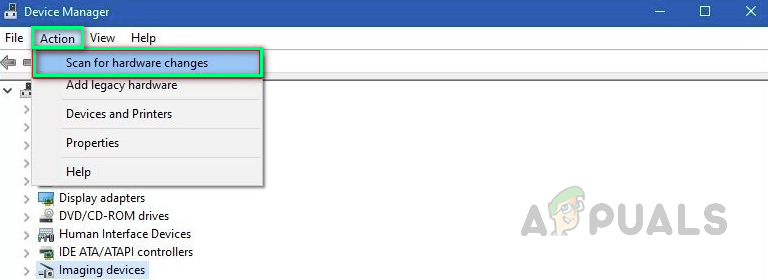
Scanning for Hardware Changes - Close Device Manager and restart your computer.
- Try Teams again and see if the camera is recognized.
5. Allow Camera Permissions in Your Web Browser
If you’re using Teams in a web browser, your camera might not work if the browser doesn’t have permission to use it. Most users resolve this by allowing Microsoft Teams to access their camera in the browser’s settings. Here’s how you can do that in Google Chrome (steps may be slightly different in other supported browsers like Edge, Firefox, or Internet Explorer 11)
Note: MS Teams in a browser is supported on Google Chrome, Microsoft Edge, Mozilla Firefox, and Internet Explorer 11. If you’re using another browser, consider switching to one of these.
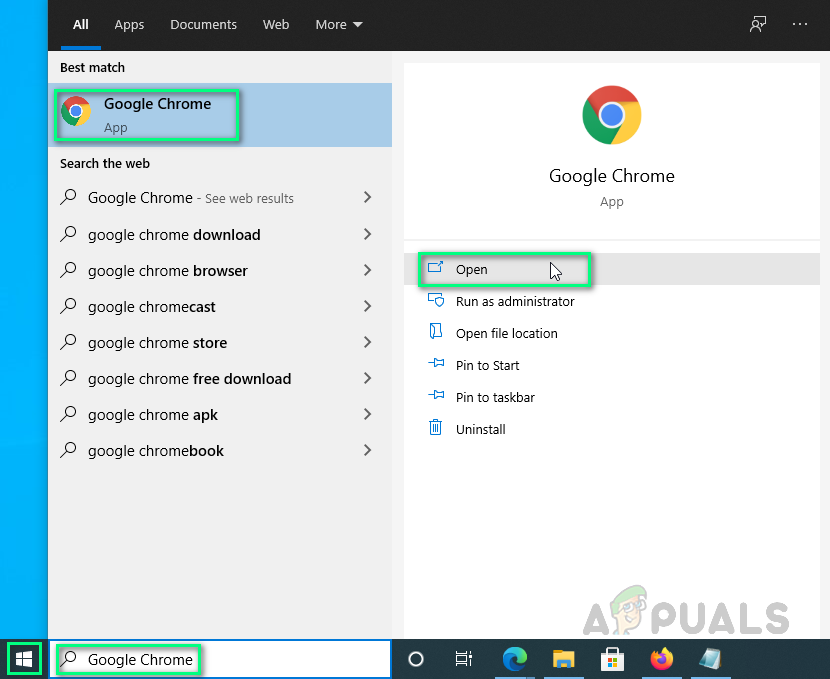
- Open Google Chrome (search for it from the Start menu if needed).
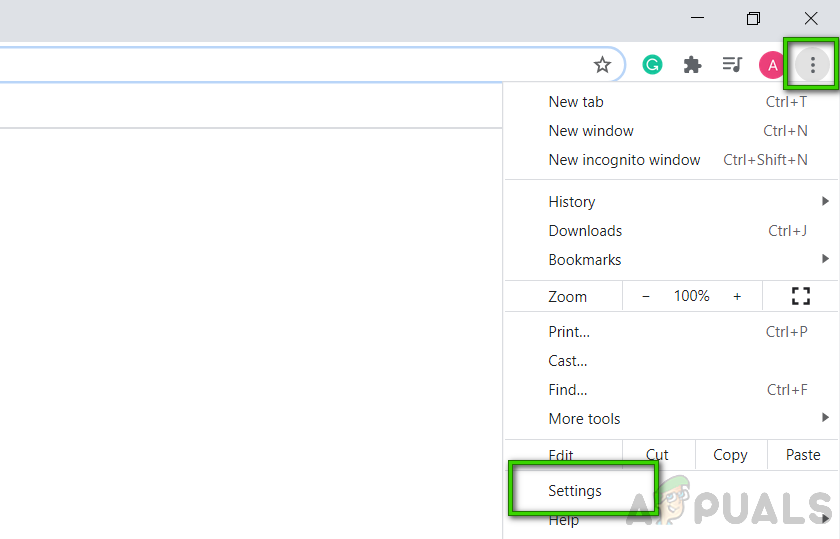
Opening Google Chrome - Click the three dots (Customize & control Chrome) and select Settings.
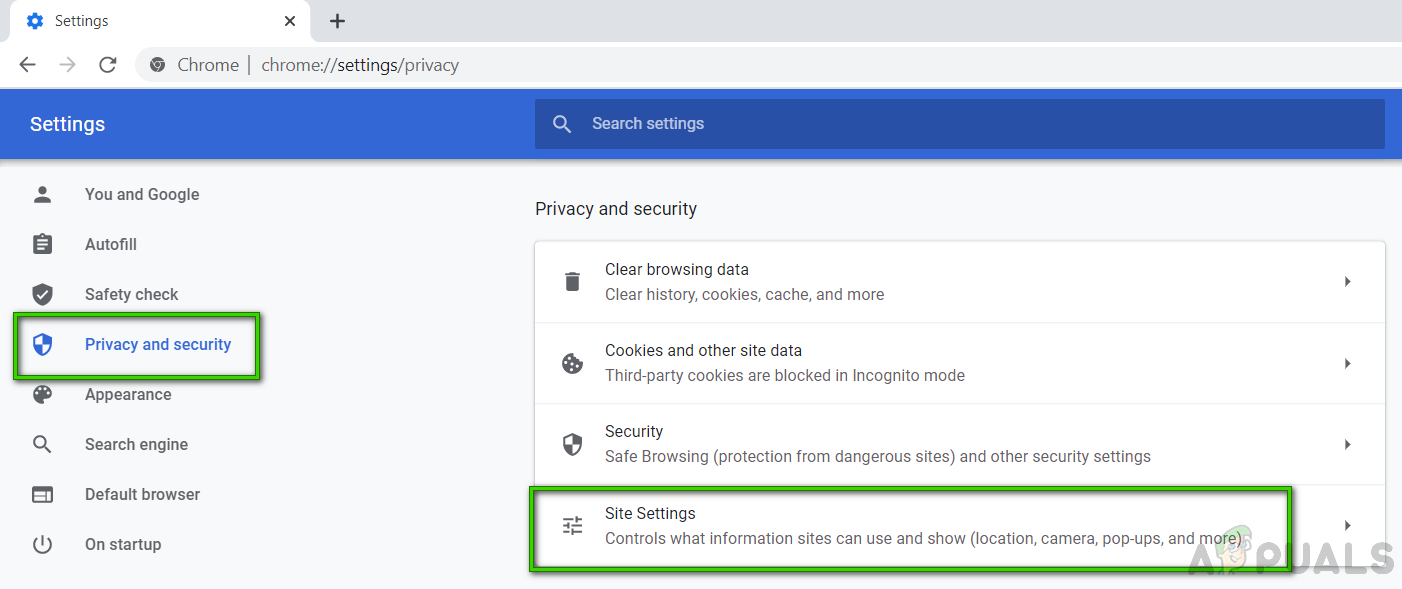
Opening Browser Settings - Choose Privacy and security > Site Settings.
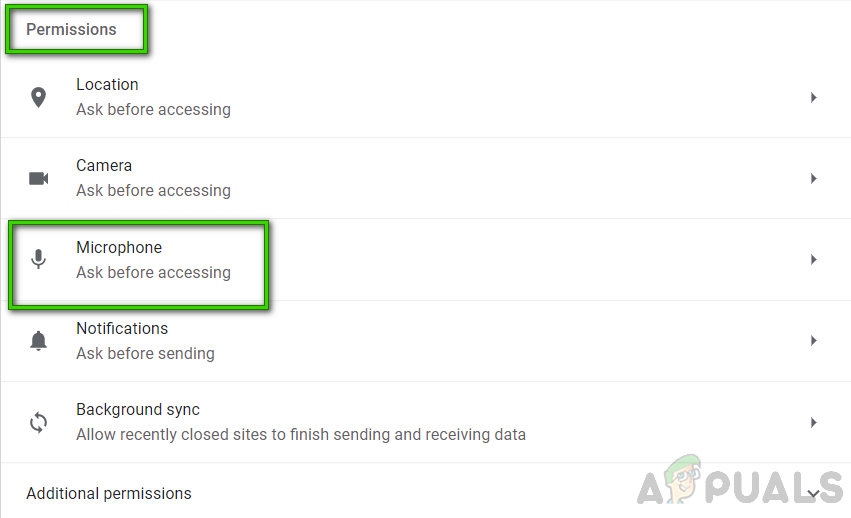
Opening Site Settings - Under Permissions, click Microphone (you’ll use a similar method for the camera).
Configuring Microphone Device Settings - In the search bar at the top right, enter teams.microsoft.com. When the site appears, select the link and make sure it is set to Allow under the Camera section.
teams.microsoft.com
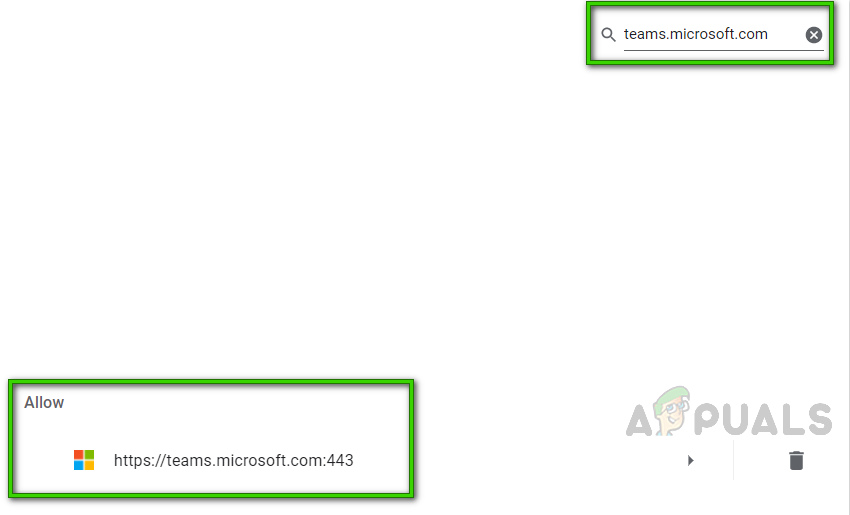
Searching MS Teams Website - Make sure Allow is enabled for the Camera option. You may need to also enable it for the Microphone if you plan to use both.
- Open Teams on Chrome, log in, and join or create a meeting to test your camera.


