Call of Duty Vanguard Always Crashing? Here’s how to fix
Call of Duty: Vanguard might crash while playing, on the main menu, or right when you start the game. Sometimes, there is no warning or error message, making the game impossible to play for some people. These crashes usually happen because of serious problems, like issues with DirectX 12, damaged game settings files, or problems with the game’s graphics data.
The most common cause of constant crashing is a bad graphics card driver (especially NVIDIA drivers version 546.xx or newer). Other causes include broken game settings, errors from game updates, and unstable graphics card overclocking.
Now that you know what could be causing the crashes, let’s go through the different troubleshooting steps you can try. Just follow each method below to see if it solves the issue.
1. Switch to Fullscreen Borderless Mode
A good first step if your game keeps crashing is to change the in-game display settings. Some players have found that the game only crashes in true fullscreen mode. If this is happening to you, try switching from Fullscreen to Fullscreen Borderless mode in your Graphics settings. You won’t notice much difference graphically, but it can often prevent crashes and make it easier to access other programs on your computer.
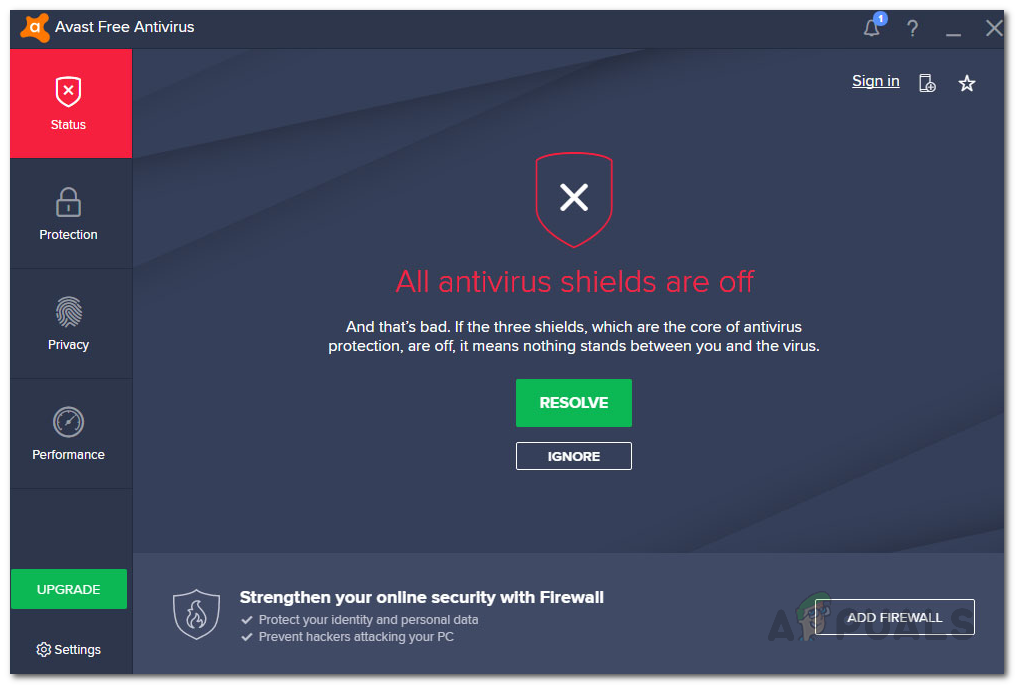
2. Disable Third-Party Antivirus
Antivirus programs are helpful for keeping your computer safe from viruses and malware. However, sometimes a third-party antivirus can interfere with how your games run and cause them to crash. This is because the antivirus might see the game’s actions as suspicious and block them, making the game unstable.
If you have antivirus software on your computer, try disabling it temporarily before launching the game. Then, see if Call of Duty Vanguard still crashes. If it does, you can move on to the other steps below.
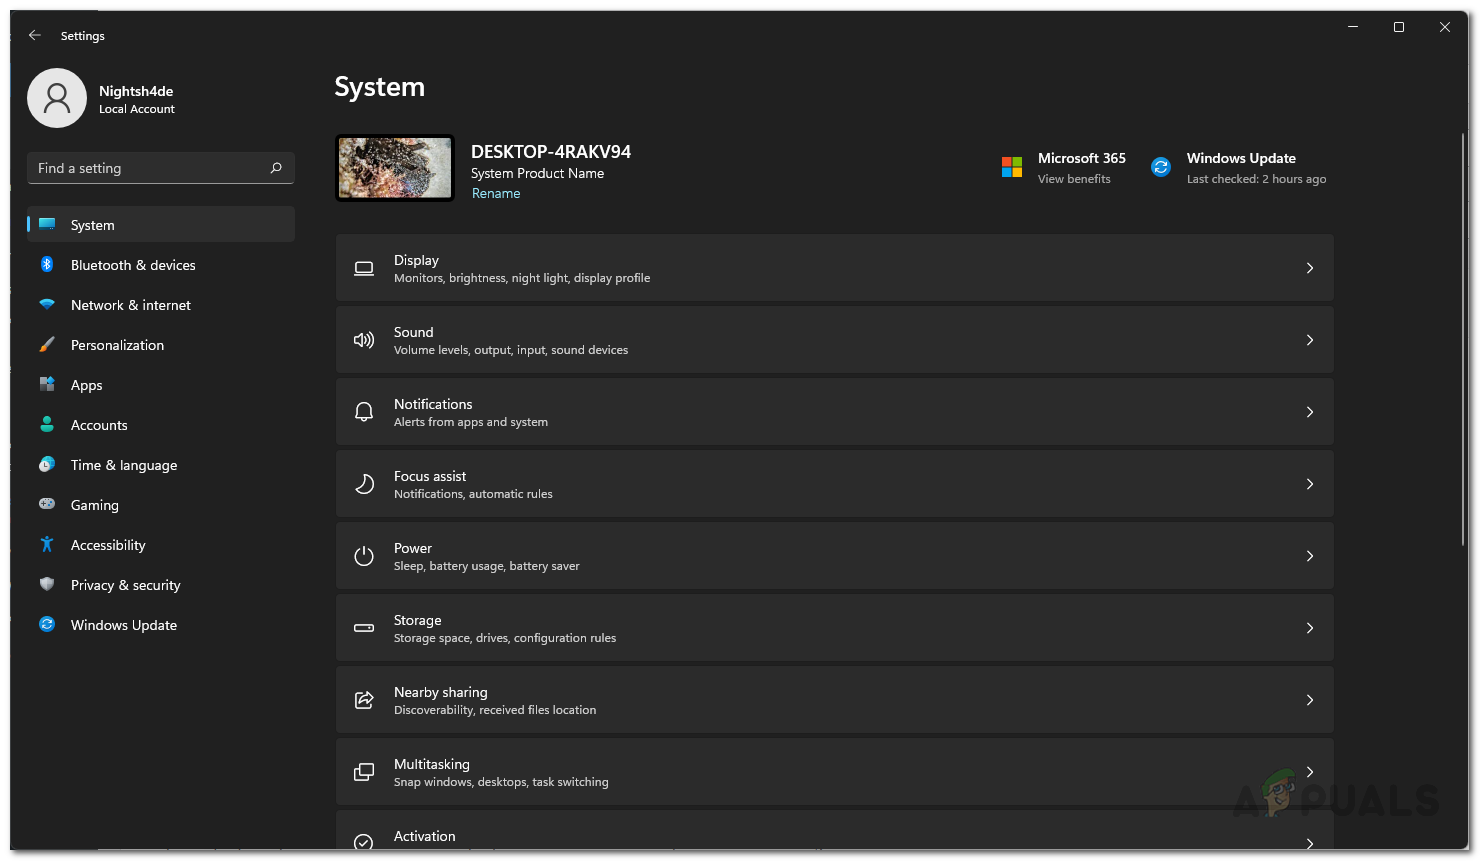
3. Turn Off HDR in Windows
As mentioned earlier, HDR (High Dynamic Range) can sometimes cause Call of Duty Vanguard to crash, especially if your monitor supports this feature. HDR improves the range of bright and dark tones on your screen, but it might not be compatible with the game on some systems right now. Turning it off can help prevent crashes.
- Press Windows key + I to open the Windows Settings menu.
- On the System screen, click on the Display option.
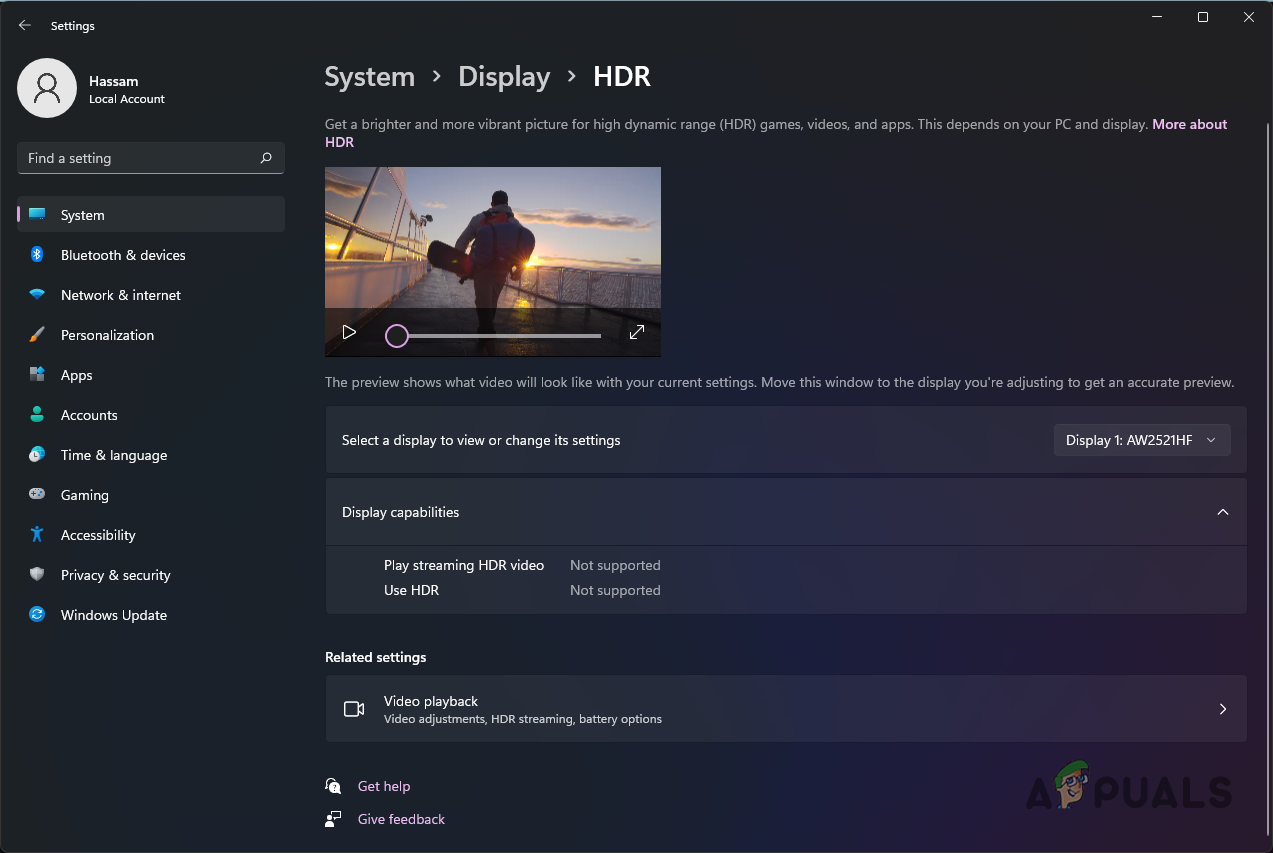
Windows Settings - Find and click on the HDR option under Brightness and color.
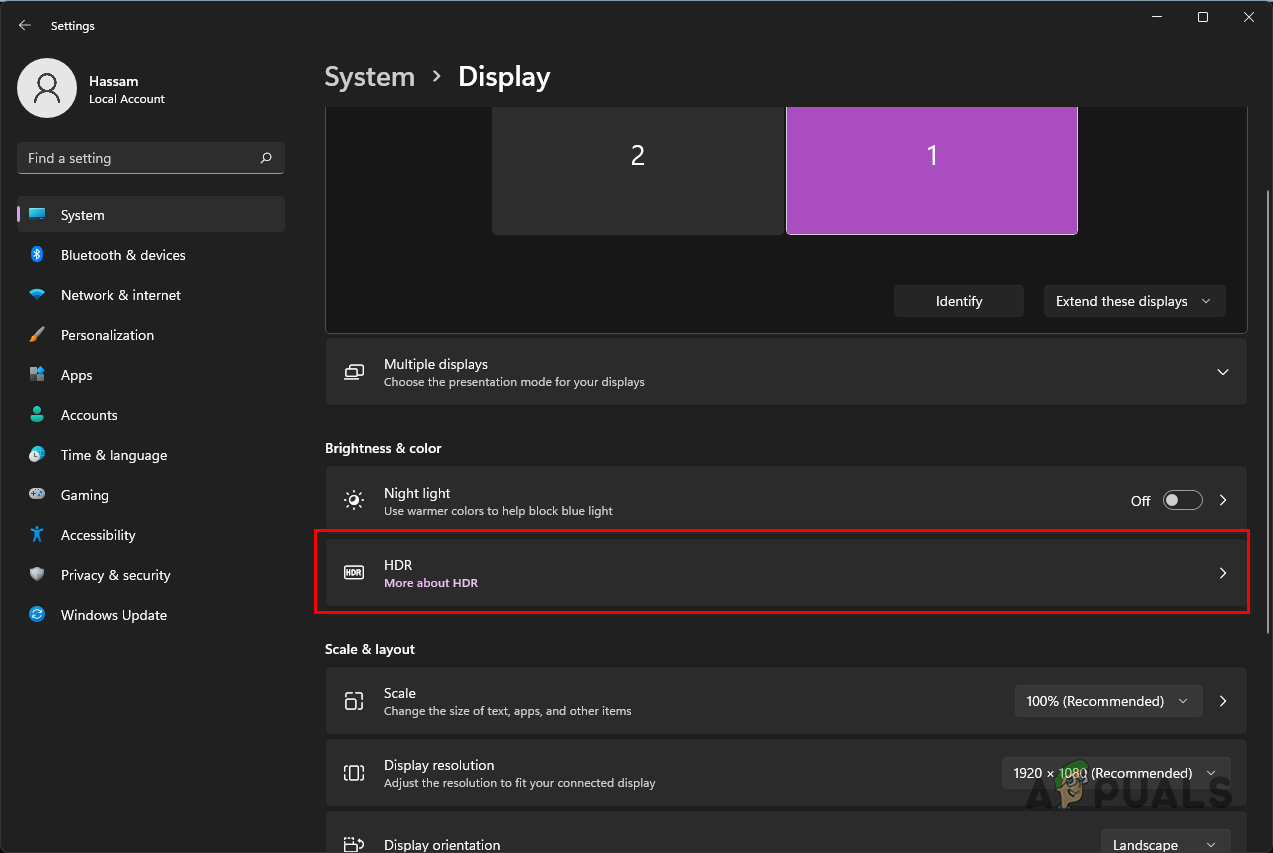
Opening up HDR Settings - On the HDR menu, if you have more than one monitor, choose the one you use for gaming. Then, make sure the Use HDR switch is set to Off. If you don’t see this option, your screen may not support HDR.
HDR Settings - After you turn off HDR, open the game to see if crashes are gone.
4. Reinstall Graphics Drivers
Your graphics drivers play an important role when gaming. They allow your operating system to communicate with your graphics card. If your drivers are outdated, missing, or corrupted, your games—including Call of Duty Vanguard—might crash. To fix this, you’ll need to reinstall your graphics drivers with the latest version from your GPU manufacturer’s website.
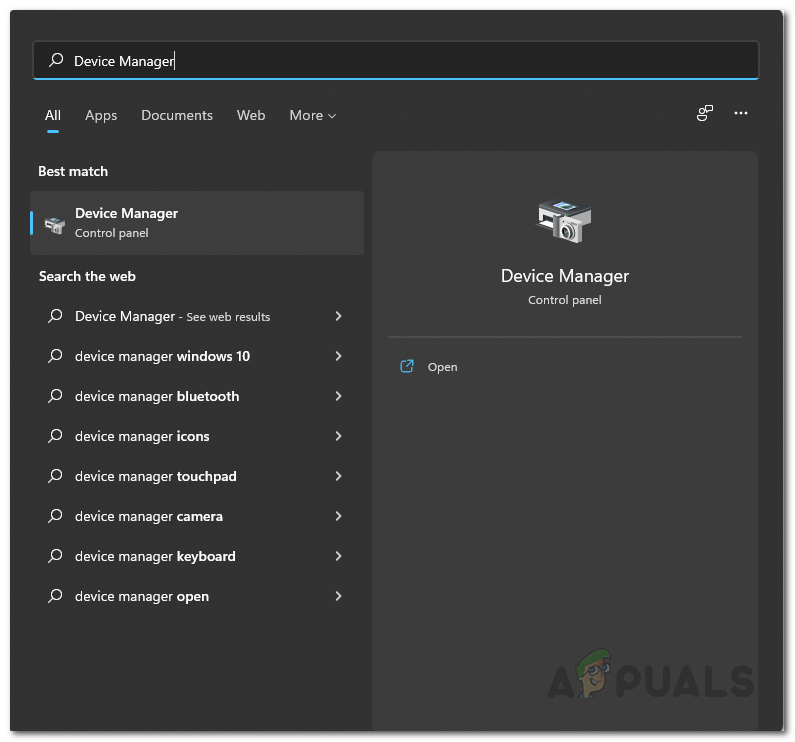
- Open the Start Menu, search for Device Manager, and open it.
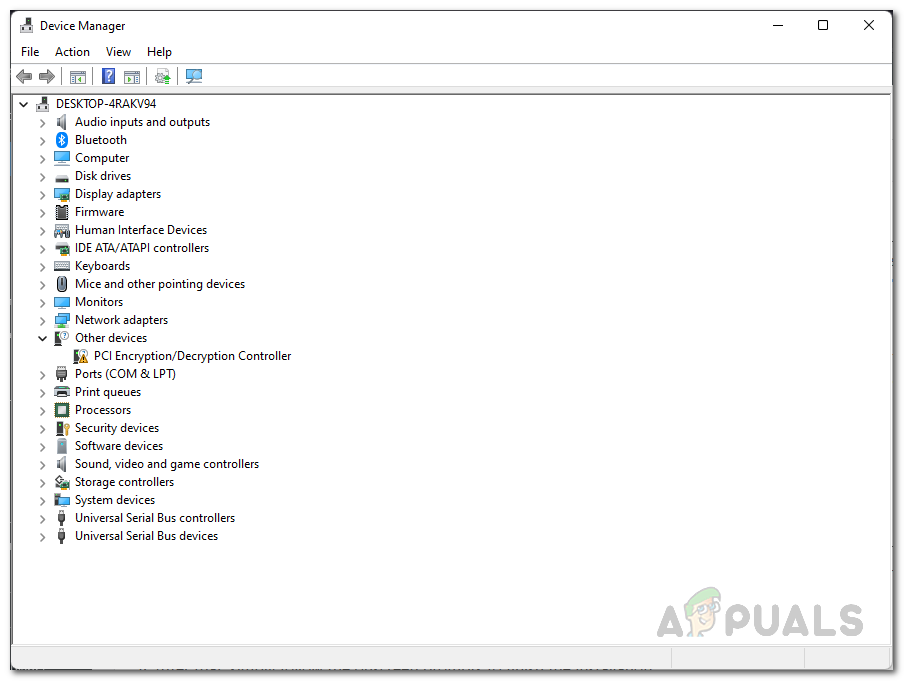
Opening up Device Manager - Expand the Display adapters section to see your installed graphics card.
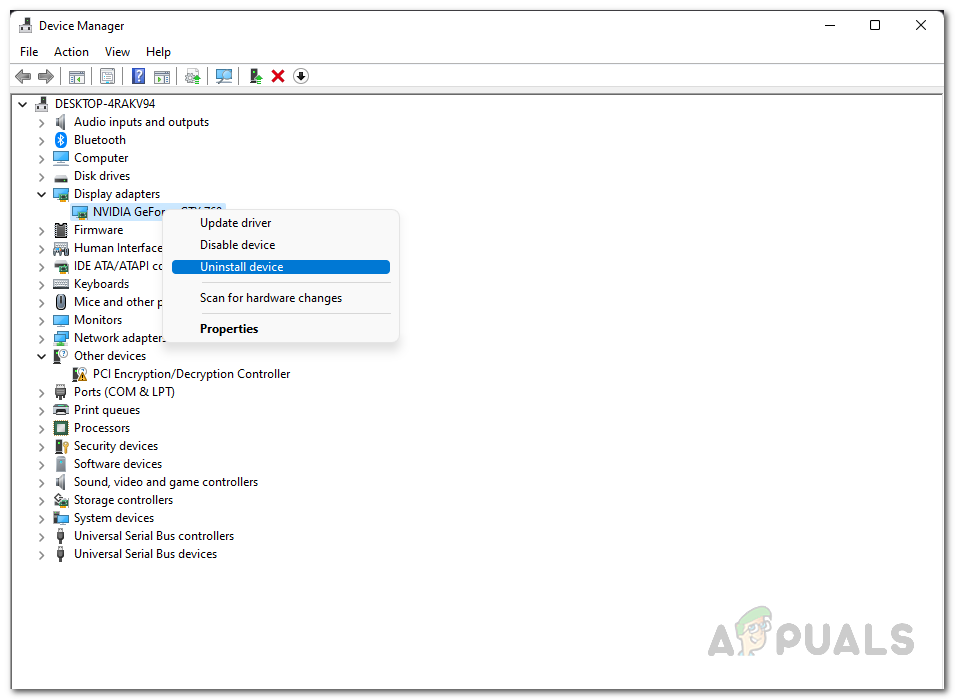
Device Manager - Right-click your graphics card and select Uninstall device.
Uninstalling Graphics Drivers - After uninstalling, go to the website of your graphics card manufacturer (like NVIDIA, AMD, or Intel).
- Download the newest drivers for your GPU and install them.
- Restart your computer.
- Now, launch your game and check if it still crashes.
5. Repair Call Of Duty Vanguard
Game crashes can also happen if game files are missing or corrupted. This sometimes happens after a failed installation or if your antivirus mistakenly deletes important files. You can fix this by using the Battle.net Launcher to scan and repair your game files.
- Open the Battle.net Launcher.
- Next to the Play button for Vanguard, click on Options and select Scan and Repair.
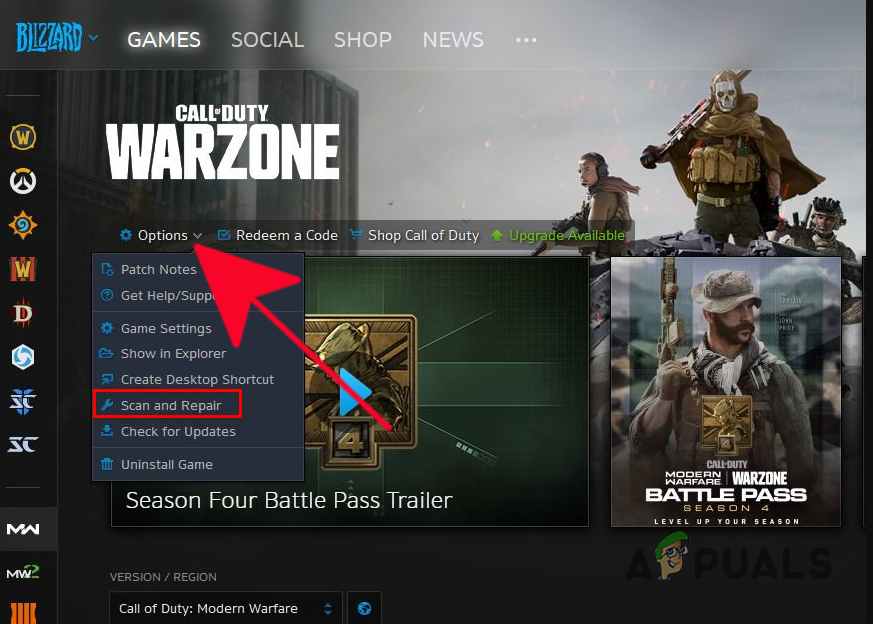
Repairing Battle.net Game - Wait for the scan to finish. Once repairs are complete, try launching your game to see if the crashes have stopped.
6. Perform a Clean Boot
If none of the above methods work, try performing a clean boot. This helps you find out if another program running in the background is causing your crash. A clean boot starts Windows with only the basic required services running, turning off extra apps that might interfere with your game.
If your game stops crashing after doing a clean boot, it means one of the background programs is the culprit. You can then re-enable these services one by one to find which one causes the conflict.
- Press Windows key + R to open the Run dialog.
- Type msconfig and press Enter.
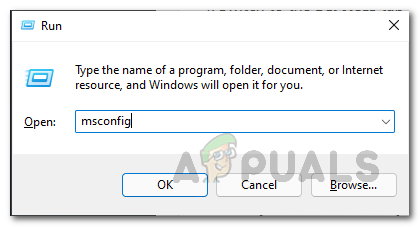
Opening up System Configuration Window - In the System Configuration window, switch to the Services tab.
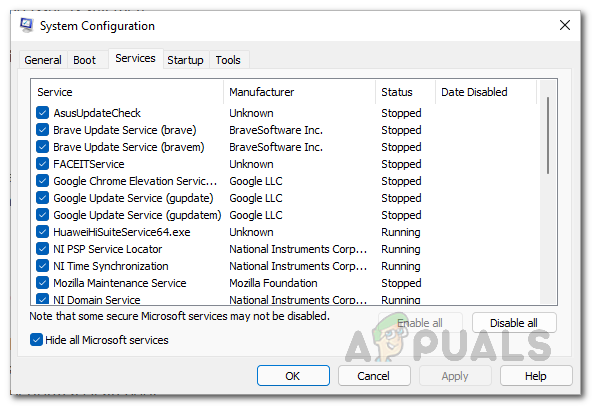
- Check the box for Hide all Microsoft services at the bottom.
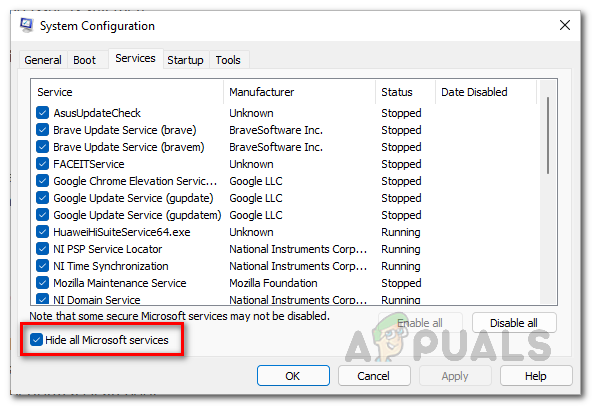
Hiding Microsoft Services - Click Disable all, then Apply.
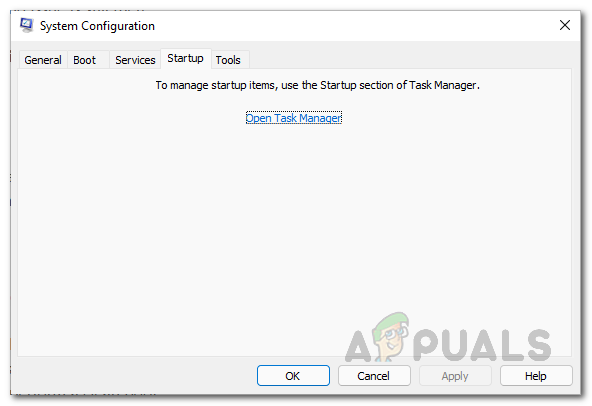
Disabling Services - Go to the Startup tab and click Open Task Manager.
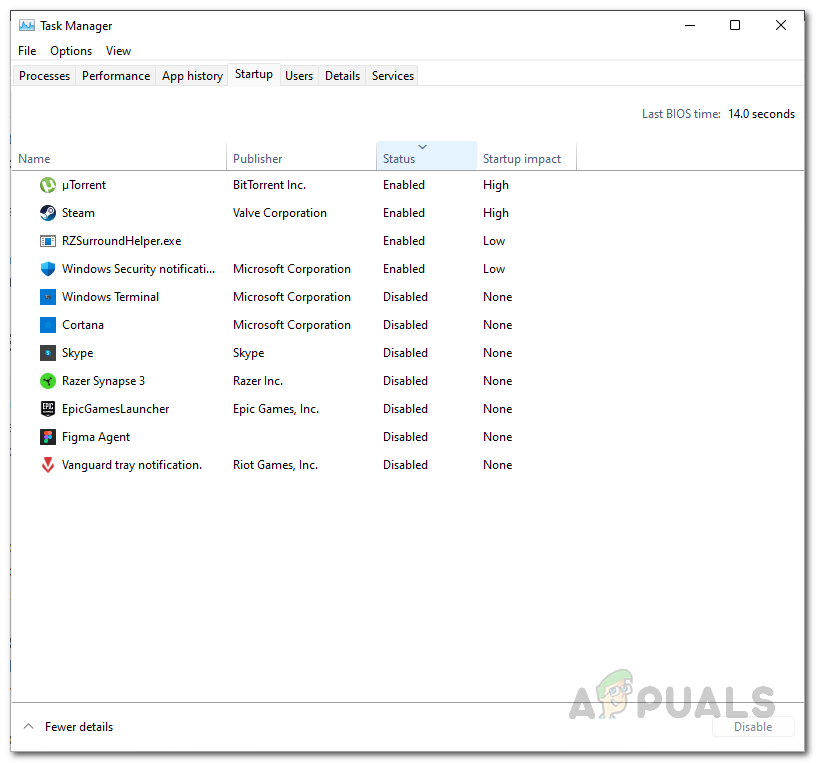
Startup Tab - In Task Manager, select each item and click Disable at the bottom.
Disabling Startup Applications - When finished, restart your computer.
- Your computer will now start with minimal background processes.
- Try opening Call of Duty Vanguard to check if the crash still happens.


