Fix: “Error: 0xC0000005 (0x0) N” in COD Black Ops Cold War?
COD Black Ops Cold War instantly crashes after launch with a popup displaying “Error: 0xC0000005 (0x0) N“, forcing the game to close without loading. This error means the game tried to use memory it shouldn’t, which is called an Access Violation.

The most common reason for this problem is new Nvidia driver updates that do not work well with the game. Other possible causes include broken or missing game files, or the graphics card being overclocked and not stable. These issues can stop the game from starting properly.
Now that you know the causes, let’s go through the different methods you can use to solve the issue.
1. Clear Battle.net Cache
The first thing you should try when encountering this error code is clearing the cache of the Battle.net launcher. Most apps save temporary files to your system to help make things run faster, but sometimes these files can get corrupted and cause issues.
Since these cache files are temporary, you can safely delete them. The next time you open Battle.net, new cache files will be created automatically.
- First, make sure the Battle.net launcher is completely closed. Check the Task Manager to ensure no Battle.net-related processes are running.
- Press Windows key + R on your keyboard to open the Run dialog box.
- Type %ProgramData% and press Enter.
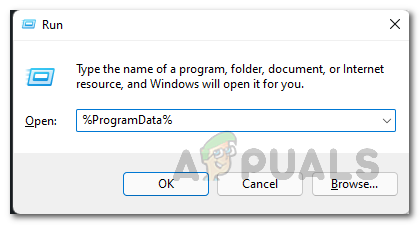
Opening up Program Data Folder - In the File Explorer window, find the Battle.net folder and delete it.
- Afterwards, open the Battle.net Launcher again and see if the problem is resolved.
2. Update or Rollback Graphics Drivers
As mentioned earlier, the error may be related to your graphics drivers, especially if you own an NVIDIA graphics card. Some players have reported that certain driver versions can cause this problem with the game.
To fix this, you should either update your graphics drivers to the latest available version or roll back to an earlier version if you already have the latest installed. To do this, visit your graphics card manufacturer’s website, download the appropriate drivers, and install them.
- Open the Device Manager by searching for it in the Start Menu.
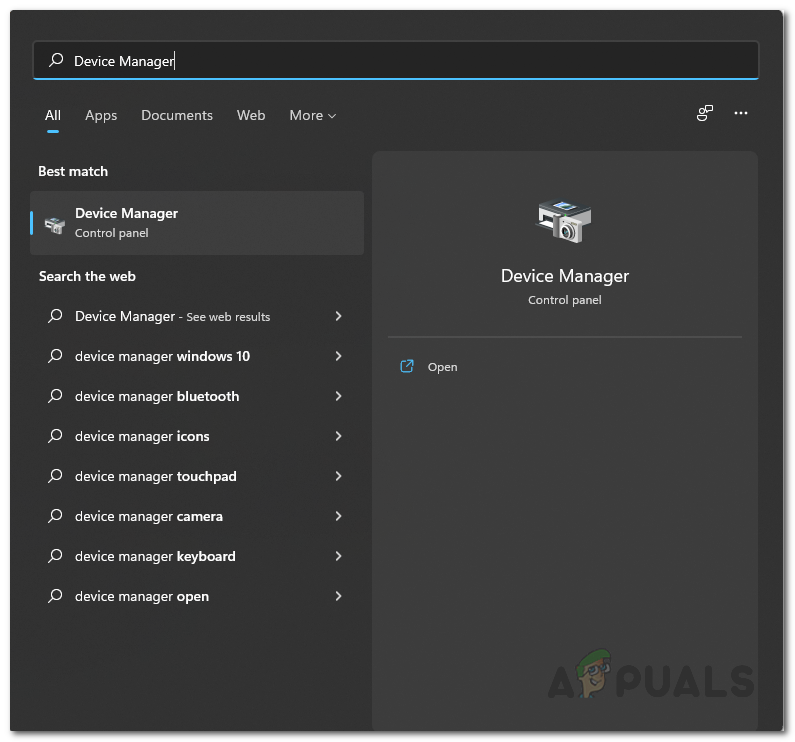
Opening up Device Manager - Expand the Display adapters section.
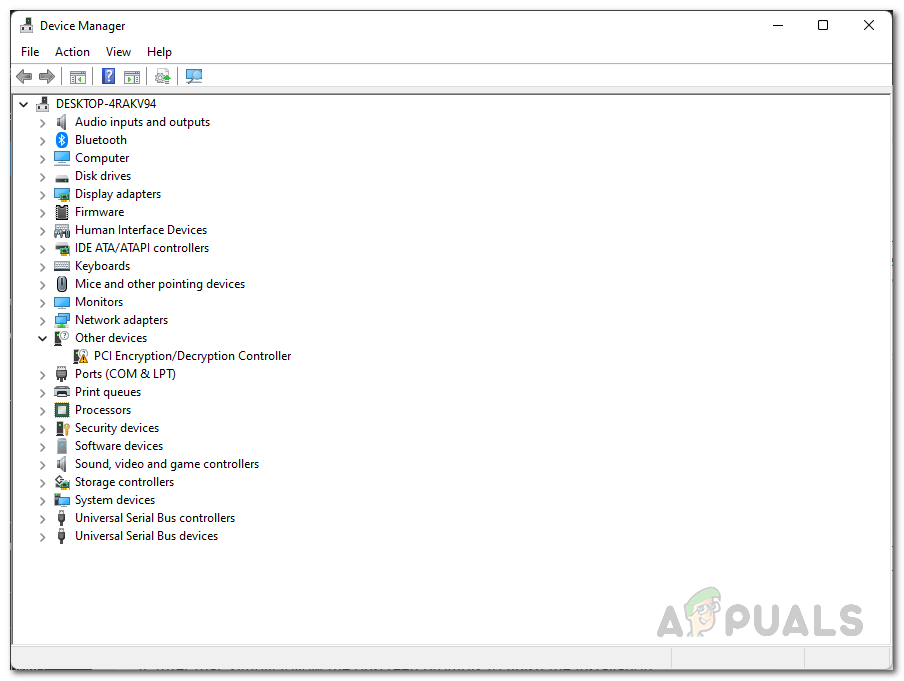
Device Manager - Right-click your graphics driver and select the Uninstall device option from the menu.
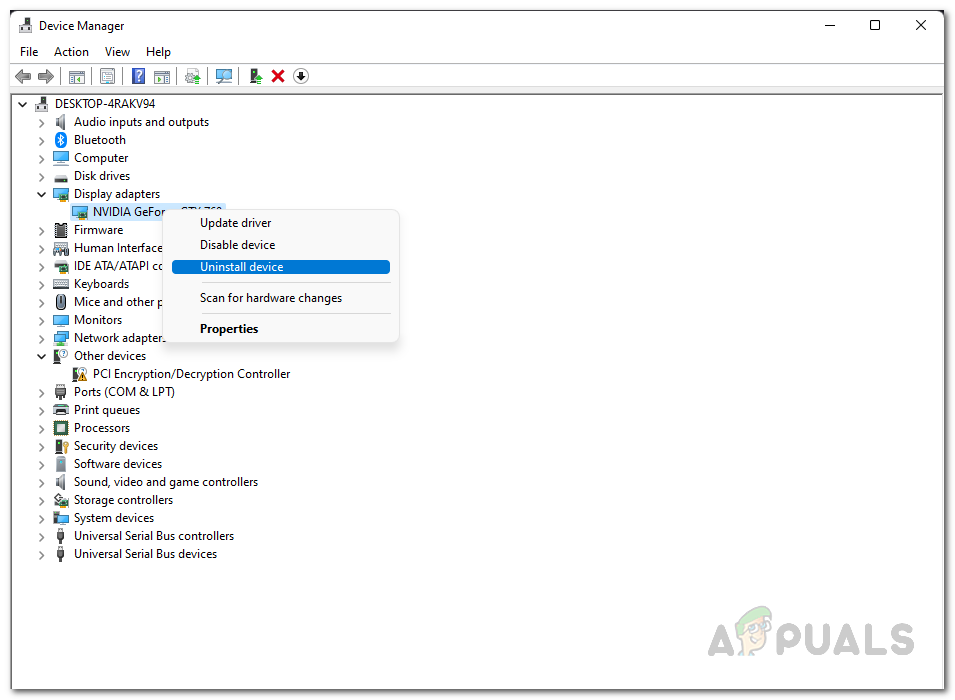
Uninstalling Graphics Drivers - Next, download and install a different version of your graphics driver from your manufacturer’s website.
- Check if this solves the problem.
3. Run Windows Memory Diagnostic Tool
Some users have fixed this error by running the Windows Memory Diagnostic tool. This tool checks your system’s memory (RAM) for problems which can sometimes cause crashes like this.
- Open the Start Menu, search for Windows Memory Diagnostic, and launch it.
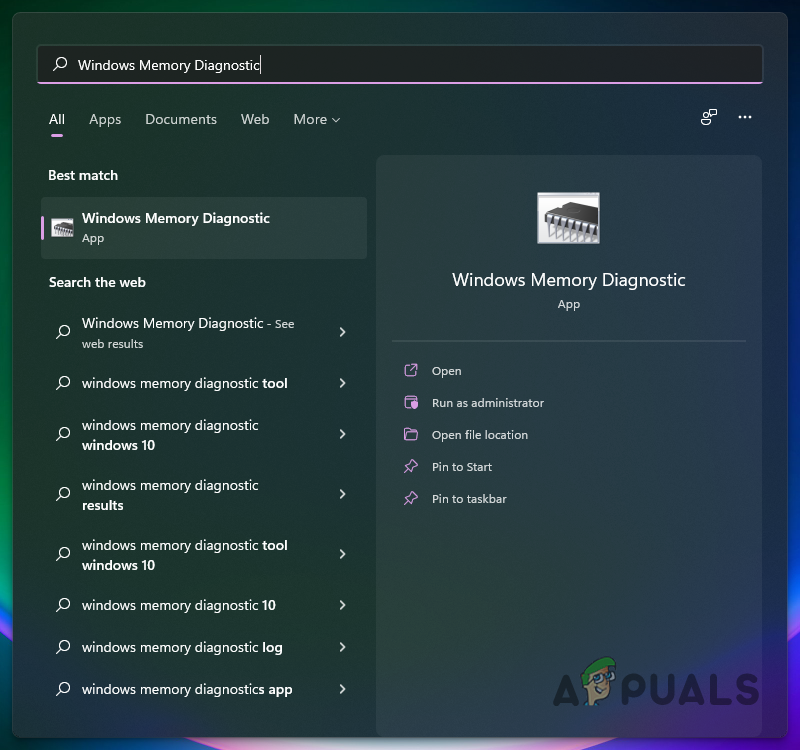
Opening up Windows Memory Diagnostic Tool - In the window that appears, click Restart now and check for problems (recommended).
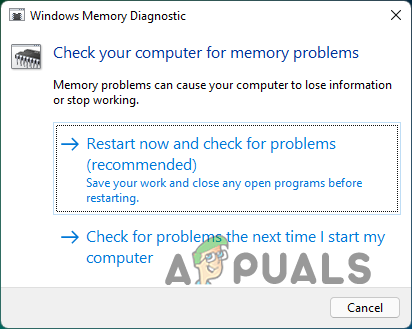
Windows Memory Diagnostic Tool - Your PC will restart and begin the test. Wait for it to complete.
- When your system boots back into Windows, you’ll receive a notification with the test results.
- After checking the results, try launching the game again to see if the issue is fixed.
4. Perform a Clean Boot
As previously discussed, a third-party app running in the background could be causing this error. While you could try closing applications one by one, you might not know which one is to blame. This is where doing a clean boot is useful. A clean boot starts your system using only essential Microsoft services, disabling all others.
If the game works after a clean boot, you’ll know that one of your third-party apps is the cause. You can then enable services one by one to find the culprit.
- Press Windows key + R to open the Run dialog box.
- Type msconfig and press Enter.
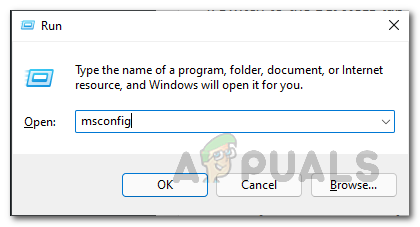
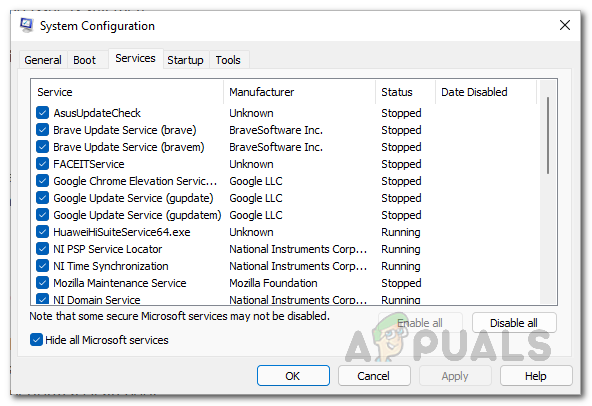
Opening up System Configuration - In System Configuration, go to the Services tab.
- Check the Hide all Microsoft services box.
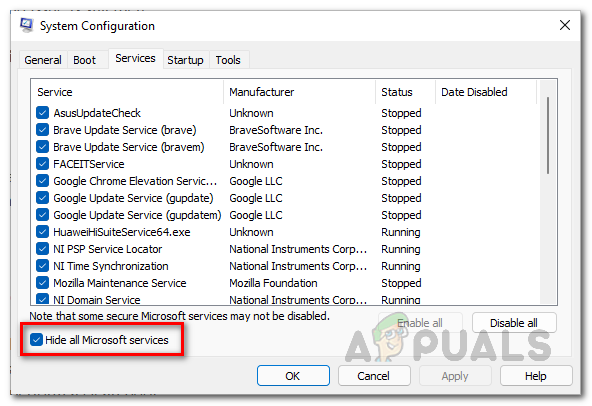
Hiding Microsoft Services - Click Disable all, then click Apply.
Disabling Third Party Services - Switch to the Startup tab and click Open Task Manager.
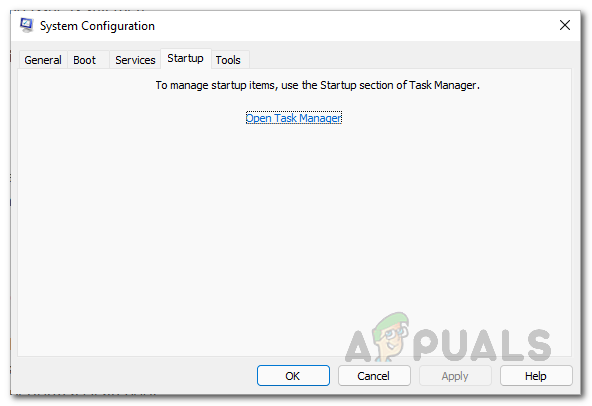
System Configuration Startup Tab - In Task Manager, select each startup app and click Disable for all apps.
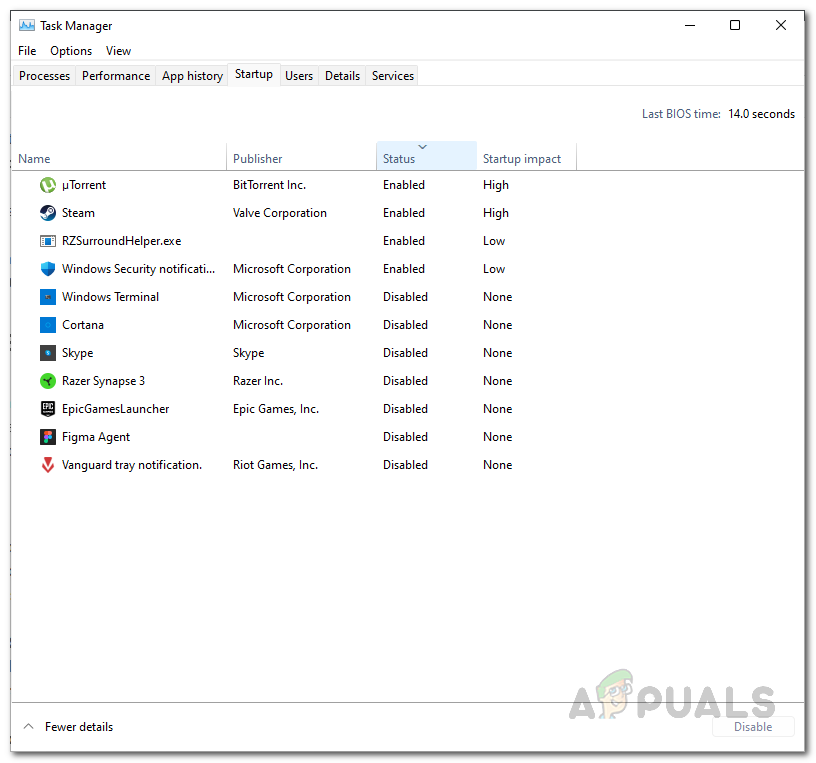
Disabling Third Party Apps - Restart your computer.
- Once your PC restarts, try launching the game to see if the issue still appears.
5. Reinstall Call of Duty Black Ops Cold War
If none of the above methods have fixed the issue, it’s possible that your game installation has become corrupted. In this case, you’ll need to reinstall Call of Duty Black Ops Cold War. According to reports from other users, reinstalling the game has resolved this problem when nothing else worked, so this might be your solution as well.
We hope this guide has helped you fix the 0xC0000005 error code in Call of Duty Black Ops Cold War. If you have any questions or need further assistance, feel free to leave a comment below!


