How to Fix the BrUsbSib.sys Incompatible Driver Error?
The BrUsbSib.sys incompatible driver error stops Memory Integrity from being turned on in Windows Security’s Core Isolation settings. This driver is part of Brother’s USB scanner or printer software. It is blocked because it does not follow Windows rules for important system drivers.
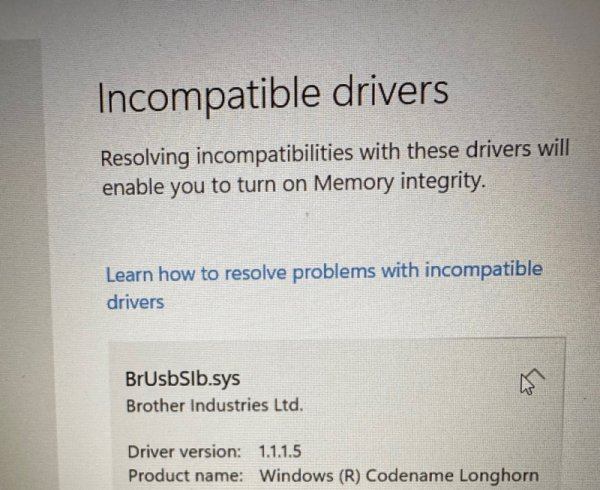
Usually, the problem happens because an old Brother USB driver is still on the computer, even after you removed the device or updated the software. Often, the file is linked to a setup file like oem41.inf. You may need to find and delete this file by hand.
This guide will walk you through several steps to fix this issue and successfully turn on Memory Integrity.
1. Check for Updates for the Brother Software Driver
Outdated drivers often cause compatibility issues that prevent Memory Integrity from working. It’s a good idea to check for newer versions, as Brother regularly updates their drivers for better performance and security.
You can look for driver updates through Device Manager or download them directly from the official Brother website.
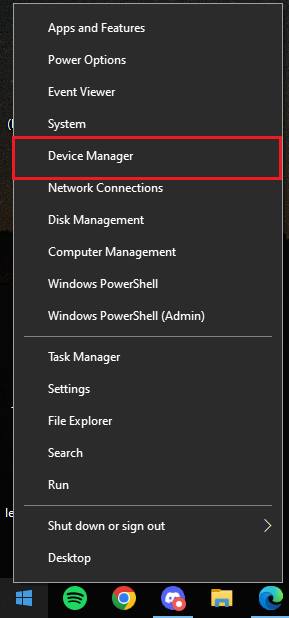
- Right-click the Start button and select Device Manager.
- Find the category for your Brother device.
- Right-click on it and choose Update driver.
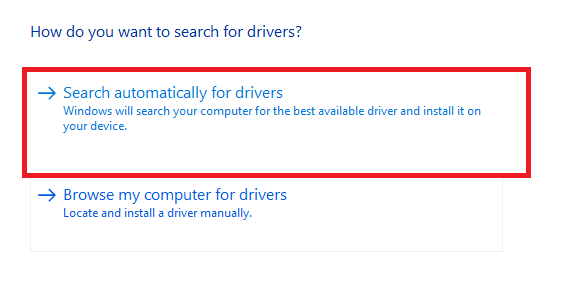
- Select Search automatically for drivers.
- Follow the on-screen steps to finish the update process.
- Restart your computer once the updates are installed.
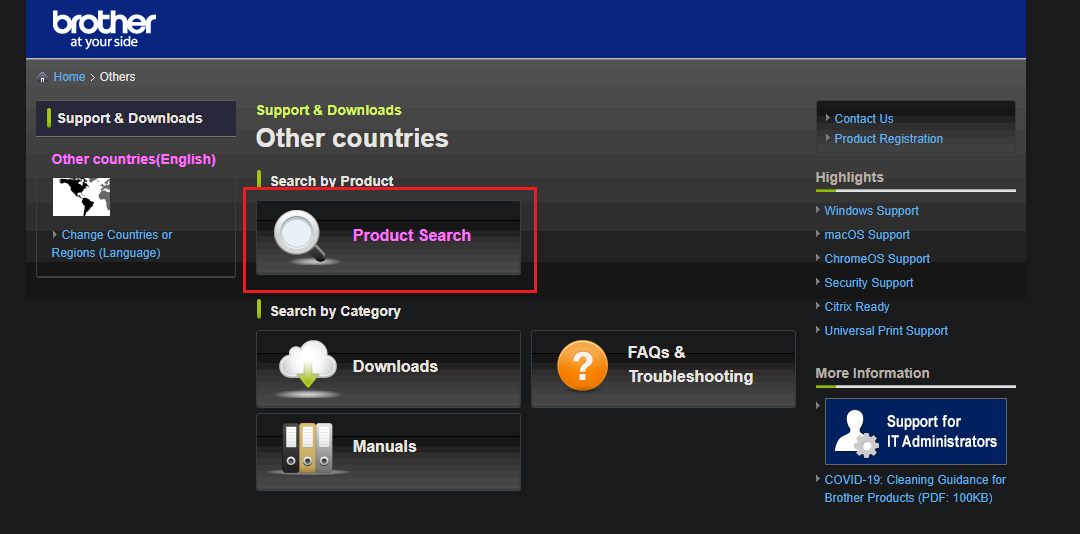
- If Windows doesn’t find an update, go to the official Brother website and find your device’s driver by searching for your product. Download and install the driver manually.
2. Turn on Virtualization-Based Security in Local Group Policy
Windows uses Virtualization-Based Security, which sets up a secure area using hardware virtualization to help protect your system from potential threats. Although turning this on doesn’t directly enable Memory Integrity, it helps set up the right environment for it and other security features. You can turn this on through the Group Policy Editor.
Note: If you’re using Windows 10 Home, the Group Policy Editor isn’t available by default, but you can enable it using this guide.
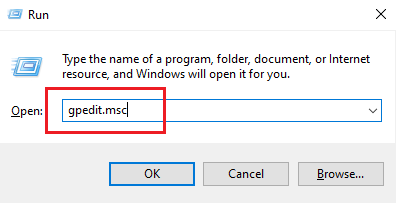
- Press Windows + R to open Run, then enter:
gpedit.msc
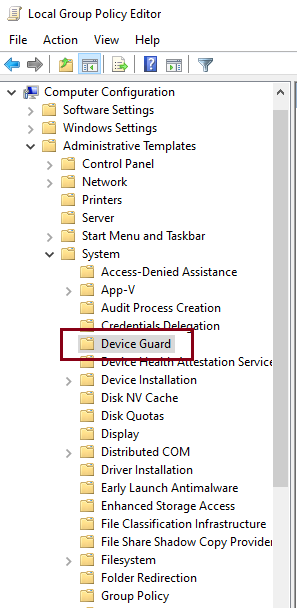
- In the Local Group Policy Editor, go to Computer Configuration > Administrative Templates > System > Device Guard.
- Double-click on Turn on Virtualization Based Security.
- Select Enabled and click OK.
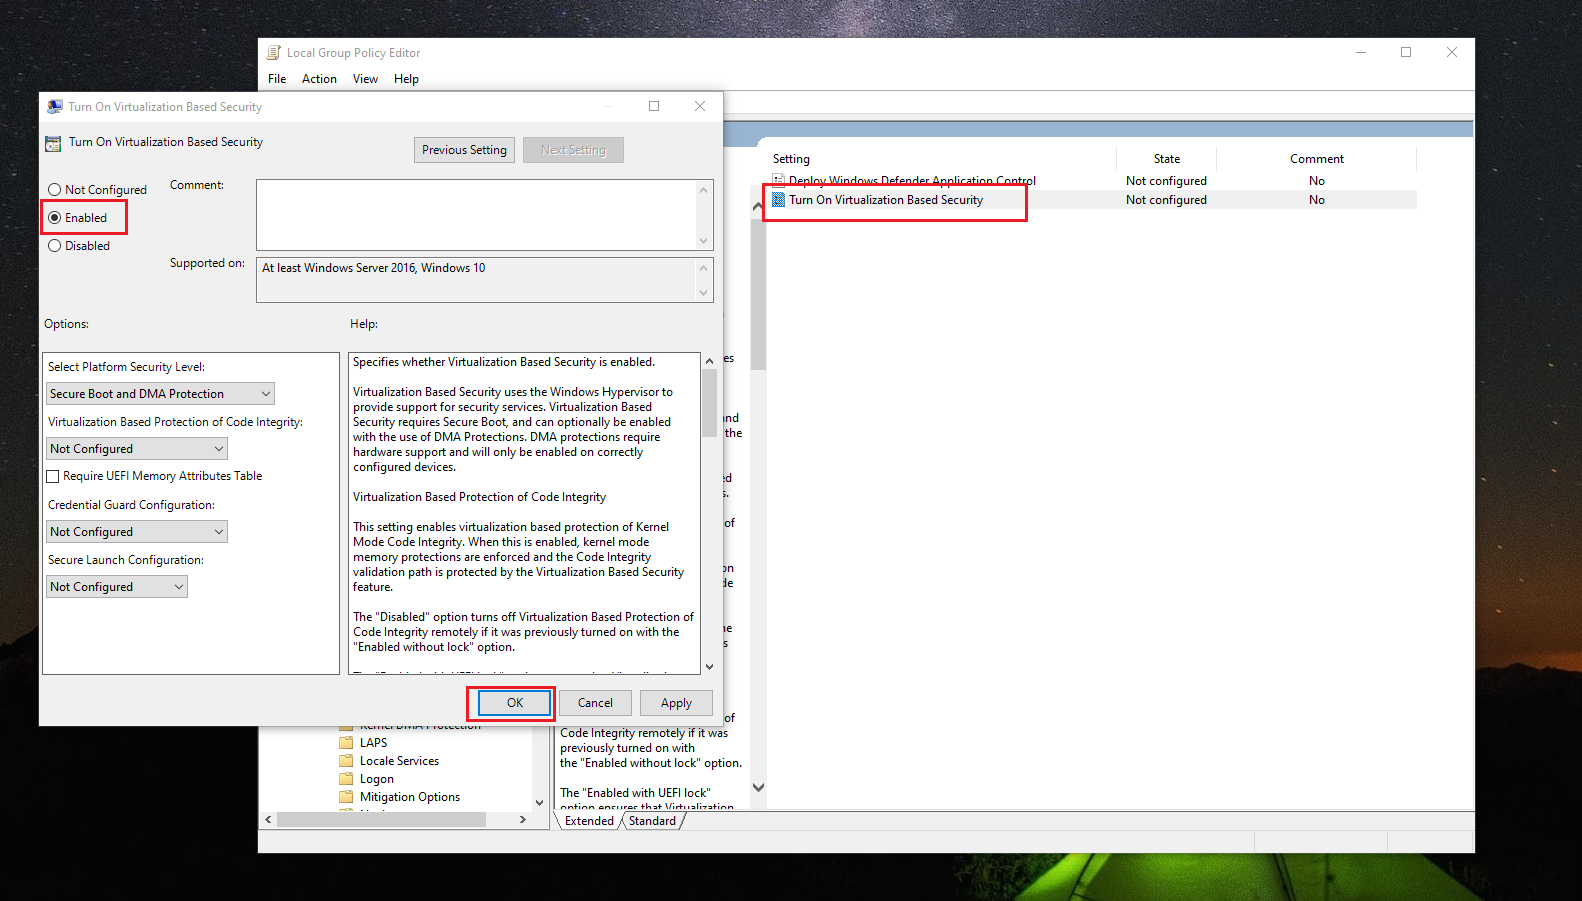
- Restart your computer to apply these changes.
3. Force Uninstall BrUsbSib.sys Using Command Prompt
If updating the driver doesn’t help, you can remove the BrUsbSib.sys driver using the Command Prompt.
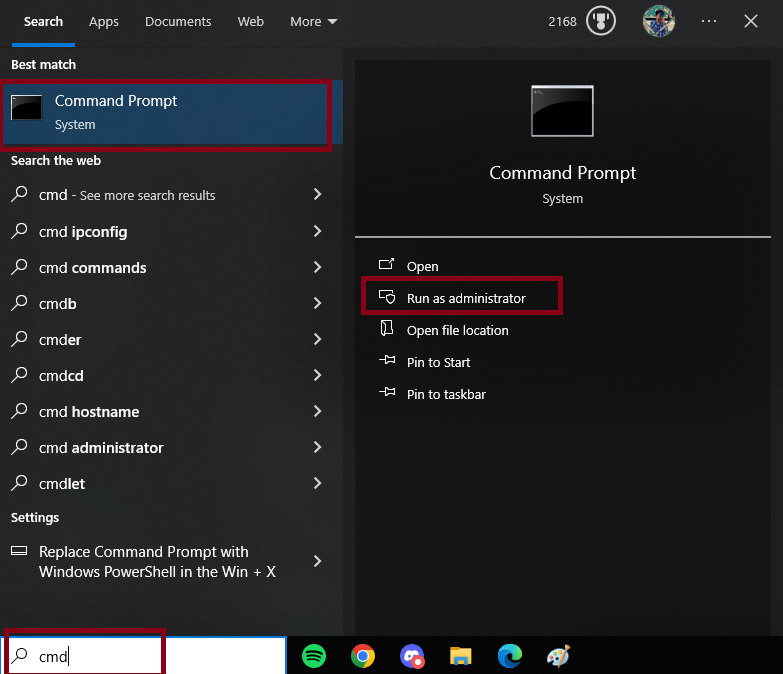
- Type cmd in the Windows Search bar, right-click it, and choose “Run as administrator.”
- Type this command and press Enter:
dism /online /get-drivers /format:table
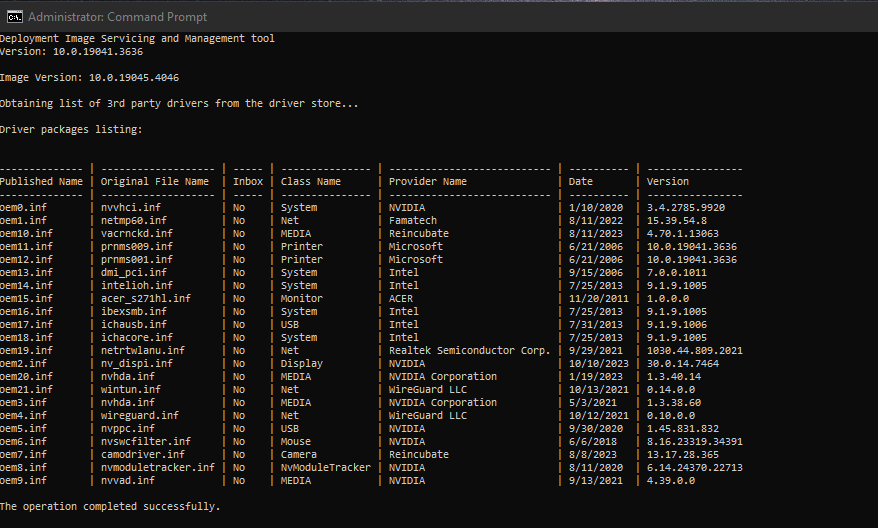
- Look for the ‘Published Name’ in the table that matches ‘Original File Name’ as BrUsbSib.sys.
- The published name is usually something like ‘oem21.inf’, but it could be different on your PC. Replace ‘oem21.inf’ with the correct name in this next command:
pnputil /delete-driver oem21.inf /uninstall /force
Note: Be sure you select the correct file. Removing the wrong driver could cause system problems or make some hardware stop working.
- Restart your computer after completing these steps.
4. Use AutoRuns to Prevent the Driver from Starting Up
If the problem is still there, you can try using AutoRuns, a free Microsoft tool that shows you everything that starts up with Windows and lets you stop or remove unwanted drivers like ‘BrUsbSib.sys’.
- Go to the official Microsoft website and download AutoRuns.
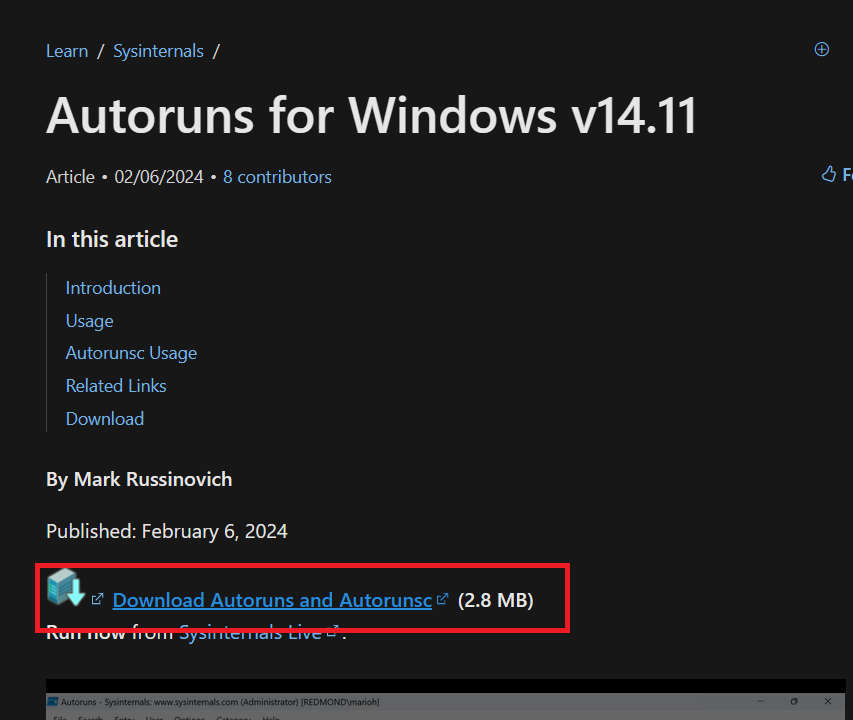
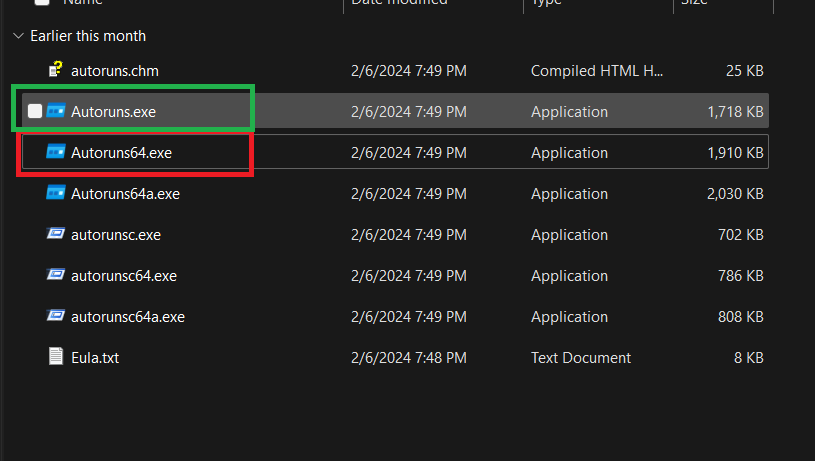
- Unzip the file, right-click on AutoRuns, and run as an administrator. Use Autoruns.exe for 32-bit systems or Autoruns64.exe for 64-bit systems.
- Once AutoRuns opens, search for BrUsbSib.sys and select all related entries.
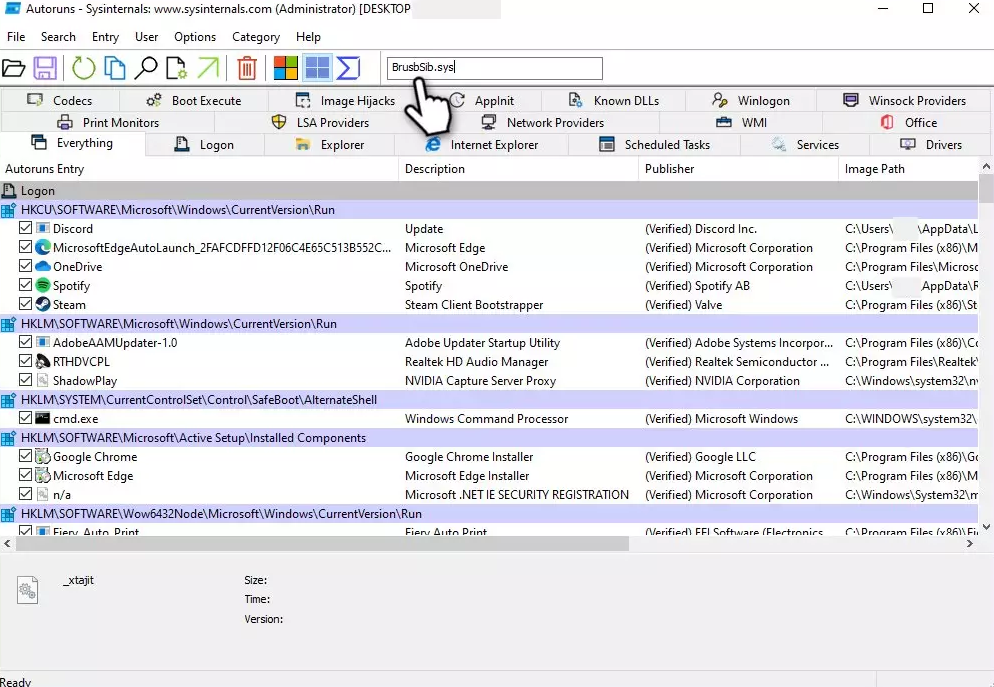
- Right-click on each entry and choose Delete.
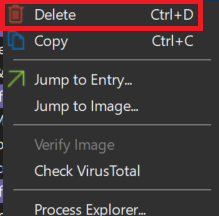
Note: Only delete entries related to ‘BrUsbSib.sys’. Removing the wrong entry might affect how your system works. - Restart your PC after you’re done.
5. Uninstall Brother Software
If nothing else works, you may need to uninstall the Brother software completely. This step should only be done if you’re not able to fix the problem with the previous methods. Using the official uninstaller from Brother makes sure all related files are removed and allows Memory Integrity to work.
- Go to the official Brother website and find your device.
- Open your device’s download page.
- Pick your operating system and download the uninstall tool.

- Follow the instructions provided to uninstall your Brother device.
- Restart your PC once the process is finished.


