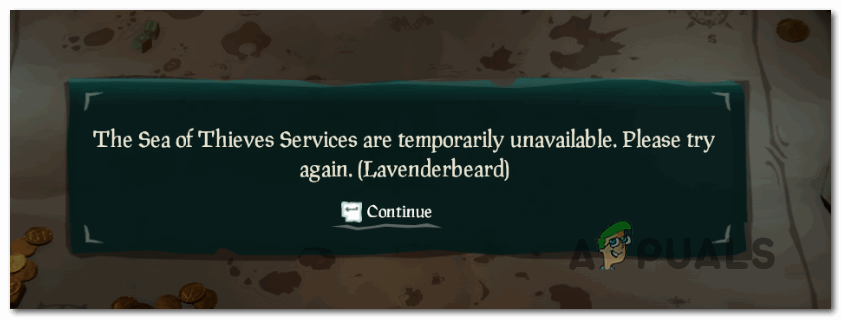
How to Fix Sea of Thieves Lavenderbeard Error?
The Lavenderbeard error in Sea of Thieves stops you from playing the game because it can’t connect to the game’s servers. This often happens due to server maintenance or updates. Common reasons are the servers being down or you having an old game version.
Other reasons could be network settings, firewall blocks, or issues with your internet provider.
In this article, we will discuss different ways to solve this error.
1. Verify the Server Status
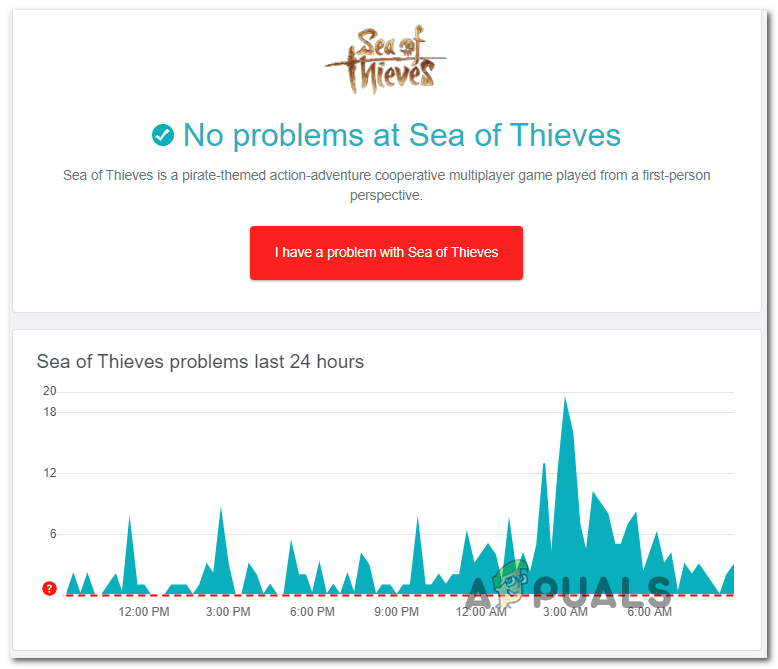
Checking the game’s server status helps you find out if the problem is with Sea of Thieves, like during planned maintenance or unexpected outages. If the servers are down, you can’t fix the connection yourself, so there’s no need to waste time trying to fix your own settings.
You can visit DownDetector and IsTheServiceDown to see if there are other users in the same situation.
2. Install the Newest Game Version
Make sure your game is up to date. Old versions might not work with current servers and can cause the Lavenderbeard error. Updating the game ensures all files match the server, which helps avoid connection problems and makes gameplay smoother.
2.1. Doing a hard restart on Xbox One
- Ensure your console is idle.
- Press and hold the Xbox button on the console for 10 seconds until the LED turns off and fans stop.

- Unplug the power cable, wait 30 seconds to drain capacitors, then plug it back in.
- Press the power button to turn on the console. A longer startup animation means a successful reset.
- Check for and install any new update for Sea of Thieves.
2.2. Install the Pending Updates from MS Store
- Ensure Sea of Thieves and its launcher are fully closed.
- Press Windows key + R, type ‘ms-windows-store://home’, and press Enter to open Microsoft Store.

- Click the update icon in the upper right corner of Microsoft Store.

- In Downloads and Updates, find Sea of Thieves and click the download icon, or click Get Updates to update all.
- Restart your computer after the update.
3. Whitelist Sea of Thieves executable / Disable security suite
Changing security settings can help fix connection problems in Sea of Thieves. By allowing the game through your security software or turning off the software temporarily, you make sure it isn’t blocking the game from connecting to servers. This helps the game connect properly and can prevent errors like the Lavenderbeard error.
3.1. Whitelist Sea of Thieves executable
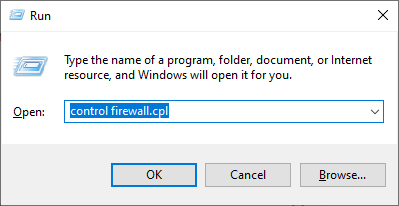
- Press Windows key + R, type ‘control firewall.cpl’, and press Enter to open Windows Firewall.
- Click Allow an app or feature through Windows Defender Firewall on the left.
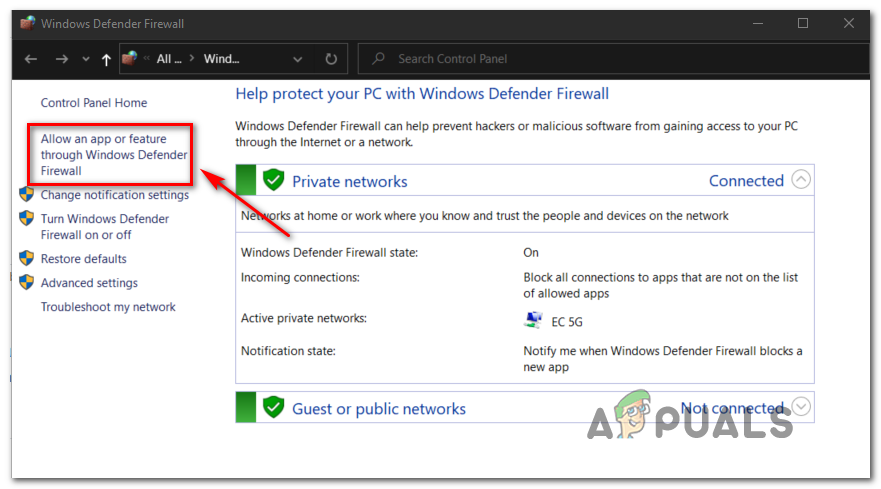
- Click Change settings and Yes at the User Account Control prompt.
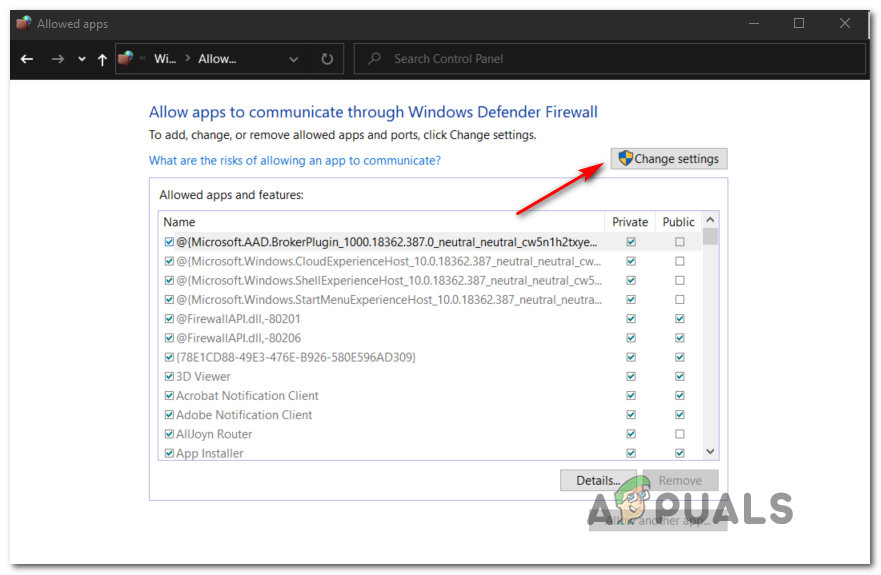
- Find Sea of Thieves in the list. If it’s not there, click Allow another app, browse to the game’s executable, and add it.
- Ensure both Private and Public boxes for Sea of Thieves are checked, then click OK.
3.2. Uninstall 3rd Party Suite
- Press Windows key + R, type ‘appwiz.cpl’, and press Enter to open Programs and Features.

- In Programs and Features, find the third-party antivirus you want to uninstall.
- Right-click the antivirus, and select Uninstall.
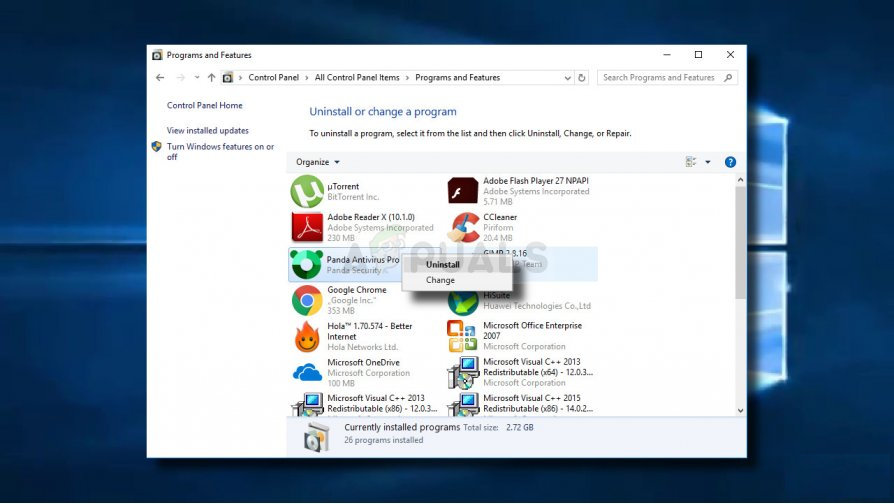
- Follow the prompts to complete uninstallation.
- Restart your computer.
4. Disable Proxy Server
A proxy server can sometimes block or change data Sea of Thieves needs, causing connection problems. Turning off the proxy server helps the game connect directly to its servers, improving communication.
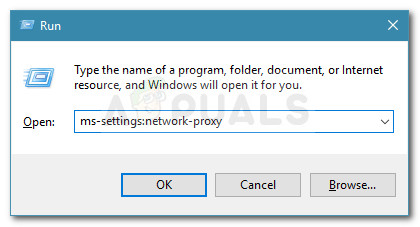
- Press Windows key + R, type ‘ms-settings:network-proxy’, and press Enter to open the Proxy tab in Settings.
- In the Proxy tab, scroll to Manual Proxy setup and turn off Use a proxy server.
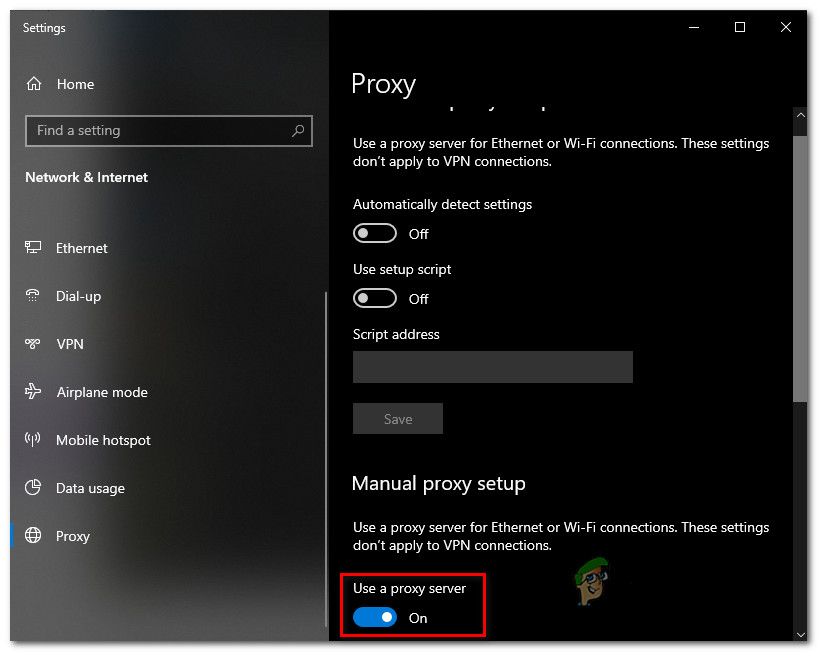
- Restart your computer to apply the changes.
5. Release Xbox Credentials (PC Only)
This issue can be caused by old or broken Xbox login info on your PC, which can block proper server access. Clearing this info resets the login data, allowing a fresh connection to Sea of Thieves servers.
- Close Sea of Thieves.
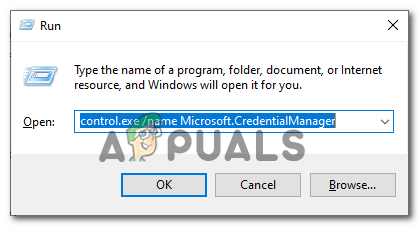
- Press Windows key + R, type ‘control.exe /name Microsoft.CredentialManager‘, and press Enter to open Credential Manager.
- In Credential Manager, click Windows Credentials.
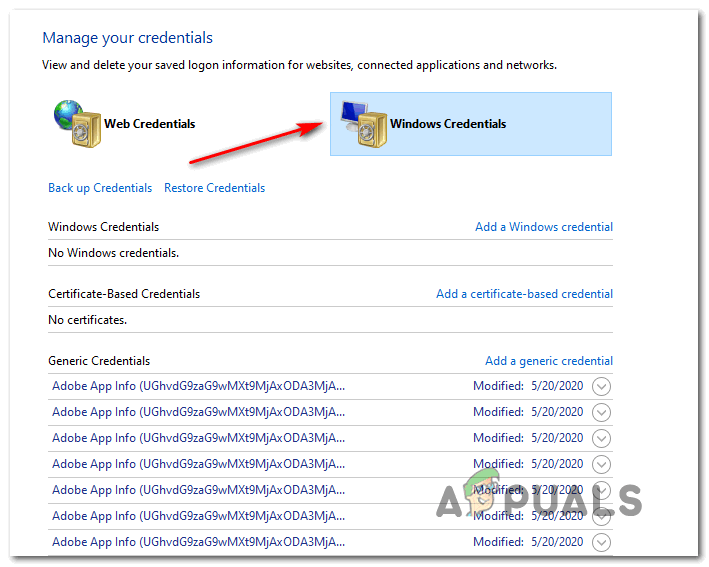
- Find and right-click each Xbl_Ticket entry, then select Remove.


kevin ur a g <3