Battlefield 2042 Error Code 25? Here’s how to fix
Battlefield 2042 closes right away and shows Error Code 25. This happens because EasyAntiCheat (EAAC) couldn’t start properly or was blocked. The most common reason is other programs running in the background, especially those related to other games that use EAAC.
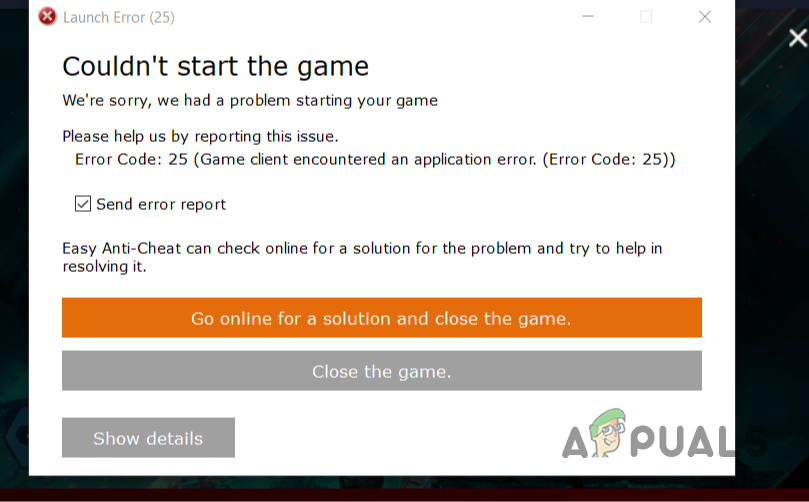
Other causes include overclocking, not running the game as an administrator, or broken EAAC files. Now that we’ve discussed the most common causes, let’s move on to the different methods you can use to fix this problem.
1. Start EasyAntiCheat Service
The first thing to try is starting the EasyAntiCheat service manually. The error often happens because the service hasn’t started correctly.
Keep in mind: When you start the service manually without launching the game, it may not run because it needs an associated game to function. Still, according to various user reports, trying to start it anyway has solved the issue for several people.
- Press Windows key + R on your keyboard to open the Run dialog box.
- Type services.msc into the Run dialog box and press Enter.
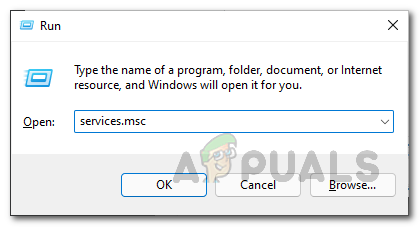
Opening up Services Window - This opens the Services window.
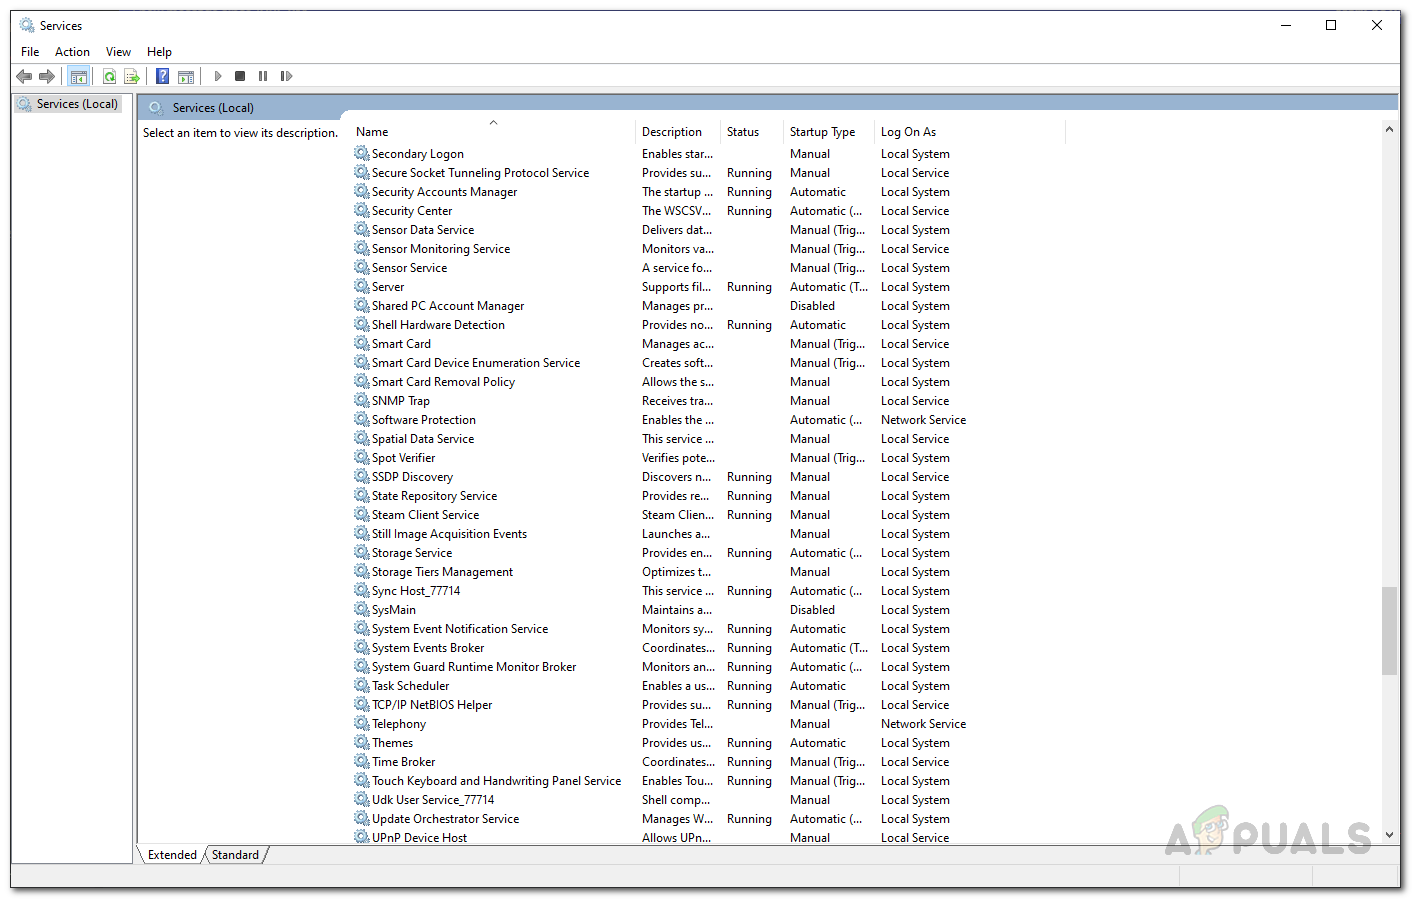
Windows Services - In the list of services, find EasyAntiCheat. Right-click it.
- From the menu, select Start.
- Don’t worry if the service fails to start—this can be expected.
- After you’ve tried this, launch Battlefield 2042 again to see if the problem is resolved.
2. Update Graphics Drivers
As mentioned earlier, outdated graphics drivers are often the main reason for this problem. Your graphics drivers are crucial for gaming performance because the games rely heavily on your graphics card.
Usually, when a new major game like Battlefield 2042 is released, graphics card manufacturers release driver updates to ensure compatibility and better performance. To fix the issue, you should uninstall your current drivers and install the latest ones from your card’s manufacturer.
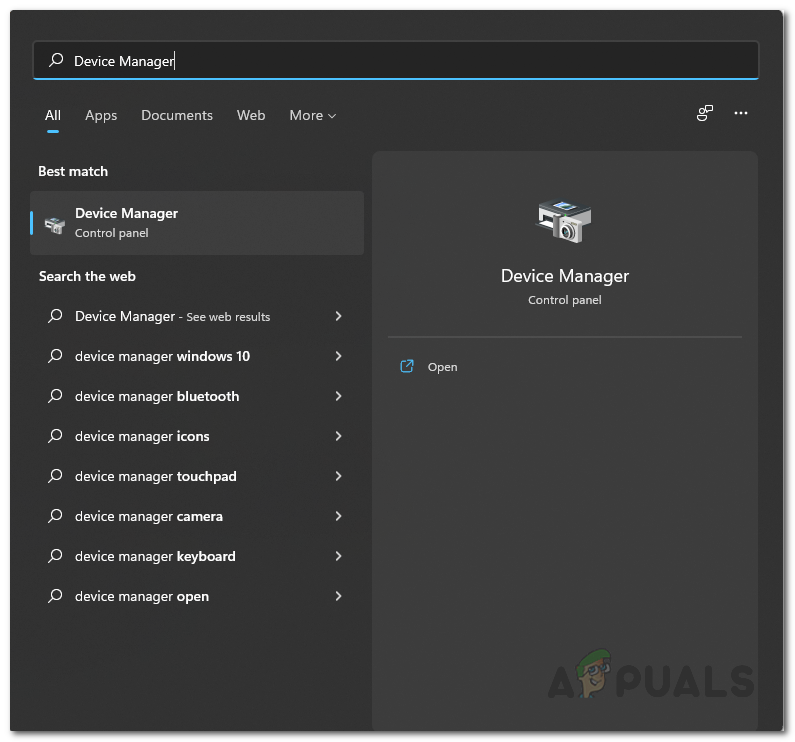
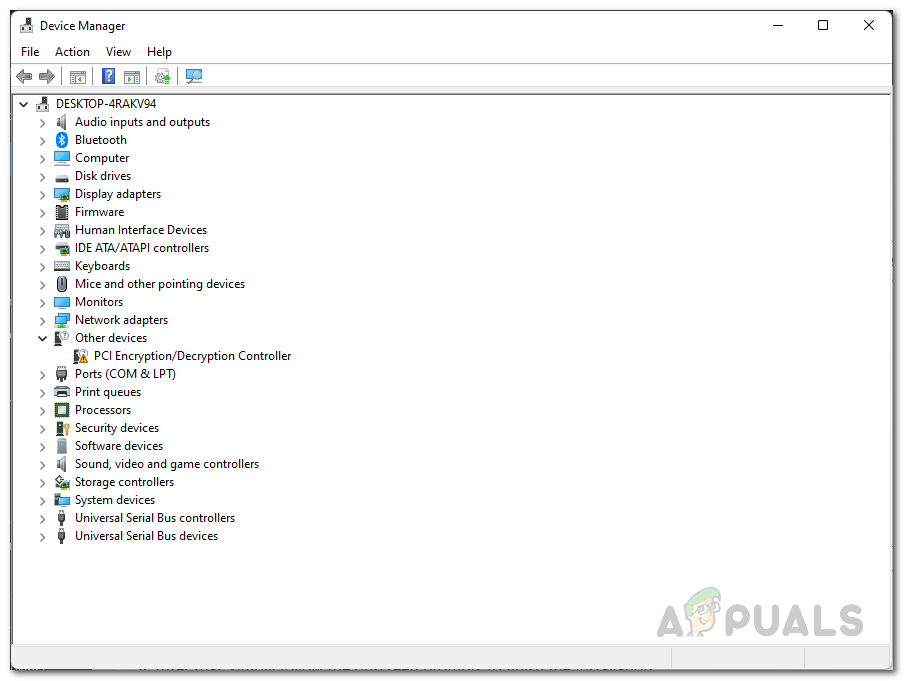
- Open the Device Manager by searching for it in the Start Menu.
Opening up Device Manager - Expand the Display adapters section.
Device Manager - Right-click your graphics card and select Uninstall device from the menu.
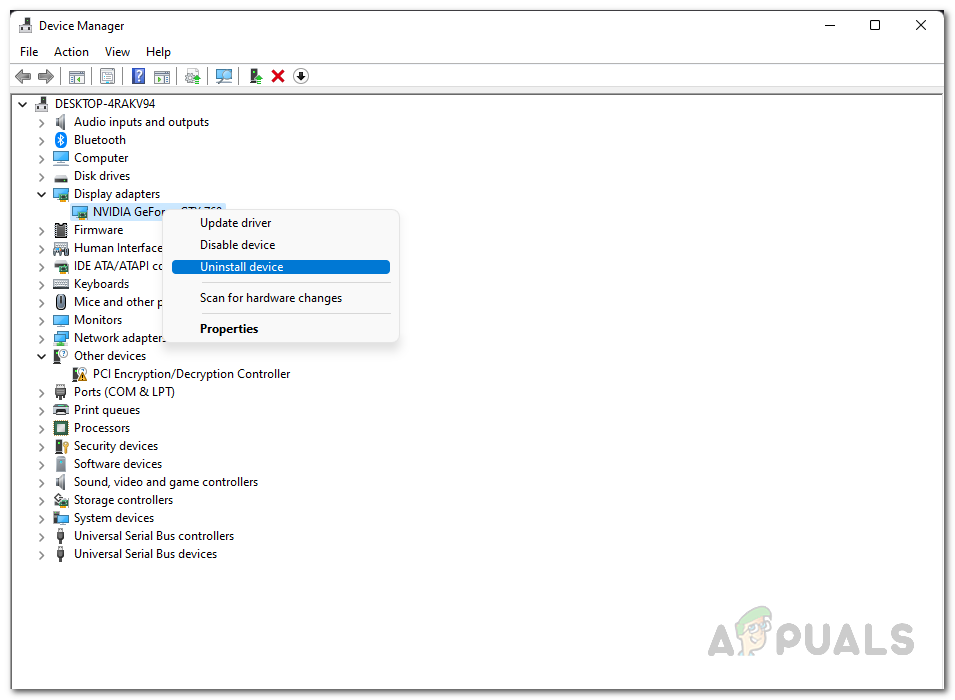
Uninstalling Graphics Drivers - Next, go to your graphics card manufacturer’s website (like NVIDIA, AMD, or Intel) and download the latest drivers for your GPU.
- Install the new drivers and check if the error is gone.
3. Repair EasyAntiCheat
Sometimes, error code 25 can be caused by corrupted or damaged EasyAntiCheat files. If that’s the case, repairing or reinstalling the EasyAntiCheat service can fix things. If you’d prefer, you can uninstall it and then reinstall it again.
To repair EasyAntiCheat, go to the EasyAntiCheat folder in your game’s installation directory. Locate the EasyAntiCheat_Setup.exe file, right-click it, and choose Run as administrator. Once the setup opens, select the Repair option. When the process is finished, see if this resolved your problem.
4. Remove Overclocking
In some cases, this error can be caused by overclocked hardware. Some users have reported that applications like Dragon Centre by MSI, which automatically overclock system components, can trigger this problem. If this applies to you, close any overclocking software and remove any overclock you have applied to your CPU or GPU, then try running the game again.
Additionally, a third-party application might be interfering with Battlefield 2042. To rule this out, we recommend performing a clean boot of Windows. We have a detailed guide on how to do a clean boot here.
Once you’re done troubleshooting, don’t forget to reset your computer to normal startup after you’ve performed a clean boot. This will ensure all your regular services and startup programs are re-enabled.


